Home>Production & Technology>MIDI>How To Connect MIDI Keyboard To Ableton
MIDI
How To Connect MIDI Keyboard To Ableton
Modified: February 22, 2024
Learn how to connect your MIDI keyboard to Ableton and start creating music. Get step-by-step instructions for setting up MIDI in Ableton.
(Many of the links in this article redirect to a specific reviewed product. Your purchase of these products through affiliate links helps to generate commission for AudioLover.com, at no extra cost. Learn more)
Table of Contents
Introduction
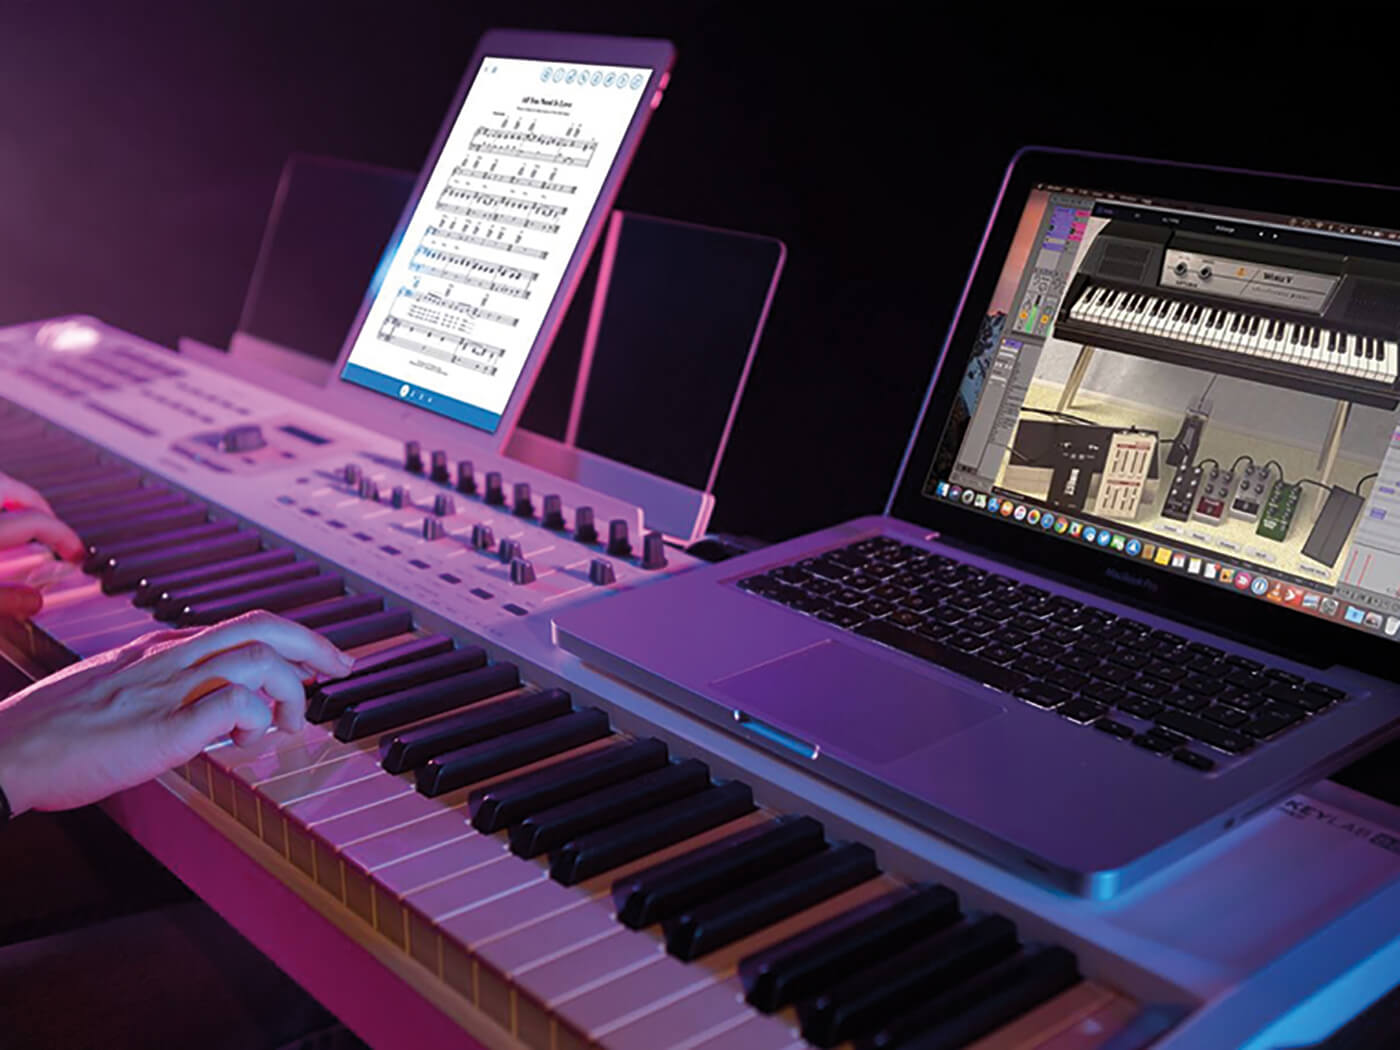
Connecting a MIDI keyboard to Ableton opens up a world of creative possibilities for music producers and enthusiasts. MIDI, which stands for Musical Instrument Digital Interface, is a versatile communication protocol that allows electronic musical instruments, computers, and other devices to connect and communicate with each other. This seamless integration enables musicians to harness the power of digital technology to create, record, and manipulate music in innovative ways.
In this comprehensive guide, we will walk through the process of connecting a MIDI keyboard to Ableton, a popular digital audio workstation (DAW) known for its robust music production capabilities. Whether you're a seasoned producer looking to streamline your workflow or a beginner eager to explore the realm of electronic music production, mastering the art of connecting a MIDI keyboard to Ableton is a crucial step in unleashing your creative potential.
By following the steps outlined in this guide, you will gain the ability to control virtual instruments, trigger samples, and record performances with precision and fluidity. This seamless integration between your MIDI keyboard and Ableton will empower you to express your musical ideas with unparalleled flexibility and control.
So, without further ado, let's embark on this journey to connect your MIDI keyboard to Ableton and unlock the boundless opportunities for musical expression and creativity that await you.
Step 1: Setting up the MIDI Keyboard
Setting up a MIDI keyboard to work seamlessly with Ableton involves a series of straightforward yet crucial steps. This process ensures that your MIDI keyboard becomes a powerful tool for music creation within the Ableton environment. Let's delve into the essential tasks to effectively set up your MIDI keyboard.
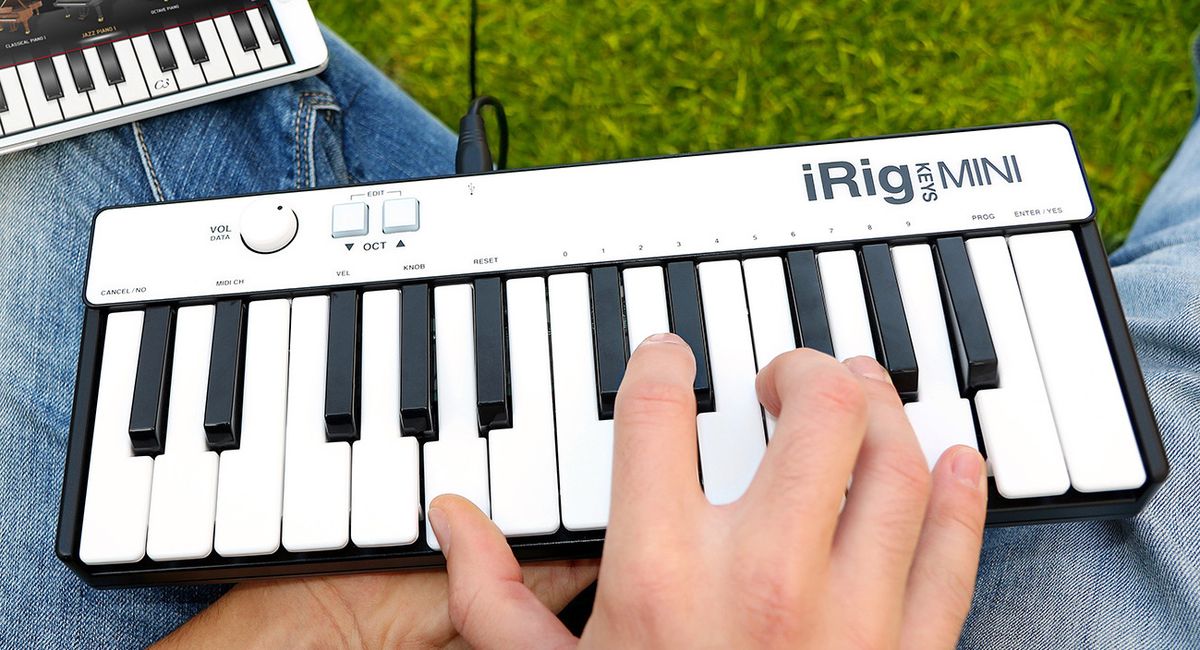
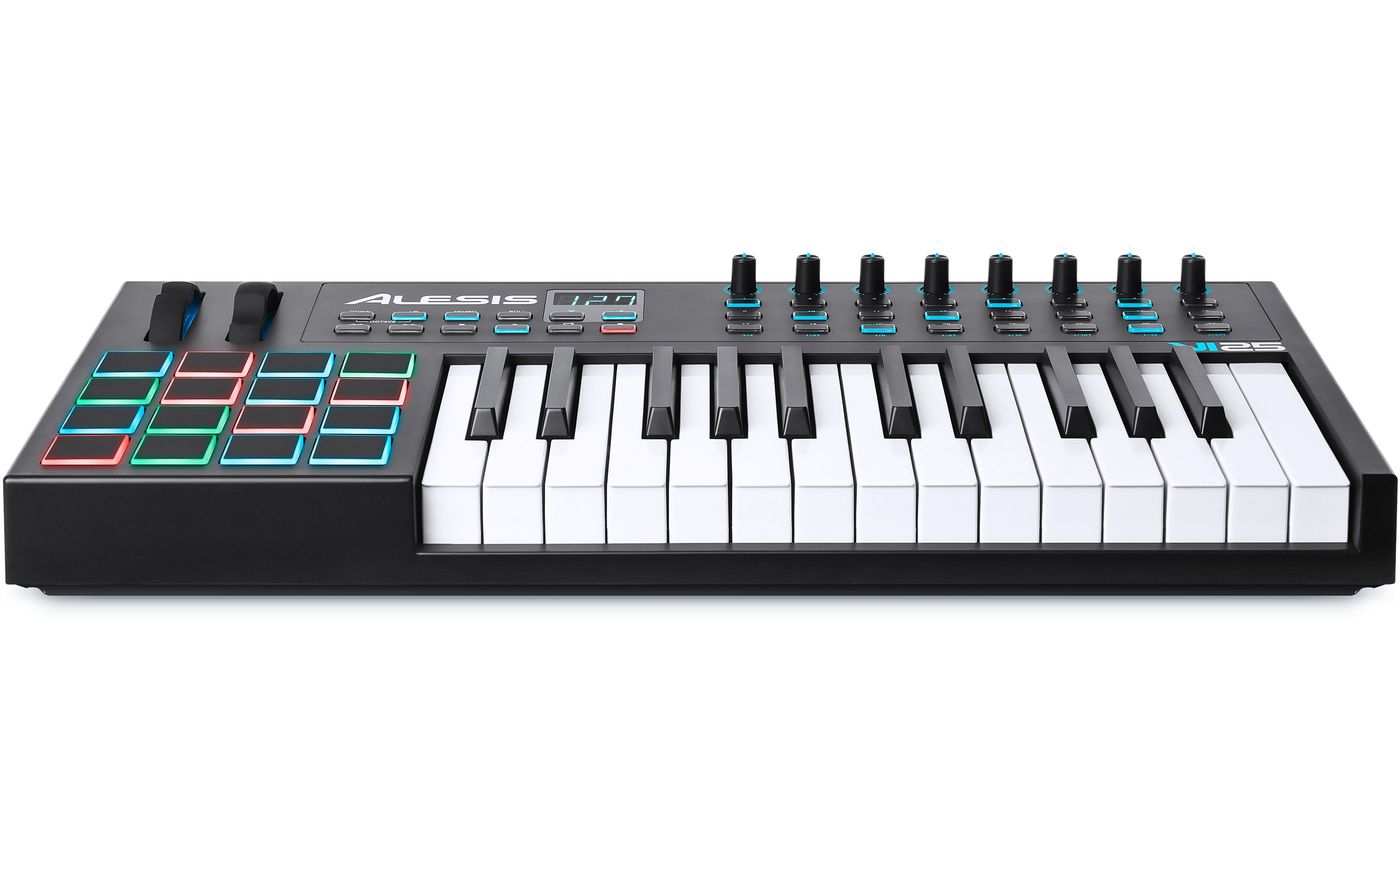
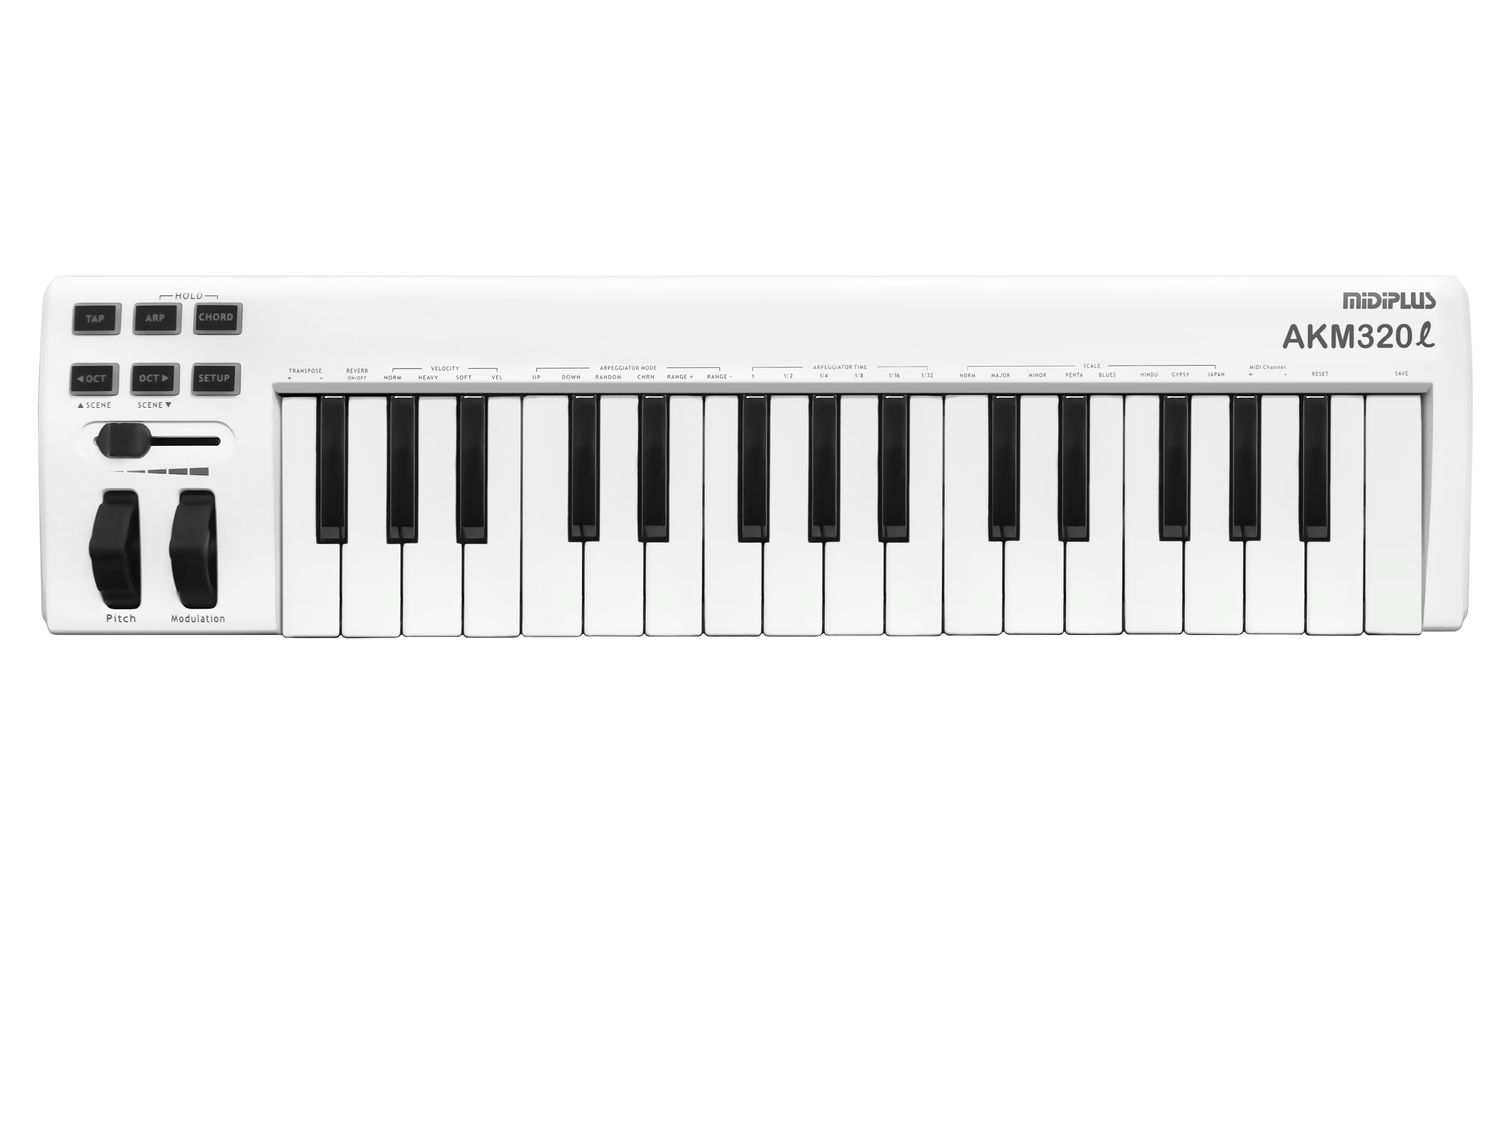
1. Connect the MIDI Keyboard to Your Computer
The first step is to physically connect your MIDI keyboard to your computer. Most MIDI keyboards use a USB connection, allowing for a direct and hassle-free link to your computer. Simply plug one end of the USB cable into your MIDI keyboard and the other end into an available USB port on your computer. This establishes the communication channel through which your MIDI keyboard will interact with Ableton.
2. Power On the MIDI Keyboard
Once the MIDI keyboard is connected to your computer, power it on. This may involve using an external power source or simply turning on the keyboard if it is USB-powered. Ensuring that the MIDI keyboard is powered on is essential for the successful recognition of the device by your computer and Ableton.
3. Install Any Necessary Drivers
In some cases, your MIDI keyboard may require specific drivers to be installed on your computer to ensure proper functionality. Check the manufacturer's website or documentation for any required driver downloads and follow the installation instructions. This step is vital for establishing a seamless connection between your MIDI keyboard and Ableton.
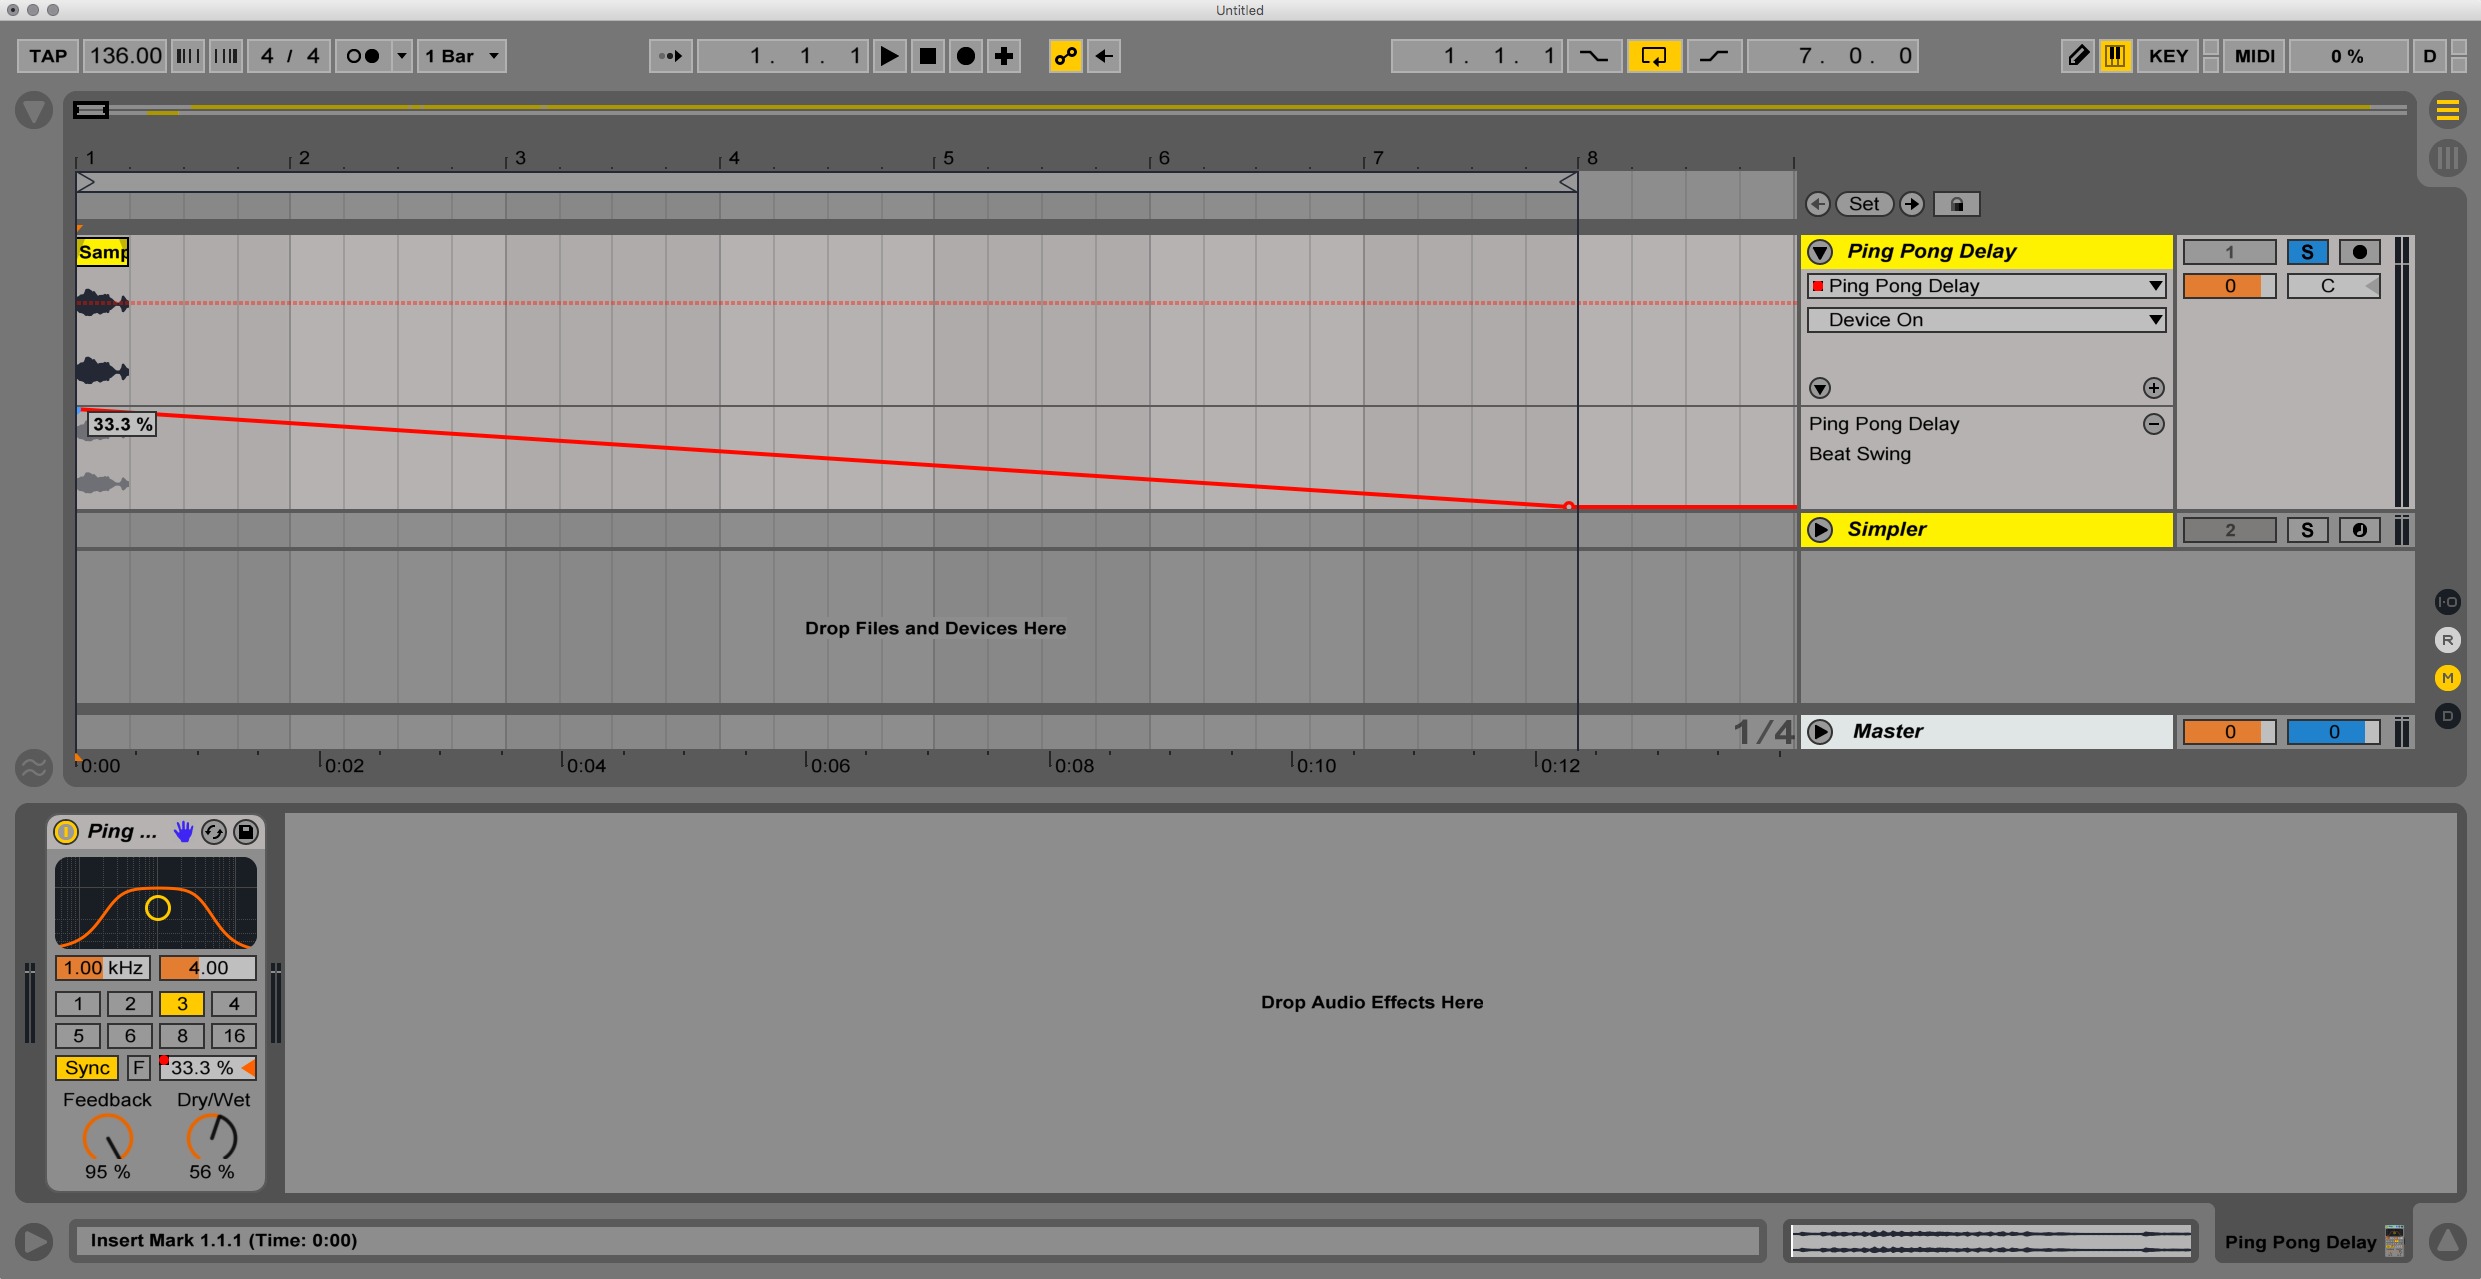
4. Configure MIDI Settings in Ableton
After the physical setup and driver installation, it's time to configure the MIDI settings in Ableton. Open Ableton and navigate to the preferences menu. Under the "MIDI" tab, ensure that your MIDI keyboard is recognized and selected as a MIDI input device. This step allows Ableton to receive MIDI data from your keyboard, enabling you to control virtual instruments, trigger samples, and record performances.
5. Test MIDI Input
Once the MIDI settings are configured, it's beneficial to test the MIDI input to verify that your MIDI keyboard is communicating effectively with Ableton. Press keys on the MIDI keyboard and observe if Ableton registers the input. Additionally, try adjusting knobs, sliders, or any other MIDI controls on the keyboard to ensure that they are also recognized by Ableton.
By meticulously following these steps, you will successfully set up your MIDI keyboard to seamlessly integrate with Ableton, laying the foundation for a dynamic and expressive music production experience. With the physical and software configurations in place, you are now ready to harness the full potential of your MIDI keyboard within the innovative environment of Ableton.
This comprehensive setup process paves the way for a seamless and productive music-making journey, empowering you to explore new sonic horizons and express your musical vision with precision and creativity.
Step 2: Configuring Ableton for MIDI Input
Configuring Ableton for MIDI input is a pivotal step in ensuring that your MIDI keyboard seamlessly integrates with the software, enabling you to control virtual instruments, trigger samples, and record performances with precision and fluidity. This process involves navigating Ableton's settings to establish a robust connection between your MIDI keyboard and the digital audio workstation. Let's delve into the essential tasks involved in configuring Ableton for MIDI input.
-
Open Ableton's Preferences:
To initiate the configuration process, open Ableton and navigate to the "Preferences" menu, which can be accessed by clicking on "Live" in the menu bar (on Mac) or "Options" (on Windows) and selecting "Preferences." -
Access the MIDI Tab:
Within the Preferences menu, locate and click on the "MIDI" tab. This section houses the settings related to MIDI input and output devices, allowing you to manage the communication between your MIDI keyboard and Ableton. -
Select the MIDI Input Device:
In the MIDI tab, you will find a list of available MIDI input devices recognized by Ableton. Locate your MIDI keyboard from the list and ensure that it is selected as an active MIDI input device. This step establishes the communication channel through which Ableton receives MIDI data from your keyboard. -
Enable Track and Remote for MIDI Input:
Once your MIDI keyboard is selected as the input device, ensure that the "Track" and "Remote" columns are activated for the respective MIDI input. Enabling the "Track" option allows MIDI input to control the playback and recording of tracks within Ableton, while activating the "Remote" option grants your MIDI keyboard the ability to control various parameters and functions within the software. -
Configure MIDI Preferences for Specific Tasks:
Depending on your workflow and musical requirements, you can further customize the MIDI preferences within Ableton. This may involve assigning specific MIDI channels, adjusting MIDI mapping settings, or configuring MIDI control surfaces to optimize the interaction between your MIDI keyboard and Ableton's features. -
Test MIDI Input:
After configuring the MIDI settings, it's essential to test the MIDI input to ensure that Ableton accurately receives data from your MIDI keyboard. Press keys on the MIDI keyboard and observe the corresponding input indicators within Ableton. Additionally, verify that any MIDI controls, such as knobs or sliders, are functioning as expected within the software.
By meticulously following these steps to configure Ableton for MIDI input, you establish a robust and seamless connection between your MIDI keyboard and the software, unlocking a world of creative possibilities within the realm of music production. This comprehensive configuration process lays the foundation for harnessing the full potential of your MIDI keyboard within the innovative environment of Ableton, empowering you to express your musical ideas with unparalleled flexibility and control.
Step 3: Testing the Connection
After setting up and configuring your MIDI keyboard with Ableton, it is crucial to perform thorough testing to ensure that the connection is robust and functional. Testing the MIDI connection allows you to verify that your MIDI keyboard effectively communicates with Ableton, ensuring that MIDI data is accurately received and interpreted by the software. This step is essential for confirming the seamless integration of your MIDI keyboard within the music production environment of Ableton.
1. Verifying MIDI Input
To initiate the testing process, press keys on your MIDI keyboard and observe the corresponding input within Ableton. As you play the keys, Ableton's interface should display MIDI input indicators, confirming that the software accurately receives data from your MIDI keyboard. This verification ensures that the MIDI input is responsive and accurately reflects your actions on the keyboard.
2. Testing MIDI Controls
In addition to verifying MIDI input from the keys, it is essential to test other MIDI controls, such as knobs, sliders, modulation wheels, and pitch bend wheels on your MIDI keyboard. Manipulate these controls and observe their impact within Ableton. For example, adjusting a knob on your MIDI keyboard should result in a corresponding change within the software, such as altering a parameter on a virtual instrument or controlling a specific function within Ableton. This testing process validates the functionality of various MIDI controls and their seamless integration with Ableton's features.
3. Recording and Playback
Another crucial aspect of testing the MIDI connection involves recording MIDI input from your keyboard and playing it back within Ableton. Create a MIDI track, arm it for recording, and play a musical passage on your MIDI keyboard. After recording, play back the MIDI performance to ensure that the playback accurately reproduces the nuances and dynamics of your original playing. This step validates the recording and playback capabilities of your MIDI keyboard within the Ableton environment, ensuring that your musical expressions are faithfully captured and reproduced.
4. Exploring MIDI Mapping
Furthermore, testing the MIDI connection provides an opportunity to explore MIDI mapping within Ableton. Assign specific MIDI controls on your keyboard to manipulate parameters within Ableton, such as adjusting the cutoff frequency of a virtual synthesizer or triggering effects. By experimenting with MIDI mapping, you can assess the precision and responsiveness of MIDI control assignments, refining the interaction between your MIDI keyboard and Ableton's extensive array of functions and instruments.
By meticulously testing the MIDI connection between your keyboard and Ableton, you confirm the reliability and versatility of the integration, empowering you to explore new sonic horizons and express your musical vision with precision and creativity. This comprehensive testing process solidifies the foundation for a seamless and productive music-making journey, ensuring that your MIDI keyboard serves as a powerful and expressive tool within the innovative environment of Ableton.
Conclusion
In conclusion, the process of connecting a MIDI keyboard to Ableton is a transformative journey that empowers music creators to unleash their full creative potential within the digital realm of music production. By meticulously setting up, configuring, and testing the MIDI connection, musicians and producers establish a seamless and dynamic integration between their MIDI keyboard and Ableton, paving the way for boundless opportunities for musical expression and innovation.
Through the meticulous setup process, users ensure that their MIDI keyboard becomes an extension of their musical intuition, providing a tangible and expressive interface for interacting with Ableton's vast array of virtual instruments, effects, and recording capabilities. The physical and software configurations create a synergy that transcends traditional musical boundaries, allowing for the exploration of new sonic landscapes and the realization of intricate musical ideas with precision and fluidity.
Furthermore, the configuration of Ableton for MIDI input solidifies the foundation for a harmonious relationship between the MIDI keyboard and the software, enabling users to harness the full potential of their instrument within the digital audio workstation. By customizing MIDI preferences and testing the MIDI input, musicians fine-tune the interaction between their MIDI keyboard and Ableton, ensuring that every keystroke, knob adjustment, and modulation is faithfully translated into musical expressions within the software.
The comprehensive testing of the MIDI connection serves as the ultimate validation of the seamless integration between the MIDI keyboard and Ableton. By verifying MIDI input, testing MIDI controls, recording and playing back MIDI performances, and exploring MIDI mapping, users gain confidence in the reliability and versatility of their MIDI setup, laying the groundwork for a productive and inspiring music-making experience.
In essence, the journey of connecting a MIDI keyboard to Ableton transcends mere technical configurations; it represents the convergence of technology and creativity, empowering musicians to sculpt sonic landscapes, capture emotive performances, and push the boundaries of musical innovation. This harmonious integration between the physicality of the MIDI keyboard and the boundless capabilities of Ableton epitomizes the fusion of art and technology, offering a gateway to a world where musical ideas flow freely and creative expression knows no limits.
As users embark on their musical endeavors with the MIDI keyboard and Ableton, they embark on a path of limitless exploration, where every keystroke becomes a brushstroke in the canvas of sound, and every modulation becomes a sculpting tool for sonic landscapes. The connection between the MIDI keyboard and Ableton transcends the realm of mere technical integration; it signifies the convergence of passion, creativity, and innovation, empowering music creators to shape their musical destinies with unparalleled artistry and expression.