Home>Events & Info>Acapella>How To Create Acapella In FL Studio


Acapella
How To Create Acapella In FL Studio
Modified: March 5, 2024
Learn how to create acapella tracks in FL Studio with our step-by-step tutorial. Discover the secrets of isolating vocals and creating amazing acapella effects in your music.
(Many of the links in this article redirect to a specific reviewed product. Your purchase of these products through affiliate links helps to generate commission for AudioLover.com, at no extra cost. Learn more)
Table of Contents
Introduction
Welcome to this comprehensive guide on how to create acapella in FL Studio. Acapella, also known as vocal-only tracks, are incredibly useful in music production, remixing, and creating mashups. With FL Studio’s powerful tools and techniques, you can isolate vocals from a full track and create stunning acapella versions.
But what exactly is an acapella? In music, acapella refers to a vocal performance without any instrumental accompaniment. It puts the spotlight on the raw beauty of the human voice and allows for greater creative possibilities. Acapella tracks are widely used in various genres, including pop, hip-hop, EDM, and more.
In this guide, we will take you through a step-by-step process to help you create acapella tracks using FL Studio. We’ll explore techniques such as phased cancellation and phase alignment, which are essential for isolating and enhancing vocals. Additionally, we’ll discuss ways to adjust levels and apply effects to achieve a polished acapella track.
Whether you’re a music producer, DJ, or just a passionate music enthusiast, learning how to create acapella tracks can greatly expand your creative possibilities. So, let’s dive in and unlock the power of FL Studio to create breathtaking acapella versions of your favorite songs!
Step 1: Import Audio Track
The first step in creating an acapella track in FL Studio is to import the audio track you want to work with. FL Studio supports a wide range of audio formats, so you can easily import your favorite songs or any other audio file.
To import an audio track, follow these steps:
- Open FL Studio and create a new project.
- Click on the “File” menu at the top left corner of the screen.
- Select “Import” and choose “Audio File” from the dropdown menu.
- Navigate to the location of your audio file and select it.
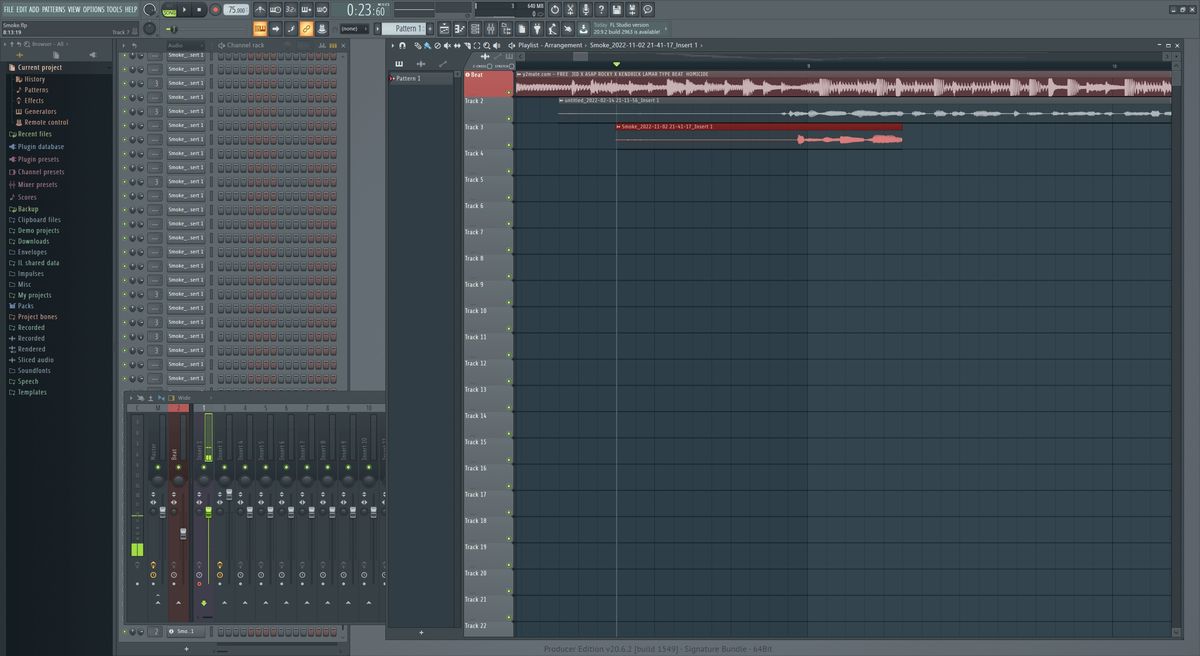
- The audio track will now appear in the FL Studio playlist.
Once you’ve imported the audio track, make sure to listen to it and familiarize yourself with its contents. This will help you in the later steps of isolating the vocals effectively.
It’s important to note that for best results, choose a high-quality audio track with clear vocals. Tracks with excessive background noise or heavy processing may yield less desirable results when isolating the vocals.
Now that you have your audio track imported into FL Studio, you’re ready to move on to the next step of isolating the vocals using phased cancellation. Let’s dive in!
Step 2: Isolate Vocals Using Phased Cancellation
Phased cancellation is a powerful technique that can be used to isolate vocals from a full audio track. In this step, we’ll explore how to use this technique in FL Studio to extract the vocals and create an acapella version of the song.
Follow these steps to isolate the vocals using phased cancellation:
- Right-click on the audio track in the FL Studio playlist and select “Channel Settings”.
- In the Channel Settings window, click on the “Phaser” tab.
- Enable the “Invert” option under the Phaser tab.
- Adjust the “Frequency” and “Width” knobs to find the sweet spot where the vocals become most prominent and the instrumental elements are minimized.
- Play the audio track and listen carefully to the changes. Keep adjusting the Frequency and Width knobs until you achieve a satisfactory balance between vocals and instrumentals.
Phased cancellation works by using an inverted phase signal to cancel out the instrumental elements, leaving the vocals more pronounced. The precise settings may vary depending on the audio track you’re working with, so it may take some trial and error to find the optimal values.
Make sure to use your ears and trust your judgment while adjusting the settings. You’ll want to strike a balance where the vocals are clear and upfront, while still maintaining a natural sound.
Once you’ve successfully isolated the vocals using phased cancellation, you’re ready to move on to the next step of adjusting the phase alignment. This step ensures that the acapella track is in perfect sync with the instrumental version of the song. Let’s proceed!
Step 3: Adjust Phase Alignment
After isolating the vocals using phased cancellation in the previous step, it’s crucial to ensure that the vocals are perfectly aligned with the instrumental version of the song. In this step, we’ll explore how to adjust the phase alignment in FL Studio to achieve synchronization between the vocals and the instrumental elements.
Follow these steps to adjust the phase alignment:
- Create a duplicate of the instrumental version of the song in the FL Studio playlist.
- Align the vocal track and the duplicate instrumental track at the starting point.
- Zoom in on the waveforms of the two tracks to get a closer look.
- Look for any noticeable delay between the vocal and instrumental waveforms.
- Drag the vocal track left or right to align it with the instrumental track and minimize any phase inconsistencies.
- Continue zooming in and making minor adjustments until the waveforms of the vocal and instrumental tracks are aligned as closely as possible.
Adjusting the phase alignment ensures that the acapella track fits seamlessly with the instrumental, avoiding any timing discrepancies that may sound unnatural. Pay close attention to the transients and rhythmic elements to ensure accurate alignment.
It’s important to note that some audio tracks may have inherent variations in timing due to the recording process or production techniques. In such cases, achieving a perfectly aligned phase may be challenging. Use your judgment to strike a balance where the vocal and instrumental tracks sound cohesive.
With the phase alignment adjusted, you’ve successfully synchronized the acapella and instrumental tracks. In the next step, we’ll explore methods to enhance the vocal track and make it stand out even more. Let’s dive in!
Step 4: Enhance Vocal Track
Once you’ve isolated the vocals and adjusted the phase alignment, it’s time to enhance the vocal track to make it stand out and sound even more polished. In this step, we’ll explore different techniques and tools in FL Studio for vocal enhancement.
Here are some methods to enhance the vocal track:
- EQ: Use an equalizer to adjust the frequency balance of the vocals. Boosting the presence or clarity frequencies can help the vocals cut through the mix.
- Compression: Apply compression to even out the dynamic range of the vocals, ensuring a consistent volume level. This can help reduce any peaks or sibilance that may be present.
- Reverb: Add a touch of reverb to give the vocals a sense of space and depth. Be mindful of the reverb amount to maintain clarity and avoid overwhelming the vocals.
- De-esser: If there are any harsh sibilant sounds, use a de-esser to reduce or remove them. This can help smooth out the vocals and prevent any harshness in the high-frequency range.
- Pitch correction: If needed, use pitch correction tools to correct any off-key notes in the vocal performance. Be careful not to overuse it and retain the natural character of the vocals.
Experiment with these techniques and adjust the settings to find the right balance for your specific vocal track. Remember that the goal is to enhance the vocals without overpowering them or losing the natural characteristics.
Additionally, consider adding other creative effects like delay, chorus, or vocal doubling to add depth and personality to the vocal track. These effects can help make the acapella version more engaging and unique.
Take the time to listen to the enhanced vocal track in comparison to the original and make any necessary adjustments to achieve the desired result. Once you’re satisfied with the vocal enhancements, it’s time to move on to the next step of adjusting levels and applying effects to the overall mix. Let’s proceed!
Step 5: Adjust Levels and Effects
With the vocals enhanced, it’s essential to adjust the levels and apply effects to the overall mix to ensure a balanced and cohesive acapella track. In this step, we’ll explore how to adjust the levels and add effects in FL Studio.
Here are some guidelines to follow:
- Levels: Ensure that the vocal track sits well in the mix. Adjust the volume fader of the vocal track to achieve a good balance with the instrumental elements. Pay attention to the overall volume level and aim for a consistent and pleasant listening experience.
- Panning: Experiment with panning the vocal track to create a wider stereo image. You can subtly pan the vocals left or right to create a sense of space and separation from the instrumental elements.
- Effects: Consider using additional effects like delay, chorus, or reverb on the vocals to add character and depth. Be mindful of the effect settings to maintain clarity and prevent the vocals from becoming too washed out or muffled.
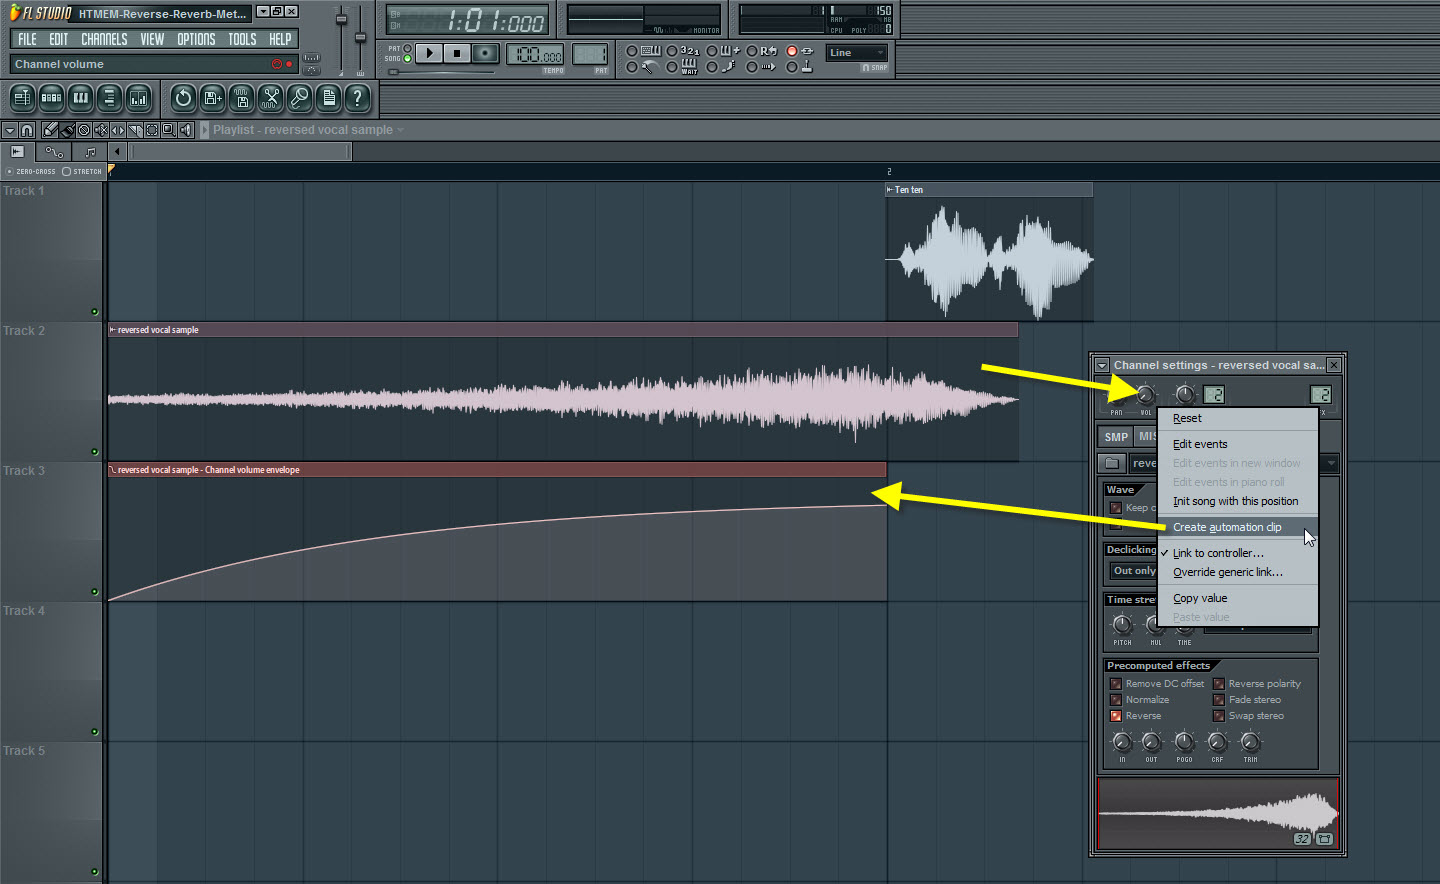
- Automation: Use automation to control specific parameters over time. For example, automate the volume or effects settings to create interesting variations and add dynamics to the acapella track.
Remember that adjusting levels and applying effects is subjective, and it’s important to trust your ears and make decisions that enhance the overall listening experience. Take your time to experiment with different settings and listen critically to the changes you make.
Once you’re satisfied with the levels and effects, it’s time to move on to the final step of exporting the acapella track from FL Studio. Let’s proceed!
Step 6: Export Acapella Track
After all the hard work put into creating and enhancing the acapella track, it’s time to export it from FL Studio. Exporting the track allows you to save it as a standalone file that can be used in your music productions, remixes, or any other creative endeavors. In this final step, we’ll explore how to export the acapella track in FL Studio.
Follow these steps to export the acapella track:
- Ensure that all the necessary adjustments and enhancements have been made to the vocal track.
- Click on the “File” menu at the top left corner of the FL Studio screen.
- Select “Export” and choose “WAV File” or any other desired audio format from the dropdown menu.
- Specify the export location and provide a suitable filename for the acapella track.
- Configure any additional export settings like sample rate or bit depth, if necessary.
- Click “Export” and FL Studio will render the acapella track as a standalone audio file.
Once the export process is complete, navigate to the specified location and listen to the exported acapella track to ensure it sounds as expected. You now have a high-quality acapella version of the original audio track that can be used for remixing, mashups, or other creative purposes.
Note that exporting the acapella track marks the end of the process, but it is just the beginning of the possibilities that await. Get creative with how you use the acapella track and explore different musical avenues.
Congratulations! You’ve successfully learned how to create acapella tracks in FL Studio. With this newfound knowledge, you can now enjoy the freedom of endless remixing opportunities and add your unique touch to your favorite songs.
Remember to continue experimenting, refining your techniques, and unleashing your creativity. Have fun producing your own acapella tracks and uncovering new musical adventures!
Conclusion
Creating acapella tracks in FL Studio can be a rewarding and exciting process that allows you to explore the raw beauty of vocals and unleash your creativity. Throughout this comprehensive guide, we’ve covered the step-by-step process of creating acapella tracks, from importing audio tracks to exporting the final product.
We started by introducing the concept of acapella and its significance in music production. Then, we delved into the specific steps required to isolate vocals using phased cancellation and adjust phase alignment to synchronize the acapella track with the instrumental elements.
We also explored techniques to enhance the vocal track, including EQ, compression, reverb, de-essing, and pitch correction. These techniques help to polish the vocals and make them stand out in the mix.
Afterwards, we discussed the importance of adjusting levels and applying effects to achieve a balanced and cohesive acapella track. These steps ensure that the vocals blend harmoniously with the instrumentals, creating a seamless listening experience.
Finally, we learned how to export the acapella track as a standalone file, ready to be used in various musical projects and remixes.
Remember, creating acapella tracks requires practice, experimentation, and a good ear for detail. As you continue honing your skills, don’t be afraid to try new techniques, explore different effects, and unleash your creativity to create captivating and unique acapella versions of your favorite songs.
So go ahead, dive into FL Studio, and start creating astonishing acapella tracks that will impress and inspire others. Let your imagination soar, and let the power of acapella music take your productions to new heights!

