Home>Events & Info>Acapella>How To Make Acapella Using Audacity
Acapella
How To Make Acapella Using Audacity
Published: January 3, 2024
Learn how to create acapella tracks with Audacity. Follow our step-by-step guide to isolate vocals and remove background music. Master the art of acapella production.
(Many of the links in this article redirect to a specific reviewed product. Your purchase of these products through affiliate links helps to generate commission for AudioLover.com, at no extra cost. Learn more)
Table of Contents
Introduction
Welcome to the world of Acapella, where the human voice takes center stage and captivates listeners with its raw power and emotion. Acapella, derived from the Italian word meaning “in the chapel,” refers to a style of music that is performed solely with the human voice, without the use of any instrumental accompaniment. From ancient choral chants to modern beatboxing, Acapella has evolved and mesmerized audiences throughout history.
Creating an Acapella version of a song allows us to focus on the vocal aspects and appreciate the talent and skill of the singers. Whether you’re a musician, a producer, or just a fan of Acapella music, learning how to make Acapella using Audacity, a popular audio editing software, can open up a world of possibilities.
In this article, we will take you through a step-by-step process on how to make Acapella using Audacity. We will cover importing the song into Audacity, isolating the vocals, removing background noise, enhancing the vocal quality, and finally, exporting the Acapella. So, put on your headphones, fire up Audacity, and get ready to dive into the world of Acapella music.
Step 1: Importing the Song into Audacity
Before we can start creating an Acapella version of a song, we need to import the song into Audacity. Audacity is a free and open-source audio editing software that provides a wide range of features for manipulating audio files.
To import a song into Audacity, follow these steps:
- Launch Audacity on your computer. If you don’t have Audacity installed, you can download it for free from the official Audacity website.
- Click on the “File” menu at the top of the application and select “Import” from the dropdown menu.
- Navigate to the location of the song file on your computer and select it.
- Click on the “Open” button to import the song into Audacity.
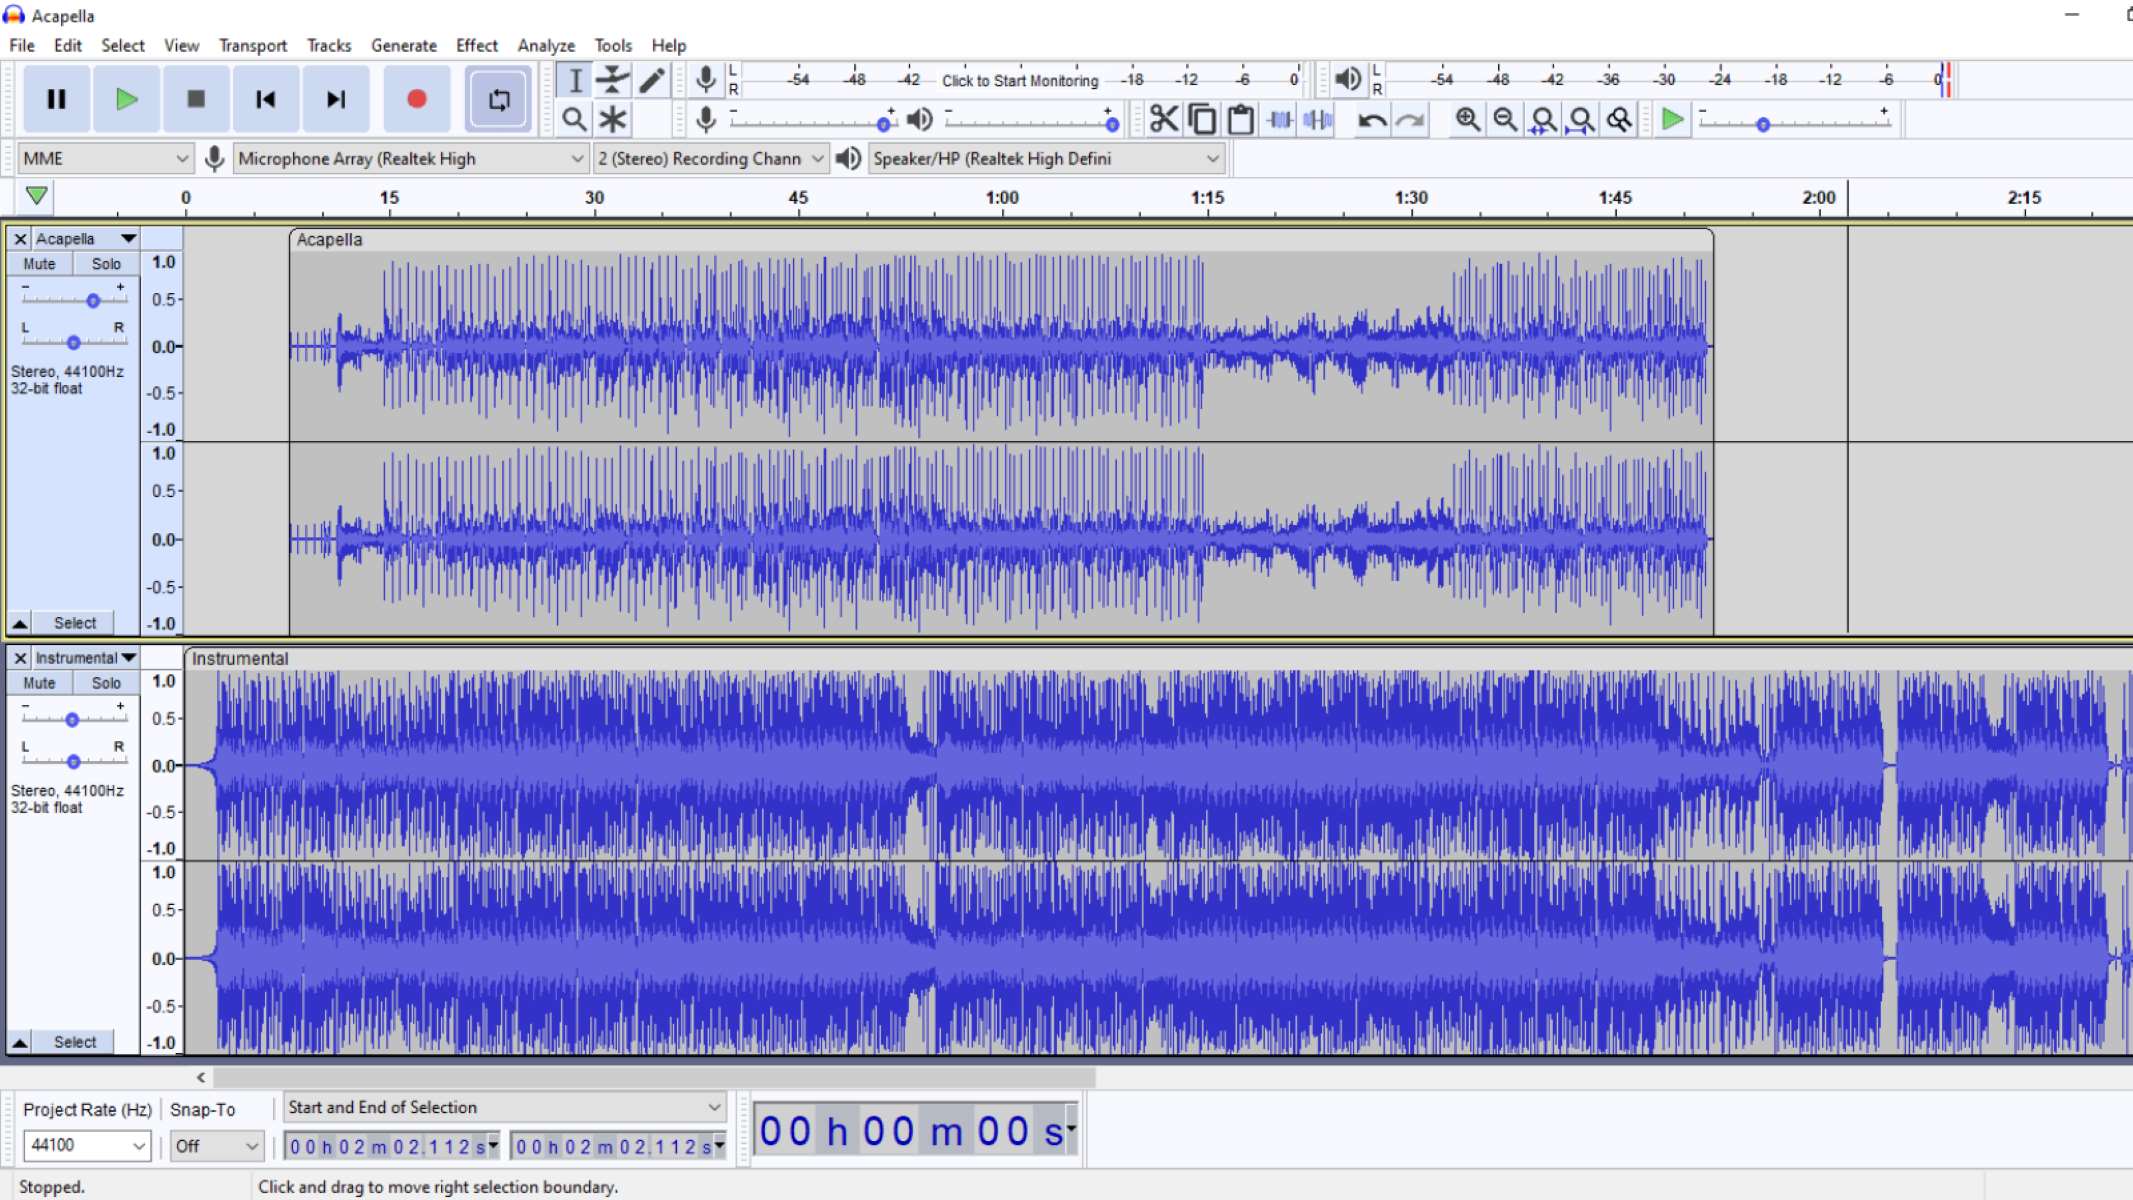
Once the song is imported, you will see the waveform representation of the audio in the Audacity workspace. You can now proceed to the next step of isolating the vocals to create the Acapella version of the song.
Note: Audacity supports various audio file formats, including MP3, WAV, FLAC, and more. Ensure that the song you want to import is in a compatible format.
Step 2: Isolating the Vocals
Now that we have the song imported into Audacity, the next step is to isolate the vocals from the rest of the audio. This process can be a bit challenging, especially when dealing with songs that have complex instrumentation. However, with some careful editing, we can achieve satisfactory results.
To isolate the vocals in Audacity, follow these steps:
- Identify a section of the song where the vocals are most prominent and without any significant overlap with other instruments.
- Select this section of the song by clicking and dragging your mouse over the waveform.
- Click on the “Effects” menu at the top of the Audacity window and choose “Noise Reduction” from the dropdown menu.
- In the Noise Reduction window, click on the “Get Noise Profile” button to analyze the selected section and capture the characteristics of the background instrumentation.
- Select the entire song by pressing “Ctrl+A” (Windows) or “Command+A” (Mac).
- Go back to the “Noise Reduction” window and adjust the sliders for “Noise Reduction,” “Sensitivity,” and “Frequency Smoothing.” These settings help in reducing background noise while preserving the vocal quality. You may need to experiment with different values to achieve the desired outcome.
- Click on the “OK” button to apply the noise reduction effect to the audio file.
After applying the noise reduction effect, you should notice a significant reduction in background noise, allowing the vocals to stand out more prominently. However, bear in mind that the level of isolation will heavily depend on the characteristics of the original recording.
Note: Isolating the vocals completely is a challenging task, especially if the song has strong instrumental elements. Some songs may have vocal harmonies or effects that cannot be easily separated using basic editing techniques. However, with practice and advanced techniques, you can achieve better results.
Step 3: Removing Background Noise
Now that we have isolated the vocals, it’s time to further enhance the quality of the vocal track by removing any remaining background noise. Background noise can include ambient sounds, microphone hiss, electrical hum, or any other unwanted sounds that may have been captured during the recording process.
To remove background noise in Audacity, follow these steps:
- Select a portion of the audio where there is no singing or vocals. This region will serve as a sample of the background noise that needs to be removed.
- Click on the “Effects” menu and choose “Noise Reduction” from the dropdown menu, similar to the previous step.
- Click on the “Get Noise Profile” button to capture the characteristics of the selected silent portion.
- Select the entire vocal track by clicking and dragging over the waveform.
- Go back to the “Noise Reduction” window and adjust the sliders for “Noise Reduction” and “Sensitivity” as per your preference and the nature of the background noise.
- Click on the “OK” button to apply the noise reduction effect to the vocal track.
By removing background noise, you eliminate distracting elements and improve the overall clarity and quality of the vocal track. However, be cautious not to overdo the noise reduction, as it can lead to unnatural artifacts and affect the original audio’s integrity.
Note: In some cases, the background noise may be too prominent or intertwined with the vocals, making it challenging to completely remove it without affecting the vocal quality. If that’s the case, you can try using advanced techniques and filters, or even consider re-recording the vocals in a quieter environment.
Step 4: Enhancing the Vocal Quality
Now that we have isolated the vocals and removed background noise, it’s time to enhance the vocal quality further. This step involves applying various techniques to improve the clarity, tone, and presence of the vocals.
To enhance the vocal quality in Audacity, follow these steps:
- Select the vocal track by clicking and dragging over the waveform.
- Click on the “Effects” menu at the top and explore the different options available to enhance vocals. Here are a few commonly used effects:
- Equalization (EQ): Use EQ to adjust the frequency balance of the vocals. Boosting certain frequencies can add warmth or brightness, while attenuating others can reduce harshness or muddiness.
- Compression: Apply compression to even out the vocal volume levels, making softer parts more audible and controlling peaks. This can help achieve a more polished and consistent vocal performance.
- Reverb: Add a touch of reverb to create a sense of space and depth. Be careful not to overdo it, as excessive reverb can make the vocals sound distant or unnatural.
- De-essing: If the vocals have pronounced sibilance or sharp “S” sounds, use a de-esser to reduce those frequencies and tame the harshness.
- Pitch correction: If needed, use pitch correction tools to fix any inaccurate pitches or minor tuning issues in the vocal performance.
- Experiment with different settings and effects to achieve the desired vocal sound. Remember, subtlety is key, and it’s essential to maintain the natural character of the vocals.
- Listen to the vocal track in isolation and in the context of the overall mix to ensure it blends well with the other elements of the song.
By enhancing the vocal quality, you can bring out the best in the vocals, making them more engaging and impactful to the listeners.
Note: Use these enhancements judiciously and in accordance with the artistic intent of the vocal performance. It’s important to retain the authenticity of the original recording and avoid excessive processing that may lead to an unnatural or overly polished sound.
Step 5: Exporting the Acapella
After successfully isolating and enhancing the vocals, it’s time to export your Acapella track from Audacity. The exported Acapella can be used for various purposes such as remixes, covers, or simply to appreciate the vocals without any instrumental distractions.
To export the Acapella track from Audacity, follow these steps:
- Ensure that you are satisfied with the final mix and adjustments made to the vocal track.
- Click on the “File” menu at the top of the Audacity window and select “Export” from the dropdown menu.
- Choose the desired file format for your Acapella, such as WAV or MP3. It is recommended to export your Acapella in a lossless format like WAV to maintain the highest audio quality.
- Specify the destination folder and provide a suitable name for your exported Acapella file.
- Click on the “Save” or “Export” button to begin the export process.
- Depending on the length of the track and your computer’s processing power, the export process may take a few moments.
- Once the export is complete, navigate to the destination folder and locate your Acapella file. You can now use it in your projects or share it with others.
Congratulations! You have successfully created and exported your Acapella using Audacity. Now you can unleash your creativity and explore various possibilities with the isolated vocal track.
Note: When exporting your Acapella, ensure that you have the necessary rights and permissions to use the original song for your intended purposes. It’s important to respect the copyright of the original composition and recording.
Conclusion
Creating an Acapella version of a song using Audacity is an exciting endeavor that allows you to appreciate and showcase the power and beauty of the human voice. By following the step-by-step process outlined in this article, you can isolate the vocals, remove background noise, enhance the vocal quality, and export your Acapella track with ease.
While achieving a perfect Acapella can be challenging, especially with complex songs and recordings, with practice and experimentation, you can refine your skills and improve the results. Remember to exercise patience and fine-tune your editing techniques to achieve the best possible outcome.
Once you have your Acapella track, you can explore endless possibilities. Whether you want to create remixes, covers, or simply enjoy the vocals in their pure form, Audacity provides you with the tools necessary to unleash your creativity and showcase the talent of the singers.
Remember to respect copyright laws and obtain the necessary permissions when working with copyrighted songs. Additionally, always credit and acknowledge the original artists when using the Acapella track for any public sharing or commercial purposes.
Now that you have the knowledge and tools, it’s time to dive into the world of Acapella music and create something extraordinary. So, fire up Audacity, unleash your creativity, and let your voice soar!