Home>Events & Info>Acapella>How To Make Acapella Out Of A Song On FL Studio
Acapella
How To Make Acapella Out Of A Song On FL Studio
Published: January 3, 2024
Learn how to create acapella tracks from any song using FL Studio. Discover the step-by-step process and unleash your creativity with acapella production.
(Many of the links in this article redirect to a specific reviewed product. Your purchase of these products through affiliate links helps to generate commission for AudioLover.com, at no extra cost. Learn more)
Table of Contents
Overview
Welcome to this comprehensive guide on how to make an acapella out of a song using FL Studio. Acapella, derived from the Italian word “a capella” meaning “in the style of the church,” refers to vocal music performed without instrumental accompaniment. It is a popular genre that allows the pure and unadulterated beauty of the human voice to shine.
FL Studio, also known as FruityLoops, is a versatile digital audio workstation widely used by music producers and enthusiasts around the world. With its powerful editing tools and advanced features, FL Studio provides an excellent platform for creating acapella tracks.
In this step-by-step tutorial, we will explore the process of isolating the vocals from a song, allowing you to create your own acapella version. While the process can be challenging, the end result is worth the effort. By following these steps, you will gain the necessary skills to extract vocals from any song, unleashing your creativity and giving a new life to your favorite tracks.
This tutorial assumes you have a basic understanding of FL Studio and are familiar with its interface. If you’re new to FL Studio, take some time to familiarize yourself with the software before proceeding.
So, if you’re ready to dive into the world of acapella music and unleash your inner vocalist, let’s get started on this exciting journey of creating stunning acapella tracks!
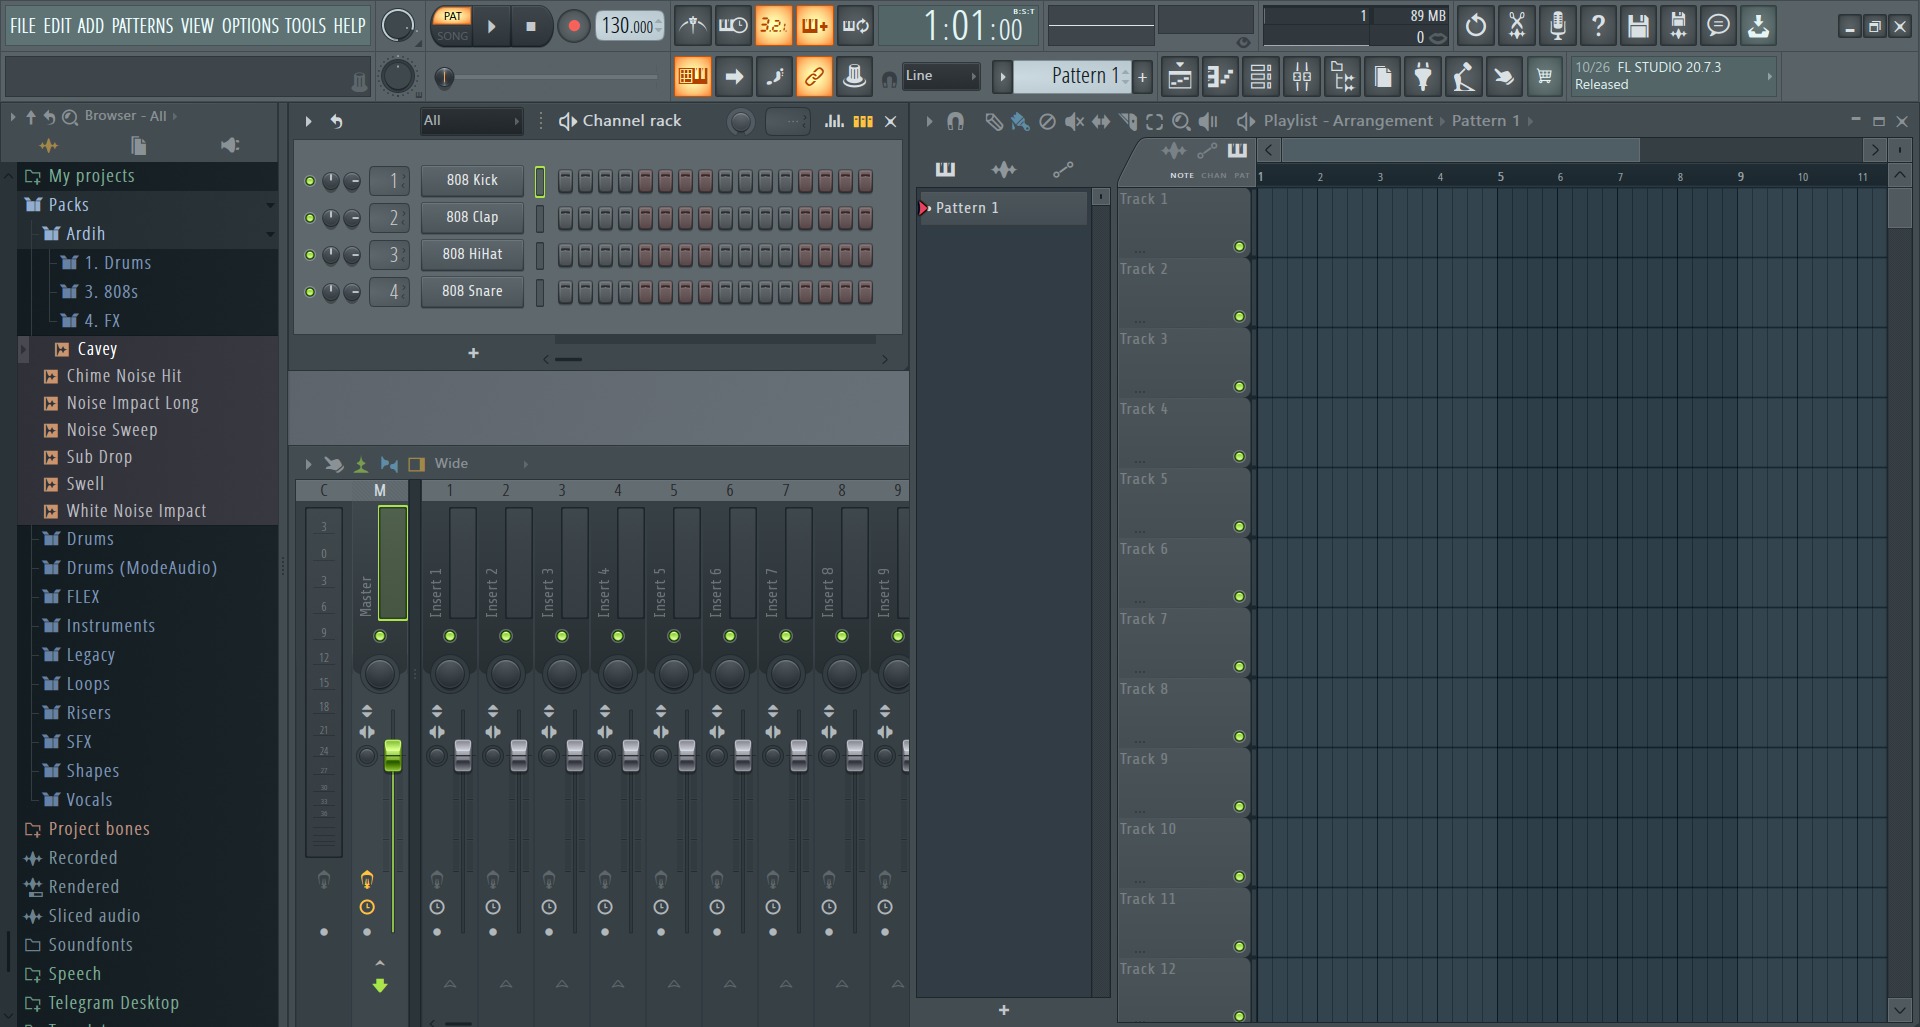
Step 1: Importing the Song
The first step in creating an acapella version of a song in FL Studio is to import the original song into your project. This will serve as the foundation for isolating the vocals and creating the acapella track.
To import the song, follow these steps:
- Open FL Studio and create a new project.
- Locate the song file on your computer that you want to turn into an acapella.
- Click on the “File” tab in the upper left corner of FL Studio and choose “Import” from the dropdown menu.
- Browse your file system and select the desired song file.
- Click “Open” to import the song into FL Studio.
Once the song is imported, you will see the waveform of the track displayed in the FL Studio interface. Take a moment to familiarize yourself with the different tools and options available for editing and manipulating audio in FL Studio.
It’s important to note that the success of creating an acapella track relies heavily on the quality and clarity of the original song. If the vocals are buried in the mix or heavily affected by effects and processing, it can make the isolation process more challenging. However, with the right techniques and persistence, you can achieve great results.
Now that the song is imported into FL Studio, we can move on to the next step: isolating the instrumental track to lay the groundwork for separating the vocals from the rest of the music.
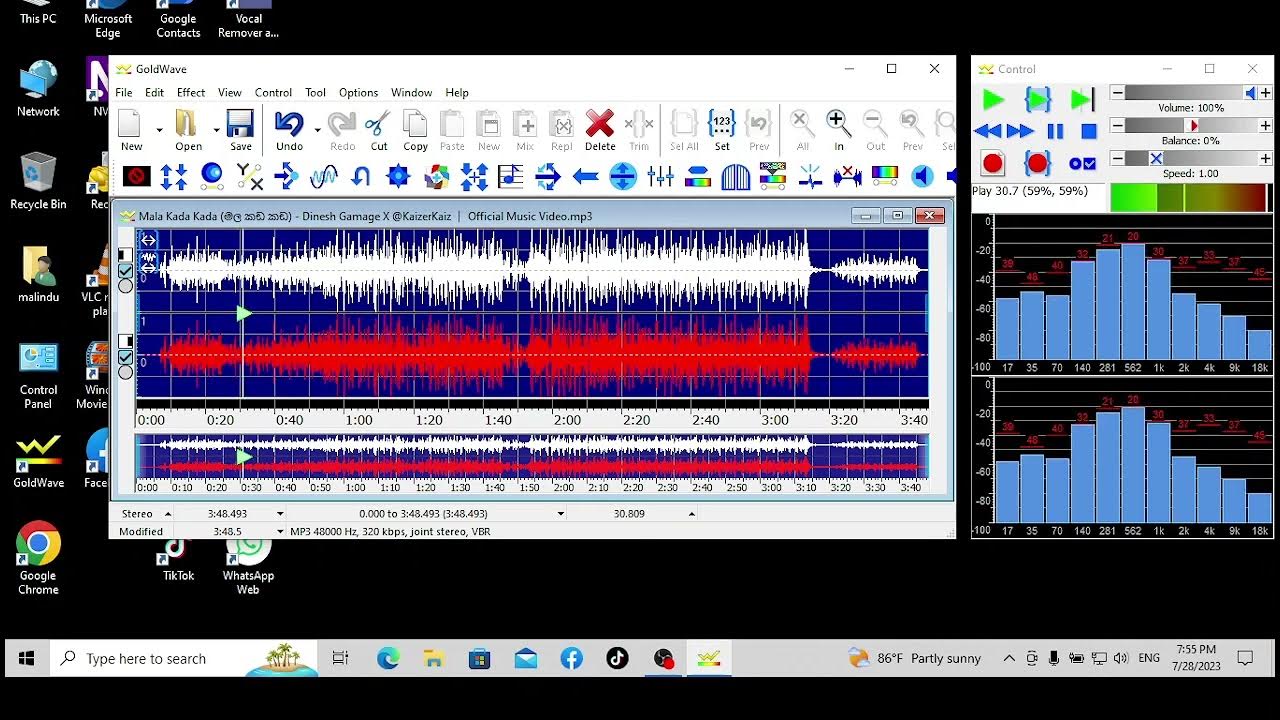
Step 2: Isolating the Instrumental
Once you have imported the desired song into FL Studio, the next step in creating an acapella track is to isolate the instrumental portions of the song. By removing the vocals and leaving only the instrumental elements, you create a solid foundation for later isolating the vocals.
Here’s how you can isolate the instrumental track:
- Select the entire imported song track by clicking on it.
- Right-click on the selected track and choose “Extract to separate audio file” from the context menu.
- A new audio track will be created, containing only the instrumental portion of the song.
- Mute or disable the original song track to focus on the isolated instrumental.
At this point, you may notice that the instrumental track still contains some residual vocal elements. To further enhance the isolation, you can apply audio editing techniques such as EQ and filtering to minimize the vocal frequencies. Experiment with different settings and adjustments until you achieve a clean and solid instrumental track.
It’s important to note that the success of isolating the instrumental track depends on the original recording quality and mixing techniques used in the song. In some cases, the instrumental and vocal elements may overlap or share similar frequencies, making it challenging to completely separate them. However, with careful editing and a keen ear, you can significantly reduce the vocals’ presence in the instrumental track.
Once you are satisfied with the isolated instrumental track, you can proceed to the next step: isolating the vocals to create an acapella version of the song.
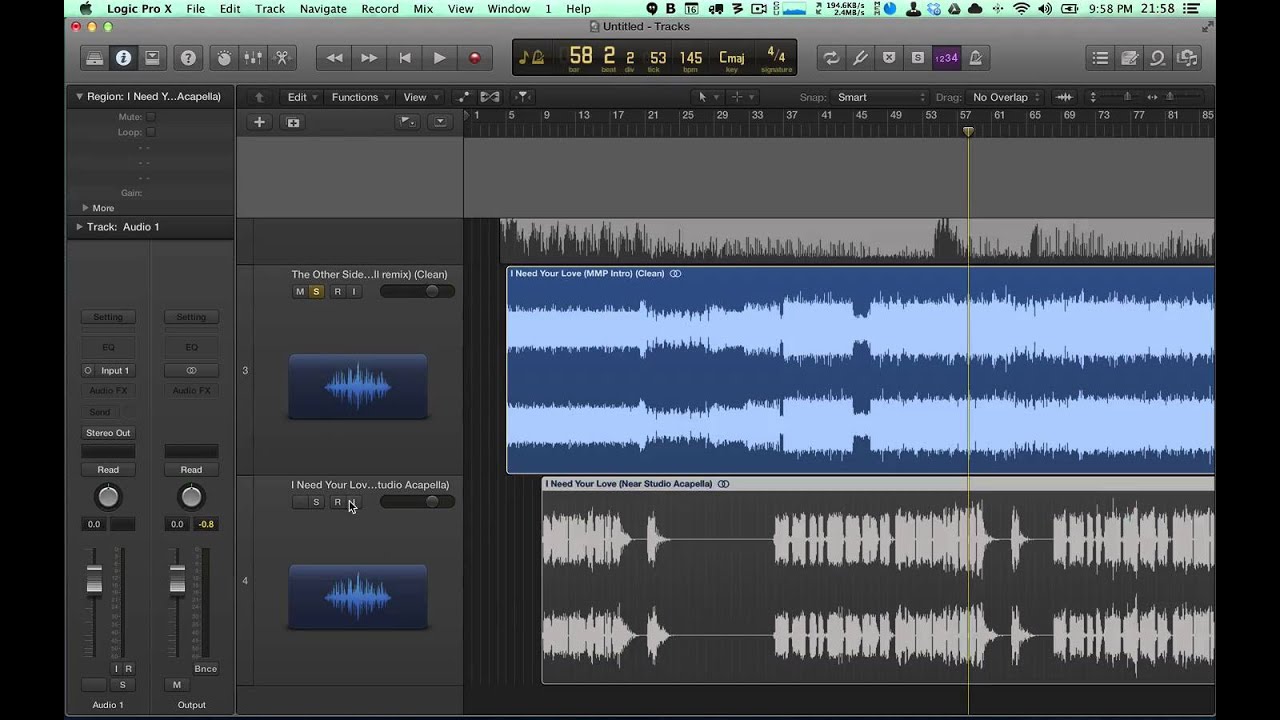
Step 3: Isolating the Vocals
Now that you have successfully isolated the instrumental track, it’s time to focus on isolating the vocals from the rest of the music. This step requires careful editing and audio manipulation to minimize the instrumental elements and emphasize the vocals.
Follow these steps to isolate the vocals:
- Create a new audio track in FL Studio.
- Import the original song into the new audio track.
- To emphasize the vocals, apply audio editing techniques such as EQ and filtering to enhance the vocal frequencies. Experiment with the settings until you achieve a clearer and more prominent vocal sound.
- Mute or disable the instrumental track to focus solely on the isolated vocals.
Depending on the original song’s quality and mixing, isolating the vocals may be more challenging than isolating the instrumental track. It’s crucial to be patient and take the time to fine-tune the audio settings to achieve the best possible vocal isolation.
In some cases, you may encounter limitations in completely isolating the vocals due to the way the song was recorded or mixed. There may be instances where the instrumental elements bleed into the vocal frequencies, making it difficult to achieve a pristine vocal track.
Remember, the goal here is not to create a perfect acapella track, but rather to reduce the instrumental elements and make the vocals more prominent. Keep experimenting with different editing techniques and settings until you achieve a satisfactory result.
Now that you have successfully isolated the vocals, it’s time to move on to the next step: adjusting the track alignment to ensure the instrumental and vocal tracks are properly synchronized.
Step 4: Adjusting the Track Alignment
After isolating the vocals and the instrumental tracks, it’s essential to ensure that they are properly aligned and synchronized. This step is crucial to maintain the integrity of the original song structure while creating an acapella version.
Follow these steps to adjust the track alignment:
- Zoom in on the waveform display of both the vocal and instrumental tracks to get a clear view of the audio waveforms.
- Find a recognizable and consistent section of the song, such as the beginning of a verse or chorus.
- Locate the corresponding section in both the vocal and instrumental tracks and listen carefully to determine if they are in sync.
- If the tracks are not aligned, use the time shift or alignment tools in FL Studio to adjust the positioning of either the vocal or instrumental track.
- Continue listening to other sections of the song and make any necessary adjustments to ensure a seamless and synchronized blend between the vocals and the instrumental elements.
Proper track alignment is crucial for maintaining the song’s natural flow and structure in the acapella version. It ensures that the vocals and the instrumental elements are synchronized, allowing for a more enjoyable listening experience.
Take your time during this step and use your ears as the ultimate guide. Continuously listen to the song and make any necessary adjustments until you are satisfied with the overall track alignment.
Now that the vocal and instrumental tracks are properly aligned, it’s time to move on to the next step: enhancing and refining the acapella track to make it sound even better.
Step 5: Enhancing the Acapella
Now that you have aligned the vocal and instrumental tracks, it’s time to enhance and refine the acapella to make it shine. This step involves applying various techniques and effects to improve the overall sound quality and clarity of the vocals.
Follow these steps to enhance the acapella:
- Apply EQ (Equalization) to the vocal track to adjust the frequency balance and remove any unwanted frequencies that may be masking the vocals. Boosting the presence and clarity of the vocals can help them stand out even more.
- Use compression to even out the dynamic range of the vocals, ensuring that softer parts are audible while controlling any excessive peaks in volume.
- Add reverb or other spatial effects to give the acapella a sense of depth and space. This can help recreate the ambience of the original song and make the vocals sound more natural.
- Consider using vocal tuning and pitch correction tools to fine-tune the pitch and intonation of the vocals, if necessary. Be cautious and use these tools sparingly to maintain the organic nature of the acapella.
- Experiment with other effects such as delay, chorus, or modulation to add texture and character to the vocals. However, be mindful not to overdo it and maintain the focus on the natural essence of the acapella.
Throughout this process, continue to listen critically to the acapella and make adjustments as needed. Remember that the goal is to enhance the vocals while preserving their authenticity and natural sound.
Take your time during this step and trust your ears. It may require some trial and error to achieve the desired result, but with patience and experimentation, you can create an acapella track that truly shines.
Now that you have enhanced the acapella, it’s time to move on to the final step: exporting the acapella track to share or use in your projects.
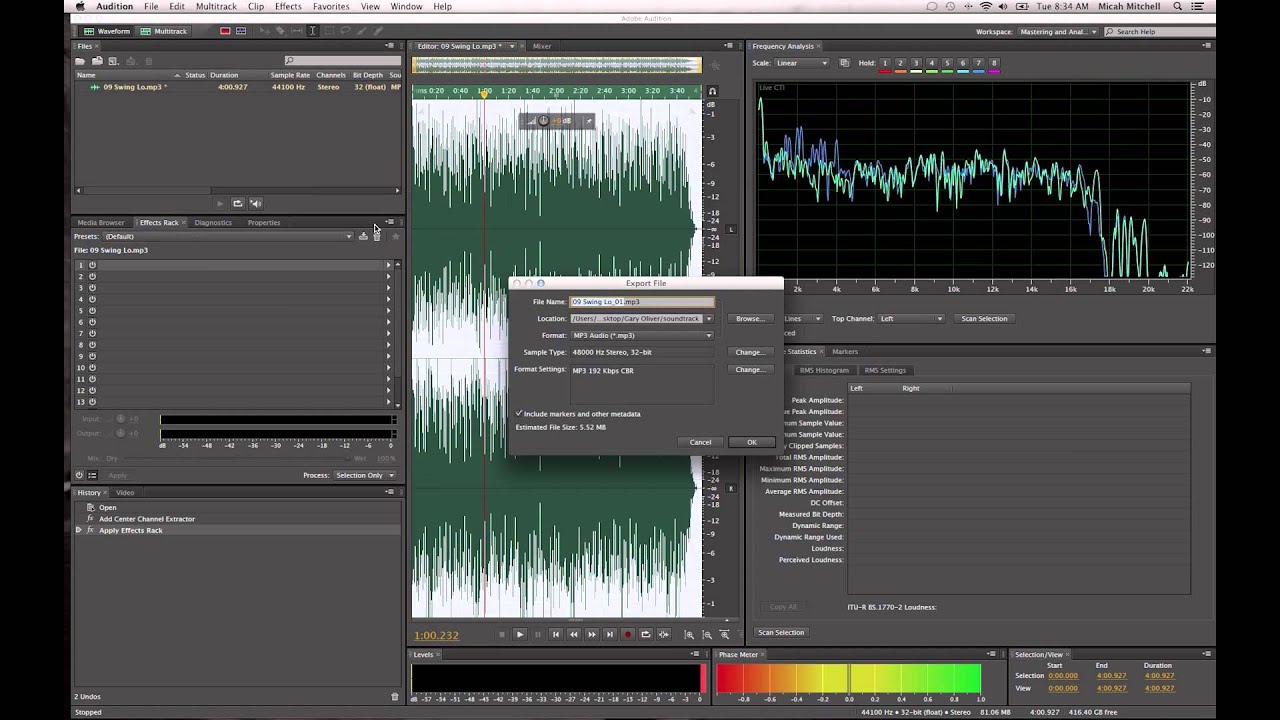
Step 6: Exporting the Acapella
After you have successfully enhanced the acapella to your satisfaction, it’s time to export the final track. Exporting allows you to save the acapella as a separate audio file that can be used independently or in other projects.
Follow these steps to export the acapella:
- Ensure that the vocal track is selected and soloed so that only the acapella is audible in the project.
- Click on the “File” tab in the upper left corner of FL Studio and choose “Export” from the dropdown menu.
- Specify the desired file format and location to save the exported acapella track.
- Adjust any additional export settings, such as the sample rate, bit depth, and normalization if necessary.
- Click on the “Export” button to start the export process.
- Wait for the export to complete, and once done, you will have a separate audio file of the acapella ready to use.
By exporting the acapella as a separate audio file, you can now share it with others or incorporate it into your music projects. You can use it for remixes, mashups, or even create your own unique arrangements.
When exporting, it’s a good practice to choose a high-quality audio format, such as WAV or FLAC, to preserve the integrity and fidelity of the acapella. This ensures that the acapella maintains its clarity and can be used effectively in various settings.
Congratulations! You have successfully created an acapella track from a song using FL Studio. With this new skill in your arsenal, you can now explore the possibilities of acapella music and unleash your creativity in exciting ways.
Remember to credit the original artists and song whenever you share or use the acapella tracks, as respecting their work is essential in the music community.
Enjoy your newfound ability to create stunning acapella tracks and continue to push the boundaries of your musical endeavors!
Conclusion
Congratulations on completing this comprehensive guide on how to make an acapella out of a song using FL Studio. By following the step-by-step process outlined in this tutorial, you have learned how to isolate vocals, enhance them, and create a standalone acapella track.
FL Studio provides a powerful platform for audio editing and manipulation, and with practice and experimentation, you can achieve impressive results in creating acapella versions of your favorite songs.
Throughout this guide, we covered the essential steps involved in creating an acapella track, including importing the song, isolating the instrumental and vocal tracks, adjusting track alignment, enhancing the acapella, and finally, exporting the finished product.
Remember, the process of creating acapella tracks requires patience, attention to detail, and a good understanding of audio editing techniques. Don’t be discouraged if it takes time to achieve the desired results. With practice, you will improve your skills and develop a keen ear for isolating and enhancing vocals.
With your newfound knowledge, you can now explore the world of acapella music, remixes, and creative collaborations. Use this skill to add your unique touch to existing songs or create original compositions that highlight the beauty and power of the human voice.
Keep pushing the boundaries of your musical journey, and don’t hesitate to experiment with different styles, genres, and effects to create truly exceptional acapella tracks. Share your creations with others and be proud of your accomplishments!
Thank you for joining us on this exciting journey into the world of acapella music creation. We hope that this guide has provided you with the necessary tools and knowledge to unleash your creativity and transform any song into a captivating acapella masterpiece.
Happy acapella making!