Home>Events & Info>Podcast>How To Make A Podcast On IPhone
Podcast
How To Make A Podcast On IPhone
Modified: January 22, 2024
Learn how to easily create your own podcast on iPhone with our step-by-step guide. Discover tips and tricks for recording, editing, and sharing your podcast.
(Many of the links in this article redirect to a specific reviewed product. Your purchase of these products through affiliate links helps to generate commission for AudioLover.com, at no extra cost. Learn more)
Table of Contents
- Introduction
- Step 1: Choosing a Podcast Format
- Step 2: Planning Your Podcast
- Step 3: Gathering Equipment and Software
- Step 4: Recording Your Podcast
- Step 5: Editing Your Podcast
- Step 6: Adding Music and Sound Effects
- Step 7: Exporting and Saving Your Podcast
- Step 8: Publishing Your Podcast
- Step 9: Promoting Your Podcast
- Conclusion
Introduction
Podcasts have become an increasingly popular medium for sharing information, stories, and engaging with audiences on a deeper level. With the rise of smartphones and easy access to recording and editing tools, anyone with a passion or expertise can start their own podcast. But where do you begin? If you have an iPhone, you’re in luck. In this guide, we’ll walk you through the step-by-step process of how to make a podcast using your iPhone.
Starting a podcast allows you to connect with a global audience, showcase your unique perspective, and dive into topics that you’re passionate about. Whether you’re an aspiring storyteller, a business owner looking to reach a wider audience, or simply eager to share your knowledge and experiences with others, podcasting is a fantastic way to do so.
With the iPhone’s powerful capabilities and a plethora of podcasting apps available, you have all the tools you need right at your fingertips. From planning and recording to editing and publishing, this guide will equip you with the knowledge and resources to create a high-quality podcast that captivates your audience.
But before we dive into the technicalities, it’s worth noting that success in podcasting doesn’t solely rely on the equipment and software you have. Content is key. A well-crafted podcast with engaging topics and thoughtful discussions will keep your listeners coming back for more. So, take some time to brainstorm and decide on a format that aligns with your interests and target audience.
In the following sections, we’ll cover everything from outlining your podcast, choosing the right equipment, recording and editing your episodes, to publishing and promoting your podcast. So, grab your iPhone, put on your creative hat, and let’s get started on your podcasting journey!
Step 1: Choosing a Podcast Format
The first step in creating a podcast is to decide on the format that best suits your content and audience. The format you choose will shape the structure and style of your episodes, so it’s important to consider what will resonate with your listeners. Here are a few popular podcast formats to consider:
- Interview: In this format, you invite guests to join you in conversations about a specific topic or industry. This format works well for gaining insights from experts, creating engaging dialogues, and drawing from different perspectives.
- Storytelling: If you have a talent for storytelling, this format allows you to craft narratives around a central theme or storyline. Whether it’s true crime, personal experiences, or fictional tales, storytelling podcasts have the power to captivate listeners and keep them hooked throughout each episode.
- Solo: Solo podcasts involve a single host sharing their thoughts, experiences, and expertise without the need for guests. This format is ideal for providing information, opinions, and insights directly to your audience, without the need for external perspectives.
- Panel Discussion: This format brings together a group of experts or enthusiasts to discuss a specific topic. Panel discussions are engaging as they offer a range of viewpoints and foster dynamic conversations. This format is popular in the realms of politics, pop culture, and academic debates.
- Educational/Instructional: If your goal is to provide valuable knowledge or teach your audience a skill or subject, an educational or instructional format can be highly effective. This format typically follows a structured format, with each episode focusing on a specific topic and delivering actionable insights.
Remember, the format you choose should align with your expertise, interests, and the preferences of your target audience. It’s important to consider what will resonate with your listeners and keep them engaged throughout each episode.
Once you’ve chosen a format, you can move on to planning your podcast, which will involve deciding on episode length, frequency of releases, and developing an outline for each episode. So, take some time to brainstorm and choose the format that best showcases your content and captivates your audience.
Step 2: Planning Your Podcast
Planning is a crucial step in creating a successful podcast. It ensures that your episodes have a clear direction and cohesive structure. Here are some key aspects to consider when planning your podcast:
- Identify your target audience: Before diving into content creation, it’s essential to define who you want to reach with your podcast. Understanding your target audience will help you tailor your episodes to their interests, needs, and preferences.
- Choose compelling topics: Brainstorm a list of topics that align with your podcast’s theme and are interesting to your audience. Consider what information, stories, or discussions would resonate with them the most. It’s always a good idea to mix up the topics to keep your content fresh and engaging.
- Create an episode outline: Once you have your topics, create a detailed outline for each episode. Outline the main points you want to cover, any segments you may include, and potential talking points. This will give structure to your episodes and ensure a smooth flow of content.
- Define episode length and frequency: Decide on the duration of your episodes and how often you will release new content. Consider your audience’s preferences and your own capacity to ensure consistency in delivering high-quality episodes.
- Research and prepare: Take the time to research and gather information related to your topics. This will help you provide accurate and valuable content to your listeners. Prepare any supporting materials, such as statistics, anecdotes, or quotes, that will enhance the quality of your podcast.
- Promote listener engagement: Plan segments or interactive elements to engage your listeners. This could include Q&A sessions, guest interviews, or sharing listener feedback and questions. By involving your audience, you can build a sense of community and foster a deeper connection with your listeners.
By planning your podcast in advance, you’ll have a clear roadmap for each episode, ensuring that you cover the necessary points and deliver valuable content to your audience. It will also save you time during the recording and editing process, as you’ll have a structured outline to guide you.
Once you have a solid plan in place, you can move on to gathering the necessary equipment and software needed to bring your podcast to life. In the next step, we’ll explore the tools and resources you’ll need to start recording your podcast using your iPhone.
Step 3: Gathering Equipment and Software
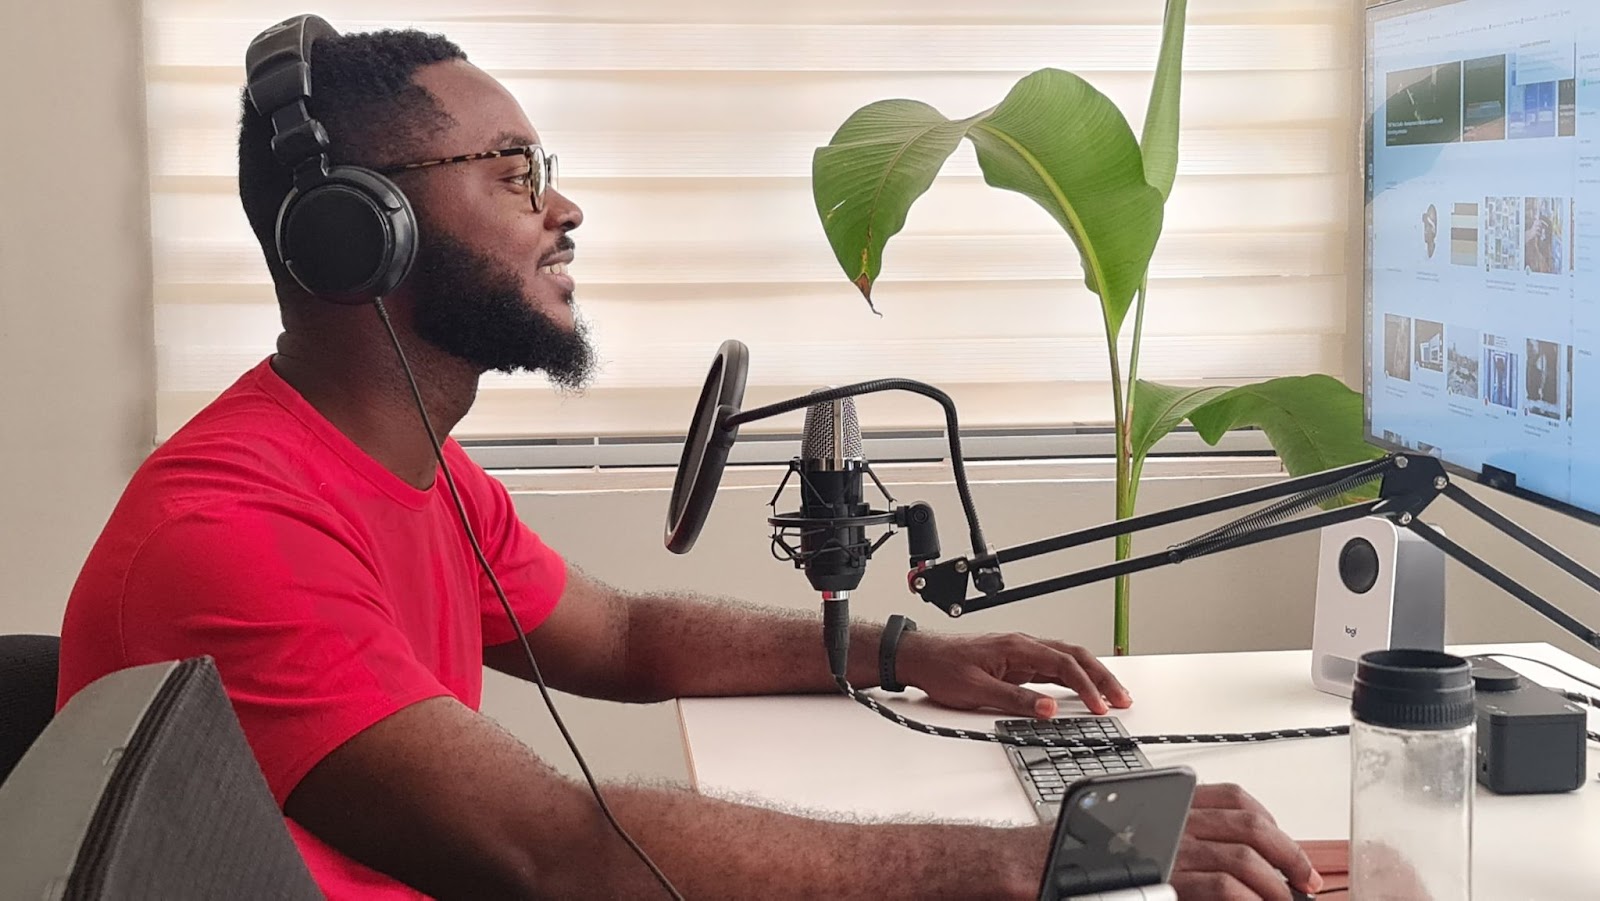
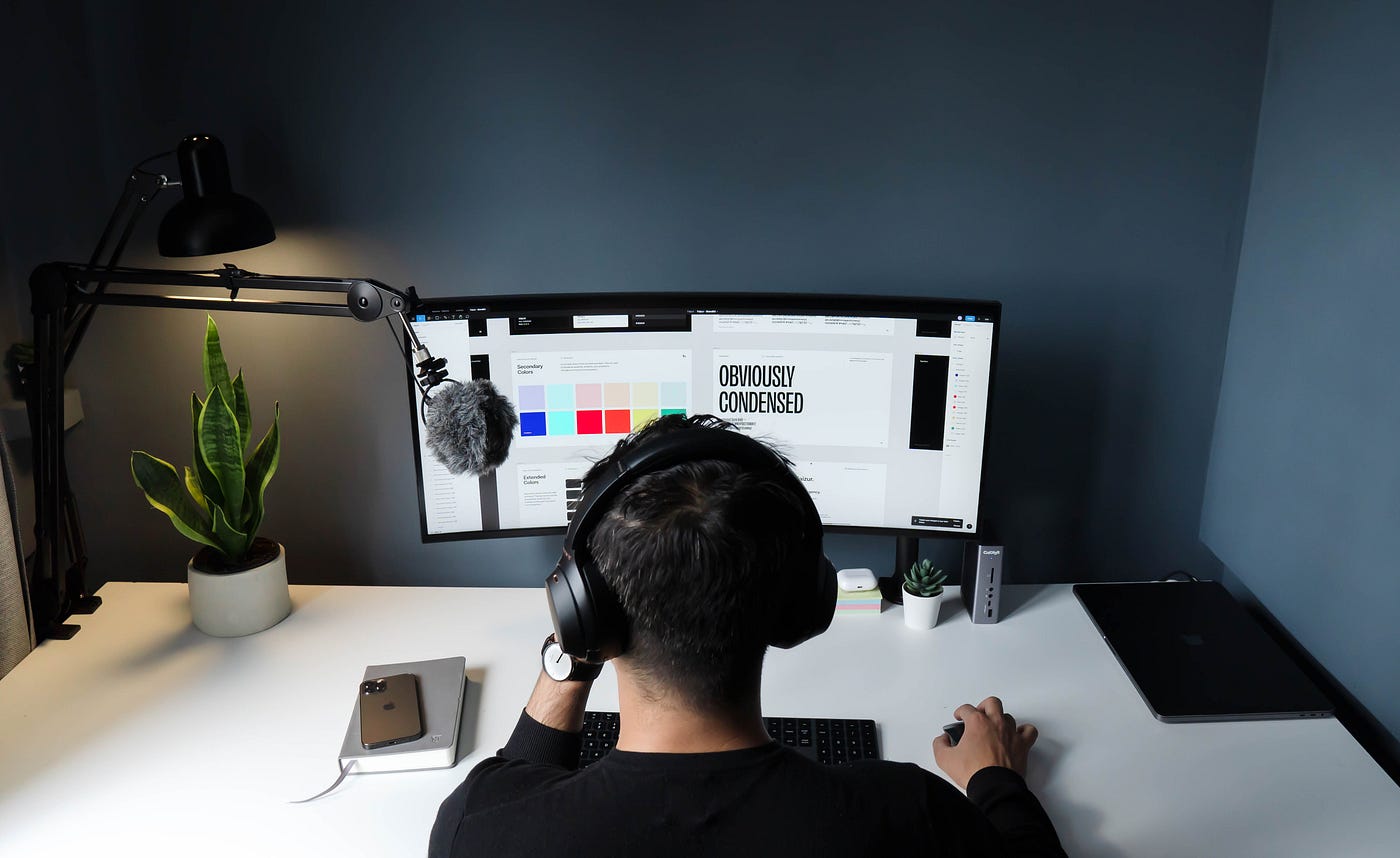
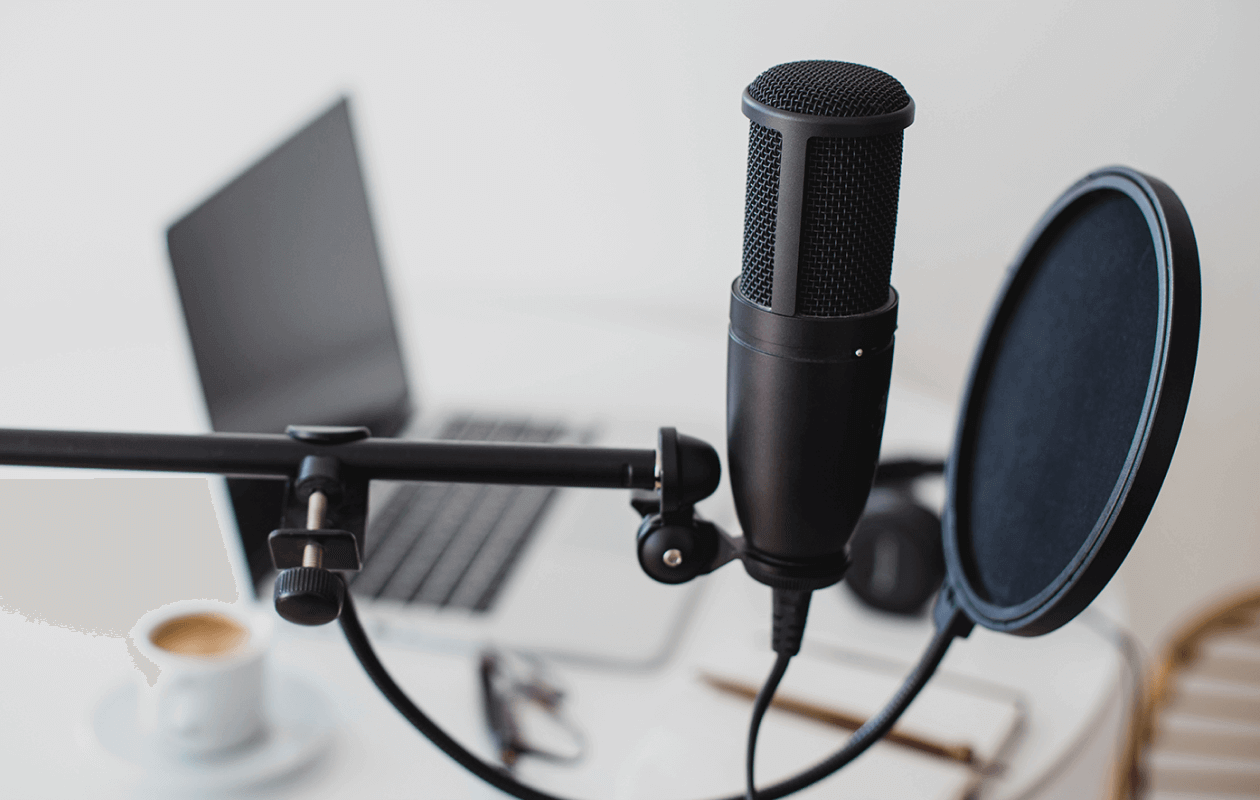
One of the great advantages of podcasting with an iPhone is that it eliminates the need for expensive and bulky equipment. With just a few essential items, you can start recording your podcast with professional-level quality. Here’s what you’ll need:
- Microphone: While the built-in microphone on your iPhone can suffice for basic recordings, investing in a dedicated microphone can significantly improve the audio quality. Consider options like the Blue Yeti or Audio-Technica ATR2100x-USB, which offer excellent sound reproduction without breaking the bank.
- Headphones: A good pair of closed-back headphones is essential for monitoring your audio during recording and editing. Look for comfortable and accurate headphones like the Audio-Technica ATH-M50x or the Sony MDR7506.
- Pop filter: To reduce plosive sounds like “p” and “t” when speaking into the microphone, a pop filter is highly recommended. It’s a simple accessory that attaches to the microphone and helps improve the clarity of your recordings.
- Shock mount or boom arm: These accessories help reduce vibrations or movements that can cause unwanted noise in your recordings. A shock mount attaches the microphone to a stand, while a boom arm suspends the microphone from above, allowing for easy positioning.
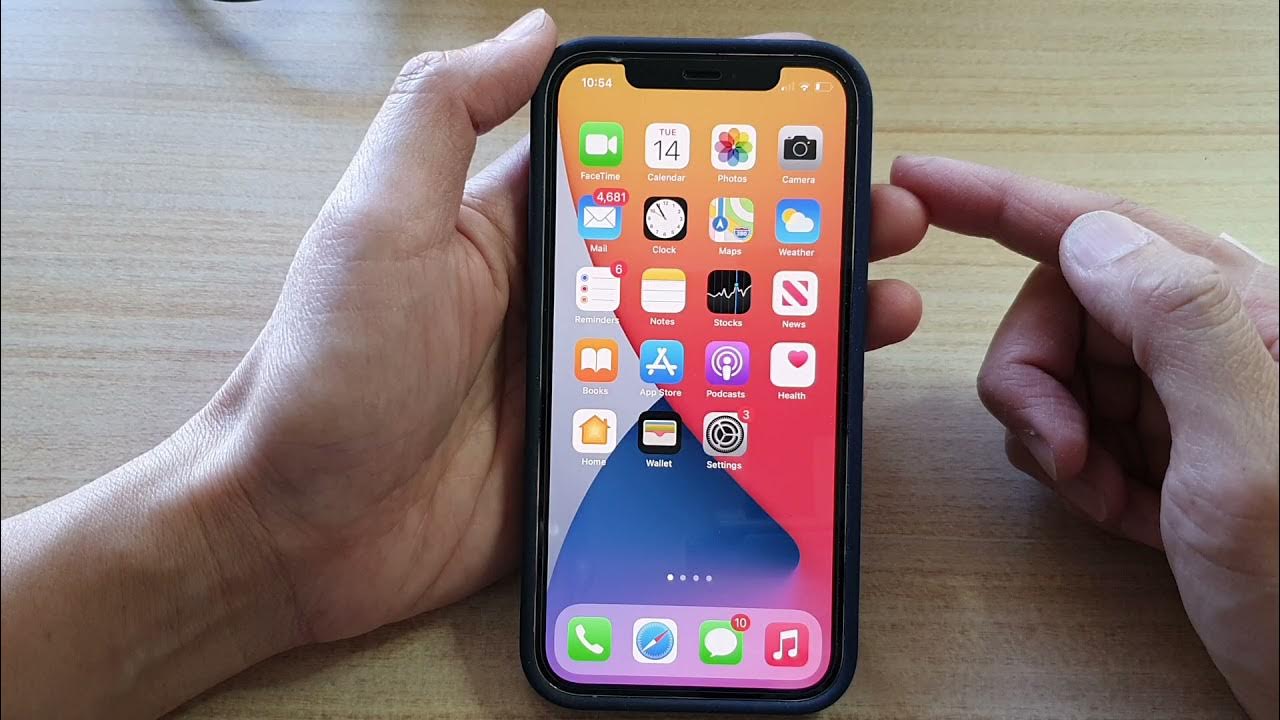
- Recording and editing software: For podcast recording, you can use the Voice Memos app that comes pre-installed on your iPhone. It offers basic recording features and is a convenient option for starters. However, if you’re looking for more advanced editing capabilities, consider using apps like GarageBand or Ferrite Recording Studio, which allow you to edit and enhance your recordings with ease.
Before purchasing any equipment, do some research to ensure compatibility with your iPhone model. Additionally, explore reliable online retailers or check out local music stores that offer a variety of microphone options.
Once you have gathered your equipment, familiarize yourself with the recording and editing software you plan to use. Experiment with different settings and features to optimize the quality of your recordings. Consider using a quiet and controlled environment for recording to minimize background noise and distractions.
Now that you have your equipment and software ready, it’s time to move on to the next step: recording your podcast on your iPhone. We’ll guide you through the process and provide tips to ensure your recordings are professional-sounding and engaging.
Step 4: Recording Your Podcast
Now that you have your equipment and software set up, it’s time to start recording your podcast using your iPhone. Follow these steps to ensure a smooth recording process:
- Select a quiet location: Find a quiet room or space where you can record your podcast without any interruptions or background noise. Consider using blankets or foam panels to minimize echo and improve sound quality.
- Set up your equipment: Connect your microphone to your iPhone using the appropriate adapter or cable. Attach the shock mount or boom arm and position the microphone at a comfortable distance from your mouth. Put on your headphones to monitor the audio levels.
- Adjust microphone settings: Open the recording app on your iPhone, such as Voice Memos or GarageBand. Adjust the microphone input settings to ensure proper levels and clarity. Test your microphone by speaking into it and adjusting the distance or angle if needed.
- Warm up and test audio: Before diving into the actual recording, warm up your voice by doing some vocal exercises and speaking exercises. This will help relax your vocal cords and ensure a clear and confident delivery. Test your audio levels by recording a short sample and listening back to check for any issues.
- Follow your episode outline: Refer to the episode outline you created during the planning phase. Use it as a guide to keep your thoughts organized and ensure you cover all the key points. Don’t be afraid to improvise and add your own personality and style to the conversation.
- Speak clearly and confidently: When speaking, enunciate words clearly and maintain consistent energy throughout the recording. Avoid talking too fast or mumbling, as it can make it difficult for listeners to follow along. Remember to take breaks and breathe naturally to maintain a comfortable and engaging flow.
- Monitor your audio levels: Keep an eye on the audio levels to ensure that your voice is well-balanced and doesn’t distort or clip. Adjust the microphone distance or input gain if necessary. It’s always better to have slightly lower audio levels than to record distorted or clipped audio.
- Record in segments: If you make a mistake or want to rephrase something, simply pause, take a breath, and start the sentence again. Recording in segments allows you to have more control over the final polished version during the editing process.
- Review and re-record if needed: After completing each recording segment, listen back to the audio to ensure quality and coherence. If there are any obvious mistakes or parts that need improvement, feel free to re-record those specific sections.
Remember, practice makes perfect. Don’t be discouraged if your first few recordings aren’t flawless. It takes time to develop your podcasting skills and find your unique style. With each recording, you’ll become more comfortable and confident.
Once you’re satisfied with your recordings, it’s time to move on to the next step: editing your podcast. In the next section, we’ll explore the tools and techniques to efficiently edit your podcast using your iPhone.
Step 5: Editing Your Podcast
Editing your podcast is a crucial step in refining the quality and coherence of your recordings. Even though it may seem daunting, editing your podcast can be an enjoyable and creative process. Follow these steps to efficiently edit your podcast using your iPhone:
- Transfer the recordings to your editing software: If you’re using a dedicated editing app like GarageBand or Ferrite Recording Studio, import your recorded segments into the app. You can do this by connecting your iPhone to your computer and transferring the files, or by using cloud storage services like iCloud or Dropbox.
- Trim and delete unnecessary sections: Listen through your recordings and identify any portions that need to be trimmed or removed, such as long pauses, mistakes, or irrelevant tangents. Cut and delete these sections to streamline your podcast and improve pacing.
- Enhance the audio quality: Use your editing software’s built-in tools to adjust and enhance the audio quality. This can include reducing background noise, equalizing the audio levels, and applying noise reduction filters if needed. Experiment with different effects and settings to achieve the best sound for your podcast.
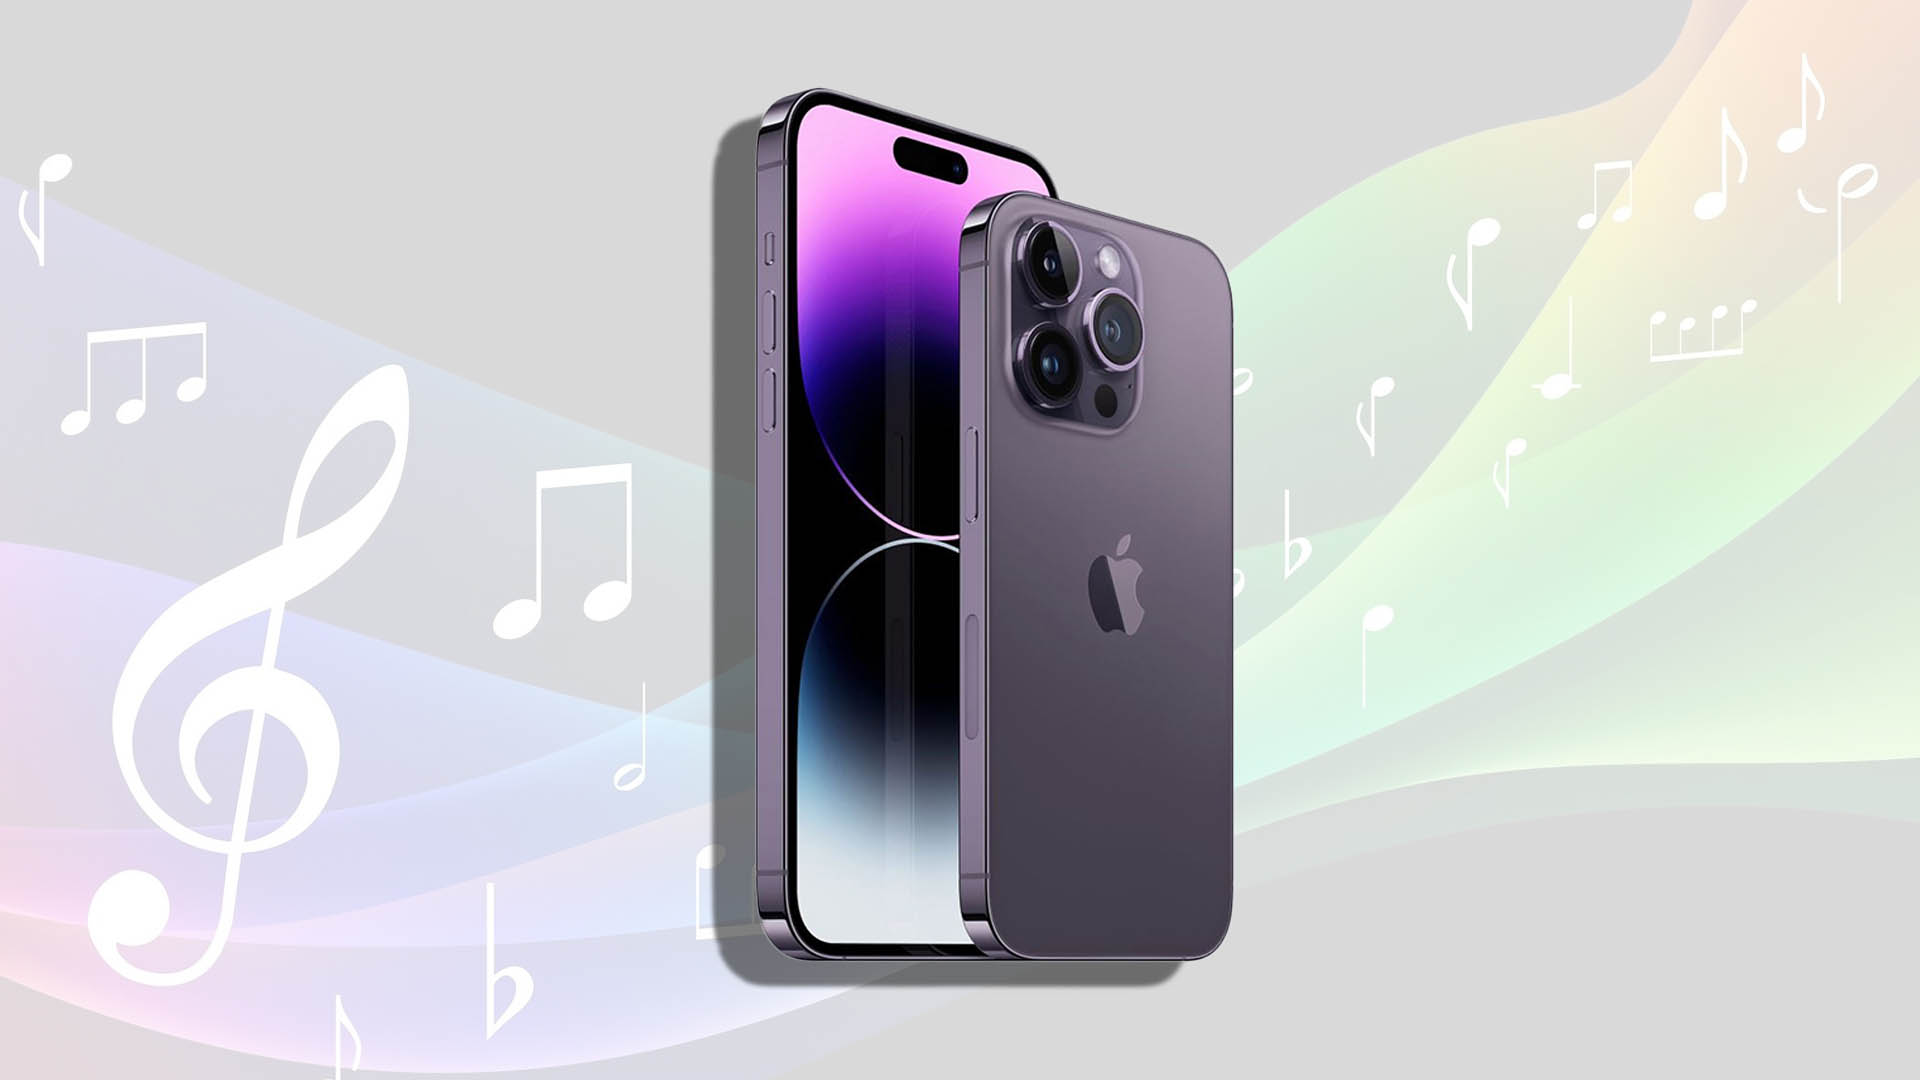
- Add music and sound effects: To enhance the listening experience, consider adding intro/outro music, transitions, and sound effects. Many editing apps offer a library of built-in music and sound effects, or you can source royalty-free music from platforms like SoundCloud or Epidemic Sound. Ensure that the music and sound effects you use align with the mood and theme of your podcast.
- Smooth out transitions: Pay attention to the transitions between different segments or topics. Smooth out any abrupt cuts or awkward pauses by using fade ins/outs or crossfades. This helps maintain a seamless flow and keeps your listeners engaged.
- Ensure consistent volume: Check the overall volume levels of your podcast to ensure consistency throughout the episode. You want your listeners to have a comfortable listening experience without having to constantly adjust the volume. Normalize the audio levels if needed to balance the volume across different segments.
- Review and listen to the final edit: Once you’ve made all the necessary edits, take the time to listen to the complete episode from start to finish. Pay attention to any remaining audio issues, gaps, or mistakes. Make any final adjustments to achieve the desired quality and coherence.
Editing is an iterative process, so don’t be afraid to make multiple passes to refine your podcast. Experiment with different editing techniques and find a style that suits your podcast. Remember, practice and experience will help you improve your editing skills over time.
Once you’re satisfied with the final edit, you’re ready to proceed to the next step: adding music and sound effects to further enhance the production value of your podcast.
Step 6: Adding Music and Sound Effects
Adding music and sound effects to your podcast can greatly enhance its production value and create a more immersive listening experience for your audience. Here’s how you can incorporate music and sound effects into your podcast using your iPhone:
- Select appropriate music: Choose music that complements the tone and theme of your podcast. Opt for royalty-free music or seek permission to use copyrighted tracks. Platforms like SoundCloud, Epidemic Sound, and Free Music Archive offer a wide range of music options to suit different moods and genres.
- Add an intro and outro: Consider creating a custom intro and outro for your podcast to establish a consistent identity. Use a brief music segment or a voiceover to introduce and conclude each episode. This helps set the tone and create a recognizable brand for your podcast.
- Highlight important segments: Use music or sound effects to add emphasis or create transitions between different segments of your podcast. For example, you can use a musical stinger to introduce a new topic or a sound effect to mark the beginning of a listener question segment. These elements help engage your audience and keep them hooked.
- Experiment with sound effects: Sound effects can add depth and immerse your listeners in your podcast. For example, you can incorporate ambient sounds to transport listeners to specific locations or use appropriate sound effects to enhance storytelling or comedic moments. Use discreetly and sparingly to avoid overwhelming the audio.
- Adjust music and sound levels: Ensure that the music and sound effects blend seamlessly with your podcast’s narration or dialogue. The volume should be balanced so that neither the music nor the dialogue overpowers one another. Use volume adjustments and fades to create smooth transitions and maintain a cohesive listening experience.
- Keep it consistent: Use the same music and sound effects throughout your podcast to maintain a consistent feel. This helps establish a brand identity and makes your podcast more recognizable to your audience.
Remember to keep your use of music and sound effects appropriate and aligned with the overall theme and purpose of your podcast. Use them selectively and purposefully to enhance the content without distracting from it.
Once you have added your music and sound effects, take the time to listen through the entire episode to ensure that everything is mixed well and sounds cohesive. Make any necessary adjustments before moving on to the next step: exporting and saving your podcast.
Step 7: Exporting and Saving Your Podcast
Once you have finished editing your podcast and are satisfied with the final result, it’s time to export and save your podcast so that it can be shared with your audience. Here’s how you can do it using your iPhone:
- Select the appropriate file format: Consider which file format is suitable for your podcast. Many platforms and podcast directories prefer the MP3 format due to its wide compatibility.
- Export from your editing software: If you are using editing apps like GarageBand or Ferrite Recording Studio, find the export or share option within the app. Choose the desired file format, quality, and storage location.
- Choose an appropriate file name: Give your podcast episode a descriptive and memorable file name to make it easier for you to identify later and for your listeners to recognize.
- Save to your iPhone or cloud storage: Depending on your preferences, you can choose to save the exported file directly to your iPhone’s local storage or upload it to a cloud storage service like iCloud or Dropbox for safekeeping.
- Create a backup: To ensure the safety of your podcast episodes, it’s always a good practice to create backups. Consider duplicating the exported file and saving it to multiple devices or storage mediums, such as an external hard drive or cloud storage.
- Add metadata (optional): If you’re planning to submit your podcast to podcast directories or platforms like iTunes or Spotify, it’s a good idea to add metadata to your episodes. This includes information like episode title, description, episode number, and artwork. You can use tools like ID3 editors or podcast hosting platforms to add this information.
Remember to keep your exported file easily accessible and organized to simplify the process of publishing and sharing your podcast. Additionally, it’s important to regularly back up your podcast episodes to prevent any potential loss of data.
Once you have exported and saved your podcast, you’re almost ready to share it with the world. In the next step, we’ll explore the process of publishing your podcast to various platforms and reaching your target audience.
Step 8: Publishing Your Podcast
After putting in all the hard work of creating and editing your podcast, it’s time to share it with the world. Publishing your podcast involves making it available on various platforms, such as podcast directories and streaming services. Follow these steps to effectively publish your podcast:
- Choose a podcast hosting platform: A podcast hosting platform is essential for storing and distributing your podcast episodes. Popular hosting platforms include Podbean, Libsyn, Anchor, and Buzzsprout. Choose a platform that suits your needs in terms of storage space, available features, and pricing.
- Create an account and set up your podcast: Sign up for an account on your chosen podcast hosting platform and follow their instructions to set up your podcast. This usually involves providing basic information, such as your podcast title, description, artwork, and RSS feed details.
- Upload your podcast episodes: Once your podcast is set up, you can start uploading your episodes to the hosting platform. Typically, you’ll have a dashboard or interface where you can easily upload your exported podcast files. Add any additional metadata, such as episode titles, descriptions, and artwork as necessary.
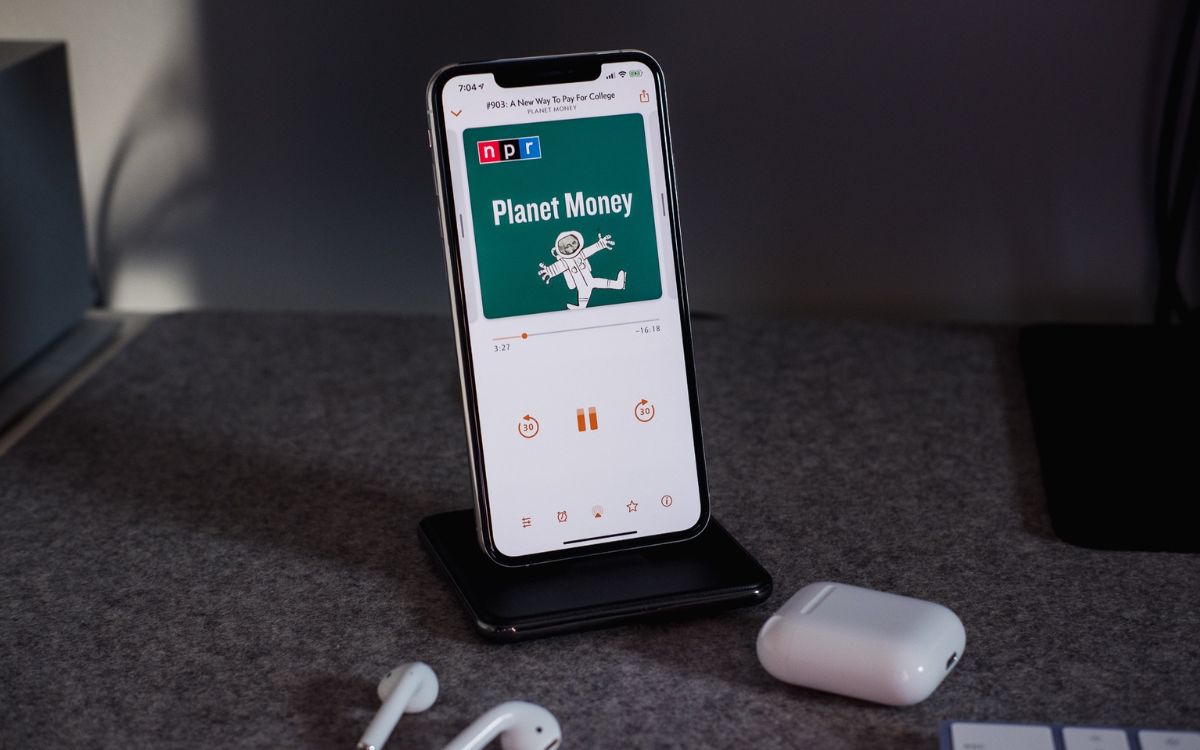
- Submit your podcast to directories: To reach a wider audience, you’ll want to submit your podcast to popular directories such as Apple Podcasts, Spotify, Google Podcasts, and Stitcher. Each directory has its own submission process and guidelines, so follow their instructions carefully to get your podcast listed.
- Share your podcast on your website and social media: Utilize your website or blog to create a dedicated page for your podcast, where you can embed episodes and provide additional information. Promote your podcast on social media platforms like Twitter, Facebook, Instagram, and LinkedIn to attract potential listeners.
- Encourage listeners to subscribe and leave reviews: Ask your audience to subscribe to your podcast and leave reviews on platforms like Apple Podcasts. Positive reviews can significantly improve your podcast’s visibility and credibility.
- Regularly update and promote your podcast: To keep your audience engaged, release new episodes on a consistent schedule. Promote each new episode through your website, social media channels, and any relevant communities or forums in your niche. Engage with your listeners by responding to comments and feedback.
Remember to be patient as building an audience takes time. Consistency, quality content, and effective promotion are key to growing your podcast’s reach and engagement.
Congratulations! You have now successfully published your podcast. In the final step, we’ll focus on promoting your podcast to increase its visibility and attract more listeners.
Step 9: Promoting Your Podcast
After publishing your podcast, it’s essential to actively promote it to attract listeners and grow your audience. Here are some effective strategies to promote your podcast:
- Create engaging promotional materials: Design eye-catching podcast artwork that reflects your brand and captures attention. Use social media graphics, banners, and video teasers to promote your podcast on various platforms.
- Utilize social media platforms: Leverage the power of social media to reach a wider audience. Use platforms like Twitter, Facebook, Instagram, and LinkedIn to share episode updates, behind-the-scenes content, and engage with your listeners. Utilize hashtags and relevant communities to expand your reach.
- Collaborate with other podcasters and influencers: Reach out to other podcasters or influencers in your niche and ask for collaborations or guest appearances. This helps expose your podcast to their audience, increasing your visibility and potentially attracting new listeners.
- Guest on other podcasts: Offer to be a guest on other podcasts related to your niche. This allows you to share your expertise and promote your own podcast to a new audience. Include your podcast information in your bio or as part of your conversation.
- Utilize email marketing: Create an email newsletter to keep your audience informed about new episodes, guest appearances, and updates related to your podcast. Encourage listeners to subscribe to your newsletter through your podcast’s website or social media.
- Engage with your audience: Interact with your listeners by responding to comments, questions, and feedback. Encourage them to share their thoughts on social media and mention your podcast when recommending it to others. Building a strong relationship with your audience can lead to word-of-mouth promotion.
- Optimize for search engines: Utilize search engine optimization (SEO) techniques to increase your podcast’s visibility in search results. Use relevant keywords in your episode titles, descriptions, and metadata. Additionally, consider creating blog posts or show notes related to your podcast episodes to attract organic traffic.
- Attend events and conferences: Networking at relevant events and conferences in your industry can help you connect with potential listeners and other podcasters. Share information about your podcast during these events and build relationships with like-minded individuals.
- Ask for reviews and ratings: Encourage your listeners to leave reviews and ratings on podcast directories like Apple Podcasts. Positive reviews not only boost your credibility but also improve your podcast’s ranking and visibility within the platform.
Remember, promoting your podcast is an ongoing effort. Consistency, creativity, and engagement are key to attracting and retaining an audience. Continuously explore new promotional strategies, monitor your podcast analytics, and adapt your approach based on audience feedback.
By following these steps and implementing effective promotional strategies, you can increase your podcast’s visibility, attract new listeners, and continue to grow your audience over time.
Good luck on your podcasting journey!
Conclusion
Congratulations on completing the journey of learning how to make a podcast using your iPhone. By following the step-by-step process outlined in this guide, you have gained the knowledge and skills necessary to create and promote your own podcast.
Starting a podcast is an exciting endeavor that allows you to share your passion, expertise, and stories with a global audience. With the power of your iPhone and a few essential tools, you can create high-quality episodes that engage and captivate listeners.
Throughout this guide, you learned how to choose a podcast format that aligns with your content and target audience. You discovered the importance of planning and outlining your podcast episodes to ensure a cohesive and well-structured show. Gathering the necessary equipment and software allowed you to record professional-sounding audio on your iPhone.
Editing your podcast gave you the opportunity to polish your episodes, add music and sound effects, and create a seamless and enjoyable listening experience. Exporting and saving your podcast ensured that your hard work was safely stored and ready for sharing.
Publishing your podcast, promoting it through various channels, and engaging with your audience have set the foundation for growing your listener base and unlocking the full potential of your podcast.
Remember, podcasting is a journey of continuous learning and improvement. As you gain more experience, experiment with different styles, formats, and promotional strategies to make your podcast stand out.
Now, armed with the knowledge and tools you’ve acquired, it’s time to take the next steps. Start recording, editing, and sharing your podcast with the world. Embrace the challenges and enjoy the rewards that come with being a podcaster.
So go ahead, embrace the power of your iPhone, share your unique voice, and share your stories with the world. Happy podcasting!