Home>Production & Technology>MP3>How To Make MP3 A Ringtone On IPhone
MP3
How To Make MP3 A Ringtone On IPhone
Modified: January 22, 2024
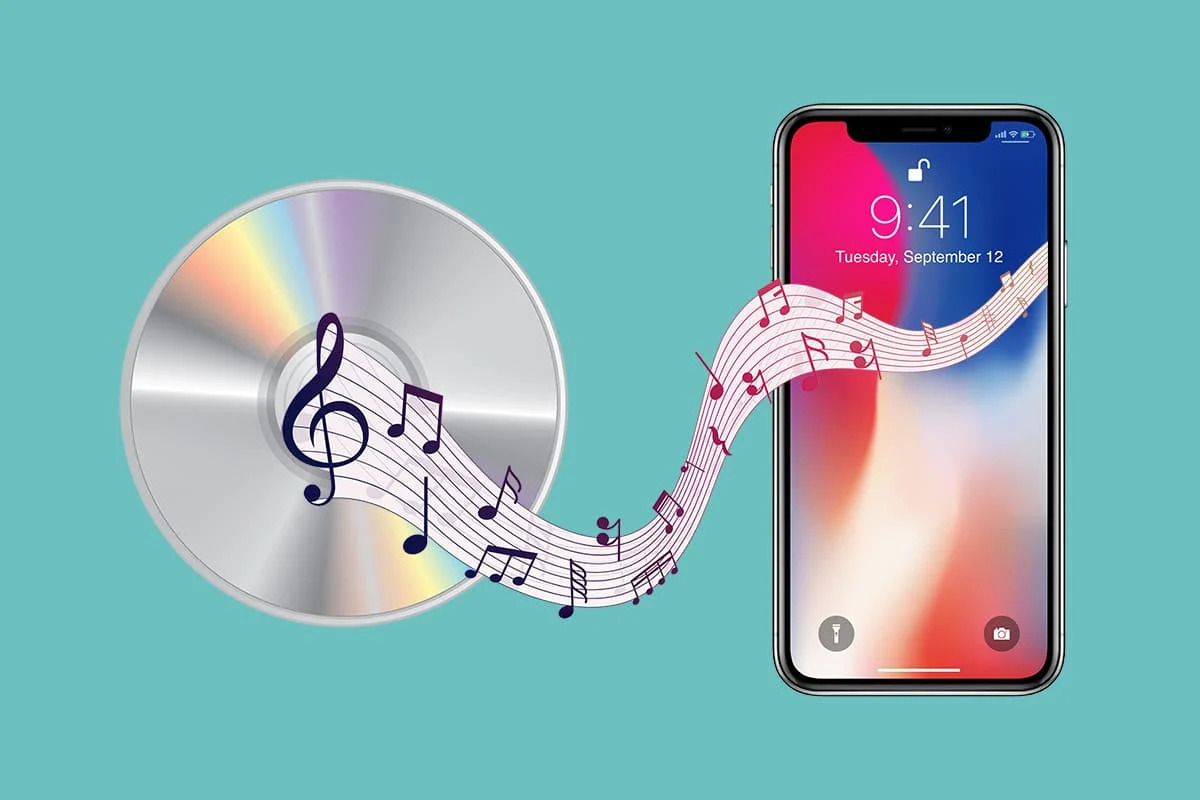
Learn how to make an MP3 file your ringtone on iPhone easily. Follow these simple steps and customize your phone's audio experience.
(Many of the links in this article redirect to a specific reviewed product. Your purchase of these products through affiliate links helps to generate commission for AudioLover.com, at no extra cost. Learn more)
Table of Contents
Introduction
MP3 files are a popular format for storing and playing audio files. Whether it’s your favorite song, a podcast, or a sound effect, having the ability to set MP3 files as ringtones on your iPhone can add a personal touch to your device. While iPhones have built-in ringtone options, they may not always have the specific MP3 file you want.
In this article, we will explore different methods to make an MP3 file your ringtone on an iPhone. We will walk you through using iTunes, GarageBand, and third-party apps, each offering a different approach that caters to various preferences and needs.
Before we begin, it’s important to note that making an MP3 file a ringtone on an iPhone requires some technical know-how. While the process may seem daunting at first, rest assured that the following methods are straightforward and can be easily followed by both beginner and advanced users.
Now, let’s dive into the step-by-step instructions for each method!
Method 1: Using iTunes
iTunes, the default media management software for Apple devices, can be used to create and transfer custom ringtones to your iPhone. Follow these steps to make an MP3 file your ringtone using iTunes:
- Open iTunes on your computer and ensure that you have the latest version installed.
- Select the MP3 file you want to use as your ringtone and right-click on it.
- From the drop-down menu, choose “Get Info” to access the file’s properties.
- In the Info window that appears, go to the “Options” tab.
- Check the boxes next to “Start Time” and “Stop Time” and enter the specific time range of the MP3 file you want as your ringtone. Keep in mind that the maximum duration for a ringtone is typically 30 seconds.
- Click “OK” to save the changes.
- Right-click on the modified MP3 file and select “Create AAC Version.” iTunes will create a new, shorter version of the file.
- Right-click on the newly created AAC version and select “Show in Finder” (Mac) or “Show in Windows Explorer” (Windows).
- In the file explorer window, change the file extension from “.m4a” to “.m4r”.
- Connect your iPhone to your computer using a USB cable.
- On iTunes, click on the iPhone icon that appears in the top left corner of the window.
- Go to the “Tones” section under your iPhone’s settings.
- Drag and drop the modified .m4r file into the Tones section.
- Sync your iPhone to transfer the custom ringtone. You can do this by clicking the “Sync” button.
- Once the sync is complete, go to your iPhone’s “Settings” and select “Sounds & Haptics”.
- Tap on “Ringtone” and you should see your newly created MP3 ringtone listed.
- Select it as your default ringtone or assign it to specific contacts.
Using iTunes to make an MP3 file your ringtone provides a simple and reliable method, as it leverages the functionality built into the iTunes software. However, if you prefer a more intuitive approach that lets you customize your ringtone directly on your iPhone, you might want to consider using the following method with the GarageBand app.
Method 2: Using GarageBand
If you’re looking for a more hands-on approach to creating and setting MP3 files as ringtones on your iPhone, then using the GarageBand app is an excellent option. Follow these steps to make an MP3 file your ringtone using GarageBand:
- First, make sure you have GarageBand installed on your iPhone. If not, you can download it from the App Store.
- Open GarageBand and create a new project by tapping on the “+” button.
- Choose “Audio Recorder” as your project type.
- Tap on the microphone icon to access the audio recording interface.
- Tap the red record button and start playing the MP3 file on another device or music app.
- Once you have recorded the desired portion of the MP3 file, tap the stop button.
- Tap on the arrow button at the top left of the screen to go back to the main project view.
- Long-press on the track you just recorded until the options menu appears.
- Choose “My Songs” to save the project.
- Tap on the three-dot menu next to the project name and select “Share”.
- In the sharing options, choose “Ringtone”.
- GarageBand will prompt you to set the name and duration of the ringtone. Make the necessary adjustments and tap “Export”.
- After the export process, GarageBand will ask if you want to use the ringtone. Tap “Use Sound As…” to proceed.
- Select “Standard Ringtone” or “Assign to Contact”, depending on your preference.
- The MP3 file has now been converted into a custom ringtone and set as your default or contact-specific ringtone.
Using GarageBand provides a more interactive and creative way to make MP3 files your ringtones. The app allows you to record and edit audio directly on your iPhone, giving you full control over your ringtone’s composition. However, if you prefer to use third-party apps for this task, proceed to the next method.
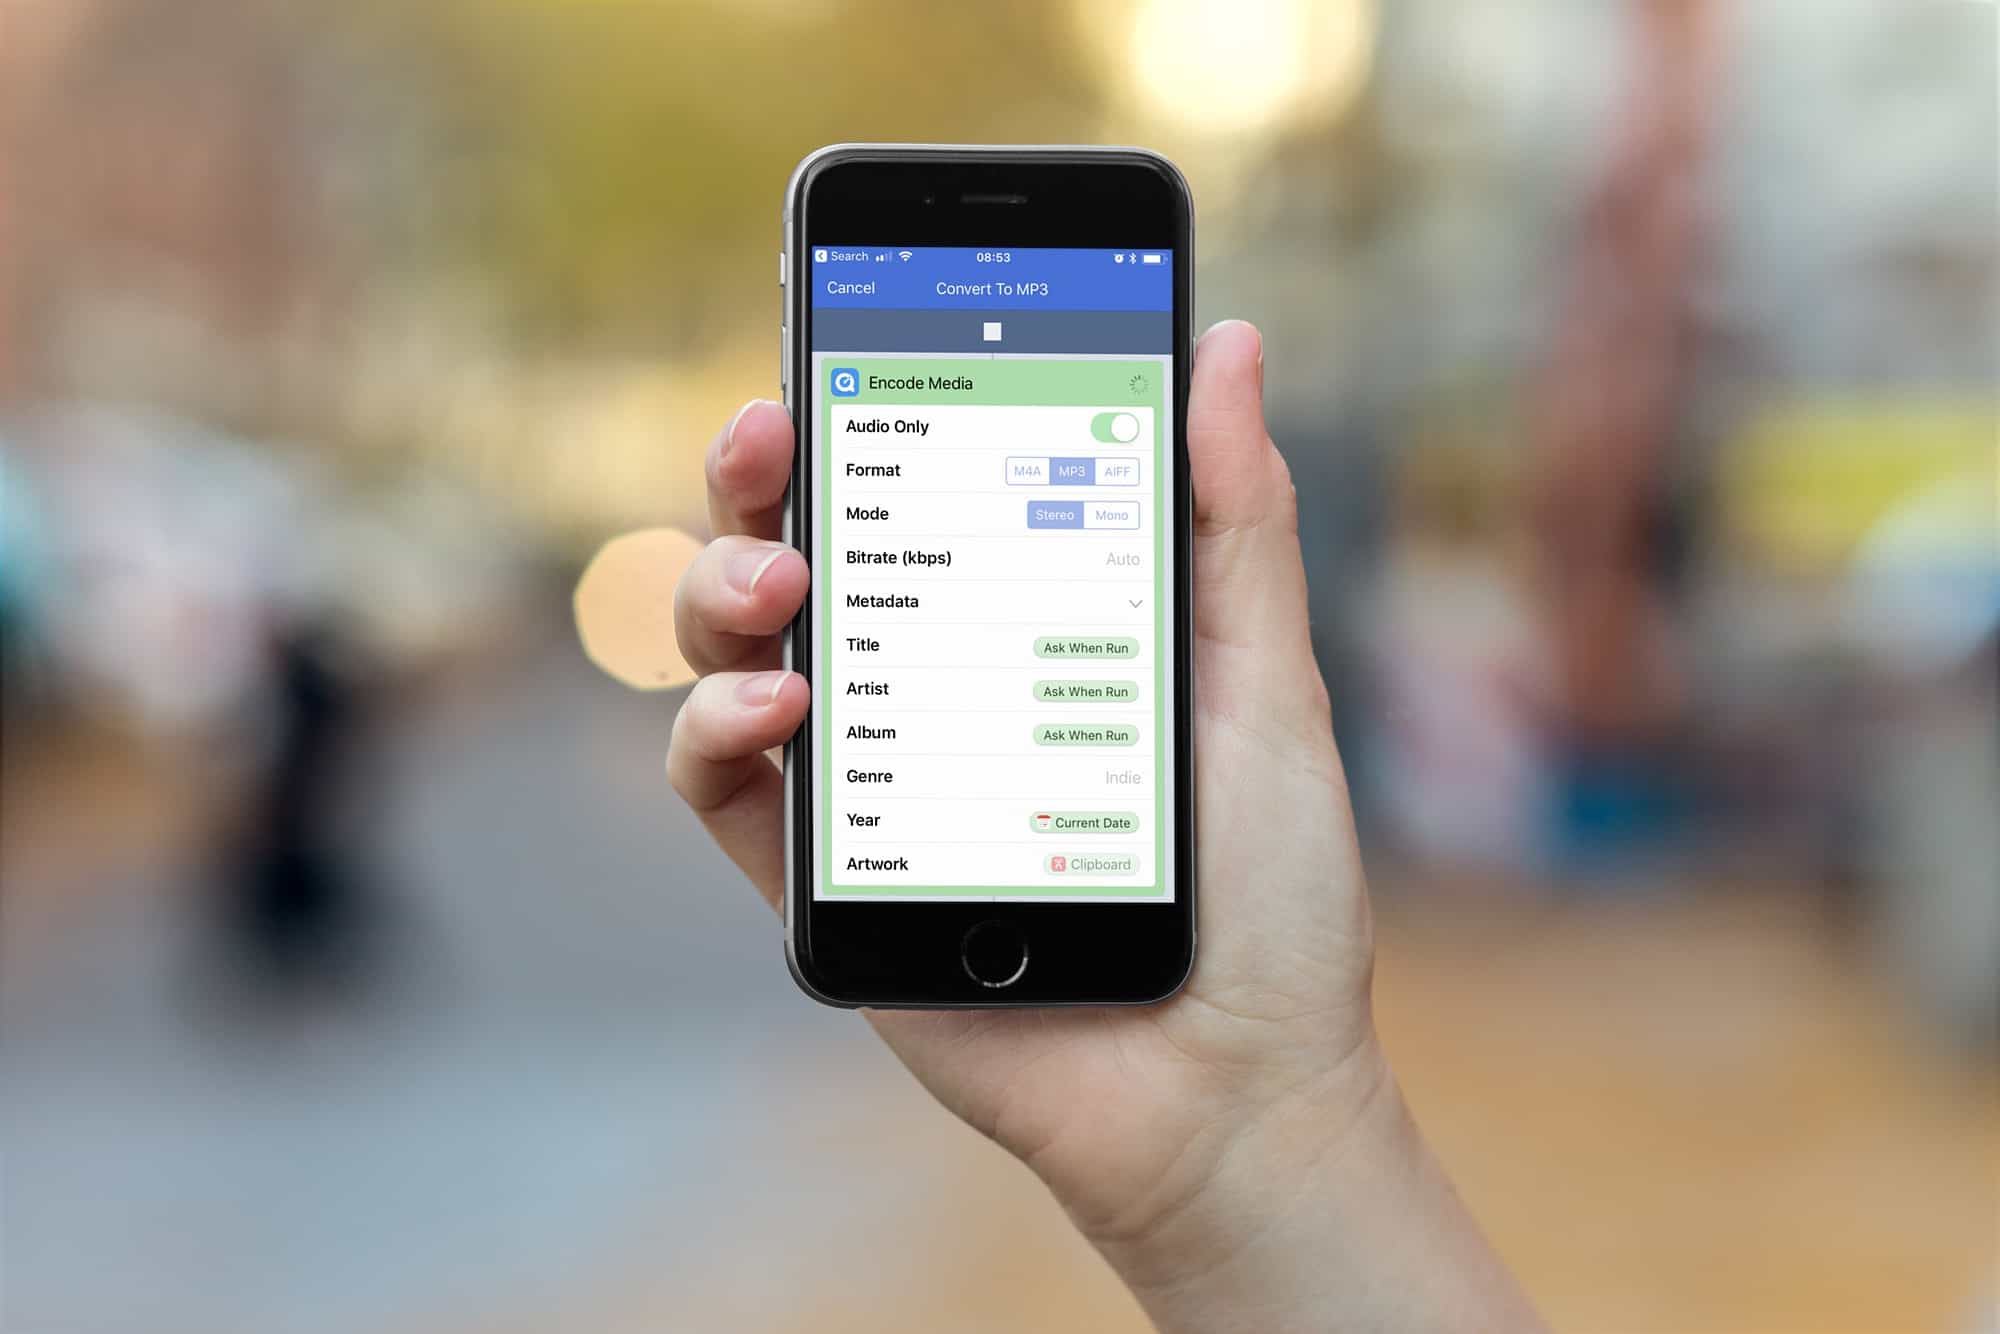
Method 3: Using Third-Party Apps
If you’re looking for even more flexibility and customization options when it comes to creating and setting MP3 files as ringtones on your iPhone, third-party apps can offer a wide range of features. Here’s how you can use third-party apps to make an MP3 file your ringtone:
- Search for and install a reputable ringtone app from the App Store. There are several popular options available such as GarageBand, Ringtone Maker, and Ringtones for iPhone.
- Launch the app and grant any necessary permissions it may require, such as access to your audio files.
- Browse your device’s storage to locate the MP3 file you want to use as your ringtone within the app.
- Select the MP3 file and choose the desired section you want as your ringtone. You can usually trim the audio, adjust the volume, and apply various effects.
- Once you have made your edits, save the edited audio as a ringtone within the app.
- Follow the app’s instructions to export the ringtone to your iPhone’s settings or save it to your device.
- Go to your iPhone’s “Settings” and select “Sounds & Haptics”.
- Tap on “Ringtone” and you should see the newly created MP3 ringtone listed.
- Select it as your default ringtone or assign it to specific contacts.
Third-party apps provide additional features and customization options when it comes to creating and setting MP3 files as ringtones. These apps often offer a user-friendly interface and a wide range of tools to help you design your own unique ringtone. Explore different apps and find one that suits your preferences and needs.
Now that you’re familiar with three different methods for making an MP3 file your ringtone on an iPhone, you can choose the one that best fits your workflow and level of comfort. Personalizing your iPhone with custom MP3 ringtones adds a touch of personality to your device and allows you to enjoy your favorite audio every time your phone rings.
Conclusion
Setting an MP3 file as your ringtone on your iPhone can be a fun and personalized way to customize your device. In this article, we explored three different methods to achieve this: using iTunes, GarageBand, and third-party apps. Each method offers its own unique approach, catering to different preferences and needs.
If you prefer to use a trusted and familiar software, iTunes is a reliable option. It allows you to modify the MP3 file and sync the custom ringtone to your iPhone seamlessly. However, if you want a more hands-on approach and enjoy creating your own audio, GarageBand is an excellent choice. It provides a user-friendly interface and allows you to record, edit, and export your custom ringtone directly on your iPhone.
For those who seek a wide range of customization options and features, third-party apps can be a great alternative. These apps offer various tools to trim, adjust and apply effects to your MP3 file, giving you more control over your ringtone’s composition and sound.
Regardless of the method you choose, it’s important to remember that making an MP3 file your ringtone requires some technical knowledge and attention to detail. Following the step-by-step instructions provided in this article will help guide you through the process smoothly.
Now that you have a comprehensive understanding of these methods, you can confidently personalize your iPhone by setting your favorite MP3 files as custom ringtones. So go ahead, express your style, and enjoy your unique ringtone every time your phone rings!