Home>Production & Technology>Music Video>How To Make Music Video On IPhone
Music Video
How To Make Music Video On IPhone
Modified: January 22, 2024
Learn how to create professional music videos on your iPhone with our step-by-step guide. Enhance your music production skills and make stunning visual content for your audience.
(Many of the links in this article redirect to a specific reviewed product. Your purchase of these products through affiliate links helps to generate commission for AudioLover.com, at no extra cost. Learn more)
Table of Contents
- Introduction
- Step 1: Choosing the Right Music Video Concept
- Step 2: Preparing Your iPhone for Video Shooting
- Step 3: Planning and Storyboarding
- Step 4: Setting Up Your Shot
- Step 5: Capturing and Recording Footage
- Step 6: Enhancing Your Videos with Effect Apps
- Step 7: Editing Your Music Video on iPhone
- Step 8: Adding Music and Adjusting Audio Levels
- Step 9: Applying Transitions and Visual Effects
- Step 10: Exporting and Sharing Your Music Video
- Conclusion
Introduction
Music videos have become an integral part of the music industry, allowing artists to express their creativity and share their music with a visual narrative. In the digital age, creating music videos has become more accessible than ever before, thanks to the advancement in technology, particularly smartphones.
With the power of your iPhone, you can now make your own professional-looking music videos right from the palm of your hand. With the combination of high-quality cameras, editing apps, and a plethora of creative tools at your disposal, you have the opportunity to bring your artistic vision to life.
In this article, we will walk you through the step-by-step process of making a music video on your iPhone. Whether you’re an aspiring musician or someone who simply wants to capture and showcase your favorite songs with visual storytelling, this guide will provide you with the knowledge and tools to create stunning music videos that will captivate your audience.
From planning and storyboarding, to shooting and editing, we will cover everything you need to know to make a music video that stands out. So, let’s dive in and unleash your creativity!
Step 1: Choosing the Right Music Video Concept
Before diving into the production process, it’s important to have a clear vision for your music video concept. This concept will serve as the foundation for the entire project, guiding your decisions on everything from locations to visuals to editing styles. Here are some key steps to help you choose the right music video concept for your iPhone:
- Listen to the song: Start by thoroughly listening to the song you want to create a music video for. Pay attention to the lyrics, the mood, and the overall theme of the song. This will give you a better understanding of the emotions and messages you want to convey visually.
- Brainstorm ideas: Take some time to brainstorm different ideas for your music video. Consider the tone of the song, your own artistic style, and any unique elements that can be incorporated to make the video memorable. Write down as many ideas as possible and don’t be afraid to think outside the box.
- Research and inspiration: Get inspired by watching music videos in your genre or even in other genres. Look for elements that resonate with you and consider how you can adapt them to fit your song. This research phase will help you gather ideas and identify what you want to avoid in your video.
- Storyboard: Once you have a few solid ideas, create a storyboard to visualize how your video will unfold. Sketch out the different scenes, camera angles, and movements you envision for each part of the song. This will give you a clearer picture of the flow of your video and allow you to make necessary adjustments before shooting.
- Evaluate feasibility: Consider the resources and limitations you have in terms of time, budget, and equipment. Ensure that your chosen concept is achievable within your constraints. If necessary, modify your concept to fit your capabilities or explore alternative solutions.
Remember, the key to a successful music video concept is to align it with the essence of your song while incorporating unique and visually engaging elements. Be creative, take risks, and let your personal style shine through. With a well-thought-out concept, you’re ready to move on to the next step: preparing your iPhone for video shooting.
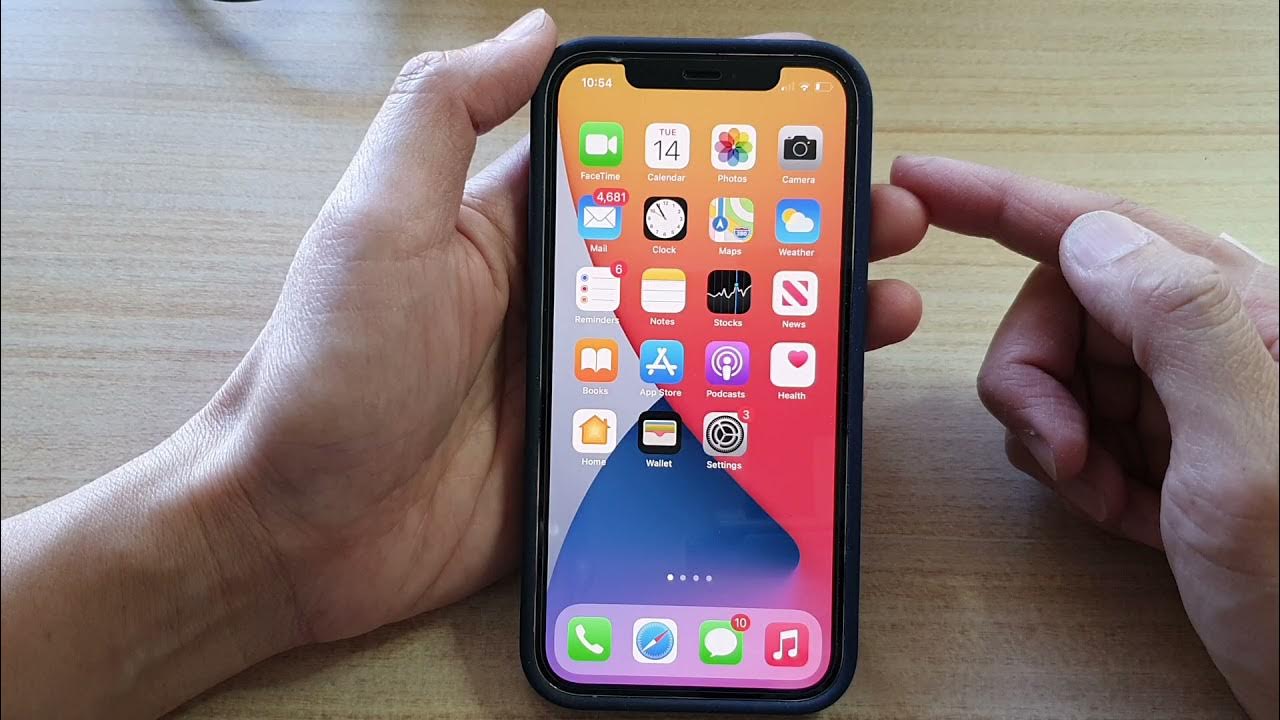
Step 2: Preparing Your iPhone for Video Shooting
Before you start shooting your music video, it’s important to ensure that your iPhone is ready to capture high-quality footage. Follow these steps to prepare your iPhone for video shooting:
- Clear storage space: Music videos can take up a significant amount of storage space, so it’s essential to free up storage on your iPhone. Delete any unnecessary apps, photos, or videos to create sufficient space for your video footage.
- Charge your iPhone: Shooting a music video can be time-consuming, so make sure your iPhone is fully charged or connected to a power source. You don’t want to run out of battery in the middle of a shoot.
- Use a tripod or stabilizer: To ensure smooth and steady footage, consider using a tripod or a stabilizer for your iPhone. This will help eliminate shaky shots and give your video a professional look. If you don’t have a tripod or stabilizer, look for stable surfaces to rest your iPhone on while shooting.
- Set the proper frame rate and resolution: Open the camera settings on your iPhone and adjust the frame rate and resolution to the highest available options. This will ensure that your video is captured in the best possible quality. Keep in mind that higher settings may require more storage space.
- Check lighting conditions: Good lighting is crucial for capturing clear and vibrant footage. Before shooting, assess the lighting conditions in your chosen location. If possible, use natural light or consider investing in portable LED lights to enhance the visual quality of your video.
- Disable notifications and distractions: Before hitting the record button, make sure to disable any notifications or incoming calls on your iPhone. You don’t want to be interrupted by notifications or have them accidentally appear in your video footage.
- Clean the camera lens: The camera lens on your iPhone can easily accumulate smudges and dirt, affecting the clarity of your shots. Use a microfiber cloth or lens cleaning solution to wipe the lens before each shoot to ensure crisp and clear footage.
- Test audio recording: Ensure that the iPhone’s microphone is functioning properly by recording a short audio clip. Play it back to confirm that the audio is clear and free from distortion or background noise.
By following these preparation steps, you’ll set yourself up for success when it comes to capturing high-quality footage for your music video. Next, we’ll discuss the importance of planning and storyboarding your video to ensure a cohesive visual narrative.
Step 3: Planning and Storyboarding
Planning and storyboarding are crucial steps in creating a well-organized and cohesive music video. They allow you to map out your vision, identify the necessary shots, and ensure a smooth shooting process. Follow these steps to effectively plan and storyboard your music video:
- Review the song and concept: Revisit the song and concept you chose in step one. Pay attention to the lyrics, mood, and emotions to create a visual narrative that aligns with the song’s message.
- Break the song into sections: Divide the song into sections (verse, chorus, bridge) and identify the key moments or lyrics that you want to highlight with specific visual elements.
- Create a shot list: Make a detailed shot list for each section of the song. Write down the specific shots, camera angles, and movements you envision for each part. This will serve as your reference guide during the shoot.
- Storyboard the key scenes: Create a storyboard for the key scenes or moments of your music video. Sketch out each shot with details such as camera angles, character positions, and any necessary props or set designs. This will help you visualize the flow and composition of your video.
- Consider visual aesthetics: Think about the visual style and aesthetics that will best complement your concept and song. Consider color schemes, lighting techniques, and any specific visual effects or editing styles that will enhance the overall look and feel of your video.
- Prepare a shooting schedule: Determine the shooting schedule based on the complexity and number of scenes. Allocate enough time for each scene and factor in breaks, setups, and possible reshoots.
- Collaborate with your team: If you have a team, such as a director, cameraperson, or production crew, communicate your vision and provide them with the shot list and storyboard. Collaborate with them to ensure everyone is on the same page and understands their respective roles.
- Make adjustments if needed: As you plan and storyboard, be open to making adjustments and revisions as necessary. Sometimes, certain shots or scenes may not work as planned, or you might come up with new ideas that enhance the video. Flexibility is key to bringing your vision to life.
By carefully planning and storyboarding your music video, you will save time and ensure a smoother production process. You’ll also have a clear vision for each shot, making it easier to capture the desired visuals. With your plan in place, it’s time to move on to the next step: setting up your shot for filming.
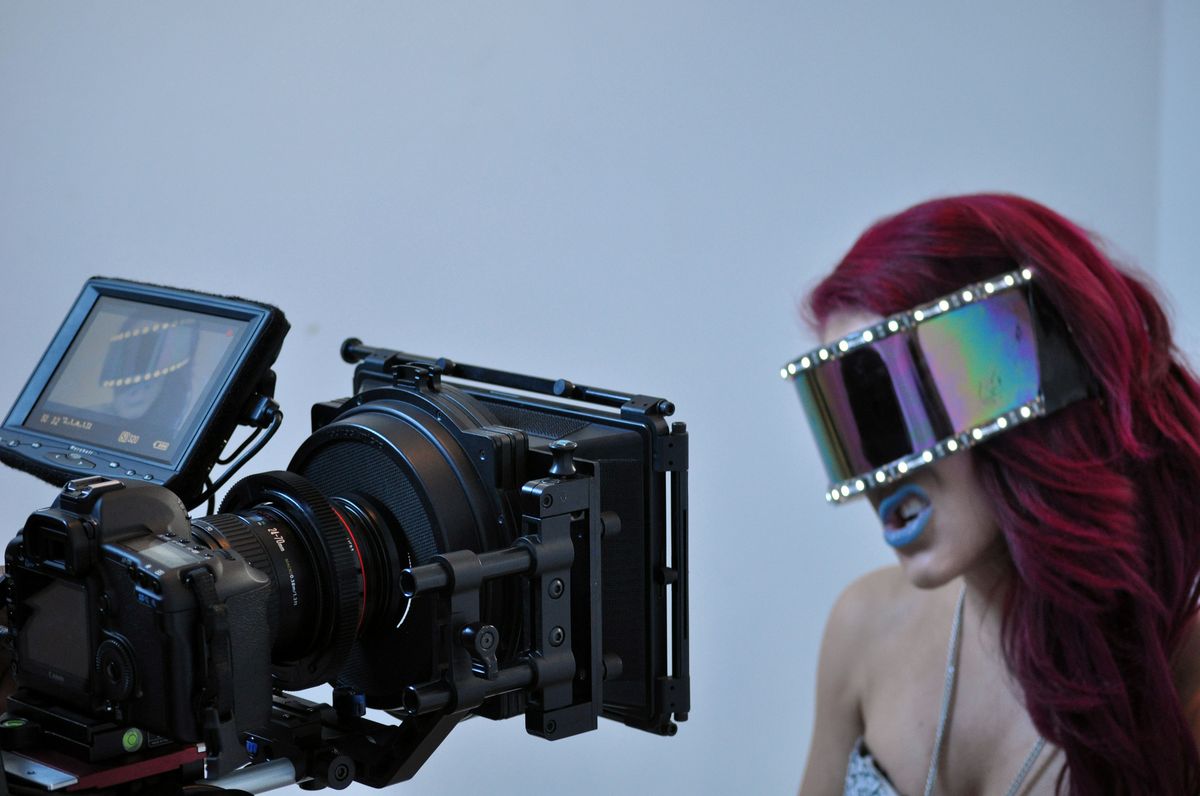
Step 4: Setting Up Your Shot
Setting up your shot is a critical step in capturing visually appealing and engaging footage for your music video. It involves carefully arranging the elements in the frame, such as the subject, props, and background, to create the desired composition. Here are some important considerations when setting up your shot:
- Select the shooting location: Choose a location that aligns with your video concept and provides the desired atmosphere. Consider factors such as lighting, background, and any necessary permissions or permits for filming in public or private spaces.
- Arrange the props and set design: If your music video requires props or set design, ensure that they are positioned in a way that supports your concept. Take the time to arrange and adjust props to create a visually pleasing composition.
- Pay attention to framing: Take into account the rule of thirds and other compositional techniques when framing your shots. Position your subject and other important elements off-center to create a visually interesting composition.
- Consider camera height and angles: Explore different camera heights and angles to bring variety to your shots. Experiment with low-angle shots for a sense of grandeur and power, or high-angle shots for vulnerability or disempowerment. Move the camera around to create dynamic shots.
- Utilize the environment: Incorporate the surroundings and environment in your shots to add depth and context. Use interesting architectural features, natural landscapes, or urban elements to enhance the visual appeal and storytelling of your music video.
- Take lighting into account: Assess the natural or artificial lighting conditions in your shooting location. Adjust the position and intensity of the lights to highlight your subject and create the desired mood. Consider using reflectors or diffusers to manipulate the light for a more flattering effect.
- Ensure proper focus and exposure: Before recording, check that your subject is properly focused and the exposure is balanced. Tap on your subject on the iPhone screen to adjust the focus point if needed. Use the exposure control slider to adjust the brightness levels.
- Check for distractions: Look out for any distracting elements in the frame, such as cluttered backgrounds or objects that draw attention away from the subject. Remove or reposition them if necessary.
- Take test shots: Before committing to a shot, take some test shots to review the framing, composition, and overall visual appeal. Make adjustments as needed to ensure that the shot captures the desired mood and message.
Remember, setting up your shot requires attention to detail and a keen eye for composition. Take your time to carefully arrange the elements in the frame to create visually stunning shots. Once you’ve set up your shot, it’s time to move on to the next step: capturing and recording your footage.
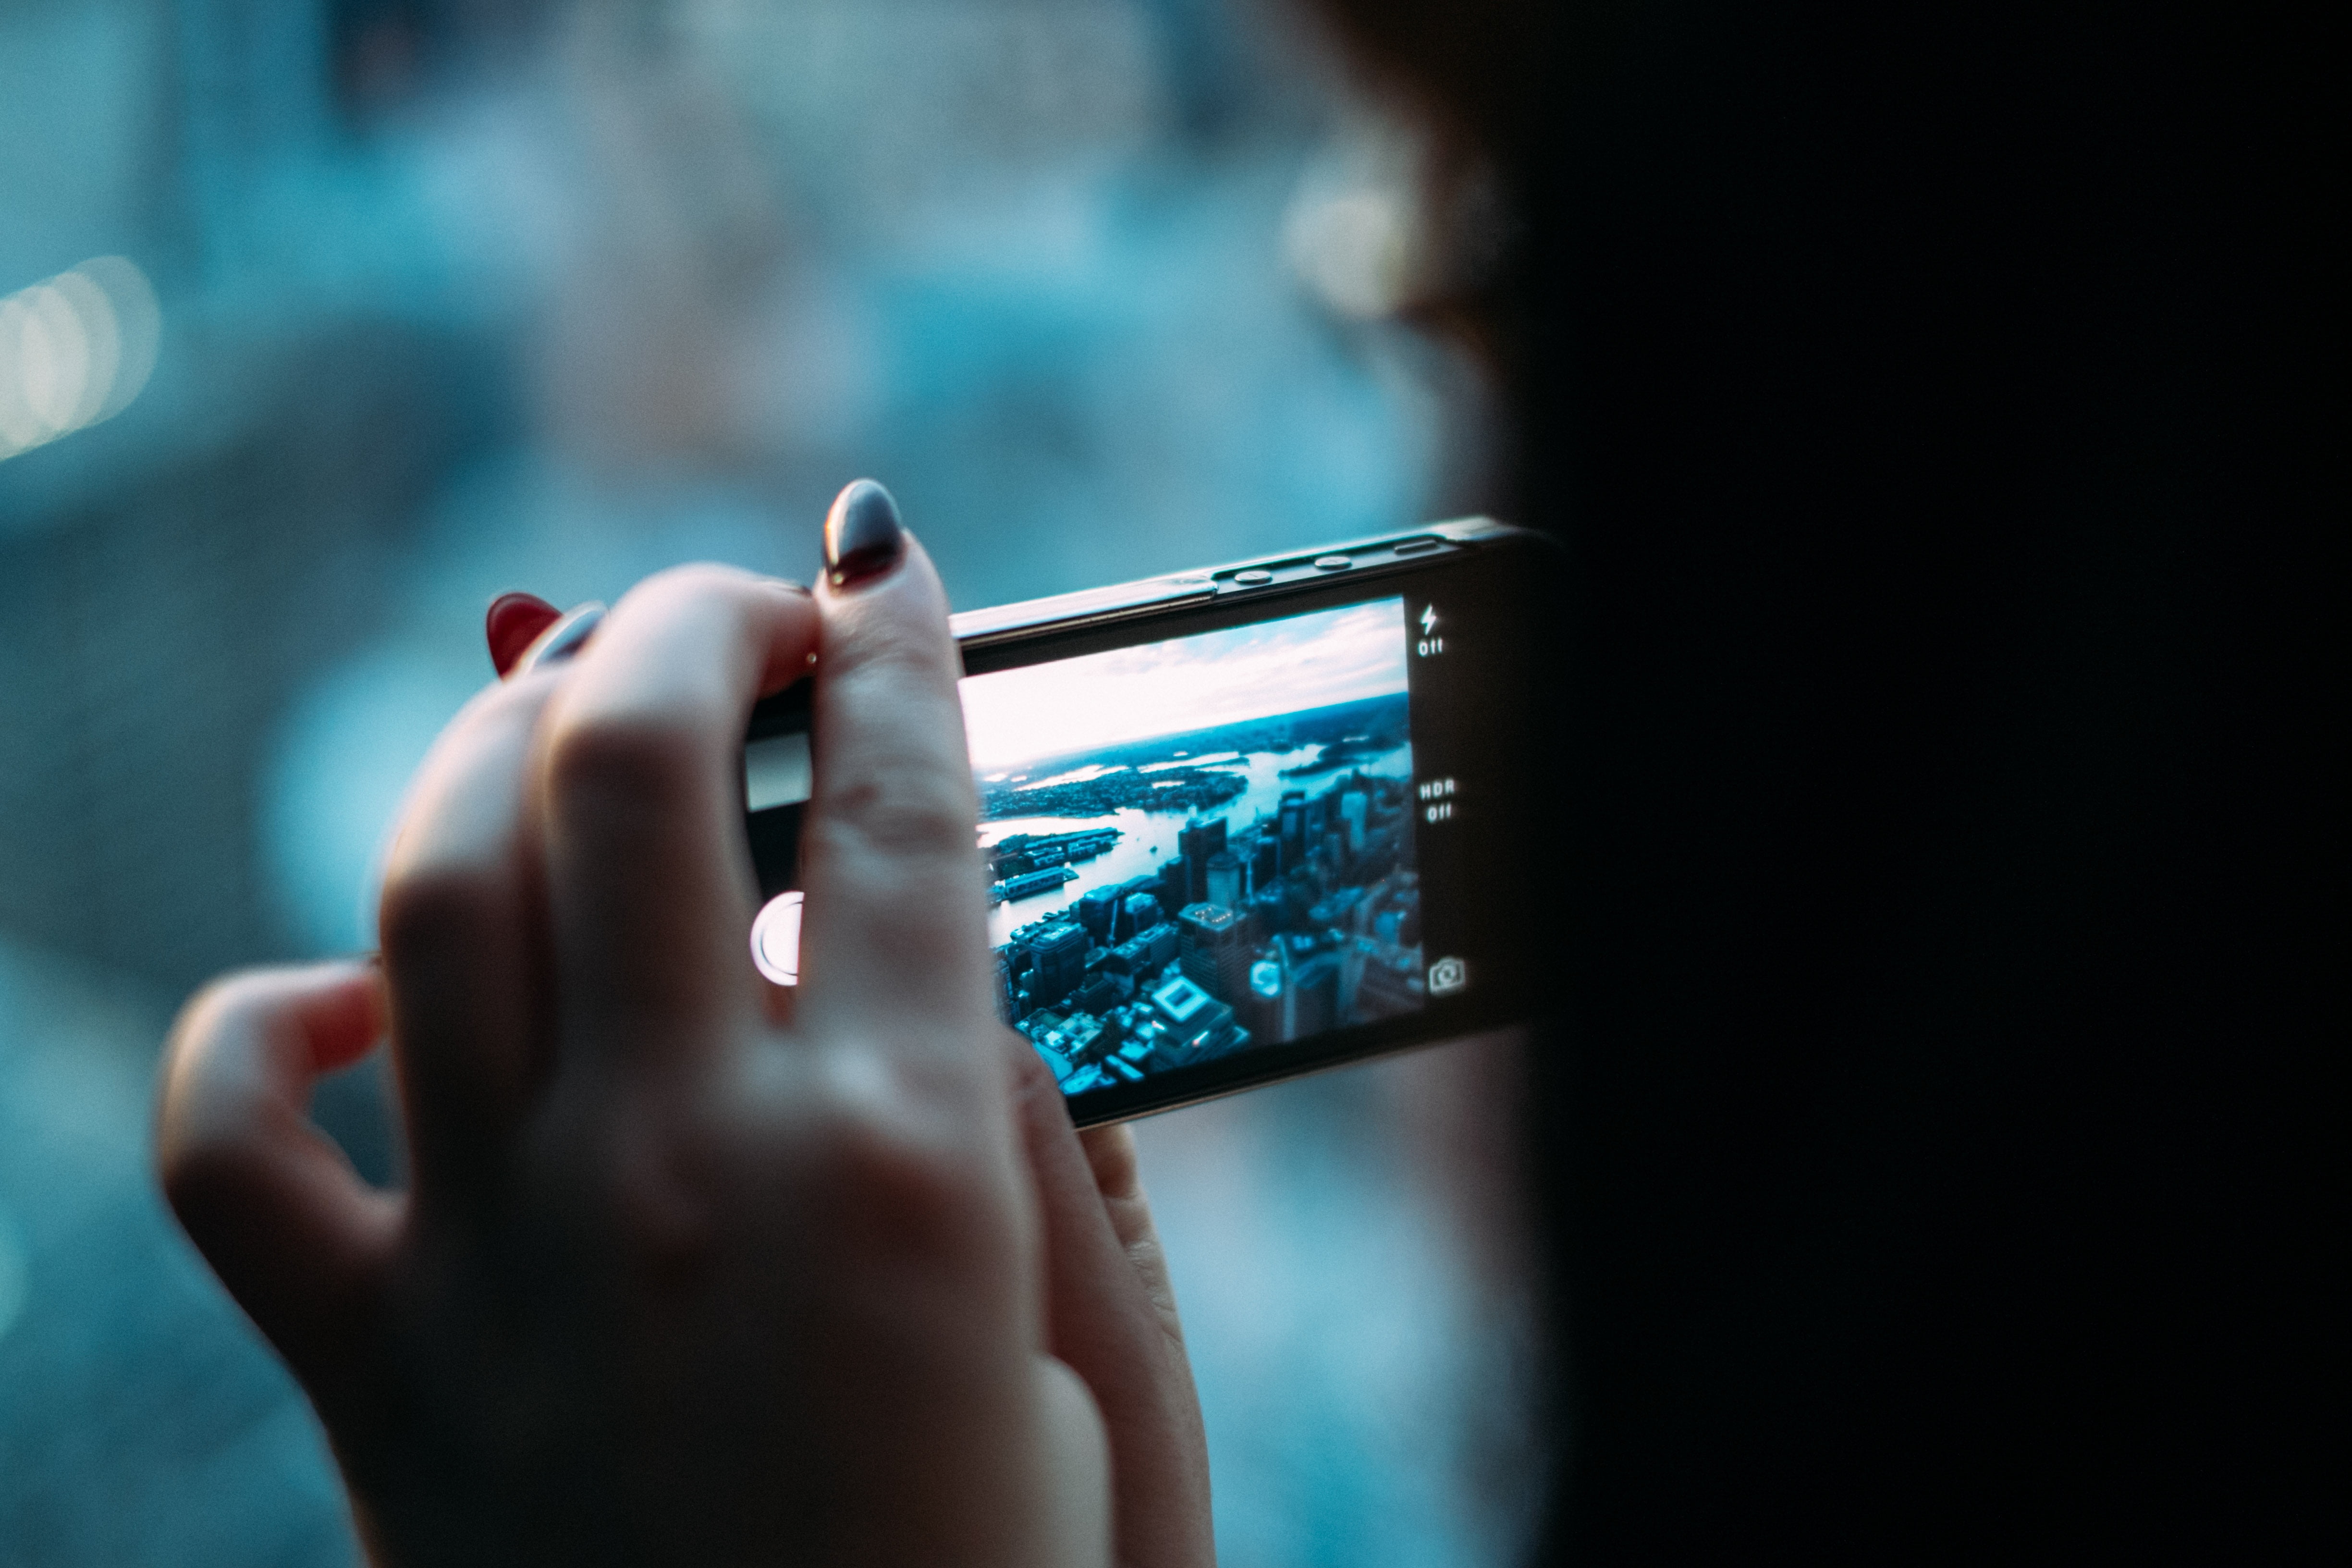
Step 5: Capturing and Recording Footage
Once your shot is set up and you’re ready to start filming, it’s time to capture and record your footage. This step is where the magic happens, as you bring your music video concept to life. Follow these tips to ensure you capture high-quality footage:
- Follow the shot list and storyboard: Refer to your shot list and storyboard as a guide to capture the planned shots and sequences. This will help you stay organized and ensure you don’t miss any important shots.
- Record multiple takes: It’s always a good idea to capture multiple takes of each shot. This will give you more options during the editing process and allow you to select the best performance and visuals.
- Vary shot composition and angles: Experiment with different shot compositions and angles to add visual interest to your footage. Mix wide shots, close-ups, and medium shots to provide variation and capture different emotions.
- Pay attention to camera movements: Explore different camera movements, such as pans, tilts, and tracking shots, to add dynamism to your footage. Smooth and steady camera movements can greatly enhance the visual appeal of your music video.
- Utilize slow motion and time lapses: Take advantage of the slow-motion and time-lapse features on your iPhone to add creative and cinematic effects to your footage. These features can help to create dramatic moments or capture the passage of time.
- Experiment with special effects and filters: If you’re using a video recording app that offers special effects and filters, don’t be afraid to experiment with them. Just be mindful of not overusing effects that may distract from the story or message of your music video.
- Focus on capturing emotions: While technical aspects are important, don’t forget to prioritize capturing genuine emotions from your subjects. Pay attention to their expressions, body language, and interactions to convey the emotions of the song effectively.
- Take breaks and review footage: If shooting for an extended period, take breaks to review the footage you’ve captured so far. This will allow you to make any necessary adjustments or reshoot specific scenes if needed.
- Have fun and be creative: Filming a music video should be an enjoyable experience. Don’t be afraid to think outside the box, try new ideas, and let your creativity shine through. Allow room for improvisation and unexpected moments that may enhance the visuals.
Remember, capturing and recording footage is your opportunity to bring your music video concept to life. Be sure to focus on capturing compelling visuals, emotions, and performances. Once you’ve finished capturing your footage, it’s time to move on to the next step: enhancing your videos with effect apps.
Step 6: Enhancing Your Videos with Effect Apps
Once you have recorded your footage, it’s time to enhance your videos and add creative elements using effect apps. Effect apps offer a wide range of features and tools to elevate your music video and give it a polished and professional look. Follow these steps to enhance your videos with effect apps:
- Choose the right effect app: Research and select an effect app that suits your needs and artistic style. There are numerous apps available, each with its own unique features and effects. Experiment with different apps to find the one that best complements your music video.
- Import your footage: Transfer your recorded footage from your iPhone to your computer, if necessary. Then, import the footage into the effect app you have chosen. Depending on the app, you may be able to import directly from your iPhone.
- Apply visual effects: Explore the various visual effects and filters offered by the app to enhance the mood and aesthetics of your video. Consider effects such as color grading, vignettes, overlays, or retro film effects to create a unique visual style that complements your music.
- Experiment with transitions: Utilize different transition effects to add smooth and seamless transitions between scenes or shots. Transitions like fades, wipes, or slides can help create a cohesive visual flow and enhance the storytelling in your music video.
- Add text and graphics: Use the app to overlay text, lyrics, or graphics on your video. This can include song titles, subtitles, or creative elements that add depth or information to your music video.
- Adjust color and exposure: Use the app’s color correction and exposure tools to fine-tune the look of your footage. Adjust brightness, contrast, saturation, and other parameters to achieve a consistent and captivating visual aesthetic.
- Explore audio editing capabilities: Some effect apps also offer audio editing features. Take advantage of these tools to adjust and enhance the audio in your music video, such as adjusting levels, applying equalization, or adding effects like reverb or echo.
- Preview and make adjustments: Continuously preview your edited footage in the app and make any necessary adjustments to achieve the desired look and feel. Pay attention to details and ensure that the effects and edits seamlessly integrate with your video.
- Export the final video: Once you are satisfied with the edits and enhancements, export the final video from the effect app. Choose the appropriate settings for resolution, file format, and quality to ensure your music video is ready for sharing across different platforms.
By utilizing effect apps, you can add creative visual elements and enhance the overall quality of your music video. However, it’s important to strike a balance and avoid overusing effects that may distract from the main message and performance. Finally, with your videos enhanced and ready, it’s time to move on to the next step: editing your music video on your iPhone.
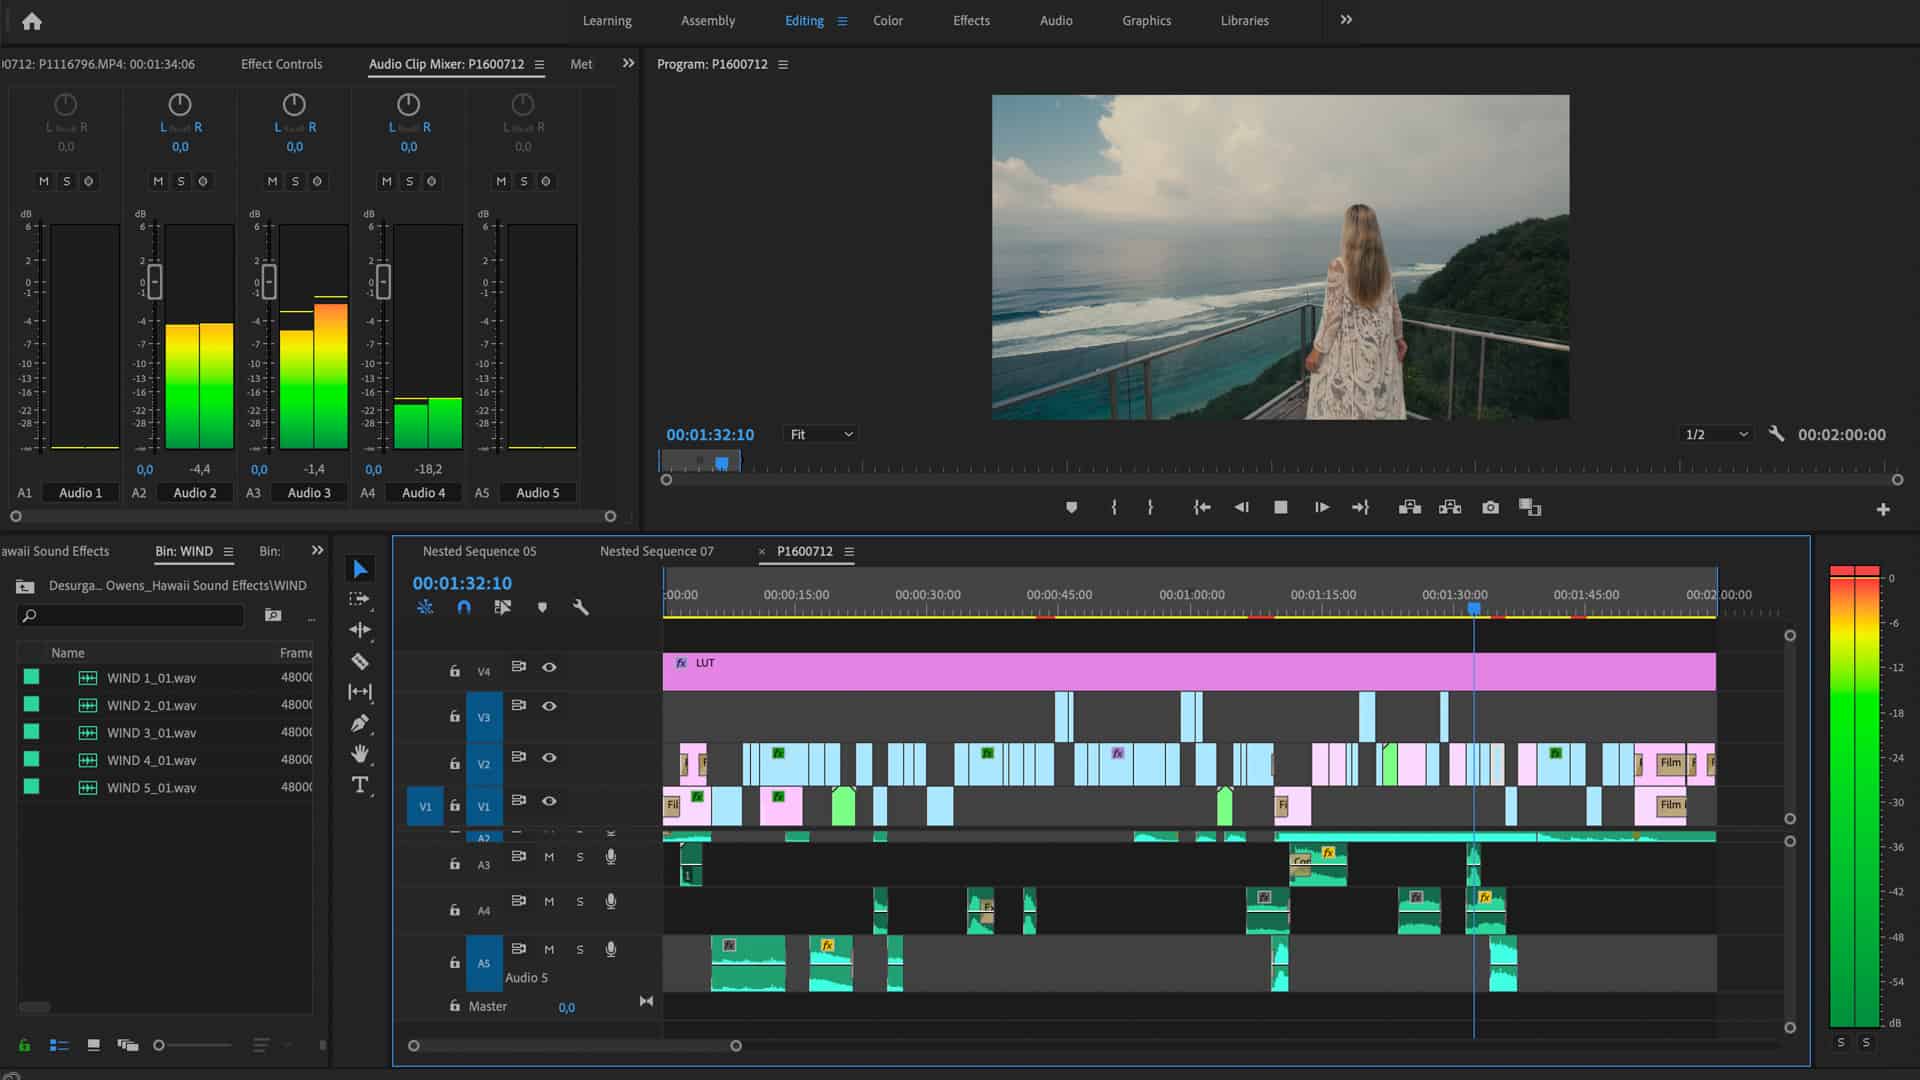
Step 7: Editing Your Music Video on iPhone
Editing your music video is where the pieces of your footage come together to create a cohesive and engaging visual story. With your iPhone, you have the power to edit your music video right at your fingertips. Follow these steps to edit your music video on your iPhone:
- Choose a video editing app: There are several video editing apps available for iPhone that offer a range of features and functionalities. Research and select an app that suits your needs and skill level.
- Import your footage: Import your recorded footage into the editing app. This can usually be done by transferring the footage from your computer or directly importing from your iPhone’s camera roll.
- Arrange your footage on the timeline: Drag and drop your footage onto the timeline in the order you want them to appear. This allows you to organize your shots and plan the flow of your music video.
- Trim and cut your footage: Use the editing app’s trimming and cutting tools to remove any unwanted or unnecessary parts of your footage. This helps to keep the video concise and focused on the key moments.
- Add transitions: Insert transitions between shots to create smooth visual transitions. Use transitions like fades, dissolves, or wipes to add a professional touch and enhance the continuity of your music video.
- Experiment with visual effects: Explore the visual effects available in the editing app to enhance specific shots or scenes. These effects can add visual interest, emphasize emotions, or create a specific mood in your music video.
- Sync footage with the music: Align your footage with the rhythm and beats of your music. This may involve cutting and adjusting clips, aligning certain shots with specific lyrics or instrumental sections, or syncing visual effects to the music.
- Add text and graphic overlays: Use text and graphic overlays to display song lyrics, titles, or other information related to your music video. This helps convey messages and enhances the visual storytelling aspect of your video.
- Adjust audio levels: Balance the audio levels of your footage, ensuring that the music is clear and prominent while still allowing the vocals and other audio elements to be heard. Use the editing app’s audio tools to adjust volume levels and apply necessary audio effects.
- Preview and make adjustments: Continuously preview your edited music video and make any necessary adjustments. Pay attention to visual continuity, pacing, and overall cohesiveness. Make sure that the transitions, effects, and edits seamlessly blend together.
- Export and save your video: When you are satisfied with your edits, export and save the final edited video. Consider the appropriate resolution, file format, and quality settings based on the platforms you plan to share your music video on.
Remember, editing is where you can bring your music video vision to life. Experiment with different editing techniques, trust your artistic instincts, and ensure that your edits serve the overall message and vibe of the song. With your music video edited and ready to go, it’s time to move on to the next step: adding music and adjusting audio levels.
Step 8: Adding Music and Adjusting Audio Levels
Adding music and adjusting audio levels is a crucial step in the post-production process of your music video. It helps create a seamless audio-visual experience and ensures that the music is the focal point. Follow these steps to add music and adjust audio levels on your iPhone:
- Select the music: Choose the song that corresponds to your music video. Ensure that you have the necessary rights and permissions to use the music in your video, or use royalty-free music that is suitable for your video’s style and theme.
- Import the music: Import the chosen music into your video editing app or use a dedicated music app. Most video editing apps allow you to import music directly from your iPhone’s music library.
- Place the music track on the timeline: Drag and drop the music track onto the timeline in your video editing app. Align it with the visuals, ensuring that it matches the desired timing and rhythm of your music video.
- Trim and adjust the music: Use the editing app’s tools to trim and adjust the length of the music track to match the duration of your video. Make any necessary cuts or fades to ensure a smooth transition between scenes.
- Adjust audio levels: Balance the audio levels between your music track, the vocals, and any other audio elements in your video. Ensure that the music track is loud and clear enough, while allowing other audio elements to be heard without overpowering the overall mix.
- Apply audio effects: Use audio effects when necessary to enhance the quality or add specific stylistic elements to your music video. Effects like equalization, reverb, or compression can help achieve a desired sonic texture or atmosphere.
- Use keyframe adjustments: Keyframe adjustments allow you to control the audio levels and effects over time. Utilize keyframes to create smooth transitions in volume or to emphasize certain parts of the music track that align with the visuals or highlight important moments in your music video.
- Preview and fine-tune: Continuously preview your music video with the added music and adjusted audio levels. Fine-tune as needed, making sure that the music enhances the overall atmosphere and emotion of the video without overpowering the visuals or other audio elements.
- Export and save the final version: Once you are satisfied with the audio adjustments, export and save the final version of your music video. Choose the appropriate settings for audio quality and compatibility with various devices or platforms.
Remember, the music and audio in your music video are as important as the visuals. Pay attention to the balance between the music track, vocals, and other audio elements, ensuring they work harmoniously to deliver an immersive and captivating audio-visual experience. With your music and audio levels adjusted, you’re ready for the next step: applying transitions and visual effects.
Step 9: Applying Transitions and Visual Effects
Applying transitions and visual effects is an integral part of the post-production process in creating a visually dynamic and engaging music video. It helps to enhance the flow, rhythm, and overall aesthetics of your video. Follow these steps to apply transitions and visual effects on your iPhone:
- Select suitable transitions: Identify the types of transitions that fit the mood and style of your music video. Common transitions include fades, cross-dissolves, wipes, and slides. Choose transitions that seamlessly connect your shots and provide a smooth visual flow.
- Place transitions between shots: Drag and drop the selected transitions onto the timeline, positioning them between the shots where you want the transition to occur. Adjust the duration of the transitions to create the desired effect.
- Experiment with different effects: Explore the visual effects available in your video editing app. Consider effects like color grading, overlays, blurs, or stylized filters to enhance specific shots or scenes. Keep in mind the overall theme and mood of your music video and use effects that amplify the visual storytelling.
- Apply effects to individual shots: Select the shots or scenes where you want to apply the visual effects. Use the editing app’s tools to adjust the intensity, timing, or duration of the effects to achieve the desired visual impact.
- Use keyframe adjustments: Utilize keyframe adjustments to control the timing and intensity of visual effects over time. This allows you to create dynamic and seamless transitions within a single shot or scene.
- Overlay text and graphics: Add text or graphic overlays to your music video to convey lyrics, titles, or additional information. Use the editing app’s tools to position and animate these overlays, ensuring readability and cohesiveness with the visuals.
- Preview and fine-tune: Continuously preview your music video with the applied transitions and visual effects. Make any necessary adjustments to timing, duration, or intensity to create a visually captivating experience that complements the music and narrative.
- Remember subtlety: While visual effects are a great tool to enhance your music video, it’s important to strike a balance. Avoid overusing effects that may overshadow the main focus or distract from the story you’re trying to tell. Subtlety can often have a stronger impact.
- Export and save the final version: Once you are satisfied with the applied transitions and visual effects, export and save the final version of your music video. Ensure that the video format and settings are suitable for the platforms on which you plan to share your video.
Remember, transitions and visual effects should enhance the overall visual storytelling of your music video. They should work in harmony with the music and add another layer of artistry to your production. With the transitions and visual effects applied, it’s time for the final step: exporting and sharing your music video.
Step 10: Exporting and Sharing Your Music Video
After all the hard work put into creating your music video, it’s time to export and share your masterpiece with the world. Follow these steps to effectively export and share your music video from your iPhone:
- Select the appropriate export settings: Before exporting your music video, choose the optimal settings for the video format, resolution, and size. Consider the platforms you plan to share your video on and ensure the settings are compatible.
- Export the video: Use the export function in your video editing app to save the final version of your music video. Depending on the app, you may have options to adjust the video quality, file size, and compression settings.
- Save a high-quality copy: It’s always a good practice to save a high-quality copy of your music video for future reference or potential re-edits. Retain a version that preserves the initial quality of your video production.
- Upload to video sharing platforms: Upload your music video to popular video sharing platforms like YouTube, Vimeo, or social media platforms such as Instagram or Facebook. Follow their specific guidelines and optimize the video title, description, and tags to reach a wider audience.
- Create teasers or trailers: Consider creating shorter teasers or trailers of your music video to generate buzz and anticipation. These can be shared on social media platforms to give your audience a glimpse of what’s to come.
- Embed on your website or blog: If you have a website or blog, embed your music video to showcase it directly to your audience. This allows visitors to easily watch and enjoy your video without leaving your platform.
- Promote on social media: Utilize your social media channels to promote and share your music video. Engage with your followers, ask for feedback, and encourage them to share the video with their networks to help spread the word.
- Collaborate with influencers or bloggers: Collaborate with influencers or bloggers in your genre to help promote your music video. Reach out to them and offer exclusive content, interviews, or incentives to feature your video on their platforms.
- Submit to festivals or competitions: Consider submitting your music video to film festivals or competitions related to music videos. This can provide exposure and recognition for your work, potentially leading to new opportunities and connections.
- Engage with your audience: Once your music video is out in the world, actively engage with your audience. Respond to comments, encourage sharing, and seek feedback. This interaction creates a sense of community and strengthens your connection with your audience.
Remember, sharing your music video is an exciting step towards building an audience and gaining exposure. Utilize various platforms and promotional strategies to expand your reach and engage with your viewers. With your music video exported and shared, it’s time to celebrate your achievement!
Conclusion
Congratulations! You’ve reached the end of this comprehensive guide on how to make a music video on your iPhone. By following the step-by-step process outlined in this article, you now have the knowledge and tools to create your own professional-looking music videos right from the palm of your hand.
We started by emphasizing the importance of choosing the right music video concept that aligns with your song and sparks your creativity. Then, we discussed the necessary preparations, including clearing storage space, charging your iPhone, and setting up your shot for optimal video recording. Planning and storyboarding played a vital role in visualizing your ideas and ensuring a smooth shooting process.
With your footage recorded, we moved on to enhancing your videos with effect apps, exploring transitions, visual effects, and audio adjustments to elevate the overall quality of your music video. We highlighted the importance of striking a balance between creativity and subtlety to achieve a visually engaging result.
Editing played a crucial role in bringing your music video together. We discussed the process of trimming, arranging shots, applying transitions and visual effects, and adjusting audio levels to create a cohesive and captivating final product.
Finally, we wrapped up by guiding you through the process of exporting and sharing your music video. From selecting the appropriate export settings to leveraging various platforms and promotional strategies, we emphasized the importance of reaching your audience and engaging with them in a meaningful way.
Now it’s time to take what you’ve learned and unleash your creativity. Experiment, refine your skills, and continue to push the boundaries of your music video productions. Remember, the journey of creating music videos is a continuous one, and each project is an opportunity for growth and self-expression.
So, grab your iPhone, your passion for music, and let your imagination soar as you embark on the exciting journey of creating your next amazing music video. Happy filming!