Home>Production & Technology>MP3>How To Make An MP3 File On IPhone
MP3
How To Make An MP3 File On IPhone
Published: December 8, 2023
Learn how to easily create MP3 files on your iPhone and enjoy your favorite music on the go. Step-by-step guide for converting audio files to MP3 format.
(Many of the links in this article redirect to a specific reviewed product. Your purchase of these products through affiliate links helps to generate commission for AudioLover.com, at no extra cost. Learn more)
Table of Contents
Introduction
Welcome to the era of digital music where we can carry our favorite tunes with us wherever we go. While streaming services have become the go-to for music lovers, there is still something special about having your own library of MP3 files on your iPhone. Creating an MP3 file on your iPhone allows you to personalize your collection by including rare tracks, live performances, or audio recordings that may not be available on streaming platforms.
In this article, we will guide you through the process of creating an MP3 file on your iPhone. Whether you have recorded a song, downloaded a podcast, or received an audio file from a friend, we will show you how to convert it to the popular MP3 format. By following these simple steps, you’ll be able to enjoy your favorite audio content in a format that is compatible with your iPhone.
Before we dive into the steps, it’s important to note that there are various apps available on the App Store that can help you convert audio files to MP3 format. For this guide, we will be using a popular and user-friendly app called “File Converter”. Make sure to have it installed on your iPhone before proceeding.
Now, let’s get started and learn how to make an MP3 file on your iPhone!
Step 1: Install a file conversion app
The first step in creating an MP3 file on your iPhone is to install a file conversion app. While there are many apps available on the App Store, we recommend using “File Converter” for its ease of use and reliable performance. Follow these steps to install the app:
- Open the App Store on your iPhone.
- Tap on the search icon at the bottom of the screen.
- Type “File Converter” in the search bar and tap the search button.
- Look for the “File Converter” app in the search results and tap on it.
- Tap the “Get” button to download and install the app.
Once the app is successfully installed on your iPhone, you’re ready to move on to the next step.
Note: “File Converter” is a free app with optional in-app purchases for additional features. You can use the basic conversion functionality without making any purchases.
Step 2: Select the audio file
Now that you have installed the “File Converter” app, it’s time to select the audio file that you want to convert to MP3 format. Follow these steps:
- Launch the “File Converter” app on your iPhone.
- You will be presented with a list of supported file formats. Tap on the format that corresponds to your audio file. For example, if you have an audio file in WAV format, select WAV.
- The app will open a file browsing interface. Navigate to the location where your audio file is stored. This can be your iPhone’s internal memory, iCloud, or any other cloud storage service you have linked to the app.
- Browse through the folders and find the audio file you want to convert. Tap on it to select it.
Once you have selected the audio file, you’re ready to proceed to the next step. Make sure you have chosen the correct file before moving forward. Double-check the file name and extension to avoid any mistakes.
If the audio file you want to convert is not stored on your iPhone and is only accessible through a streaming app or website, you may need to first download the file to your device. Refer to the specific app or website’s instructions on how to download files.
Step 3: Choose MP3 as the output format
Now that you have selected the audio file, it’s time to choose MP3 as the output format. “File Converter” app allows you to select from a variety of output formats, including MP3. Follow these steps:
- After selecting the audio file, you will be directed to the conversion settings screen.
- Look for the “Output Format” or “Convert To” option and tap on it.
- A list of supported output formats will appear. Scroll through the list until you find “MP3”. Tap on it to select MP3 as the output format.
By choosing MP3 as the output format, you ensure that the audio file will be converted to the widely supported format that is compatible with your iPhone and most other devices and media players.
If you are looking for specific settings or quality options for the MP3 file, some file conversion apps offer advanced customization. Look for options like bitrate, sample rate, and channel settings to adjust the audio quality according to your preference. However, keep in mind that higher quality settings may result in larger file sizes.
Once you have selected MP3 as the output format and configured any desired settings, you’re ready to proceed to the next step.
Step 4: Customize the MP3 settings
After selecting MP3 as the output format, you may have the option to customize the MP3 settings to suit your preferences. This step is optional, but it allows you to fine-tune the audio quality and file size. Follow these steps to customize the MP3 settings:
- On the conversion settings screen, look for options related to MP3 settings or audio quality.
- You may find options such as bitrate, sample rate, and channel settings. Bitrate determines the audio quality, while the sample rate represents the number of samples per second and the channel settings control whether the audio is in mono or stereo.
- Tap on the respective settings and choose your desired values. Higher bitrates and sample rates generally result in better audio quality but at the cost of larger file sizes.
It’s important to strike a balance between audio quality and file size depending on your needs. If you prefer higher quality audio, you can opt for a higher bitrate and sample rate. On the other hand, if you need to save storage space, selecting lower values will result in smaller file sizes.
Remember that altering the MP3 settings is optional, and if you’re satisfied with the default settings, you can skip this step and proceed to the next one. Once you have customized the MP3 settings to your liking, you’re ready to move on to the next step.
Step 5: Convert the audio file to MP3
After selecting the audio file and customizing the MP3 settings, it’s time to convert the file to MP3 format. Follow these steps:
- Review the conversion settings to ensure that everything is set according to your preferences.
- Double-check the selected audio file and the MP3 output format.
- Look for the “Convert” or “Start” button and tap on it to initiate the conversion process.
Depending on the size of the audio file and the speed of your iPhone, the conversion process may take a few moments to complete. You may see a progress bar indicating the status of the conversion.
During the conversion process, it’s essential not to close the app or interrupt the process to avoid any potential issues with the resulting MP3 file.
Once the conversion is complete, you will be notified, and the app will display the newly converted MP3 file. Congratulations! You have successfully converted the audio file to MP3 format.
It’s important to note that the actual location where the converted MP3 file is saved may vary depending on the app and your device’s settings. In most cases, the app will provide options to save the MP3 file to specific folders on your iPhone or to cloud storage services like iCloud.
If you plan to access the MP3 file from other apps or want to transfer it to your computer, it’s recommended to save it in a location that is easily accessible, such as the “Files” app or a designated folder on your iPhone.
Step 6: Save the MP3 file on your iPhone
After successfully converting the audio file to MP3 format, the final step is to save the MP3 file on your iPhone. Follow these steps:
- Once the conversion process is complete, you will be presented with the newly converted MP3 file.
- Depending on the file conversion app you are using, you may have the option to choose the save location for the MP3 file.
- If prompted, select the desired save location on your iPhone. You can save it in the “Files” app, in a specific folder within the app, or any other location that suits your needs.
- If the app does not provide specific save options, the MP3 file is usually saved to a default location within the app or in your iPhone’s music library.
- Once you have selected the save location, tap on the “Save” or “Done” button to confirm and save the MP3 file.
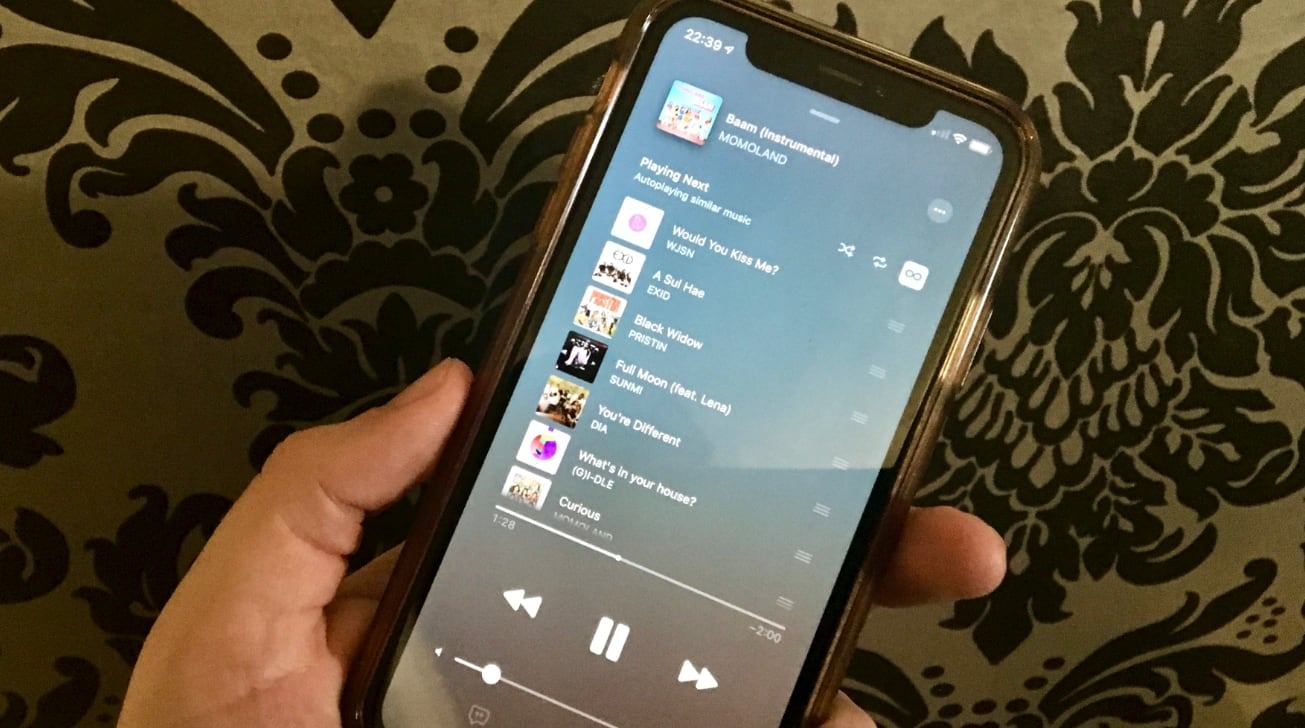
After saving the MP3 file, you can access it using various apps on your iPhone. You can use the built-in “Music” app to play the MP3 file, or you can use third-party music player apps that support MP3 format.
If you prefer to organize your MP3 files in a specific way, you can create folders within the “Files” app or use file manager apps to manage and categorize your audio files.
It’s important to note that the availability and functionality of saving options may vary depending on the app you are using. Some apps may require additional in-app purchases or offer advanced features for managing and organizing your MP3 files.
By following these steps, you are now able to create and save MP3 files on your iPhone. Enjoy your personalized collection of audio content that you can enjoy anytime, anywhere!
Conclusion
Creating an MP3 file on your iPhone allows you to have a personalized collection of audio content that you can enjoy on the go. With the help of the “File Converter” app (or any other file conversion app of your choice), you can easily convert audio files to the widely compatible MP3 format.
In this article, we provided a step-by-step guide on how to make an MP3 file on your iPhone. We started by installing a file conversion app and then went through the process of selecting the audio file and choosing MP3 as the output format. We also showed you how to customize the MP3 settings to suit your preferences. Finally, we covered the process of converting the audio file to MP3 and saving it on your iPhone.
Remember, the process may vary slightly depending on the file conversion app you use, but the overall steps remain the same. It’s important to pay attention to the details and ensure that you have selected the correct audio file and output format before initiating the conversion process.
Now that you have the knowledge and tools to create MP3 files on your iPhone, you can start building your own collection of favorite tracks, rare recordings, or podcasts that you can enjoy at your convenience. Whether you want to listen to your music offline or share audio content with friends, having MP3 files on your iPhone provides you with that flexibility.
So, what are you waiting for? Start exploring and converting your audio files to MP3 format and enjoy a personalized music library right on your iPhone!