Home>Instruments>Bass>How To Set Up Bass Drum
Bass
How To Set Up Bass Drum
Published: November 29, 2023
Learn how to set up your bass drum properly to enhance your drumming experience. We provide step-by-step instructions and tips to help you optimize your bass drum sound and performance.
(Many of the links in this article redirect to a specific reviewed product. Your purchase of these products through affiliate links helps to generate commission for AudioLover.com, at no extra cost. Learn more)
Table of Contents
Introduction
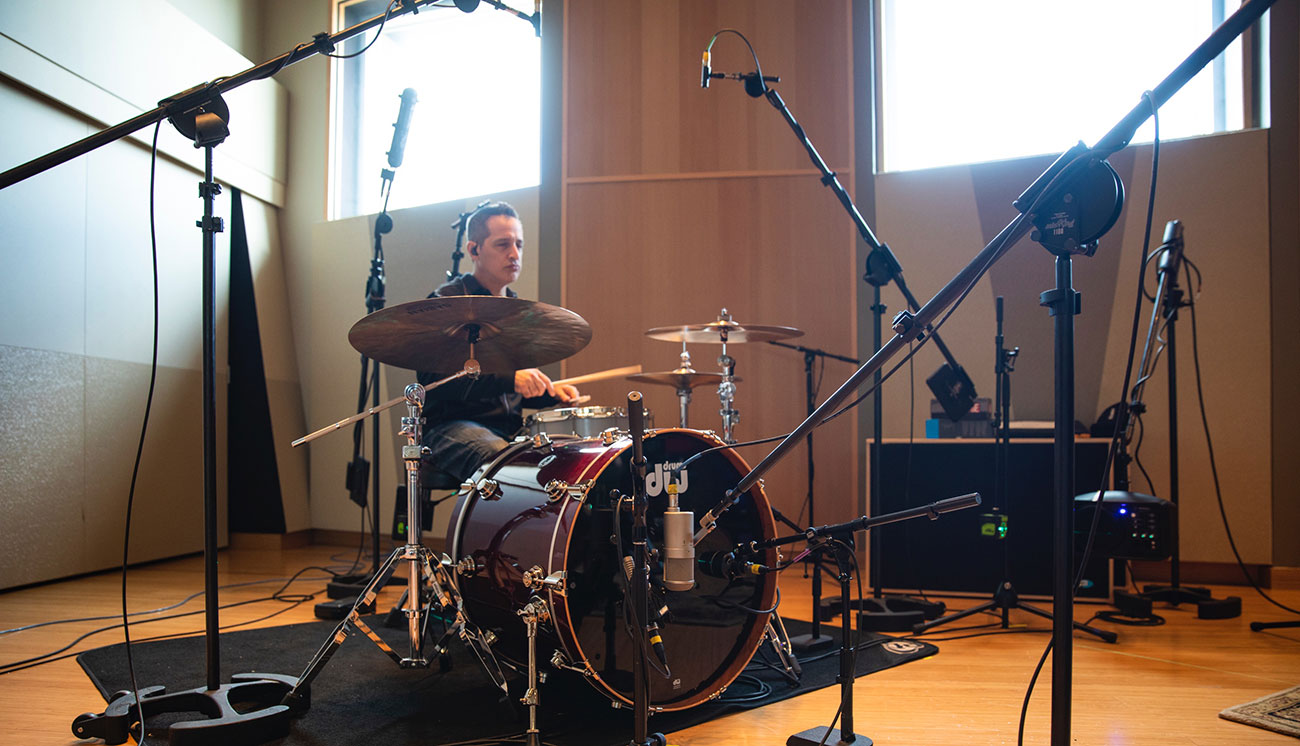
Welcome to this comprehensive guide on how to set up a bass drum. Whether you’re a beginner or an experienced drummer, properly setting up your bass drum is essential for achieving the desired sound and playability. The bass drum, also known as a kick drum, is the heart and foundation of your drum kit, providing the deep thump that drives the rhythm of your music.
In this article, we will walk you through the step-by-step process of setting up your bass drum, from gathering the necessary equipment to tuning it to perfection. We will cover everything from choosing the right bass drum to adjusting the pedal height and beater angle for optimal playing comfort and control. By the end of this guide, you’ll have the knowledge and skills to set up your bass drum like a pro.
Setting up your bass drum correctly not only enhances your playing experience but also affects the overall sound quality of your drum kit. A well-tuned and properly positioned bass drum can make a significant difference in how your drum kit blends with the rest of the instruments in a band or recording setting.
So, whether you’re a drummer in a band, a studio musician, or just someone who enjoys playing drums as a hobby, let’s dive into the world of setting up the bass drum and unlock its full potential.
Gathering Required Equipment
Before you begin setting up your bass drum, it’s important to gather all the necessary equipment. Having everything on hand will ensure a smooth and efficient setup process. Here’s a list of the essential items you’ll need:
- Bass Drum: This is the main component of your setup. Make sure you have a bass drum that suits your playing style and musical preferences.
- Bass Drum Pedal: This is the mechanism that allows you to control the beater hitting the bass drum. Invest in a high-quality pedal for better responsiveness and durability.
- Drum Key: A drum key is a small tool used to tune the drumheads. It’s essential for achieving the desired pitch and tone from your bass drum.
- Tension Rods: These are the threaded rods that attach the drumheads to the bass drum shell. Make sure you have enough tension rods for your specific bass drum model.
- Drumhead(s): You’ll need both a batter head (the one you strike with the pedal) and a resonant head (the one on the front of the drum). Choose drumheads that suit your desired sound and playing style.
- Muffling Materials: Depending on the sound you want to achieve, you may need muffling materials such as foam pads or bass drum pillows to control the resonance and sustain of the bass drum.
- Dampening Accessories: Additional dampening accessories like gel pads or O-rings can be used to further fine-tune the sound of your bass drum.
- Rug or Drum Mat: To prevent the bass drum from sliding or moving during intense playing, use a carpet or drum mat to keep it securely in place.
- Audio Capture Devices: If you plan on recording or amplifying your bass drum sound, have the necessary microphones, audio interfaces, or drum triggers ready.
Having all these items assembled and easily accessible will save you time and frustration during the setup process. Once you’ve gathered everything you need, you’re ready to move on to the next step: choosing the right bass drum.
Choosing the Right Bass Drum
When it comes to choosing the right bass drum, there are a few factors to consider that will greatly impact your overall playing experience. Here are some key considerations:
- Size: Bass drums come in various sizes, typically measured in diameter and depth. The most common sizes for a bass drum in a drum kit are 20 inches in diameter and 16 inches in depth. However, if you’re looking for a deeper, more resonant sound, you can opt for larger sizes. Keep in mind that larger bass drums may require more effort to transport and set up.
- Material: Bass drums are made from different materials, such as wood, acrylic, or metal. Each material offers distinct tonal characteristics. Wood is the most popular choice, with maple, birch, and mahogany being common options. Consider the sound qualities you desire—warm and deep, bright and punchy, or something in between—and choose the material accordingly.
- Shell Construction: The construction of the drum shell also affects its sound. Solid shells provide a focused and resonant tone, while ply shells (made of multiple layers of wood) offer more versatility and projection. Experimenting with different shell construction types can help you find the desired sound for your bass drum.
- Hardware: Pay attention to the hardware quality of the bass drum, including the lugs, tension rods, and hoops. Higher-quality hardware tends to offer better stability, tuning control, and durability. Look for smooth tuning mechanisms and sturdy construction.
- Budget: Set a budget range for your bass drum, considering your overall drum kit budget. While it’s tempting to splurge on the best drum available, keep in mind that there are excellent options available at different price points. Prioritize what matters most to you, whether it’s superior sound quality, brand reputation, or specific features.
When choosing a bass drum, it’s important to try it out in person whenever possible. Visit music stores and test out different models to get a feel for their sound, responsiveness, and comfort. Listen to how the bass drum resonates, how it cuts through other instruments, and how it feels when playing.
Ultimately, the right bass drum is a combination of personal preference, musical style, and budget. Take your time, do your research, and choose a bass drum that inspires you to play and complements your overall drum kit setup.
Preparing the Bass Drum Pedal
Once you’ve chosen the right bass drum for your setup, the next step is to prepare the bass drum pedal. The pedal is the crucial link between your foot and the beater that strikes the bass drum. Here’s how to prepare your bass drum pedal:
- Inspect the Pedal: Start by thoroughly inspecting your bass drum pedal for any signs of damage or wear. Check the pedal’s hinge, springs, and chain (if applicable) to ensure everything is in good working condition. If you notice any issues, consider getting the pedal repaired or replaced.
- Clean the Pedal: Use a damp cloth or mild cleaning solution to clean the pedal surface, removing any dirt or grime that may have accumulated. Avoid using harsh chemicals that could damage the pedal’s finish.
- Lubricate Moving Parts: Apply a small amount of lubricant to the pedal’s moving parts to ensure smooth and responsive performance. Consult the pedal’s manufacturer guidelines for the recommended lubricant type and application technique.
- Adjust Spring Tension: Most bass drum pedals allow you to adjust the spring tension, which determines the pedal’s resistance and feel. Experiment with different tension levels to find the one that suits your playing style and comfort. Looser tension provides a lighter feel, while tighter tension offers more power and control.
- Position the Beater: Adjust the beater position on the pedal to align it with the center of the bass drum. Some pedals have adjustable beater angles and heights. Experiment with different positions to find the one that produces the desired sound and feel when striking the bass drum.
- Secure the Beater: Ensure that the beater is securely attached to the pedal and won’t come loose during playing. Tighten any screws or fasteners that hold the beater in place, following the manufacturer’s instructions.
- Test the Pedal: Before attaching the pedal to the bass drum, give it a few test strikes to ensure a smooth and consistent response. Pay attention to any strange noises or issues and address them before proceeding.
Preparing your bass drum pedal properly ensures that it functions optimally and provides the desired playing experience. Taking the time to inspect, clean, and adjust the pedal will significantly enhance your overall drumming performance.
Now that your bass drum pedal is ready, it’s time to move on to positioning the bass drum itself in your drum kit setup.
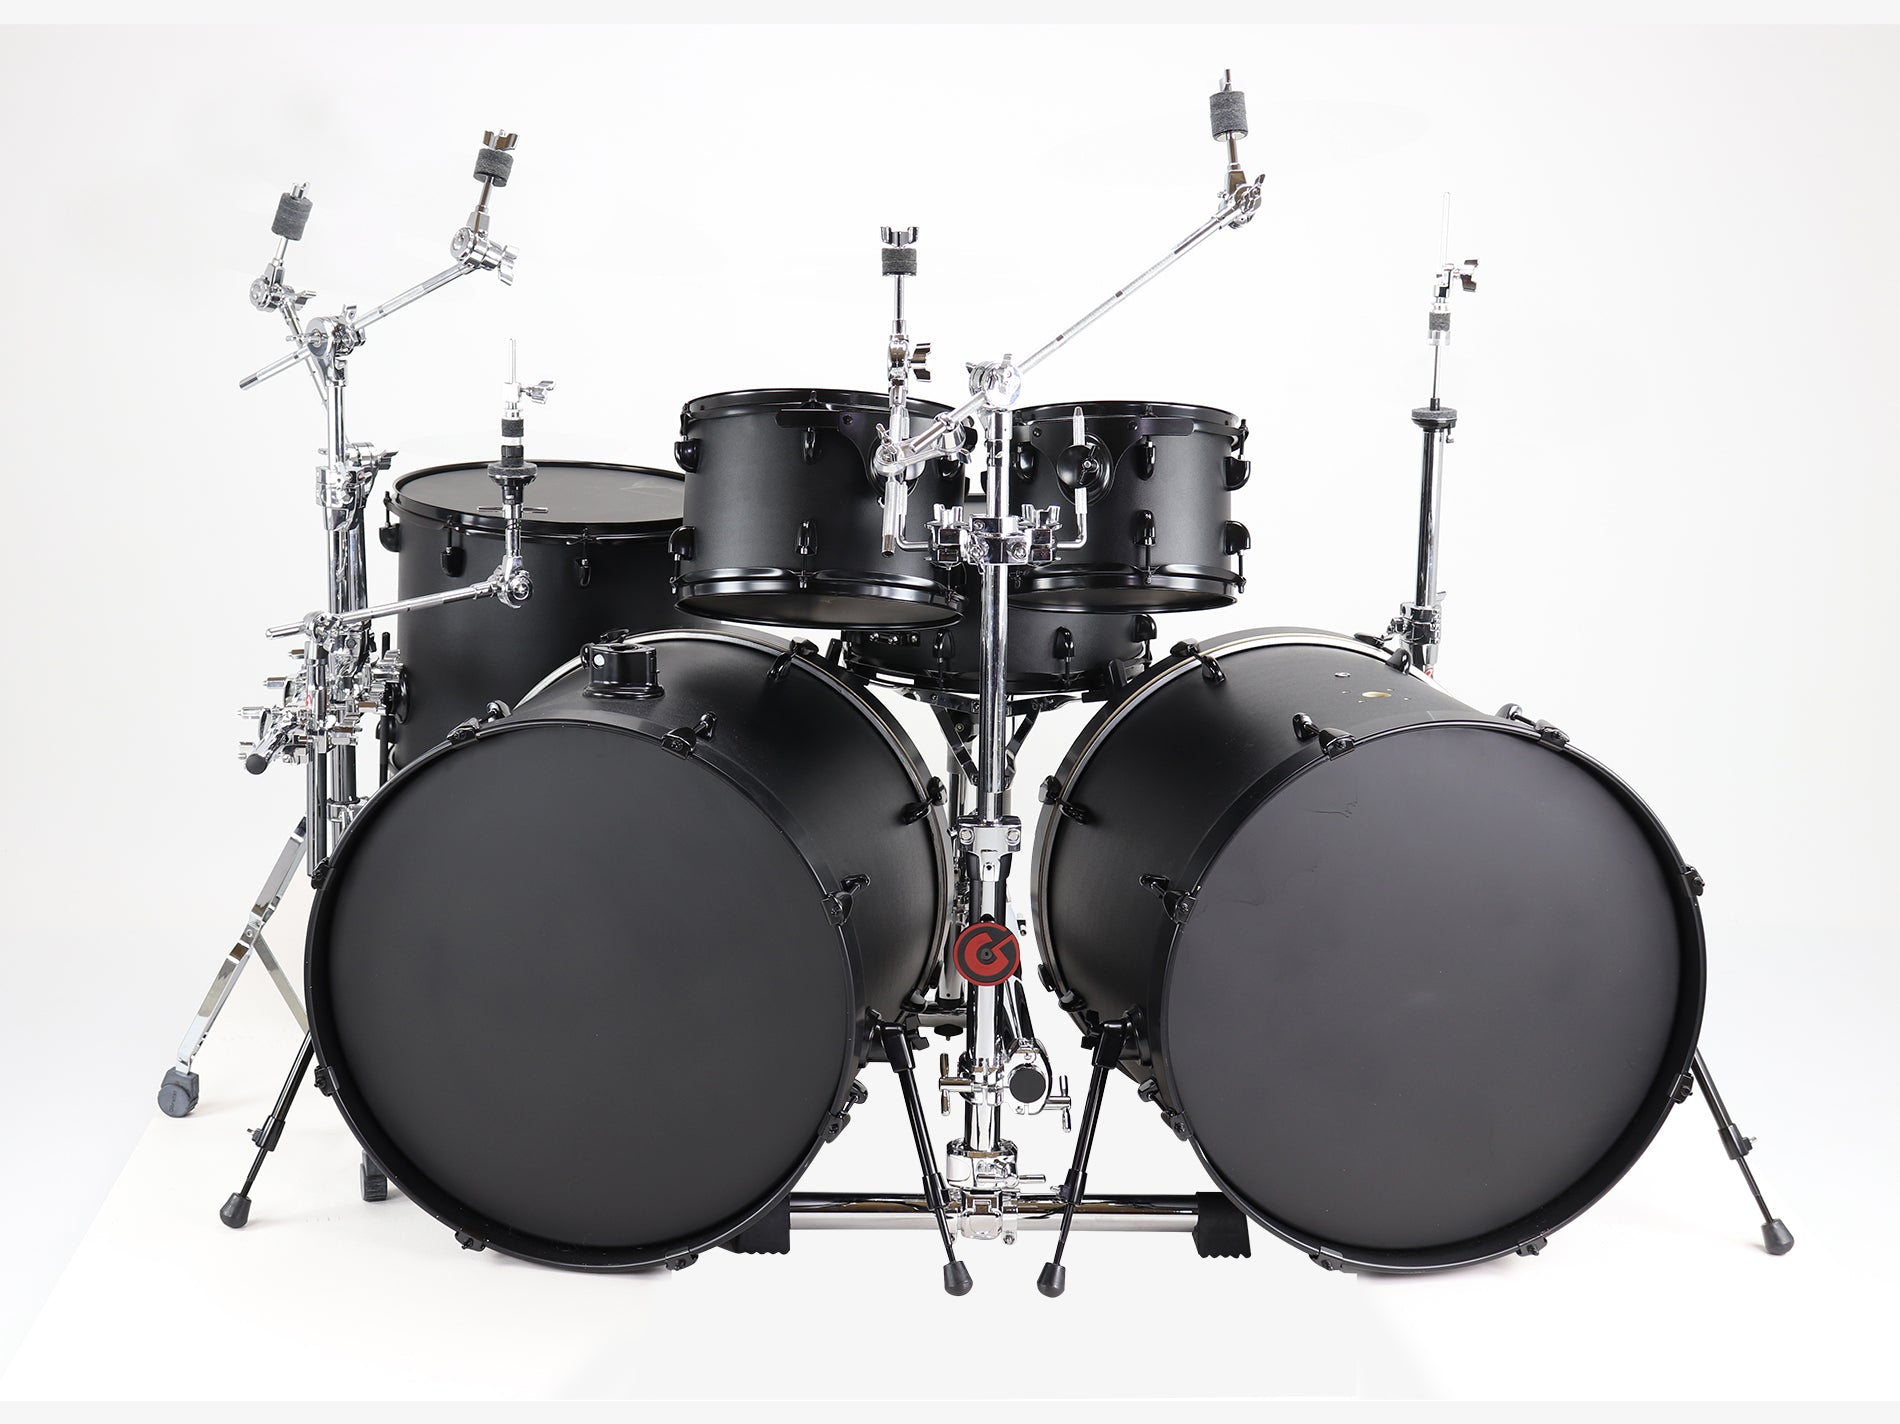
Positioning the Bass Drum
The positioning of your bass drum within your drum kit setup is crucial for both comfort and sound projection. Here are some steps to follow when positioning your bass drum:
- Select the Placement: Consider the overall ergonomics of your drum kit and decide the placement of your bass drum. Traditionally, the bass drum is positioned directly in front of the drummer, slightly angled towards them. However, personal preference and the space available will determine the exact placement.
- Stabilize the Drum: To prevent the bass drum from sliding or moving during intense playing, place a rug or drum mat underneath it. This ensures that the drum stays securely in place during your performance.
- Align with the Hi-Hat Pedal: If you’re using a hi-hat pedal, place the bass drum in a position that allows comfortable access to both the bass drum pedal and the hi-hat pedal. This ensures smooth coordination between your feet while playing.
- Angle to Suit Your Playing Style: Experiment with the angle of the bass drum to find the position that suits your playing style and the desired sound projection. A slight tilt towards you can help optimize the beater’s impact on the drumhead.
- Avoid Obstructions: Make sure there are no obstructions, such as cymbal stands or other drum kit components, that interfere with the bass drum’s movement or vibration. This allows the bass drum to resonate freely and produce the best sound quality.
Keep in mind that the positioning of the bass drum is subjective and can vary depending on personal preference and the specific requirements of your playing style and drum kit configuration. Take the time to experiment with different positions until you find the most comfortable and acoustically pleasing placement.
Once you have positioned the bass drum to your liking, it’s time to move on to adjusting the height of the pedal for optimal playing comfort.
Adjusting the Pedal Height
Adjusting the height of the bass drum pedal is crucial for achieving optimal playing comfort and control. Here’s how to adjust the pedal height:
- Find a Comfortable Position: Sit at your drum throne with your feet flat on the bass drum pedal. Adjust the height of the drum throne to achieve a comfortable playing position, ensuring that your knees are at a 90-degree angle.
- Position the Footboard: The footboard is the part of the pedal that your foot rests on. Adjust the footboard height so that it aligns with the ball of your foot when your foot is in a relaxed position. This allows for efficient pedal control and a natural foot motion.
- Secure the Adjustment Screws: Once you have found the desired pedal height, tighten the adjustment screws or clamps to secure the footboard in place. Ensure that the footboard is stable and doesn’t wobble during play.
- Check for Comfort and Flexibility: Test the pedal’s height by playing various bass drum patterns and techniques. Ensure that your foot feels comfortable and has enough flexibility to execute different playing styles. If necessary, adjust the height further until you achieve the optimal balance of comfort and control.
Keep in mind that the ideal pedal height may vary depending on individual preferences and physical characteristics. Experimentation and fine-tuning are key to finding the perfect pedal height for your playing style.
Once you’ve adjusted the pedal height, the next step is to fine-tune the beater angle to ensure optimal strike placement on the bass drum. This will be covered in the next section.
Adjusting the Beater Angle
Adjusting the beater angle on your bass drum pedal is essential for achieving the desired sound and response. Here’s how you can adjust the beater angle:
- Loosen the Beater Nut: Locate the beater nut on the pedal and loosen it. This will allow you to adjust the angle of the beater.
- Experiment with Different Angles: Begin by positioning the beater parallel to the bass drumhead, also known as a flat or 90-degree angle. From there, experiment with different angles by adjusting the beater forward or backward.
- Forward Angle: A forward angle positions the beater closer to the bass drumhead, resulting in a more focused and punchy sound with increased attack. This angle is commonly used in rock and metal genres to achieve a strong and pronounced bass drum sound.
- Backward Angle: A backward angle positions the beater further away from the bass drumhead, producing a more open and resonant sound with increased sustain. This angle is often preferred in jazz, fusion, and softer musical styles where a warm and airy bass drum tone is desired.
- Experiment and Fine-tune: Play the bass drum at different beater angles to assess the sound and feel. Fine-tune the beater angle by making small adjustments until you find the sweet spot that produces your desired tone and response.
- Tighten the Beater Nut: Once you’ve found the optimal beater angle, tighten the beater nut to secure it in place. Make sure it is securely fastened to avoid any unwanted movement during play.
Remember, the beater angle is subjective and dependent on your personal preference and the musical style you play. It may take some experimentation to find the angle that best suits your playing style and desired bass drum sound.
With the beater angle adjusted, you’re one step closer to setting up your bass drum. The next section will cover securing the bass drum in place to prevent any unwanted movement during play.
Securing the Bass Drum
Securing the bass drum is crucial to prevent any unwanted movement during your drumming session. A stable and secure bass drum ensures consistent sound projection and allows you to focus on your performance. Here are some steps to follow when securing your bass drum:
- Use a Drum Rug or Mat: Place a drum rug or mat underneath your bass drum. This helps to provide traction and prevents the drum from sliding or moving during intense playing. Make sure the rug is large enough to accommodate the bass drum and any other equipment that will be placed on it.
- Position the Spikes or Rubber Feet: Many bass drums come equipped with spikes or rubber feet on the bottom. If your bass drum has spikes, make sure to extend them into the rug or floor for added stability. If your bass drum has rubber feet, ensure they are in good condition and provide a firm grip on the surface.
- Attach a Bass Drum Anchor: A bass drum anchor is a metal or rubber device that attaches to the bass drum hoop or rim and extends to the floor. It helps to further stabilize the bass drum by preventing it from shifting during play. Attach the anchor using the appropriate screws or fasteners recommended by the manufacturer.
- Check for Stability: Once everything is in place, test the stability of the bass drum by applying some force to it and checking for any movement. If you notice any instability, readjust the positioning of the rug, increase the grip of the spikes or rubber feet, or consider using additional stabilizing methods such as sandbags or weights.
It’s essential to ensure that the bass drum is securely held in place to avoid any disruptions and ensure consistent performance. By following these steps, you’ll have a well-secured bass drum that can withstand the power and impact of your playing.
Now that your bass drum is secure, the next step is to tune it to achieve the desired sound. The following section will guide you through the process of tuning your bass drum.
Tuning the Bass Drum
Tuning the bass drum is a crucial step in achieving a well-balanced and desirable sound. Proper tuning enhances the tone, projection, and overall performance of the bass drum. Here’s how to tune your bass drum:
- Start with the Resonant Head: Begin by loosening the tension rods on the resonant head of the bass drum. This is the head on the front side of the drum, opposite the batter head.
- Tighten the Rods Evenly: Use a drum key to tighten each tension rod on the resonant head gradually. Start at one tension rod and move diagonally to the one opposite it. Continue this pattern until all rods are tightened evenly. This ensures an even tension across the head.
- Tap and Listen: After each adjustment, tap the drumhead near each tension rod and listen carefully for any differences in pitch. Aim for an even and consistent pitch across all the rods.
- Check for Resonance: Once the resonant head is tuned, lightly strike the batter head (the head you strike with the pedal) and listen for the sustain and resonance of the drum. If the sound is too ringy or lacks sustain, you may need to adjust the tension of the resonant head accordingly.
- Tweak as Needed: Continue making small adjustments to the tension rods of both heads until you achieve the desired sound. Don’t be afraid to experiment and fine-tune the tuning to suit your personal preferences and the musical style you’re playing.
- Use Muffling Materials if Desired: If you wish to control the sustain and resonance further, consider using muffling materials like foam pads or bass drum pillows. Place them inside the drum against the resonant head to dampen the sound and achieve a shorter decay if desired.
- Test and Refine: After tuning, play the bass drum with different techniques and listen to the result. Assess the tone, sustain, and overall response. If necessary, make additional adjustments to optimize the tuning to your liking.
Remember that tuning is subjective and can vary depending on personal preference and the musical style you’re playing. It may require some trial and error to find the perfect balance of tone and resonance for your bass drum.
By following these steps and using your ears as a guide, you’ll be able to tune your bass drum to achieve the desired sound that enhances your overall drumming experience.
Conclusion
Setting up your bass drum correctly is essential for achieving optimal sound, playability, and overall drumming experience. By following the step-by-step guide outlined in this article, you have learned how to properly set up your bass drum from gathering the necessary equipment to tuning it to perfection.
Starting with gathering the required equipment, you ensured that you have everything you need to begin the setup process. Choosing the right bass drum based on size, material, and hardware considerations sets the foundation for achieving your desired sound.
Preparing the bass drum pedal involved inspecting, cleaning, and adjusting the pedal to ensure smooth performance. Positioning the bass drum in your drum kit setup involves finding the best placement, considering comfort and accessibility to other pedals and components.
Adjusting the pedal height and beater angle further enhances your playing experience by optimizing comfort and control. Securing the bass drum with a rug or mat, spikes or rubber feet, and a bass drum anchor prevents any undesired movement during play.
Tuning the bass drum is the final step, allowing you to achieve the perfect balance of tone and resonance. By properly tuning both the batter and resonant heads and making small adjustments, you create the desired sound that complements your musical style.
Remember, throughout the setup process, it’s important to experiment, fine-tune, and listen to your instincts and preferences. Every drummer has unique needs and preferences, so don’t be afraid to tailor the setup to suit your individual style.
With your bass drum accurately set up, you are now ready to embark on an incredible drumming journey. So grab your sticks, unleash your creativity, and let the powerful thump of your bass drum drive the rhythm of your music.