Home>Production & Technology>MP3>How To Save Logic Pro As MP3


MP3
How To Save Logic Pro As MP3
Modified: January 27, 2024
Learn how to save your Logic Pro projects as MP3 files with our step-by-step guide. Easily export your music in high-quality MP3 format for convenient sharing and playback.
(Many of the links in this article redirect to a specific reviewed product. Your purchase of these products through affiliate links helps to generate commission for AudioLover.com, at no extra cost. Learn more)
Table of Contents
Introduction
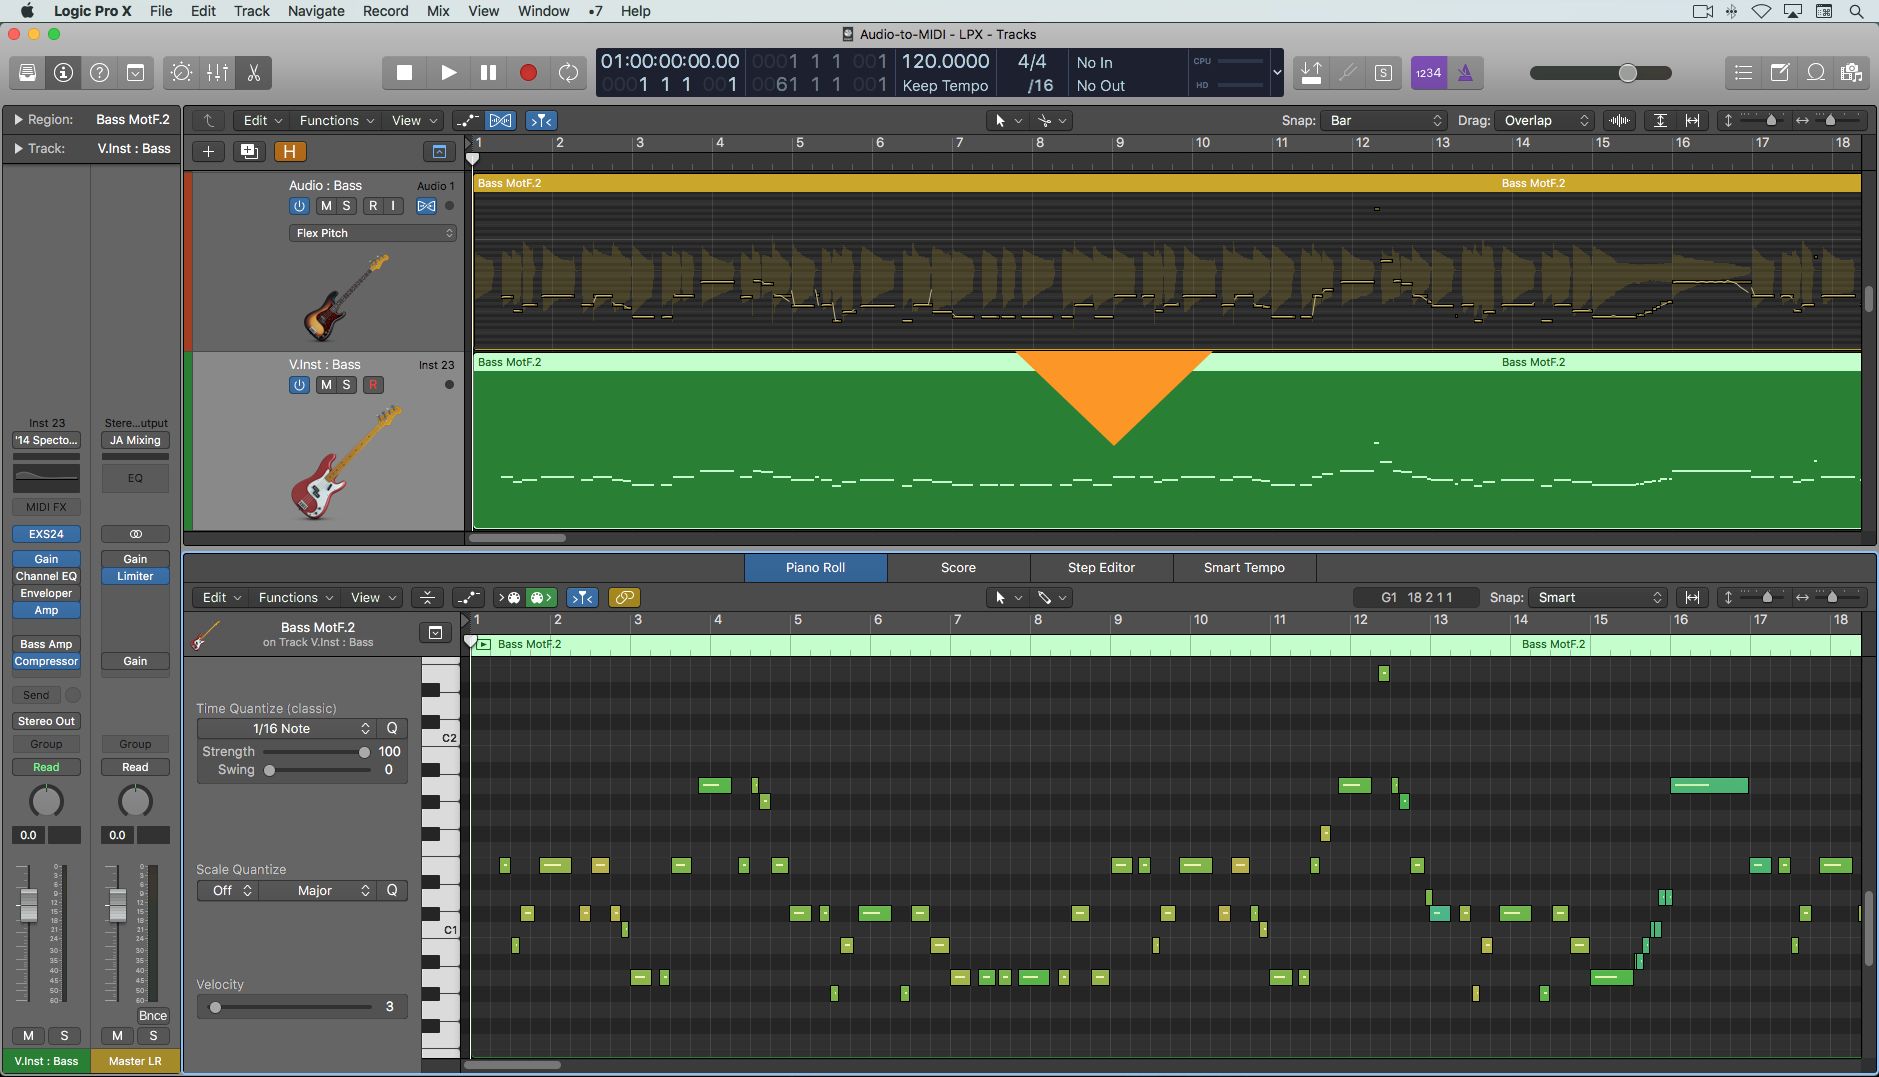
Logic Pro is a powerful digital audio workstation (DAW) that is widely used by musicians, producers, and audio engineers around the world. It offers a plethora of features and tools that allow users to create and manipulate audio recordings with precision and creativity.
However, Logic Pro defaultly saves projects in its native format, which may not be compatible with all devices or platforms. In certain situations, you may need to convert your Logic Pro project into a more widely accepted audio format, such as MP3.
In this article, we will guide you through the process of saving a Logic Pro project as an MP3 file. By following these steps, you will be able to conveniently share your music or audio creations with others, whether it’s for online distribution, streaming platforms, or simply for personal use.
So, let’s dive in and explore the steps required to save your Logic Pro project as an MP3!
Step 1: Exporting the Logic Pro Project
The first step in saving your Logic Pro project as an MP3 file is to export the project. Exporting allows you to render your project as a standalone audio file that can be played and shared on various devices and platforms.
To export your Logic Pro project, follow these simple steps:
- Go to the File menu at the top of the Logic Pro interface.
- Select the option labeled “Export” or “Bounce” (depending on the version of Logic Pro you are using).
- A dialog box will appear, presenting you with various export options.
By default, Logic Pro will export the entire project, but you can also choose to export specific sections or regions if needed.
Once you have selected the export option, click on the “Next” button to proceed to the next step.
Exporting your Logic Pro project is a crucial step in the conversion process, as it prepares your project for the conversion to MP3 format.
Note: It’s always a good idea to save a backup of your Logic Pro project before exporting, in case you need to make any changes or modifications to the original file later on.
Step 2: Setting the Export Options
Once you have initiated the export process, Logic Pro presents you with a dialog box that allows you to set various export options. These options determine the format, quality, and other parameters of the exported audio file.
Here’s how you can set the export options in Logic Pro:
- In the export dialog box, choose the desired format for the exported audio file. This can typically be set using a dropdown menu, and for the purpose of saving as an MP3, select the appropriate format.
- Specify the file name and location where you want to save the exported audio file.
- Choose the bit depth and sample rate for the exported audio. Higher values generally result in better audio quality, but keep in mind that they also result in larger file sizes.
- Select any additional options or settings that may be available, such as dithering or normalization, based on your specific requirements.
- Preview the settings to ensure they match your desired output. Logic Pro may provide a waveform preview or other visual representation of the audio to help you make informed decisions.
Once you have reviewed and adjusted the export options to your satisfaction, click on the “Next” or “Export” button to proceed.
It’s important to spend some time in this step to ensure that the export options are set appropriately, as this will greatly affect the quality and compatibility of the final MP3 file.
Step 3: Choosing the File Format
After setting the export options in Logic Pro, the next step is to choose the desired file format for the exported audio file. This step is crucial as it determines the compatibility and usability of the final file.
To choose the file format in Logic Pro, follow these steps:
- In the export dialog box, navigate to the section where you can select the file format.
- Logic Pro typically offers a range of options, including popular formats like WAV, AIFF, and MP3.
- For the purpose of saving as an MP3 file, select the MP3 format. This format is widely supported and can be played on almost any device or platform.
Choosing the MP3 format ensures that your exported audio file can be easily shared, uploaded, and played back without any compatibility issues.
It’s worth noting that if you have specific requirements or if the intended use of the file demands a different format, you can choose accordingly. However, for general purposes, MP3 is the most commonly used format for audio distribution and sharing.
Once you have selected the desired file format, proceed to the next step to fine-tune and adjust the MP3 settings for optimal results.
Step 4: Selecting the MP3 Format
After choosing the file format as MP3 in Logic Pro, you can further customize and refine the MP3 settings to suit your preferences and requirements. These settings affect the audio quality and file size of the exported MP3 file.
Here’s how you can select the MP3 format in Logic Pro:
- In the export dialog box, locate the section where you can adjust the MP3 settings.
- Logic Pro provides options to control the bitrate and quality of the MP3 file.
- The bitrate determines the amount of data used to represent the audio. Higher bitrates generally result in better audio quality but also lead to larger file sizes.
- You can choose a preset bitrate or manually enter a specific value according to your needs.
- Additionally, Logic Pro may offer options such as stereo mode (mono or stereo), variable bitrate (VBR), and other advanced settings.
When selecting the MP3 format, it’s essential to strike a balance between audio quality and file size. Higher bitrates will provide better sound fidelity, especially for complex music compositions, but they will result in larger file sizes. Lower bitrates can significantly reduce file size, but audio quality may be compromised.
Consider the intended use of the MP3 file. If it’s for professional distribution or high-quality playback, a higher bitrate may be preferred. However, for online streaming or casual listening, a lower bitrate may be sufficient.
Once you have chosen the desired MP3 settings, proceed to the next step to save your Logic Pro project as an MP3 file.
Step 5: Adjusting the MP3 Settings
After selecting the MP3 format in Logic Pro, you have the option to further adjust the MP3 settings to optimize the audio output according to your preferences. These settings can help fine-tune the audio quality and ensure that the exported MP3 file meets your specific requirements.
Here’s how you can adjust the MP3 settings in Logic Pro:
- In the export dialog box, locate the section where you can modify the MP3 settings.
- Logic Pro may provide options such as Joint Stereo, which can enhance the stereo image of the audio.
- Additionally, you may find options to adjust the encoding mode, such as Constant Bit Rate (CBR) or Variable Bit Rate (VBR).
- CBR encodes the audio using a constant bitrate setting throughout the file, while VBR adapts the bitrate depending on the complexity of the audio.
- Experiment with different settings to find the optimal configuration that suits your project.
By adjusting the MP3 settings, you have the flexibility to control the balance between audio quality and file size. Consider the specific characteristics of your project, such as the musical genre, the intended playback environment, and the available storage space.
It’s important to note that while higher quality settings can enhance the audio experience, they also result in larger file sizes. Be mindful of the needs and limitations of your target audience and distribution platforms. For instance, if you plan to upload the MP3 file to a streaming platform, it may have specific guidelines and restrictions regarding file size and bitrate.
Once you are satisfied with the MP3 settings, proceed to the final step to save your Logic Pro project as an MP3 file.
Step 6: Saving the Logic Pro Project as MP3
After you have fine-tuned the MP3 settings in Logic Pro, it’s time to save your Logic Pro project as an MP3 file. This step finalizes the export process and generates the desired audio file in the MP3 format.
Follow these steps to save your Logic Pro project as an MP3:
- Review all the settings and options you have selected for the export process.
- Ensure that the file name and destination location for the MP3 file are correctly entered.
- When you are ready to proceed, click on the “Export” button or a similar function to initiate the export process.
- Logic Pro will start rendering and converting your project into an MP3 file based on the chosen settings.
- The export process may take some time, depending on the length and complexity of your project.
- Once the export is complete, you will find the MP3 file saved in the specified destination folder.
It’s crucial to verify the exported MP3 file to ensure that it meets your expectations in terms of audio quality and compatibility. Take a moment to listen to the file and compare it to the original project in Logic Pro.
If you are satisfied with the exported MP3 file, you can now easily share it with others, upload it to streaming platforms, burn it onto a CD, or use it in any other way you desire.
Congratulations! You have successfully saved your Logic Pro project as an MP3 file.
Conclusion
Converting your Logic Pro project into an MP3 file allows you to share your music and audio creations with others in a widely supported format. By following the simple steps outlined in this article, you can easily save your Logic Pro project as an MP3 file and ensure its compatibility across various devices and platforms.
Remember to carefully set the export options, choose the appropriate file format, and adjust the MP3 settings according to your specific needs. Finding the right balance between audio quality and file size is essential to ensure a satisfying listening experience and efficient file transfer.
With Logic Pro’s powerful features and the versatility of the MP3 format, you can confidently showcase your musical talents, distribute your music online, or simply enjoy your audio creations on the go.
Now that you have the knowledge and understanding to save Logic Pro projects as MP3 files, go ahead and explore the possibilities with your music. Whether you’re a professional musician, a producer, or an enthusiast, this skill will prove invaluable in sharing your talent and creativity with the world.
So, start exporting your Logic Pro projects as MP3 files and let your music be heard!


