Home>Production & Technology>Metronome>How To Turn Off Metronome Logic Pro X

Metronome
How To Turn Off Metronome Logic Pro X
Published: January 13, 2024
Discover how to easily turn off the metronome in Logic Pro X. Step-by-step guide to silence the metronome and focus on your music.
(Many of the links in this article redirect to a specific reviewed product. Your purchase of these products through affiliate links helps to generate commission for AudioLover.com, at no extra cost. Learn more)
Table of Contents
Introduction
Welcome to this tutorial on how to turn off the metronome in Logic Pro X. If you’re a music producer or musician using Logic Pro X, you may find the metronome feature helpful for keeping time and staying in sync with your music. However, there are occasions when you might want to disable the metronome, either because it’s distracting during the recording process or because you prefer to work without a metronome altogether.
The metronome in Logic Pro X is a built-in tool that provides an audible click or sound at a consistent tempo to guide your musical performance. It can be a handy aid when recording audio or MIDI tracks, especially when you need to maintain a precise rhythm. However, there may be times when you need silence or a different audio reference during your creative process. Whether you’re a beginner or an experienced Logic Pro X user, learning how to turn off the metronome is a useful skill to have.
In this tutorial, we will guide you through the steps to turn off the metronome in Logic Pro X. You’ll learn how to disable the metronome temporarily for a specific project or permanently adjust the metronome settings to suit your preferences. So let’s jump right in and explore how to silence the metronome in Logic Pro X.
Step 1: Launching Logic Pro X
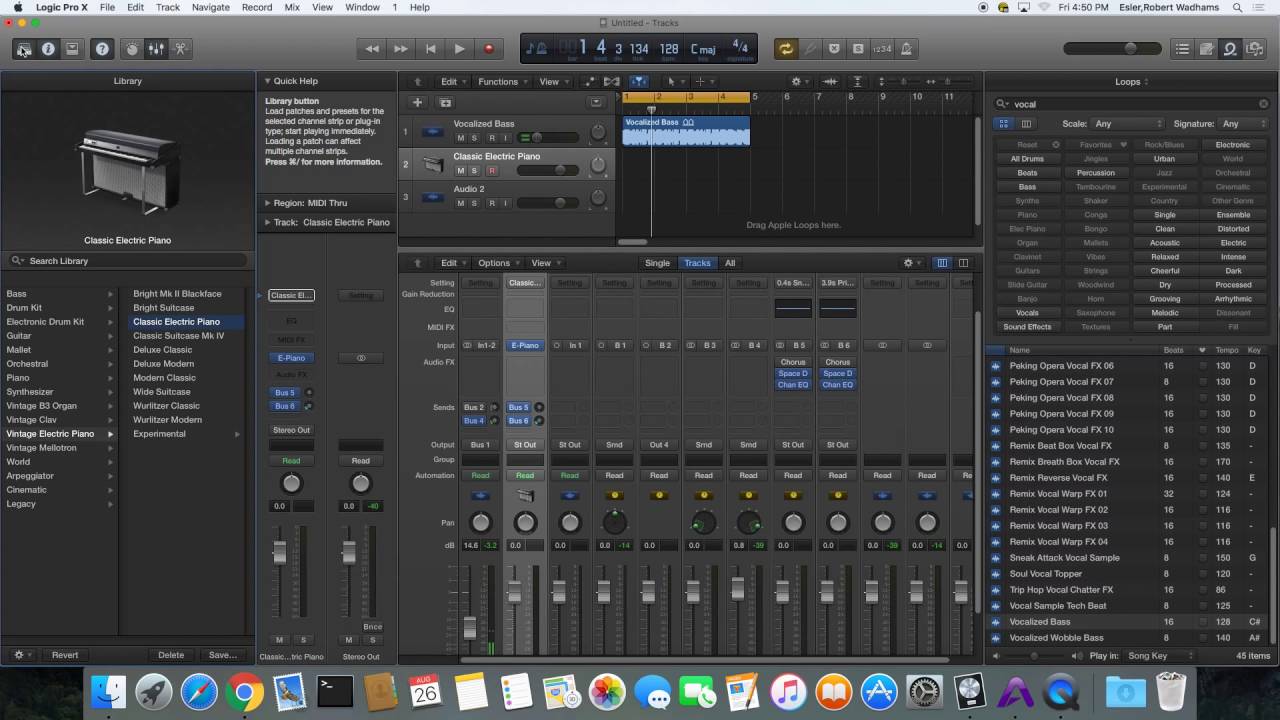
The first step in turning off the metronome in Logic Pro X is to launch the software on your computer. Locate the Logic Pro X application icon in your applications folder or dock and double-click to open it.
Once Logic Pro X is open, you’ll be greeted with the project selection screen. If you have a specific project in mind that you want to work on, you can select it from the list. Alternatively, you can choose to start a new project by clicking on the “New Project” button.
If you’re new to Logic Pro X and just want to follow along with this tutorial, you can select a blank project or a template of your choice. Templates are pre-configured setups that can help you get started quickly with different types of music production.
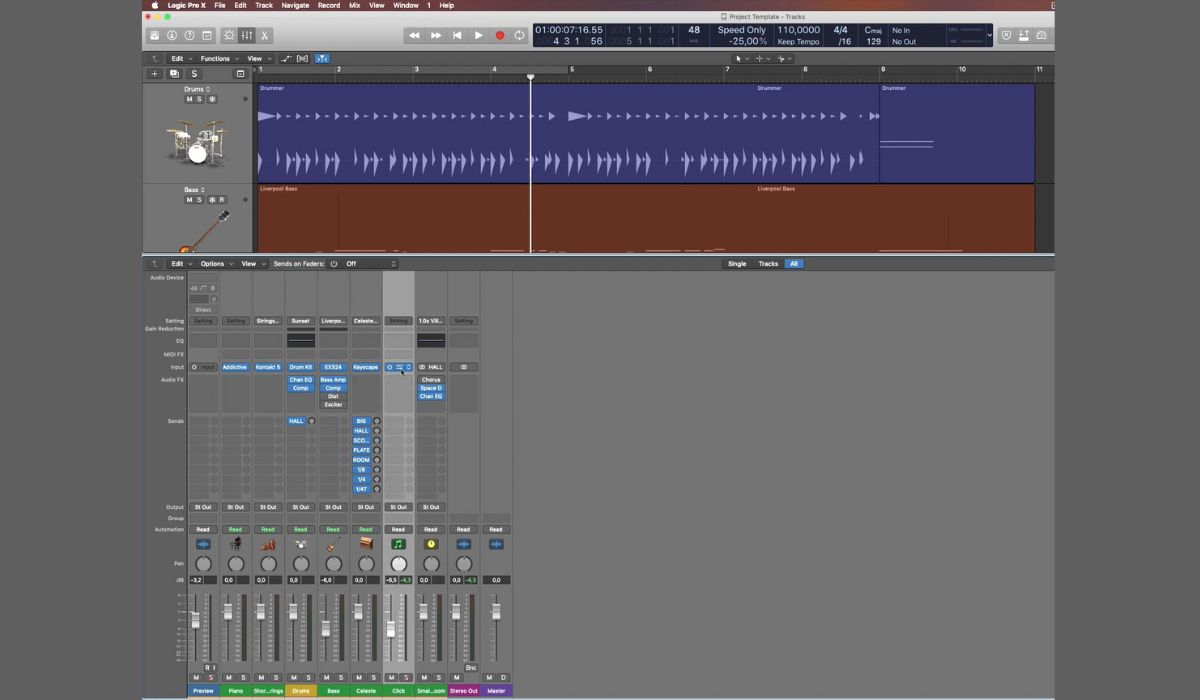
After selecting or creating a project, click on the “Open” button to proceed. Logic Pro X will then load the project and display the main interface where you can access all the features and settings.
Now that you have successfully launched Logic Pro X and have a project open, let’s move on to the next step and learn how to access the metronome settings.
Step 2: Opening the Project
Once you’ve launched Logic Pro X, the next step is to open the project in which you want to turn off the metronome. If you’ve already created a project and saved it, you can easily access it from the “Recent” section in the project selection screen.
To open a project from the “Recent” section, simply click on the project’s name or thumbnail. Logic Pro X will load the project and open it in the main interface. If you don’t see your desired project in the “Recent” section, you can use the “Open…” option to browse for and select your project from its saved location on your computer.
If you’re starting a new project, you can skip this step and proceed to the next section. However, if you have an existing project that you want to work on, it’s important to open it before you can make any changes to the metronome settings.
Opening the project allows you to access all the tracks, plugins, and settings associated with it. Once the project is open, you can move on to the next step to learn how to access the metronome settings in Logic Pro X.
Step 3: Accessing the Metronome Settings
Now that you have your project open in Logic Pro X, it’s time to access the metronome settings. Logic Pro X provides a straightforward way to access and modify the metronome preferences to suit your needs.
To access the metronome settings, navigate to the top menu bar and click on “Logic Pro” in the menu. From the drop-down menu, select “Preferences” and then choose “Audio” from the submenu. Alternatively, you can use the keyboard shortcut “Command + , (comma)” to access the preferences.
In the Preferences window, you’ll see different tabs at the top. Click on the “Recording” tab to access the recording preferences. Within the Recording preferences, you will find the metronome settings.
Look for the section labeled “Metronome” or “Metronome/Count-in” in the Recording preferences. Depending on the version of Logic Pro X you’re using, the location of the metronome settings may vary slightly. If you’re having trouble finding the metronome options, you can use the search bar at the top-right corner of the Preferences window and type in “metronome” to quickly locate them.
Now that you’ve successfully accessed the metronome settings, it’s time to move on to the next step and learn how to disable the metronome in Logic Pro X.
Step 4: Disabling the Metronome
Once you’ve accessed the metronome settings in Logic Pro X, you can now proceed to disable the metronome. There are a few different options available depending on your preference and the specific requirements of your project.
Option 1: Temporary Disablement
If you only wish to temporarily disable the metronome for the current recording session or playback, you can do so by using the key command “M” on your keyboard. Simply press the “M” key, and the metronome will be toggled on or off. This option is quick and convenient when you only need temporary silence from the metronome.
Option 2: Turn Off Audio Output
If you want to completely silence the metronome without disabling it, you can turn off the audio output for the metronome in the metronome settings. To do this, uncheck the “Audio” box or mute the output level slider. This will prevent the metronome sound from playing, but the visual metronome indicator on the screen will still be active.
Option 3: Metronome Preferences
For more advanced control over the metronome, you can customize the metronome preferences in the Recording preferences. Here, you can adjust the metronome sound, volume, and other related settings. To disable the metronome, simply uncheck the “Click” or “Metronome” box in the preferences. This will deactivate the metronome feature and ensure that it doesn’t play during recording or playback.
Choose the option that suits your needs best. If you want a quick and temporary silence, use the key command. If you desire complete silence, turn off the audio output. And if you prefer to fully disable the metronome, adjust the metronome preferences accordingly.
Now that you know how to disable the metronome, let’s move on to the final step to ensure your changes are saved.
Step 5: Saving Changes
After you have disabled the metronome in Logic Pro X, it’s important to save your changes to ensure that the metronome remains disabled for future sessions or projects.
To save the changes you made to the metronome settings, simply close the Preferences window by clicking on the red “X” button or using the keyboard shortcut “Command + W”. Logic Pro X will automatically save your preferences, including the metronome settings, as part of your project file.
If you want to further ensure that the metronome remains disabled for all future projects, you can save the current project as a template. To do this, navigate to the top menu bar and click on “File”. From the drop-down menu, choose “Save as Template”, and follow the prompts to save the current project as a template.
By saving the project as a template, you can start new projects based on this template, and the metronome settings will automatically be applied, including the disabled metronome.
Remember to save your project regularly as you work on it to avoid losing any changes or modifications you’ve made. You can use the keyboard shortcut “Command + S” or go to “File” and choose “Save” to save your project.
With your changes saved, you have successfully disabled the metronome in Logic Pro X. Now you can continue working on your project without the distraction of the metronome, allowing for a more focused and immersive music production experience.
Congratulations! You now know how to turn off the metronome in Logic Pro X and have the freedom to control when and how it is used in your projects. Enjoy your journey as you create music with Logic Pro X!
Conclusion
In this tutorial, we have explored the process of turning off the metronome in Logic Pro X. Whether you needed a temporary silence, complete silence, or a permanent disabling of the metronome, we have covered the various options available to achieve your desired outcome.
We started by launching Logic Pro X and opening the project in which you wanted to disable the metronome. Then, we guided you through accessing the metronome settings, where you could make the necessary adjustments.
You learned about the different options for disabling the metronome, including using a key command for temporary silence, turning off the audio output, or adjusting the metronome preferences to fully disable it.
Lastly, we emphasized the importance of saving your changes to ensure that the metronome remains disabled for future projects. We discussed saving the changes within the project file and the option of saving the project as a template for future use.
By following these steps, you now have the knowledge and skills to control the presence of the metronome in Logic Pro X according to your preferences and creative needs. You can fully immerse yourself in your music production without any distractions from the metronome.
Now it’s time to take what you’ve learned and apply it to your own projects. Experiment with different settings, explore the vast capabilities of Logic Pro X, and let your creativity flow freely.
Thank you for joining us in this tutorial, and we hope that disabling the metronome in Logic Pro X enhances your music production experience. Happy creating!


