Home>Instruments>Drums>How To Connect Electronic Drums To A Computer
Drums
How To Connect Electronic Drums To A Computer
Modified: March 9, 2024
Learn how to easily connect electronic drums to a computer for recording and practicing. Follow these simple steps to integrate your drums with your digital setup. Discover the best ways to link your drums to a computer.
(Many of the links in this article redirect to a specific reviewed product. Your purchase of these products through affiliate links helps to generate commission for AudioLover.com, at no extra cost. Learn more)
Table of Contents
Introduction
Welcome to the exciting world of electronic drums! Whether you’re a seasoned drummer looking to expand your sonic horizons or a budding musician eager to experiment with new sounds, connecting electronic drums to a computer opens up a realm of possibilities. In this comprehensive guide, we will explore the process of seamlessly integrating your electronic drum kit with a computer, allowing you to harness the power of digital audio workstations (DAWs) and unlock a universe of creative potential.
Electronic drums have revolutionized the music industry, offering unparalleled versatility, customization, and convenience. These modern marvels enable drummers to explore a vast array of sounds, from traditional acoustic drum tones to cutting-edge electronic beats, all within a compact and adaptable framework. By connecting your electronic drums to a computer, you can harness the full potential of these instruments, leveraging the capabilities of music production software to record, edit, and enhance your performances.
Whether you’re aiming to record studio-quality drum tracks, create captivating electronic music, or simply practice with a diverse range of sounds, the fusion of electronic drums and computer technology empowers you to elevate your musical endeavors to new heights. Throughout this guide, we will delve into the intricacies of connecting electronic drums to a computer, offering step-by-step instructions, valuable tips, and troubleshooting insights to ensure a seamless and rewarding integration.
So, grab your drumsticks, prepare to embark on an immersive musical journey, and let’s dive into the exhilarating process of connecting electronic drums to a computer!
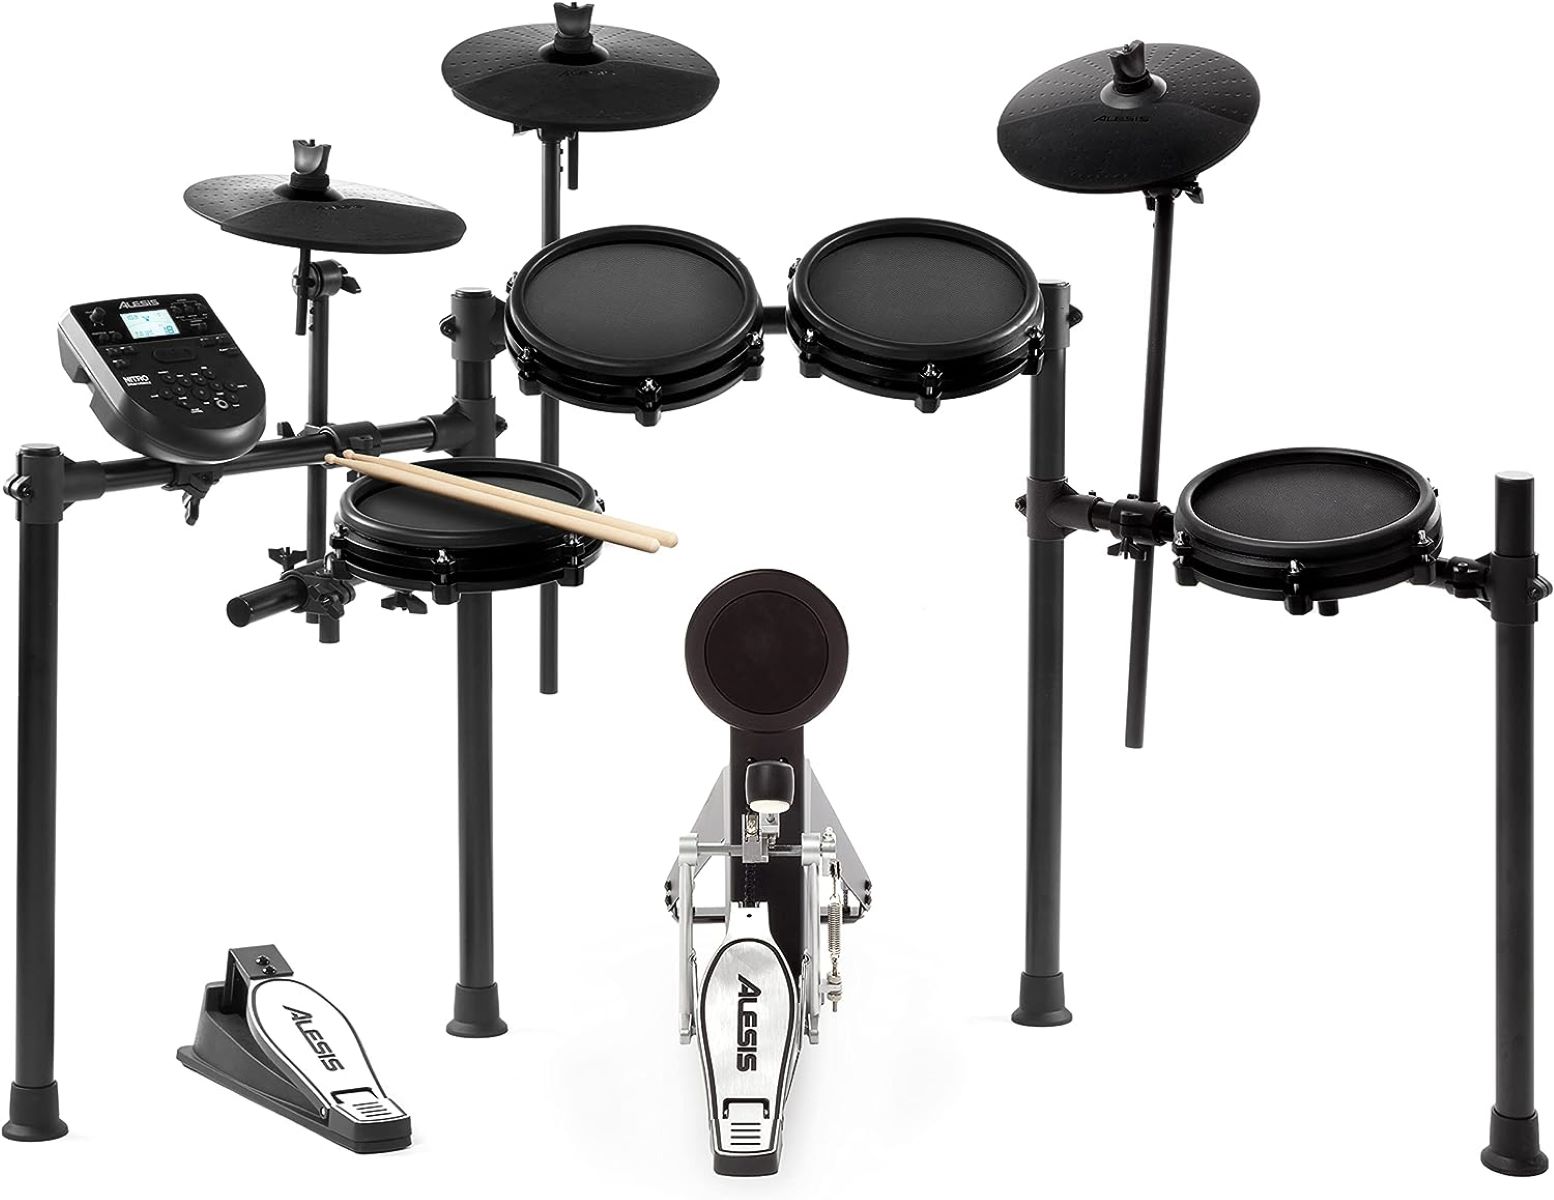
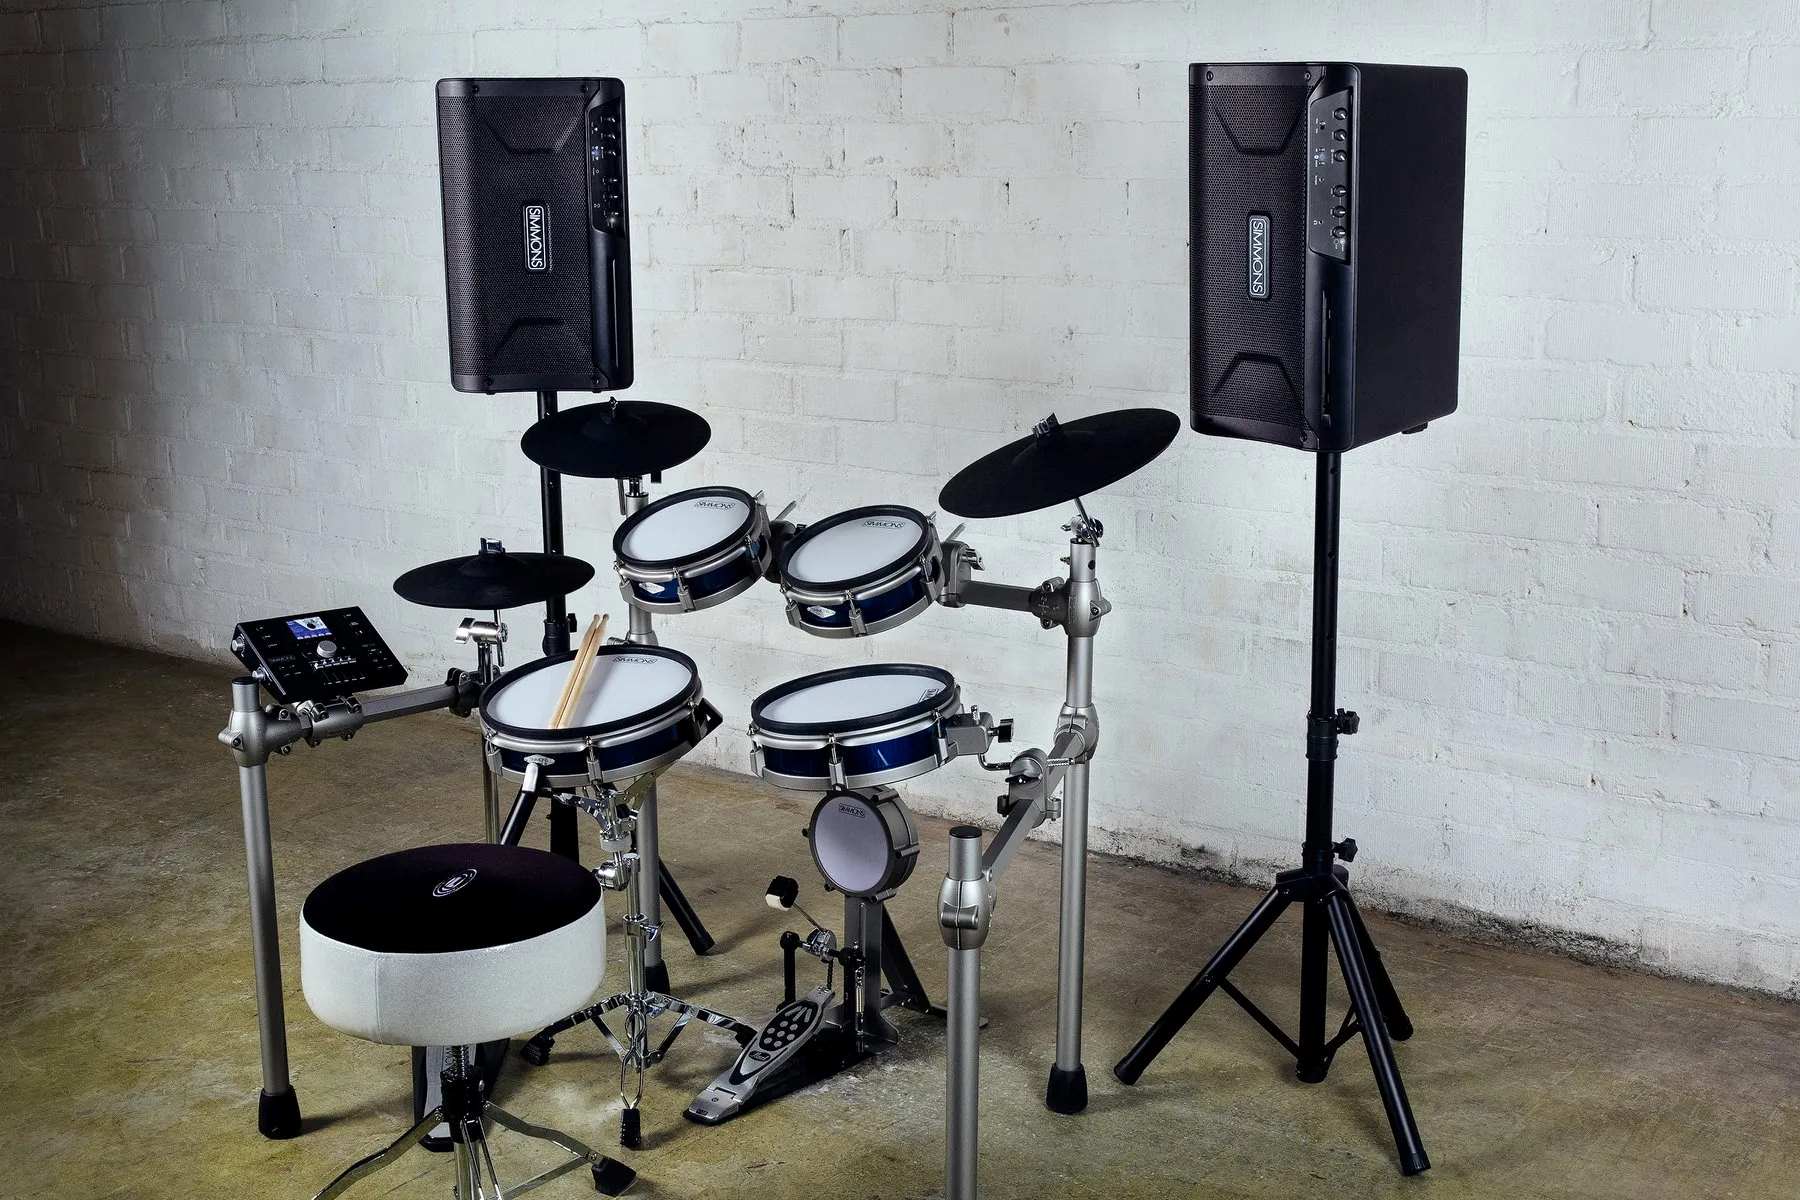
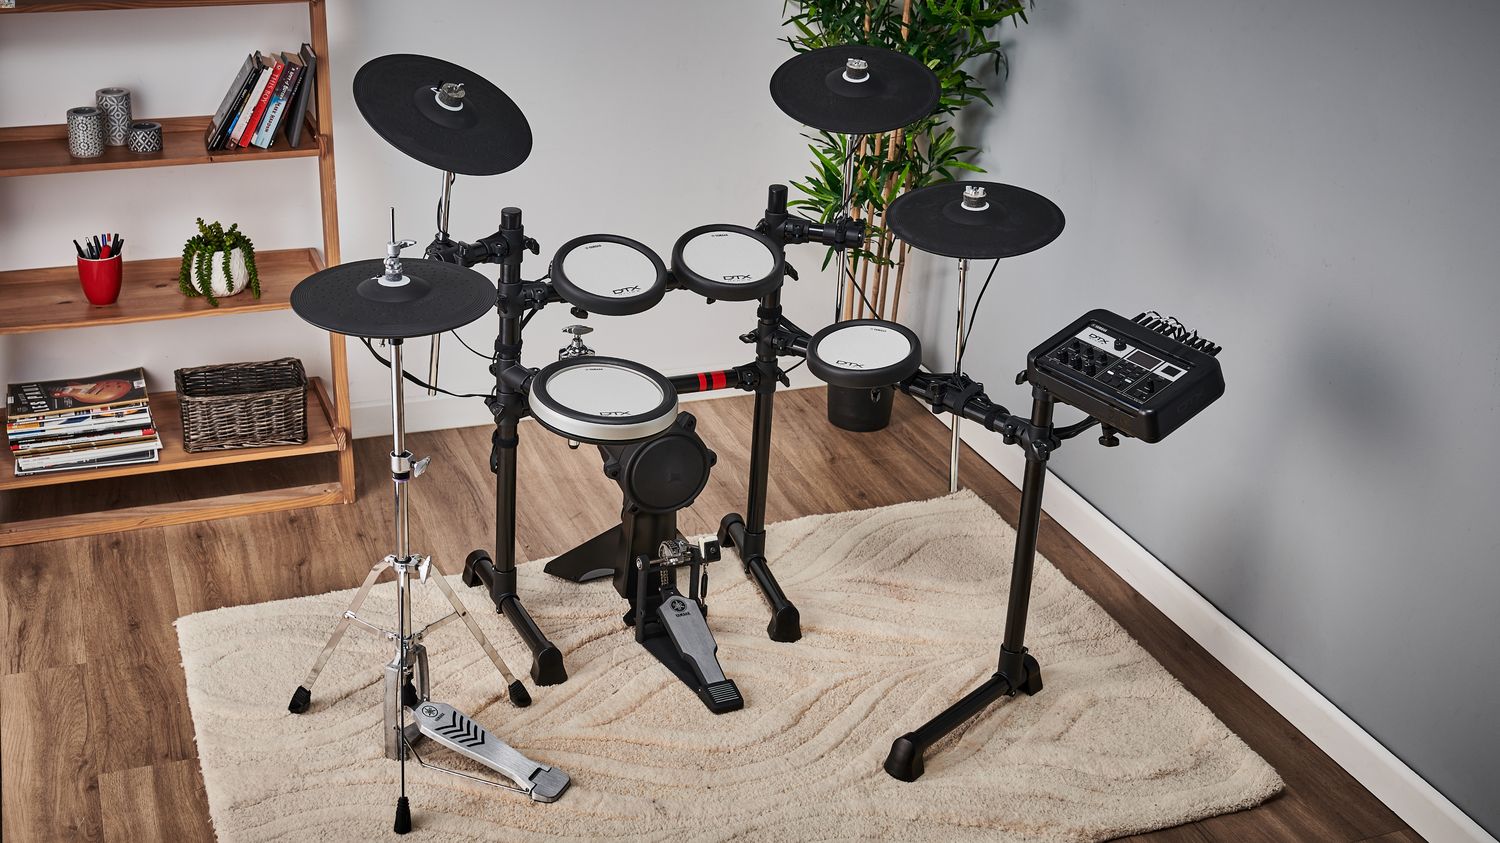
Understanding Electronic Drums
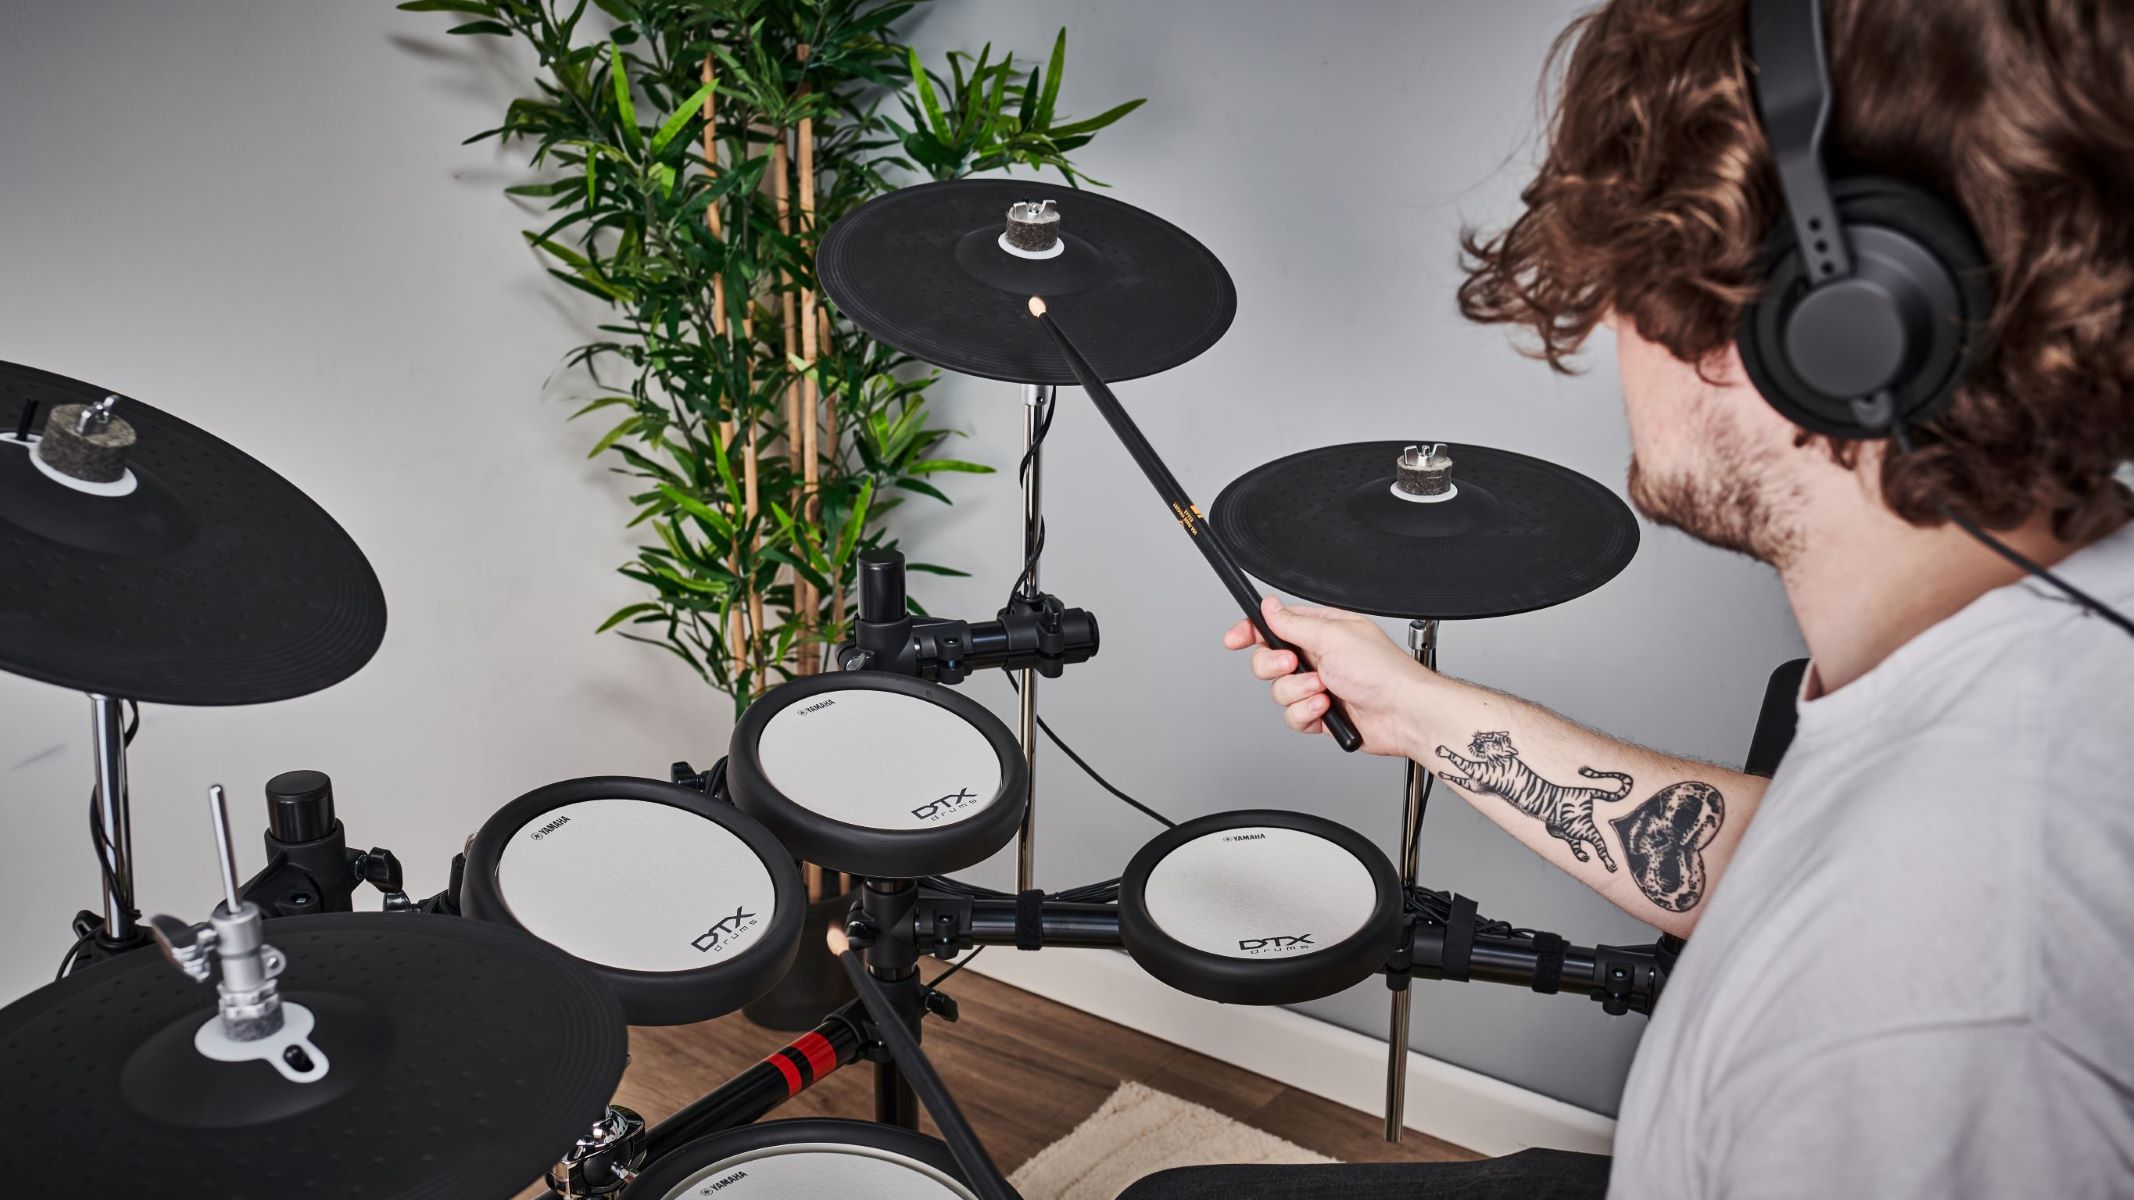
Before delving into the process of connecting electronic drums to a computer, it’s essential to grasp the fundamental components and functionalities of these innovative instruments. Unlike traditional acoustic drum kits, electronic drums rely on electronic sensors or pads to capture the drummer’s input and produce sound. These sensors are designed to detect the impact of drumsticks or hands, translating the physical motion into electrical signals that trigger the generation of sound.
Electronic drum kits typically consist of several core elements, including drum pads, cymbal pads, a sound module, and a hardware framework. The drum pads serve as the primary surfaces for striking, emulating the role of traditional drumheads, while the cymbal pads replicate the feel and response of acoustic cymbals. The sound module, also known as the brain of the electronic drum kit, processes the input signals from the pads and generates the corresponding audio output, offering a diverse selection of drum and percussion sounds.
One of the defining features of electronic drums is their ability to produce a wide range of sounds beyond the confines of acoustic drum kits. From classic drum kit configurations to electronic samples, synthesized effects, and custom sound libraries, electronic drums empower musicians to explore an extensive sonic palette. This versatility allows drummers to adapt to various musical styles, experiment with unconventional sounds, and seamlessly integrate electronic elements into their performances.
Furthermore, electronic drums offer practical advantages such as volume control, compactness, and the ability to integrate seamlessly with recording and sound reinforcement systems. The ability to adjust the volume levels of individual drum and cymbal pads makes electronic drums ideal for practice sessions in shared living spaces or performance environments where sound management is crucial. Additionally, the compact nature of electronic drum kits makes them well-suited for home studios, rehearsal spaces, and live performances where space may be limited.
By comprehending the underlying technology and capabilities of electronic drums, you can gain a deeper appreciation for their versatility and potential. With this foundational knowledge in place, you are well-equipped to explore the seamless integration of electronic drums with computer technology, unlocking a world of creative opportunities and sonic exploration.
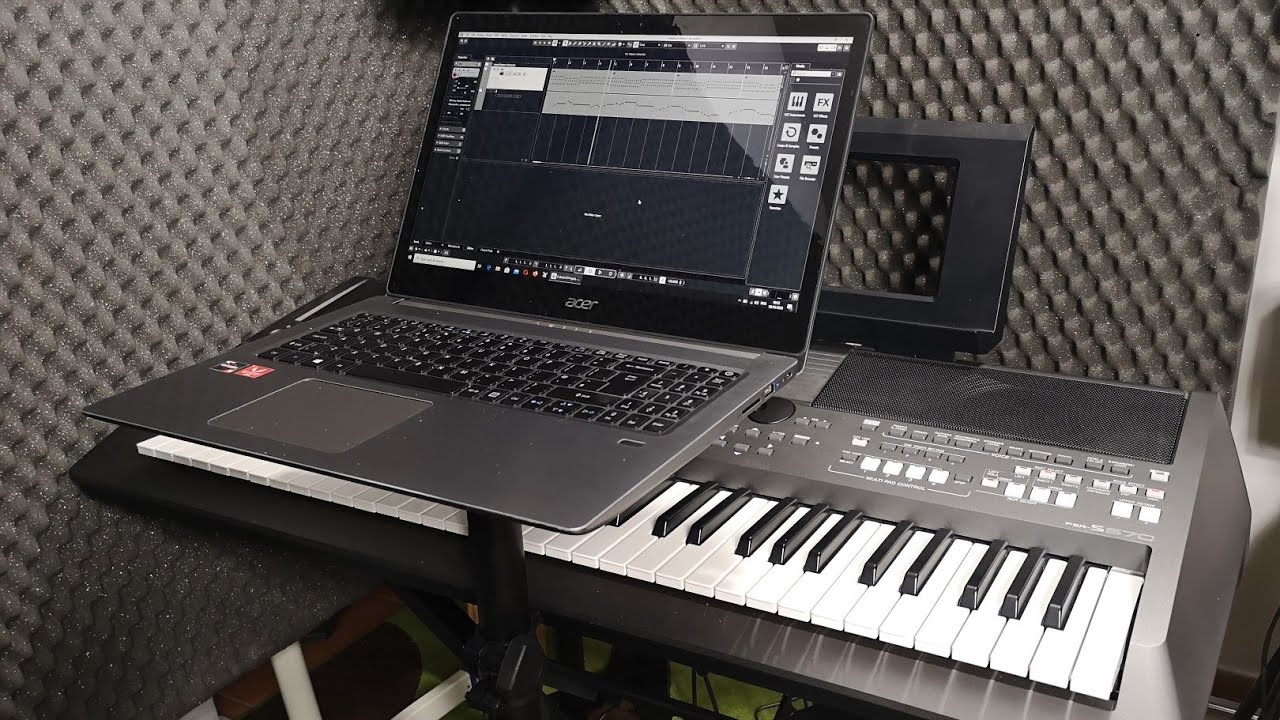
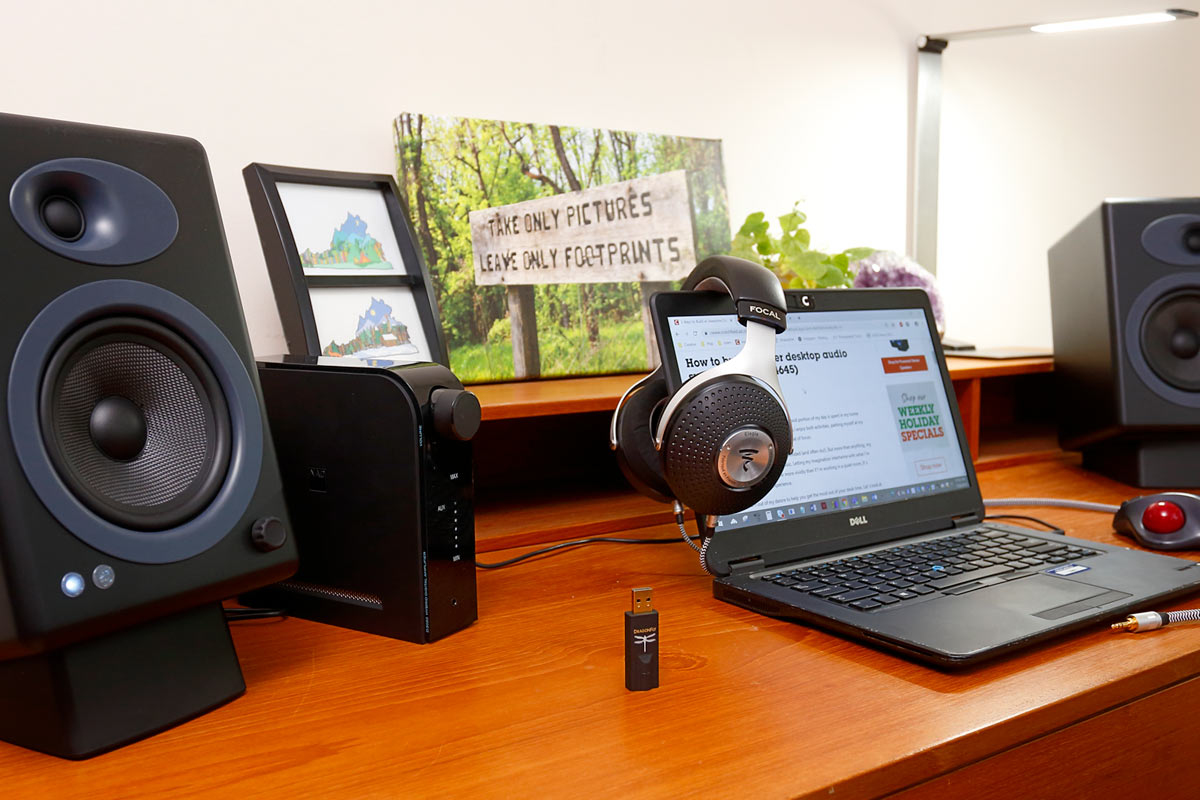
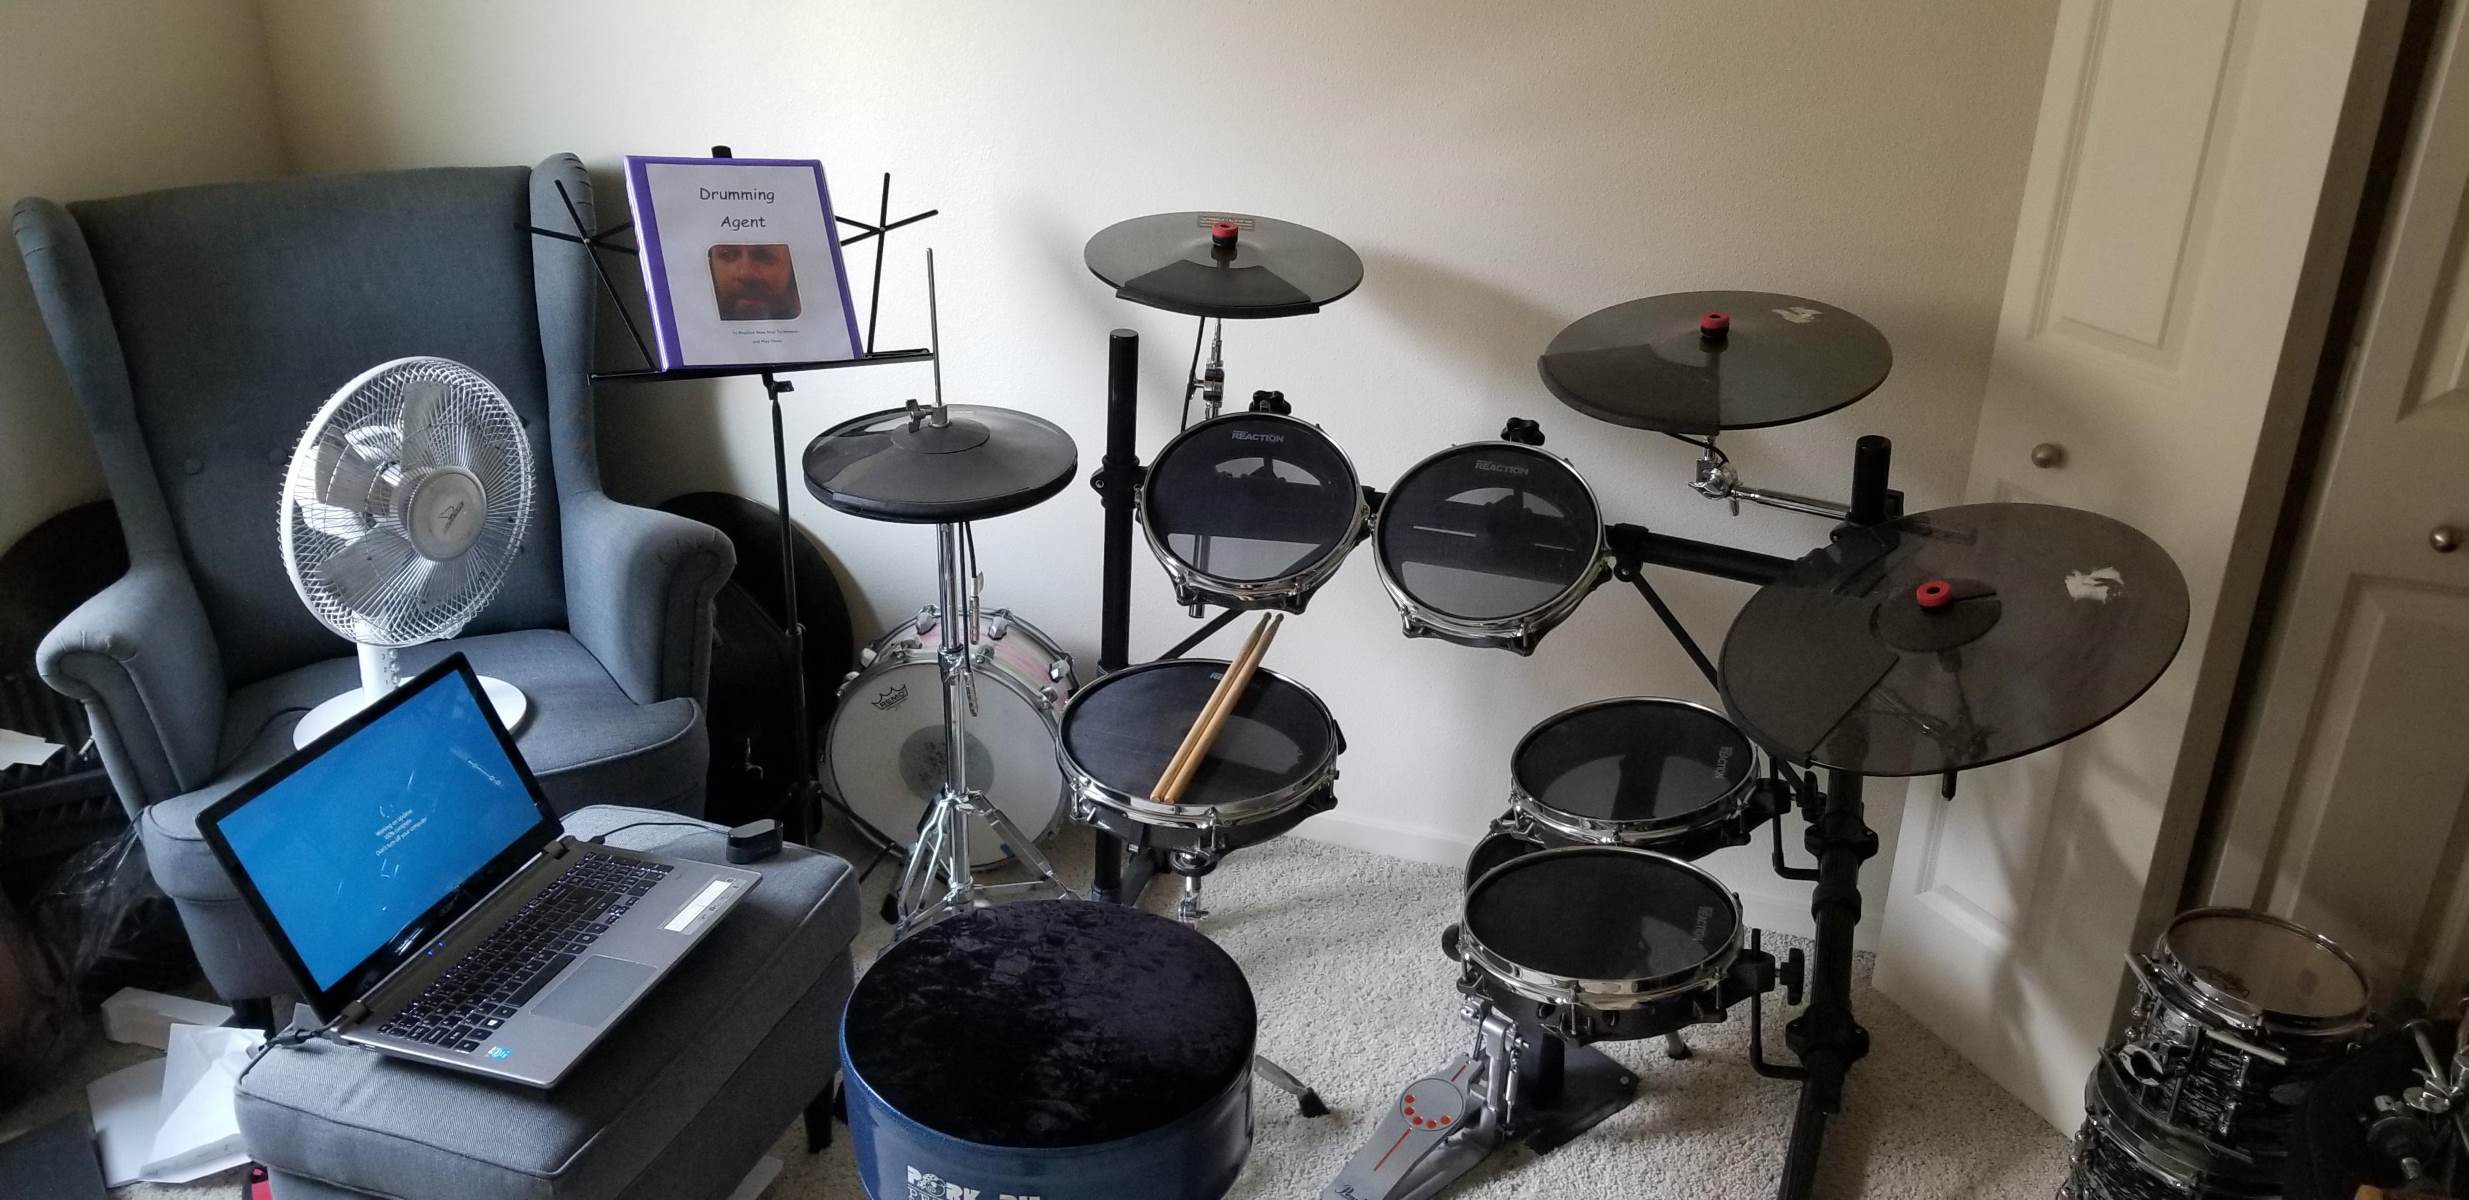
Connecting Electronic Drums to a Computer
Connecting your electronic drum kit to a computer is a pivotal step in harnessing the full potential of these innovative instruments. By establishing a seamless connection, you can leverage the capabilities of music production software, record high-quality drum tracks, and explore a myriad of creative possibilities. The process of connecting electronic drums to a computer involves several key components and steps, each contributing to a cohesive integration that enhances your musical endeavors.
1. Audio Interface: To initiate the connection, you will need an audio interface that serves as the bridge between your electronic drum kit and the computer. The audio interface facilitates the conversion of analog audio signals from the drum kit into digital data that can be processed by the computer. When selecting an audio interface, consider factors such as the number of input channels, audio quality, and compatibility with your computer’s operating system.
2. MIDI or USB Connection: Most electronic drum kits offer MIDI or USB connectivity options for linking the drum module to the computer. MIDI (Musical Instrument Digital Interface) enables the transmission of performance data, such as note triggers and velocity, to the computer, allowing for precise recording and playback of drum performances. Alternatively, USB connections provide a direct digital link, simplifying the setup process and ensuring efficient data transfer between the drum module and the computer.
3. Cable Connections: Depending on the specific configuration of your electronic drum kit and audio interface, you may need to use appropriate cables to establish the physical connections. Ensure that you have the necessary cables, such as MIDI cables or USB cables, to establish a reliable link between the drum module and the audio interface, as well as between the audio interface and the computer.
4. Software Compatibility: Before proceeding with the connection, verify the compatibility of your electronic drum kit and audio interface with the music production software installed on your computer. Ensure that the necessary drivers and software updates are installed to facilitate seamless communication between the electronic drums and the computer, minimizing potential compatibility issues.
By methodically addressing these crucial elements and steps, you can establish a robust and efficient connection between your electronic drum kit and the computer, laying the groundwork for immersive music production, recording, and performance capabilities. With the technical aspects addressed, you are primed to explore the next phase of the integration process: setting up the software to optimize the utilization of your electronic drums within a computer-based music production environment.
Setting Up the Software
Once the physical connections between your electronic drum kit and the computer are established, the next crucial step is configuring the software to effectively capture, process, and enhance the drum performances. Setting up the software involves integrating your electronic drums with a digital audio workstation (DAW) or music production software, enabling you to record, edit, and manipulate drum tracks with precision and creativity.
1. Digital Audio Workstation (DAW): Select and launch a DAW that is compatible with your computer’s operating system and offers comprehensive support for MIDI input. Popular DAWs such as Ableton Live, Pro Tools, Logic Pro, and FL Studio provide robust MIDI recording and editing capabilities, making them ideal choices for integrating electronic drums into your music production workflow.
2. MIDI Mapping: Within the DAW, configure the MIDI input settings to recognize and map the signals from your electronic drum kit. This involves assigning specific drum pads or triggers to corresponding MIDI notes within the DAW, ensuring that the recorded MIDI data accurately reflects your drum performances. Consult the DAW’s documentation or online resources for guidance on MIDI mapping procedures specific to your software.
3. Audio Routing: Set up the audio routing within the DAW to receive and process the audio signals from your electronic drum kit via the audio interface. Configure the input channels to correspond with the channels receiving audio from the drum module, allowing for real-time monitoring and recording of the drum performances within the DAW environment.
4. Instrument and Effects Integration: Explore the integration of virtual instruments and audio effects within the DAW to augment the sonic capabilities of your electronic drum performances. Utilize drum sample libraries, virtual drum machines, and audio effects such as reverb, compression, and equalization to enhance the tonal characteristics and expressive nuances of your recorded drum tracks.
5. Recording and Monitoring: Verify the input settings and monitoring configurations within the DAW to ensure that the electronic drum performances are captured accurately and can be monitored in real time. Adjust the recording levels, input monitoring preferences, and latency settings to optimize the recording experience and minimize any perceptible delay between striking the drum pads and hearing the sound through the DAW.
By meticulously configuring the software components and settings, you can seamlessly integrate your electronic drums into the digital realm, unlocking a wealth of creative possibilities and production capabilities. With the software optimized to accommodate your electronic drum performances, you are poised to embark on an immersive journey of recording, editing, and producing captivating drum tracks within the dynamic environment of a computer-based music production setup.
Testing and Troubleshooting
After completing the setup of your electronic drums with the computer and music production software, it’s essential to conduct thorough testing to ensure that all components are functioning as intended. Testing allows you to validate the connectivity, performance, and responsiveness of the electronic drum kit within the computer-based environment, providing valuable insights into potential issues and opportunities for optimization.
1. Trigger Responsiveness: Begin the testing process by assessing the responsiveness of the drum pads and triggers when striking them. Verify that each pad accurately triggers the corresponding sound within the DAW, and adjust the trigger settings if necessary to achieve optimal sensitivity and consistency across all drum and cymbal pads.
2. MIDI Data Recording: Record a series of test drum performances within the DAW to capture MIDI data generated by the electronic drum kit. Playback the recorded performances to ensure that the MIDI notes accurately reflect the nuances and dynamics of your drumming, and make adjustments to the MIDI mapping and sensitivity settings as needed to achieve faithful representation of your playing style.
3. Audio Signal Quality: Monitor the quality of the audio signals transmitted from the electronic drum kit to the computer via the audio interface. Listen for any potential issues such as signal distortion, latency, or uneven volume levels across the drum and cymbal pads, and troubleshoot the audio routing and interface settings to rectify any anomalies.
4. Latency and Monitoring: Assess the latency, or delay, between striking the drum pads and hearing the corresponding sound through the DAW. Adjust the buffer settings within the audio interface and DAW to minimize latency, ensuring a responsive and natural playing experience. Additionally, verify the monitoring setup to ensure that you can hear your performances in real time without perceptible delay or artifacts.
5. Troubleshooting: If you encounter any issues during the testing phase, consult the documentation provided with your electronic drum kit, audio interface, and music production software for troubleshooting guidance. Online forums, user communities, and technical support resources can also offer valuable insights and solutions to common challenges encountered when integrating electronic drums with a computer.
Through comprehensive testing and troubleshooting, you can fine-tune the integration of your electronic drum kit with the computer, ensuring that all components harmoniously interact to facilitate a seamless and rewarding music production experience. By addressing any potential issues and optimizing the performance of your electronic drums within the digital domain, you can confidently embark on creative endeavors, recording projects, and live performances enriched by the dynamic fusion of electronic drums and computer technology.
Conclusion
The integration of electronic drums with a computer represents a transformative synergy that empowers musicians to explore new frontiers of creativity, production, and performance. By connecting electronic drums to a computer, you unlock a wealth of possibilities, from recording studio-quality drum tracks to crafting innovative electronic music and seamlessly integrating digital percussion into diverse musical genres.
Throughout this guide, we’ve navigated the essential steps of connecting electronic drums to a computer, delving into the technical intricacies while emphasizing the boundless potential for musical expression. Understanding the foundational components and functionalities of electronic drums has provided a solid framework for appreciating their versatility and adaptability within a computer-based music production environment.
The process of connecting electronic drums to a computer involves meticulous attention to detail, from establishing the physical connections and configuring the software to conducting comprehensive testing and troubleshooting. Each step contributes to a cohesive integration that amplifies the expressive capabilities of electronic drums, enabling musicians to capture nuanced performances, experiment with diverse sounds, and elevate their musical pursuits.
As you embark on your journey of integrating electronic drums with a computer, remember that the fusion of technology and musical artistry is a dynamic and evolving landscape. Embrace the opportunities to explore new soundscapes, refine your drumming techniques, and immerse yourself in the boundless potential of digital music production.
Whether you’re a seasoned drummer seeking innovative avenues for expression or a budding musician venturing into the realm of electronic percussion, the fusion of electronic drums and computer technology invites you to chart your own sonic odyssey. With a blend of technical proficiency, creative vision, and a passion for musical exploration, the integration of electronic drums with a computer becomes a gateway to limitless artistic horizons.
As you continue to refine your skills, experiment with new sounds, and craft captivating rhythms within the digital domain, may the fusion of electronic drums and computer technology inspire you to push the boundaries of creativity, connect with audiences on a profound level, and embark on a musical journey that transcends conventions and resonates with the power of innovation.