Home>Production & Technology>Audio Interface>How To Connect Audio Interface To Electronic Drum
Audio Interface
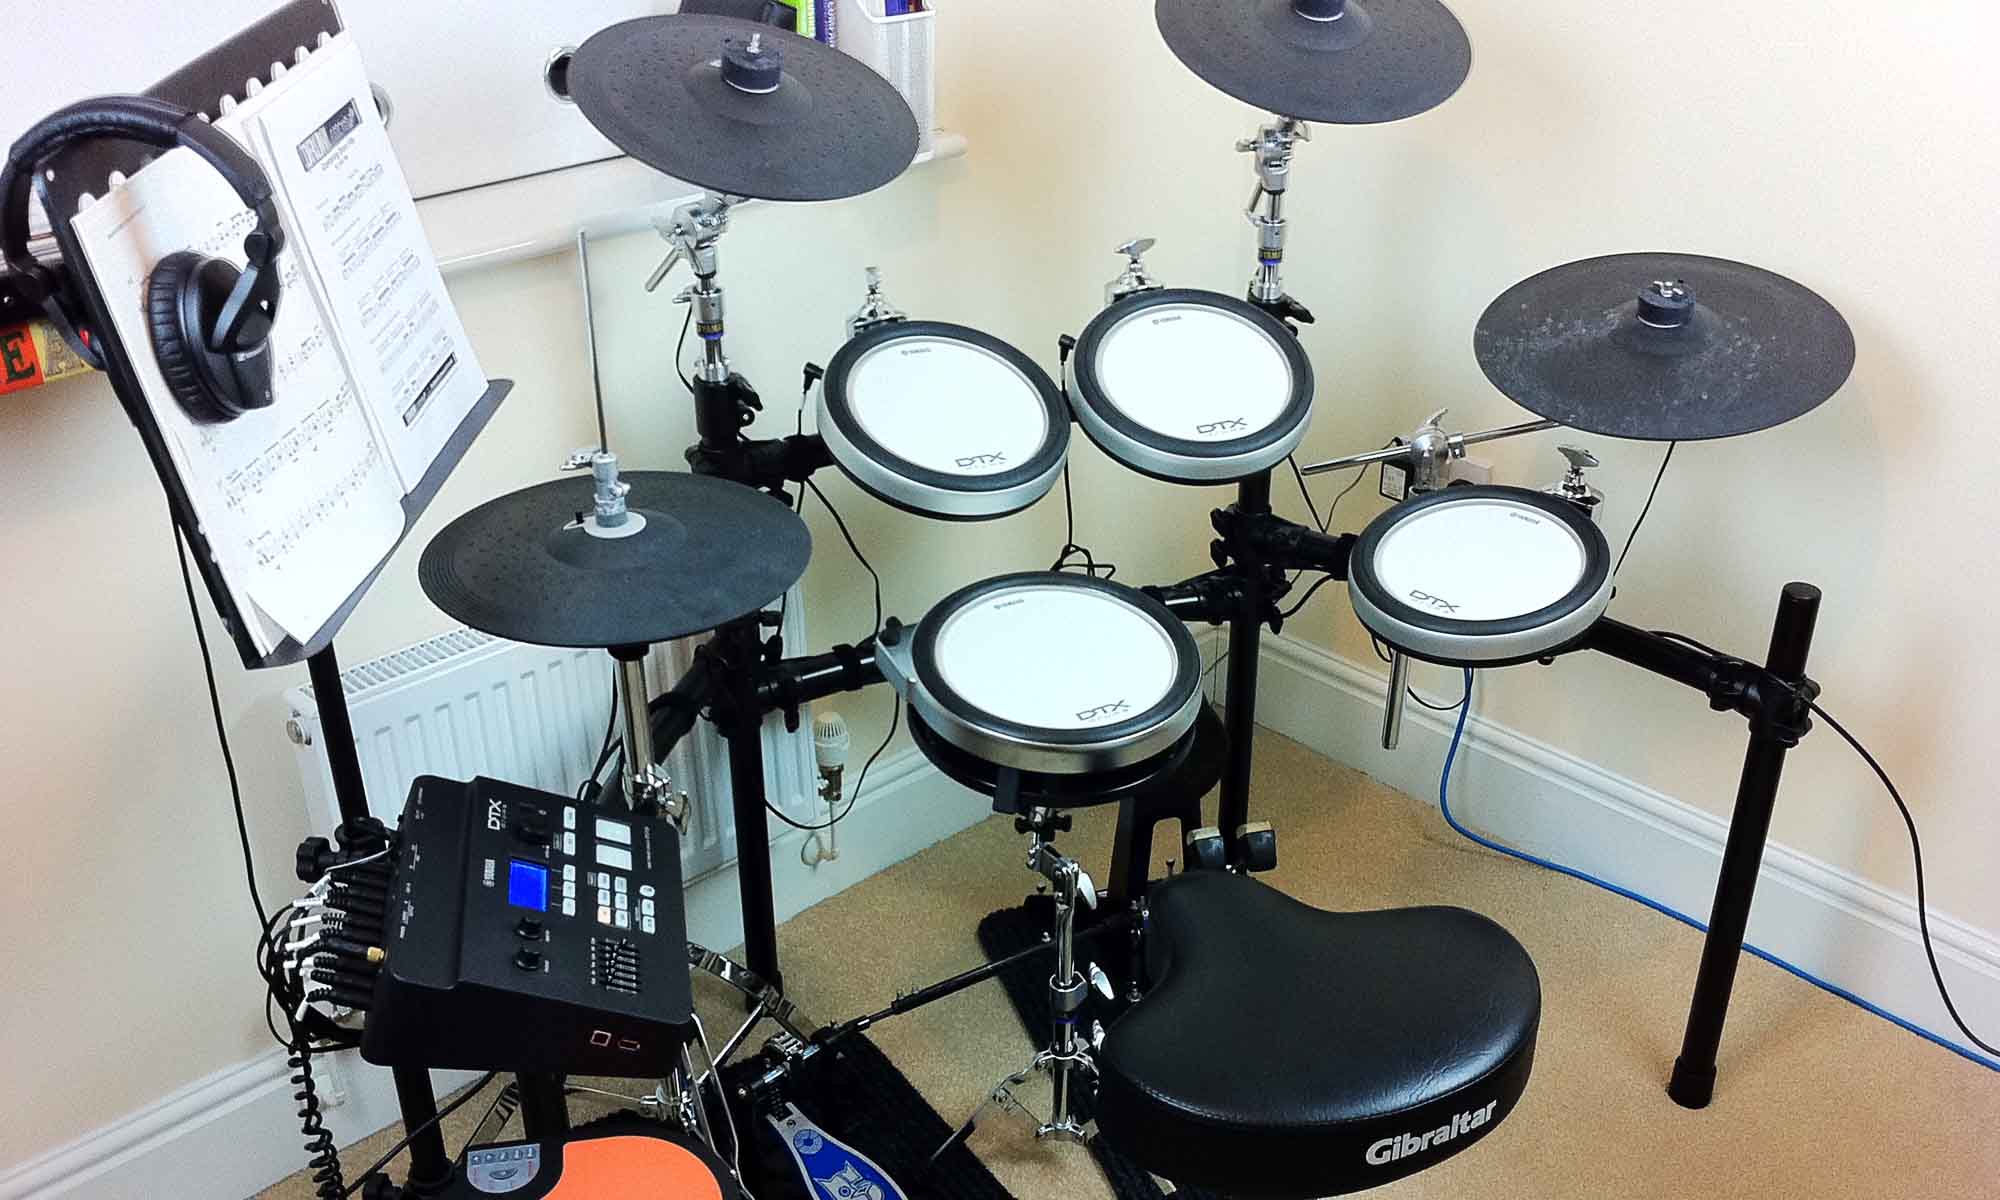
How To Connect Audio Interface To Electronic Drum
Modified: February 19, 2024
Learn how to easily connect your electronic drum set to an audio interface for professional sound quality. Enhance your drumming experience with our step-by-step guide.
(Many of the links in this article redirect to a specific reviewed product. Your purchase of these products through affiliate links helps to generate commission for AudioLover.com, at no extra cost. Learn more)
Table of Contents
Introduction
Welcome to your comprehensive guide on how to connect an audio interface to an electronic drum! Whether you’re a seasoned drummer or just starting your musical journey, understanding how to properly connect your electronic drum set to an audio interface is crucial for achieving high-quality sound output and recording capabilities. An audio interface acts as the bridge between your electronic drums and your computer or recording device, allowing you to capture and manipulate the audio signal. By following the steps outlined in this article, you’ll be able to make the most out of your electronic drum set and take your drumming to the next level.
Connecting your electronic drum set to an audio interface offers numerous benefits. Firstly, it allows you to record your drumming sessions with professional-grade audio quality, making it possible to create studio-quality recordings from the comfort of your own home. Additionally, an audio interface offers low-latency monitoring, ensuring that you can hear your drumming in real-time without any delay or lag. This is crucial for playing along to backing tracks or monitoring your performance while recording. Lastly, an audio interface provides more flexibility in terms of connectivity options, allowing you to connect your electronic drums to a wide range of devices such as computers, speakers, and mixers.
Before we dive into the process of connecting your audio interface to your electronic drum set, it’s important to note that there are several factors to consider when choosing the right audio interface. These factors include the number of input and output channels, the type of connectivity options available, the sample rate and bit depth, and the overall audio quality. By selecting an audio interface that meets your specific needs and requirements, you can ensure optimal performance and compatibility with your electronic drum set.
In the next sections, we will explore the process of choosing the right audio interface, checking compatibility, connecting the audio interface to the electronic drum set, configuring audio settings, and testing and troubleshooting. By the end of this guide, you’ll have a clear understanding of how to successfully connect your electronic drum set to an audio interface and make the most out of your drumming experience.
Choosing the Right Audio Interface
When it comes to choosing the right audio interface for your electronic drum set, there are several factors to consider. Let’s take a closer look at each of these factors:
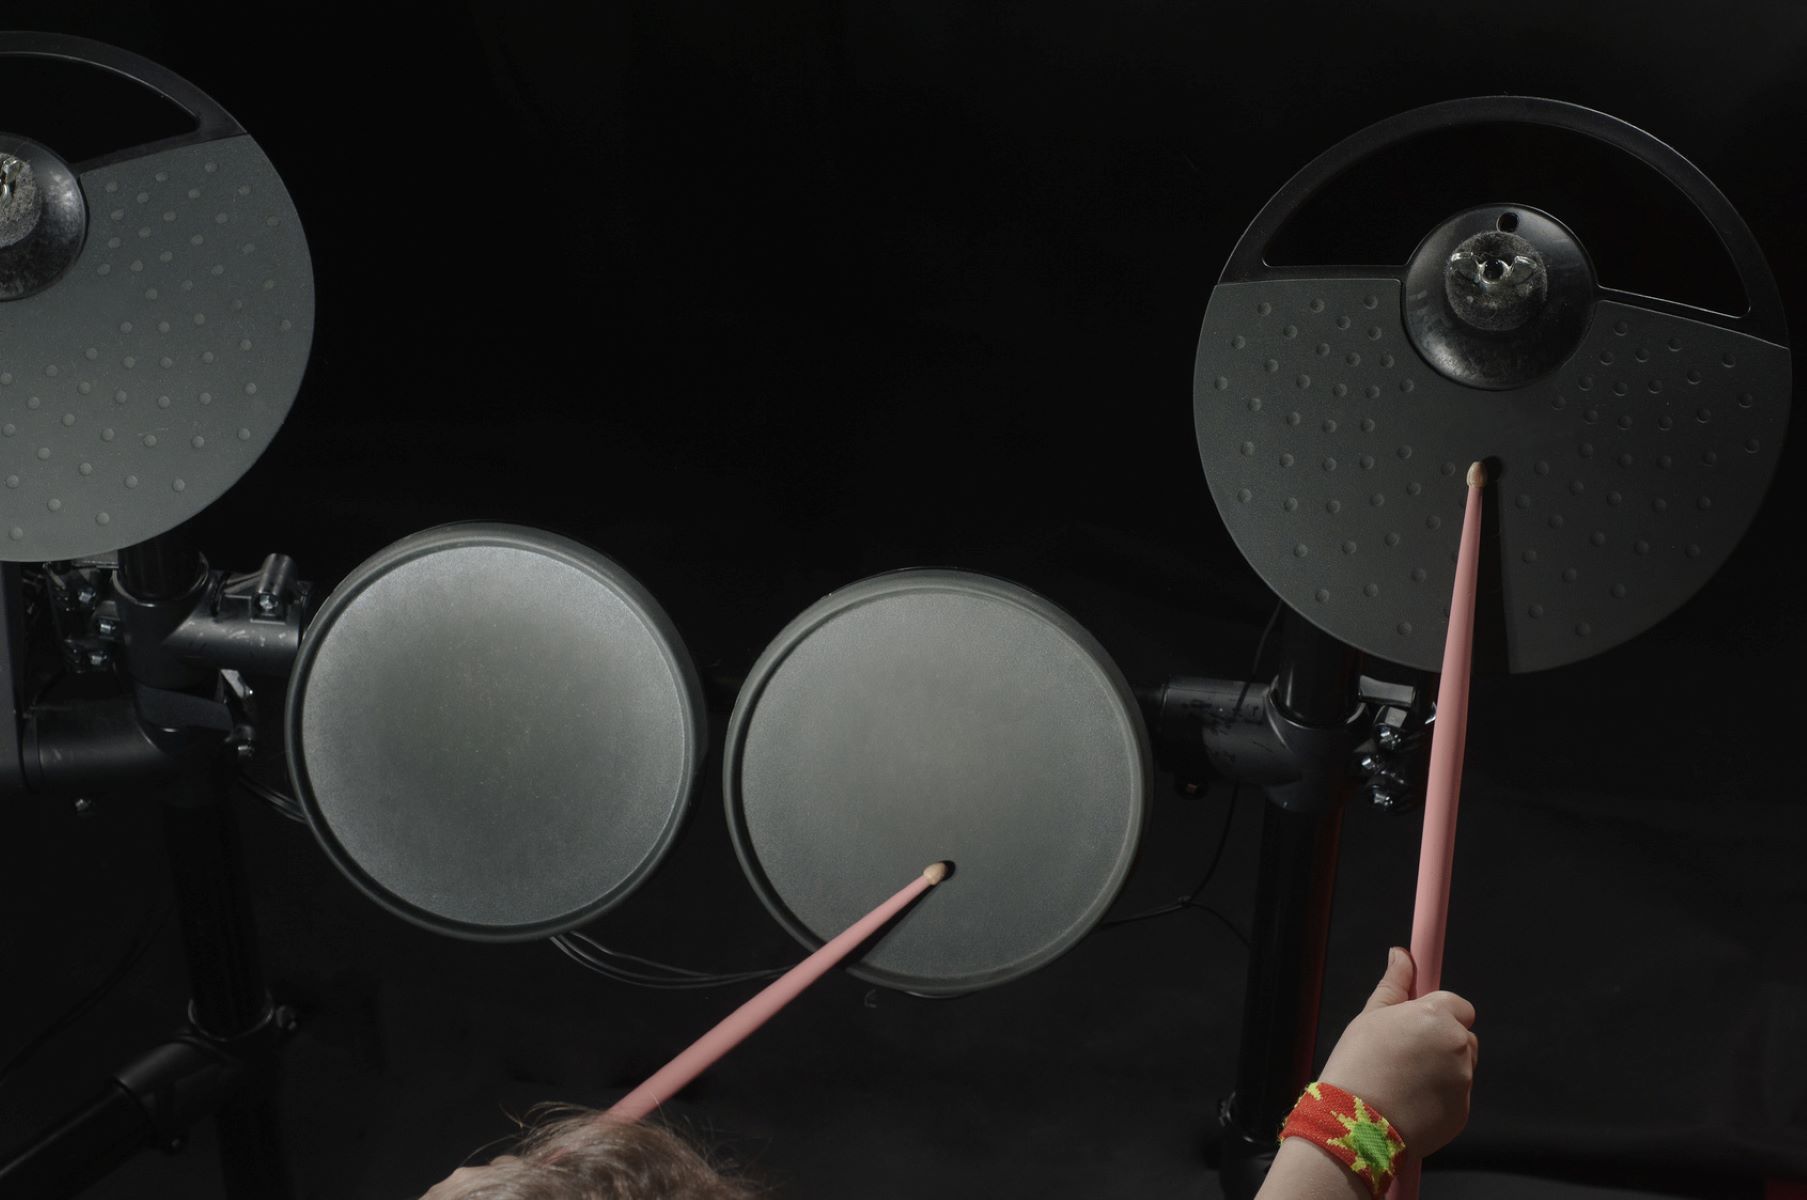
- Input and Output Channels: The number of input and output channels on an audio interface will determine how many instruments or devices you can connect simultaneously. For an electronic drum set, it is recommended to have at least four to eight input channels to accommodate all the drum pads and cymbals.
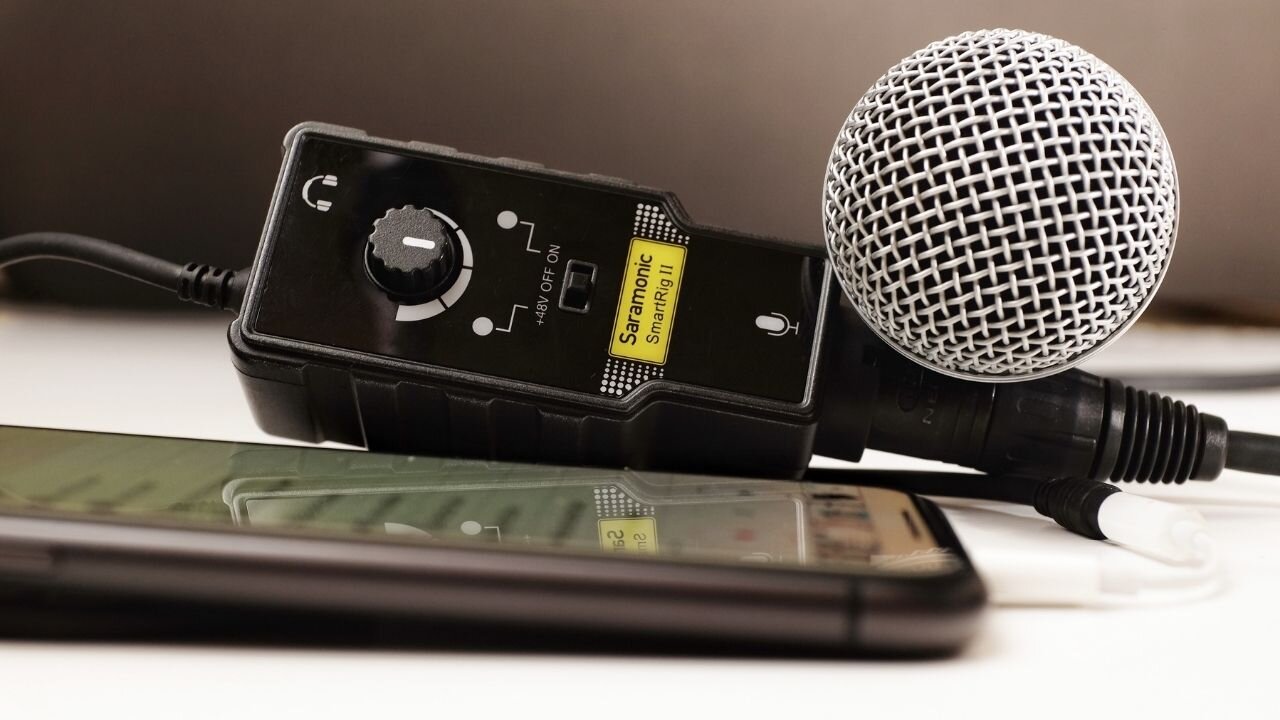
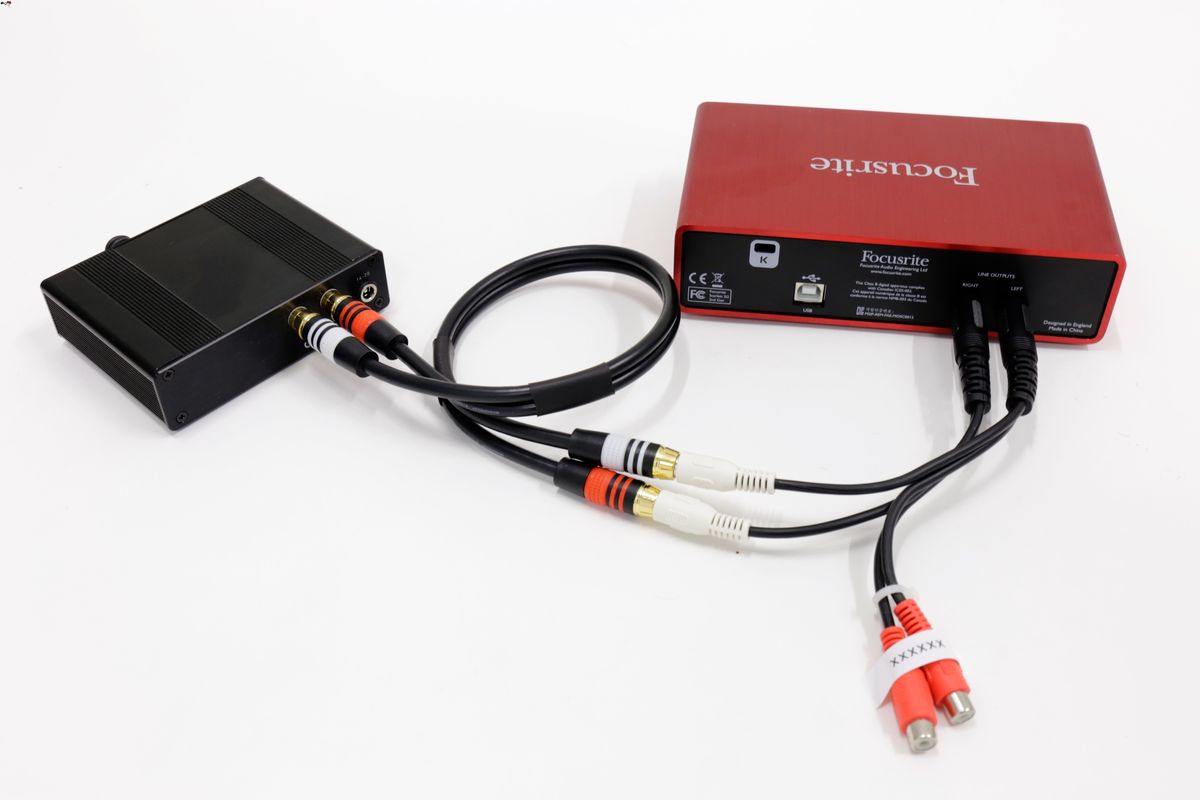
- Connectivity Options: Ensure that the audio interface has the necessary connectivity options to connect with your electronic drum set and other devices. Common connectivity options include USB, Thunderbolt, and FireWire. USB is the most common and versatile option, offering compatibility with most computers.
- Sample Rate and Bit Depth: The sample rate refers to the number of samples captured per second, while the bit depth represents the number of bits used to represent each sample. Higher sample rates and bit depths result in better audio quality and more accurate representation of the sound. Look for an audio interface that supports a sample rate of at least 48 kHz and a bit depth of 24 bits.
- Audio Quality: The audio quality of an audio interface is essential for capturing the nuances and dynamics of your drumming. Look for audio interfaces that offer high-quality preamps and converters for optimal sound reproduction.
- Portability and Size: Consider whether you need a portable audio interface that you can easily carry around for rehearsals or gigs. In this case, a compact and lightweight interface would be ideal.
- Budget: Set a budget that suits your needs and explore options within that range. Keep in mind that investing in a higher-quality audio interface can significantly improve the sound quality and overall recording experience.
Research various audio interface models, read reviews, and compare features to find the best fit for your electronic drum set. It’s important to consider your specific requirements and long-term goals when making your decision.
Once you’ve chosen the right audio interface, the next step is to ensure compatibility with your electronic drum set. Let’s explore this further in the next section.
Checking Compatibility
Before you connect your audio interface to your electronic drum set, it’s essential to check for compatibility between the two. Here are a few things to consider:
- Operating System Compatibility: Ensure that the audio interface you’ve chosen is compatible with your computer’s operating system. Whether you’re using Windows, macOS, or Linux, make sure the audio interface has drivers or software that supports your specific platform.
- Connection Type: Verify that the connection type on the audio interface matches the connection ports on your electronic drum set. For example, if your drum set has USB connectivity, ensure that the audio interface has a USB port for easy and seamless compatibility.
- Power Requirements: Consider the power requirements of the audio interface and whether your electronic drum set can provide enough power to operate it. Some audio interfaces may require an external power supply, while others can be bus-powered through the USB or Thunderbolt connection.
- Drivers and Updates: Check for available drivers and software updates for your audio interface. It’s crucial to keep your drivers up to date to ensure compatibility and optimal performance. Visit the manufacturer’s website regularly to stay informed about the latest updates.
- System Requirements: Verify that your computer meets the minimum system requirements for the audio interface. This includes having sufficient processing power, memory, and available USB or Thunderbolt ports.
By checking the compatibility between your audio interface and electronic drum set, you can avoid any potential issues or limitations during the connection process. It’s always advisable to consult the user manuals or reach out to the manufacturer’s customer support for any specific compatibility-related questions.
Once you’re confident that your audio interface and electronic drum set are compatible, you’re ready to move on to the next step: connecting the audio interface to your electronic drum set. We’ll explore this in detail in the following section.
Connecting the Audio Interface to the Electronic Drum
Now that you’ve selected the right audio interface and confirmed its compatibility with your electronic drum set, it’s time to connect the two devices. Follow these steps:
- 1. Gather the necessary cables: Depending on the connections available on your audio interface and electronic drum set, you may need USB, MIDI, or audio cables. Ensure that you have the appropriate cables on hand before proceeding.
- 2. Power off all devices: Before connecting any cables, power off both the audio interface and electronic drum set to avoid any potential damage or interference.
- 3. Connect the audio interface to your computer: If your audio interface uses a USB or Thunderbolt connection, connect the appropriate cable from the interface to an available port on your computer.
- 4. Connect the audio interface to the electronic drum set: Depending on the available connections on your electronic drum set, you can follow one of the following methods:
- If your drum set has a MIDI output and your audio interface has MIDI inputs, use a MIDI cable to connect the two.
- If your drum set has audio output jacks, use audio cables (such as 1/4″ TRS or XLR cables) to connect the drum set’s outputs to the corresponding inputs on the audio interface.
- If your drum set has both MIDI and audio capabilities, you can use a combination of MIDI and audio cables to connect the appropriate ports on both devices.
- 5. Check the audio interface settings: Once all the connections are made, power on both the audio interface and the electronic drum set. Make sure to refer to the user manual for your audio interface to configure the necessary settings. This may include setting the correct input channels, sample rate, and buffer size.
- 6. Test the setup: After the audio interface and drum set are properly connected, open your preferred digital audio workstation (DAW) or recording software on your computer. Play your electronic drum set to ensure that the audio signal is being received and recorded accurately. Adjust the input gain on the audio interface if necessary to maintain optimal signal levels.
By following these steps, you’ll successfully connect your audio interface to your electronic drum set, allowing you to capture and manipulate the sound with ease. It’s important to consult the user manuals for both the audio interface and drum set for any specific instructions pertaining to your particular models.
In the next section, we’ll delve into configuring the audio settings to maximize the performance of your electronic drum set and audio interface setup.
Configuring Audio Settings
Once you’ve connected your audio interface to your electronic drum set, it’s time to configure the audio settings to ensure optimal performance and sound quality. Follow these steps to configure the audio settings:
- 1. Open your digital audio workstation (DAW) or recording software: Launch the software on your computer that will be used for recording or playback. Popular DAWs include Ableton Live, Pro Tools, Logic Pro, and FL Studio.
- 2. Select the audio interface as the input/output device: In the software’s settings or preferences, locate the audio device settings and choose your audio interface as the input and output device. This allows the software to communicate with the audio interface for recording and playback.
- 3. Set the sample rate and buffer size: Adjust the sample rate and buffer size in the software’s audio settings or preferences. Higher sample rates provide better audio quality, but may require more processing power. Adjust the buffer size to balance between low latency and stable performance.
- 4. Configure the input channels: Depending on your audio interface and drum set, you may have multiple input channels. In the software’s audio settings, assign each input channel to the corresponding drum pad or cymbal. This ensures that each drum component is properly recognized and recorded.
- 5. Enable monitoring: Enable monitoring in the software so that you can hear the sound of your electronic drum set in real-time. This allows you to play along to backing tracks or monitor your performance while recording without any noticeable delay.
- 6. Set the input gain: Adjust the input gain on the audio interface to ensure that the incoming audio signal from your drum set is neither too low nor too high. Aim for a level that is comfortably balanced and avoids clipping (distorting) the audio signal.
- 7. Configure any effects or processing: If desired, apply effects or processing to the drum sound using plugins within the DAW or recording software. This may include EQ, compression, reverb, or other effects to enhance the overall sound.
- 8. Test and fine-tune: Play your electronic drum set and monitor the sound through your audio interface. Make any necessary adjustments to the input gain, volume levels, or effects to achieve the desired sound quality.
By configuring the audio settings appropriately, you’ll ensure that your electronic drum set integrates seamlessly with your audio interface and recording software. Take the time to experiment with different settings to find the optimal setup that suits your preferences and musical style.
In the next section, we’ll discuss testing and troubleshooting to address any potential issues that may arise during the setup process.
Testing and Troubleshooting
After connecting and configuring your audio interface and electronic drum set, it’s crucial to test the setup and address any potential issues that may arise. Follow these steps for testing and troubleshooting:
- 1. Test the audio signal: Play your electronic drum set and monitor the audio signal through your audio interface. Ensure that you hear the drum sound clearly and that there are no unexpected noises, distortion, or latency issues.
- 2. Check for proper signal levels: Use the meters within your DAW or audio interface software to monitor the input levels. Ensure that the signal from each drum pad or cymbal is strong enough without clipping (distorting) the audio signal. Adjust the input gain on the audio interface if necessary.
- 3. Check for latency issues: If you notice any noticeable delay between hitting the drum and hearing the sound through your headphones or speakers, you may be experiencing latency. Adjust the buffer size in your audio interface settings to minimize the latency. Keep in mind that setting a lower buffer size may require more processing power from your computer.
- 4. Test recording capabilities: Record a short drumming session to ensure that the audio interface is capturing the drum sound accurately. Play it back and listen for any issues such as distortion, clipping, or unwanted background noise.
- 5. Troubleshoot connectivity issues: If you encounter connectivity issues, such as the electronic drum set not being recognized by the audio interface, double-check all cable connections. Ensure that all connections are secure and that the cables are functioning properly.
- 6. Update drivers and software: If you’re experiencing any compatibility or performance issues, check for available driver or software updates for your audio interface. Visit the manufacturer’s website regularly to download and install any updates that may resolve such issues.
- 7. Seek professional help if needed: If you’ve exhausted all troubleshooting options and are still experiencing issues, consider seeking assistance from a professional audio technician or the customer support team of your audio interface manufacturer. They can provide specialized guidance and help resolve any complex technical issues.
By testing and troubleshooting your audio interface and electronic drum set setup, you can address any potential issues early on and ensure that everything is working smoothly. Remember to refer to the user manuals, online forums, and other resources for further assistance.
Now that you have successfully connected, configured, and tested your audio interface and electronic drum set, you’re ready to embark on your drumming journey with enhanced sound quality and recording capabilities. In the concluding section, we’ll summarize the key points and conclude this comprehensive guide.
Conclusion
Congratulations! You have now learned how to connect an audio interface to your electronic drum set, enabling you to enhance your drumming experience with high-quality sound and recording capabilities. By following the steps outlined in this guide, you have taken a crucial step towards unleashing your creativity and capturing your drumming performances with professional-grade audio quality.
Choosing the right audio interface, ensuring compatibility, and connecting the devices properly are essential for a seamless integration. The process of configuring audio settings and testing your setup allows you to fine-tune the sound and troubleshoot any potential issues that may arise. Remember to consult the user manuals and reach out to customer support when needed for specific instructions or assistance.
With your audio interface and electronic drum set seamlessly working together, you can explore various recording and production possibilities. Whether you’re a drummer looking to record your performances, create drum tracks for your compositions, or collaborate with other musicians remotely, the combination of an audio interface and electronic drum set opens up a world of opportunities.
As you continue your drumming journey, don’t forget to experiment with different settings, effects, and recording techniques to find your unique sound and style. Regularly updating your drivers and software ensures access to the latest features and improvements, keeping your audio interface functioning optimally.
Remember, connecting an audio interface to an electronic drum set is just the beginning. It’s up to you to unleash your creativity and explore the vast possibilities that this setup offers. Leveraging your audio interface’s capabilities can elevate the quality of your recordings, performances, and overall drumming experience.
Now, grab your drumsticks, start playing, and let your imagination run wild as you create, record, and share your drumming talent with the world!