Home>Devices & Equipment>Turntable>How To Record Records With Numark USB Turntable
Turntable
How To Record Records With Numark USB Turntable
Published: January 18, 2024
Learn how to easily record records with the Numark USB turntable. Convert your vinyl collection to digital format with this high-quality turntable.
(Many of the links in this article redirect to a specific reviewed product. Your purchase of these products through affiliate links helps to generate commission for AudioLover.com, at no extra cost. Learn more)
Table of Contents
Introduction
Welcome to the world of turntables! Vinyl records have made a significant comeback in recent years, and many music enthusiasts are rediscovering the joy and warmth of analog sound. If you’re new to this exciting realm or looking to upgrade your current vinyl setup, the Numark USB Turntable is a fantastic choice.
The Numark USB Turntable is a versatile and user-friendly device that allows you to not only listen to your vinyl records but also convert them into digital files. This means you can preserve your cherished vinyl collection and enjoy the convenience of digital music on your computer, smartphone, or other portable devices.
Whether you want to share your favorite tracks with friends, create custom playlists, or simply have a backup of your vinyl collection, this guide will walk you through the process of recording records with the Numark USB Turntable.
Before we dive into the step-by-step instructions, let’s talk a bit about the benefits of using a turntable like the Numark USB Turntable for recording. One of the key advantages is the high-fidelity audio quality that vinyl records offer. Vinyl records have a unique sound signature that many audiophiles and music lovers find captivating. By capturing that sound through the Numark USB Turntable, you can retain the authenticity and richness of the original recordings.
Additionally, the Numark USB Turntable provides a seamless way to convert your analog vinyl records into digital format. This opens up a world of possibilities, as you can now listen to your favorite records on modern devices and platforms. You can also edit and enhance the audio files, removing any imperfections or adding special effects if desired.
With all that being said, let’s get started on how to set up and use the Numark USB Turntable to record your cherished vinyl records. Get ready to embark on a journey that combines the nostalgia of vinyl with the convenience of digital music!
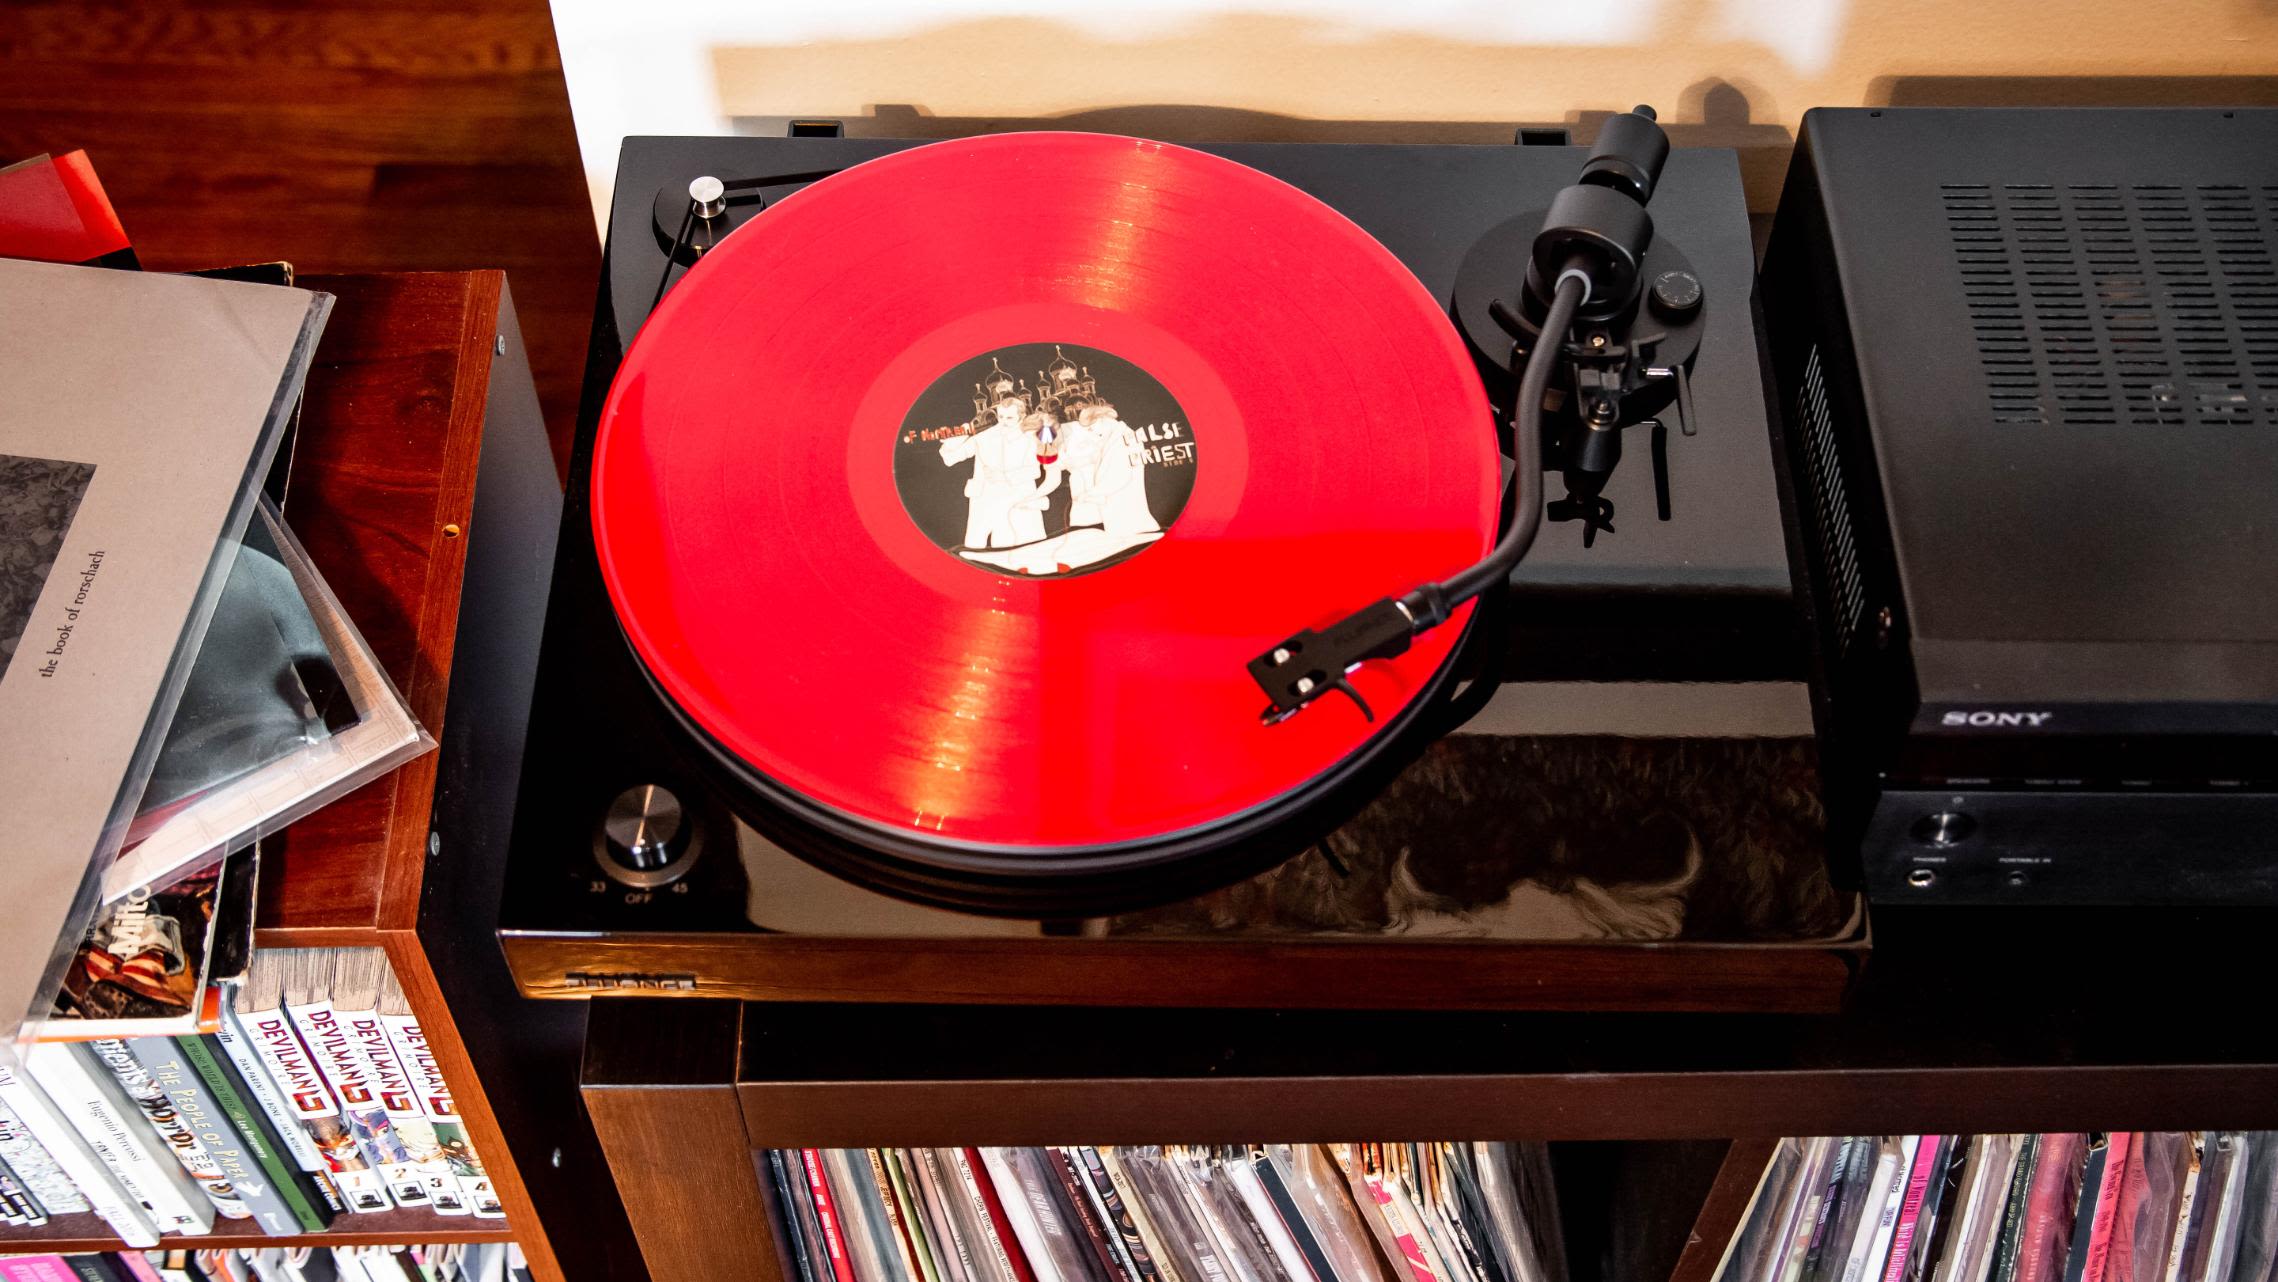
Setting up the Numark USB Turntable
Before you can start recording with the Numark USB Turntable, you need to set it up properly. Here’s a step-by-step guide to help you get started:
- Find a suitable location: The first step is to find a stable and level surface to place your turntable. It’s important to place it away from speakers or other sources of vibration to prevent any interference during playback and recording.
- Connect the power: Plug in the power cable of the Numark USB Turntable and ensure it’s securely connected to a power outlet. Make sure the power switch is in the “On” position to provide power to the turntable.
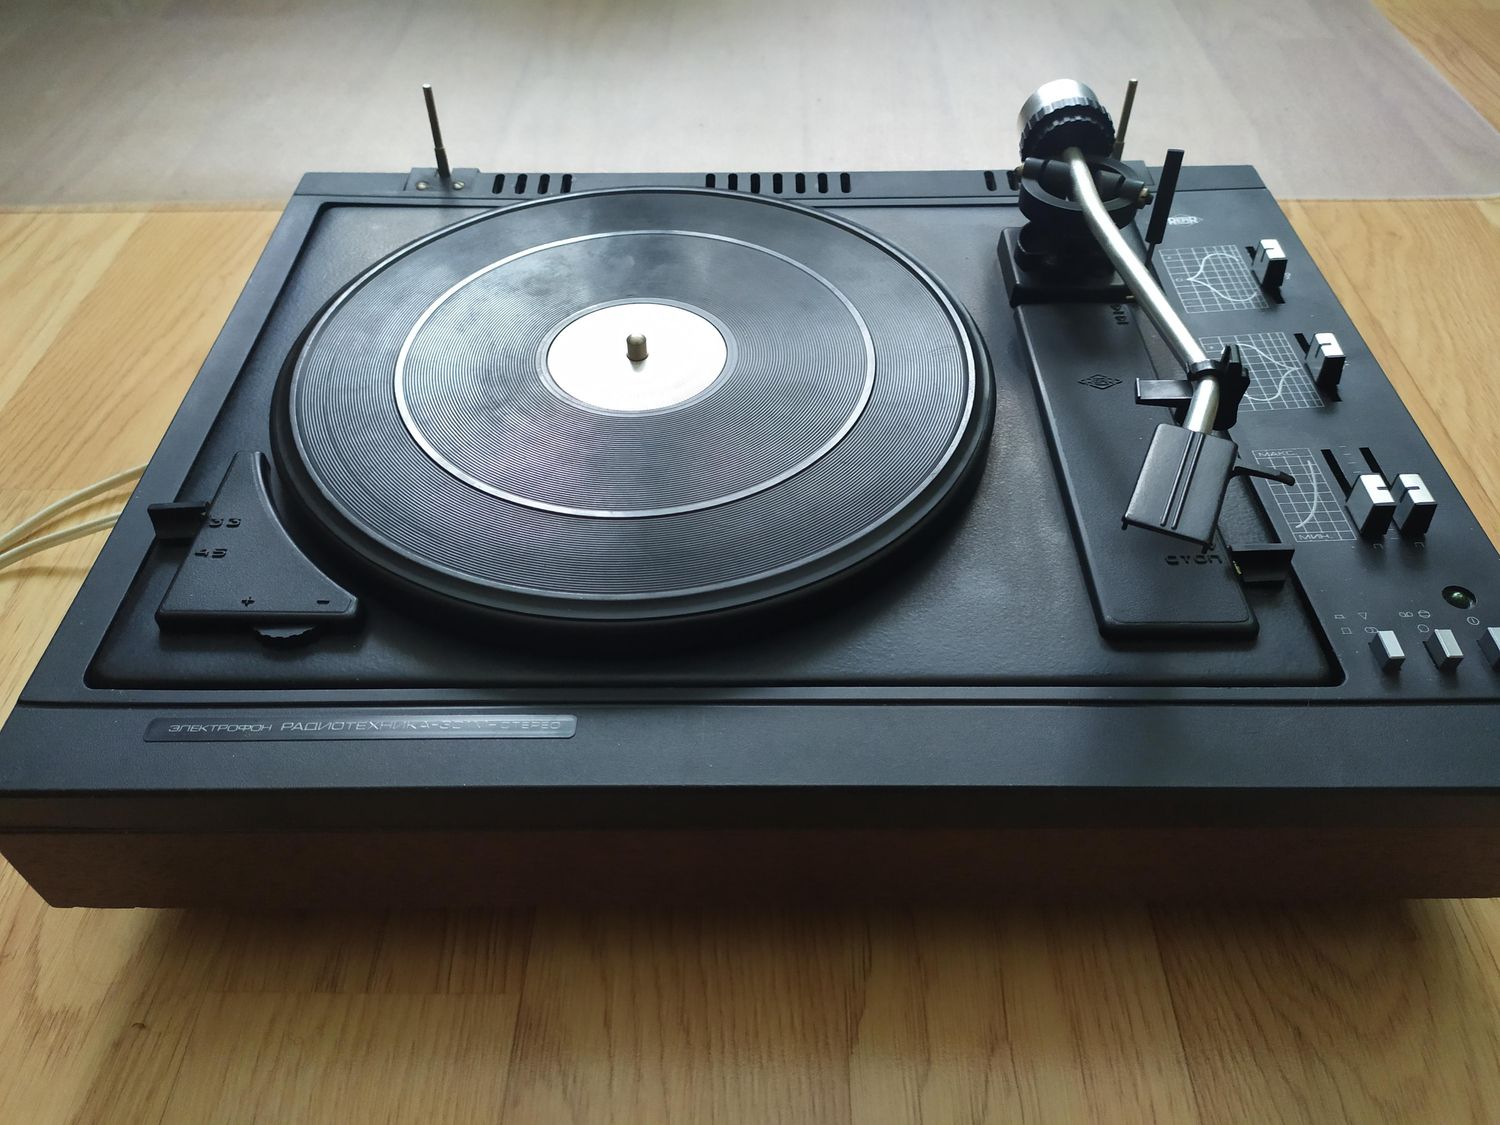
- Set up the turntable platter: Remove the protective cover from the turntable platter and place it on the spindle in the center of the turntable. Ensure that it sits securely and spins smoothly.
- Place the slip mat: Place the slip mat on top of the turntable platter. The slip mat provides a smooth surface for your vinyl records to rotate freely.
- Install the cartridge and stylus: The cartridge and stylus are crucial components that track the grooves on your vinyl records. Refer to the user manual to install the cartridge and stylus correctly. Be gentle and ensure a secure fit to prevent any damage to your records.
- Adjust the tonearm: The tonearm is responsible for holding the stylus in position while the record is playing. Adjust the tonearm height and tracking force according to the manufacturer’s instructions to ensure the best playback and recording performance.
- Check the belt: If your Numark USB Turntable has a belt-drive system, check the belt’s condition and ensure it is properly connected and aligned. A damaged or misaligned belt can affect the playback and recording quality.
- Connect the audio cables: The Numark USB Turntable provides various connection options. For recording purposes, you will need to connect the turntable’s audio outputs to your computer’s audio inputs. Depending on your computer’s audio ports, you may need an RCA-to-3.5mm adapter or a USB cable to establish the connection.
Once you have completed these setup steps, you’re ready to connect your Numark USB Turntable to your computer and start recording your vinyl records. In the next section, we’ll guide you through the process of connecting the turntable to your computer and installing the necessary software for recording.
Connecting the turntable to a computer
Now that you have set up your Numark USB Turntable, it’s time to connect it to your computer for recording. Follow these steps to establish the connection:
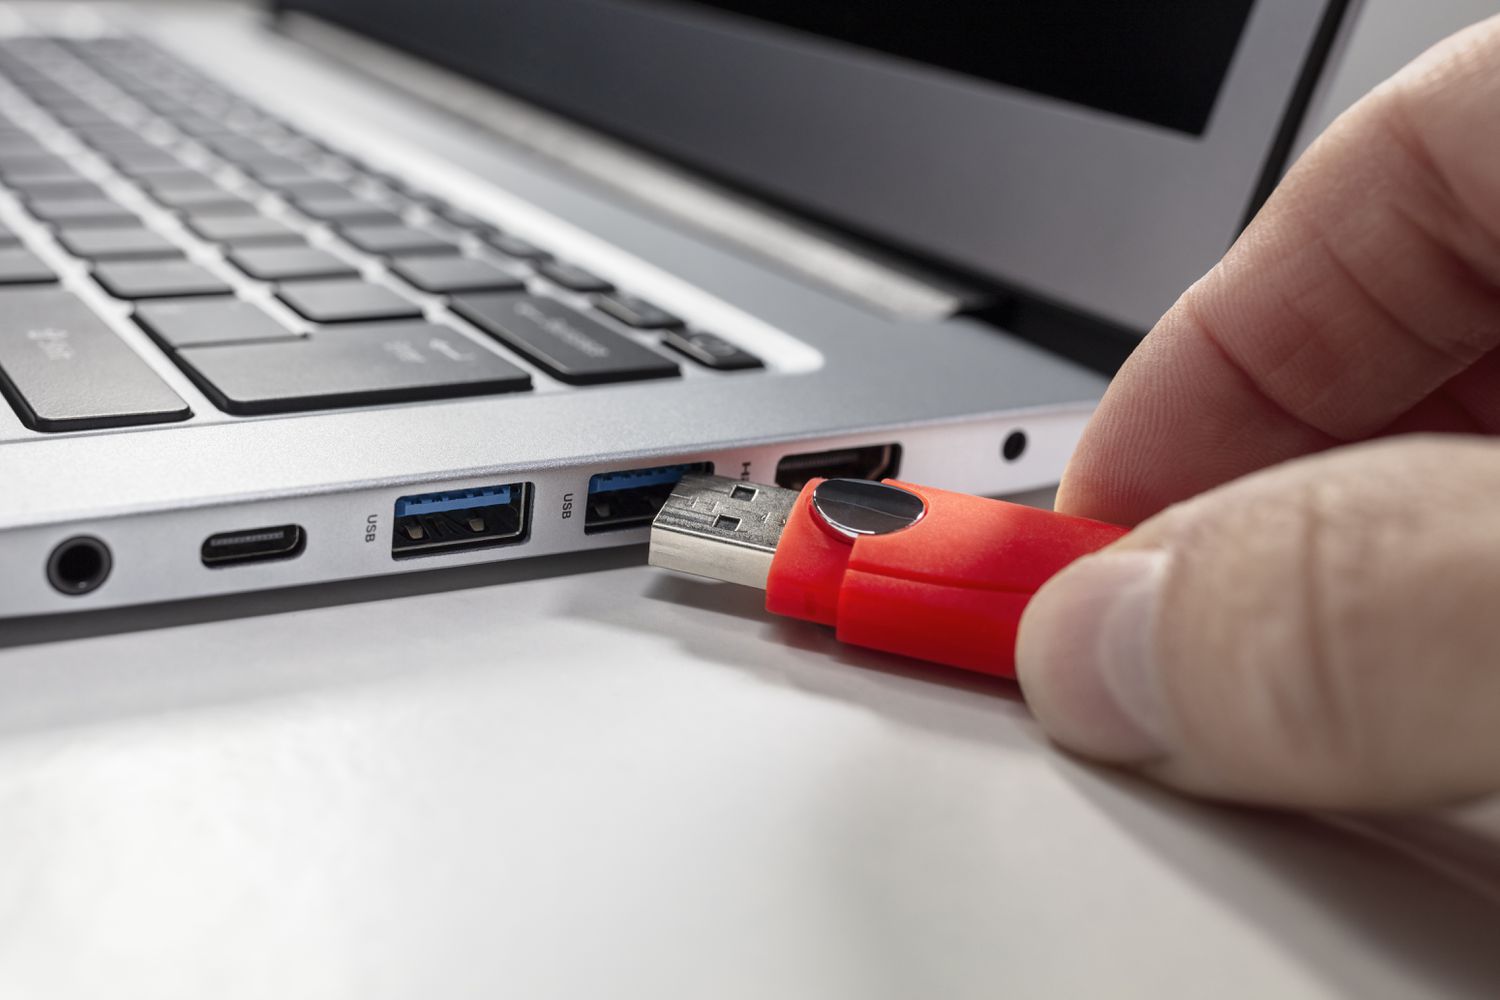
- Identify the audio input on your computer: Depending on your computer’s make and model, you will have different audio input options. Look for a line-in or mic-in port on your computer. If you have a USB turntable, you can connect it directly to a USB port on your computer.
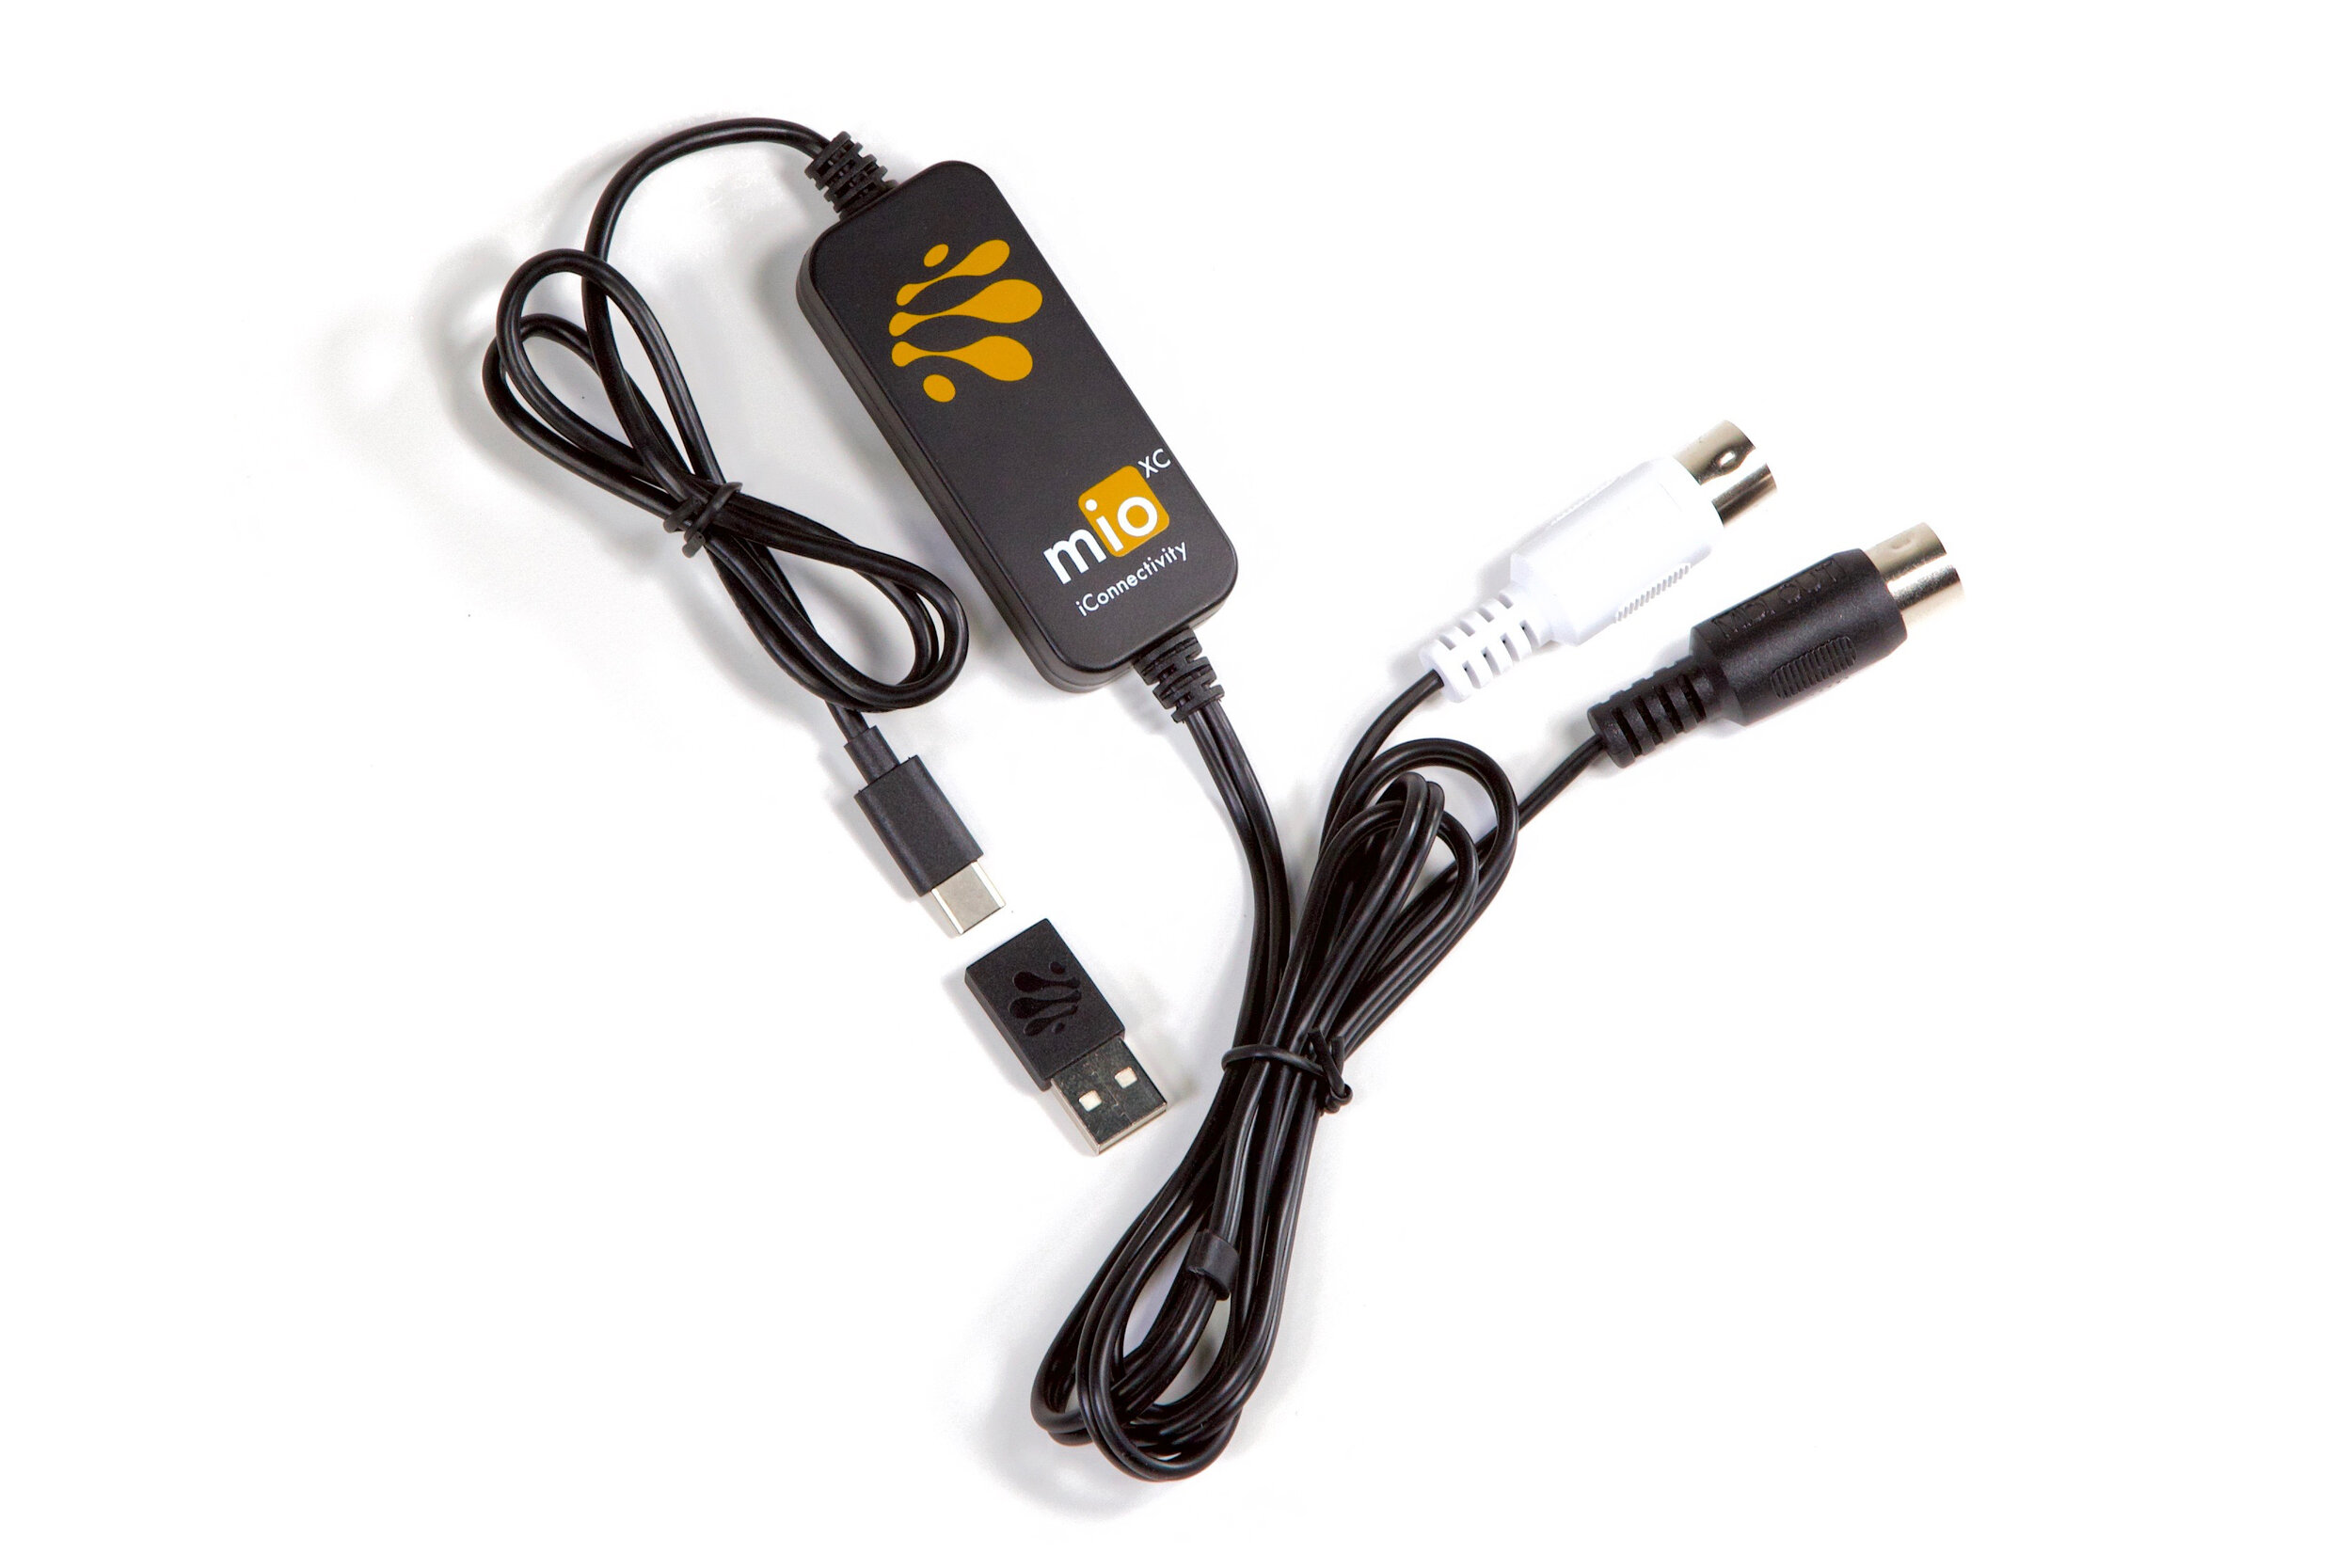
- Use the appropriate cables: Based on the audio input on your computer, you may need to use different cables to connect the turntable. For an analog connection, use an RCA-to-3.5mm cable or adapter. If you’re using a USB turntable, simply connect it to a USB port on your computer using the provided USB cable.
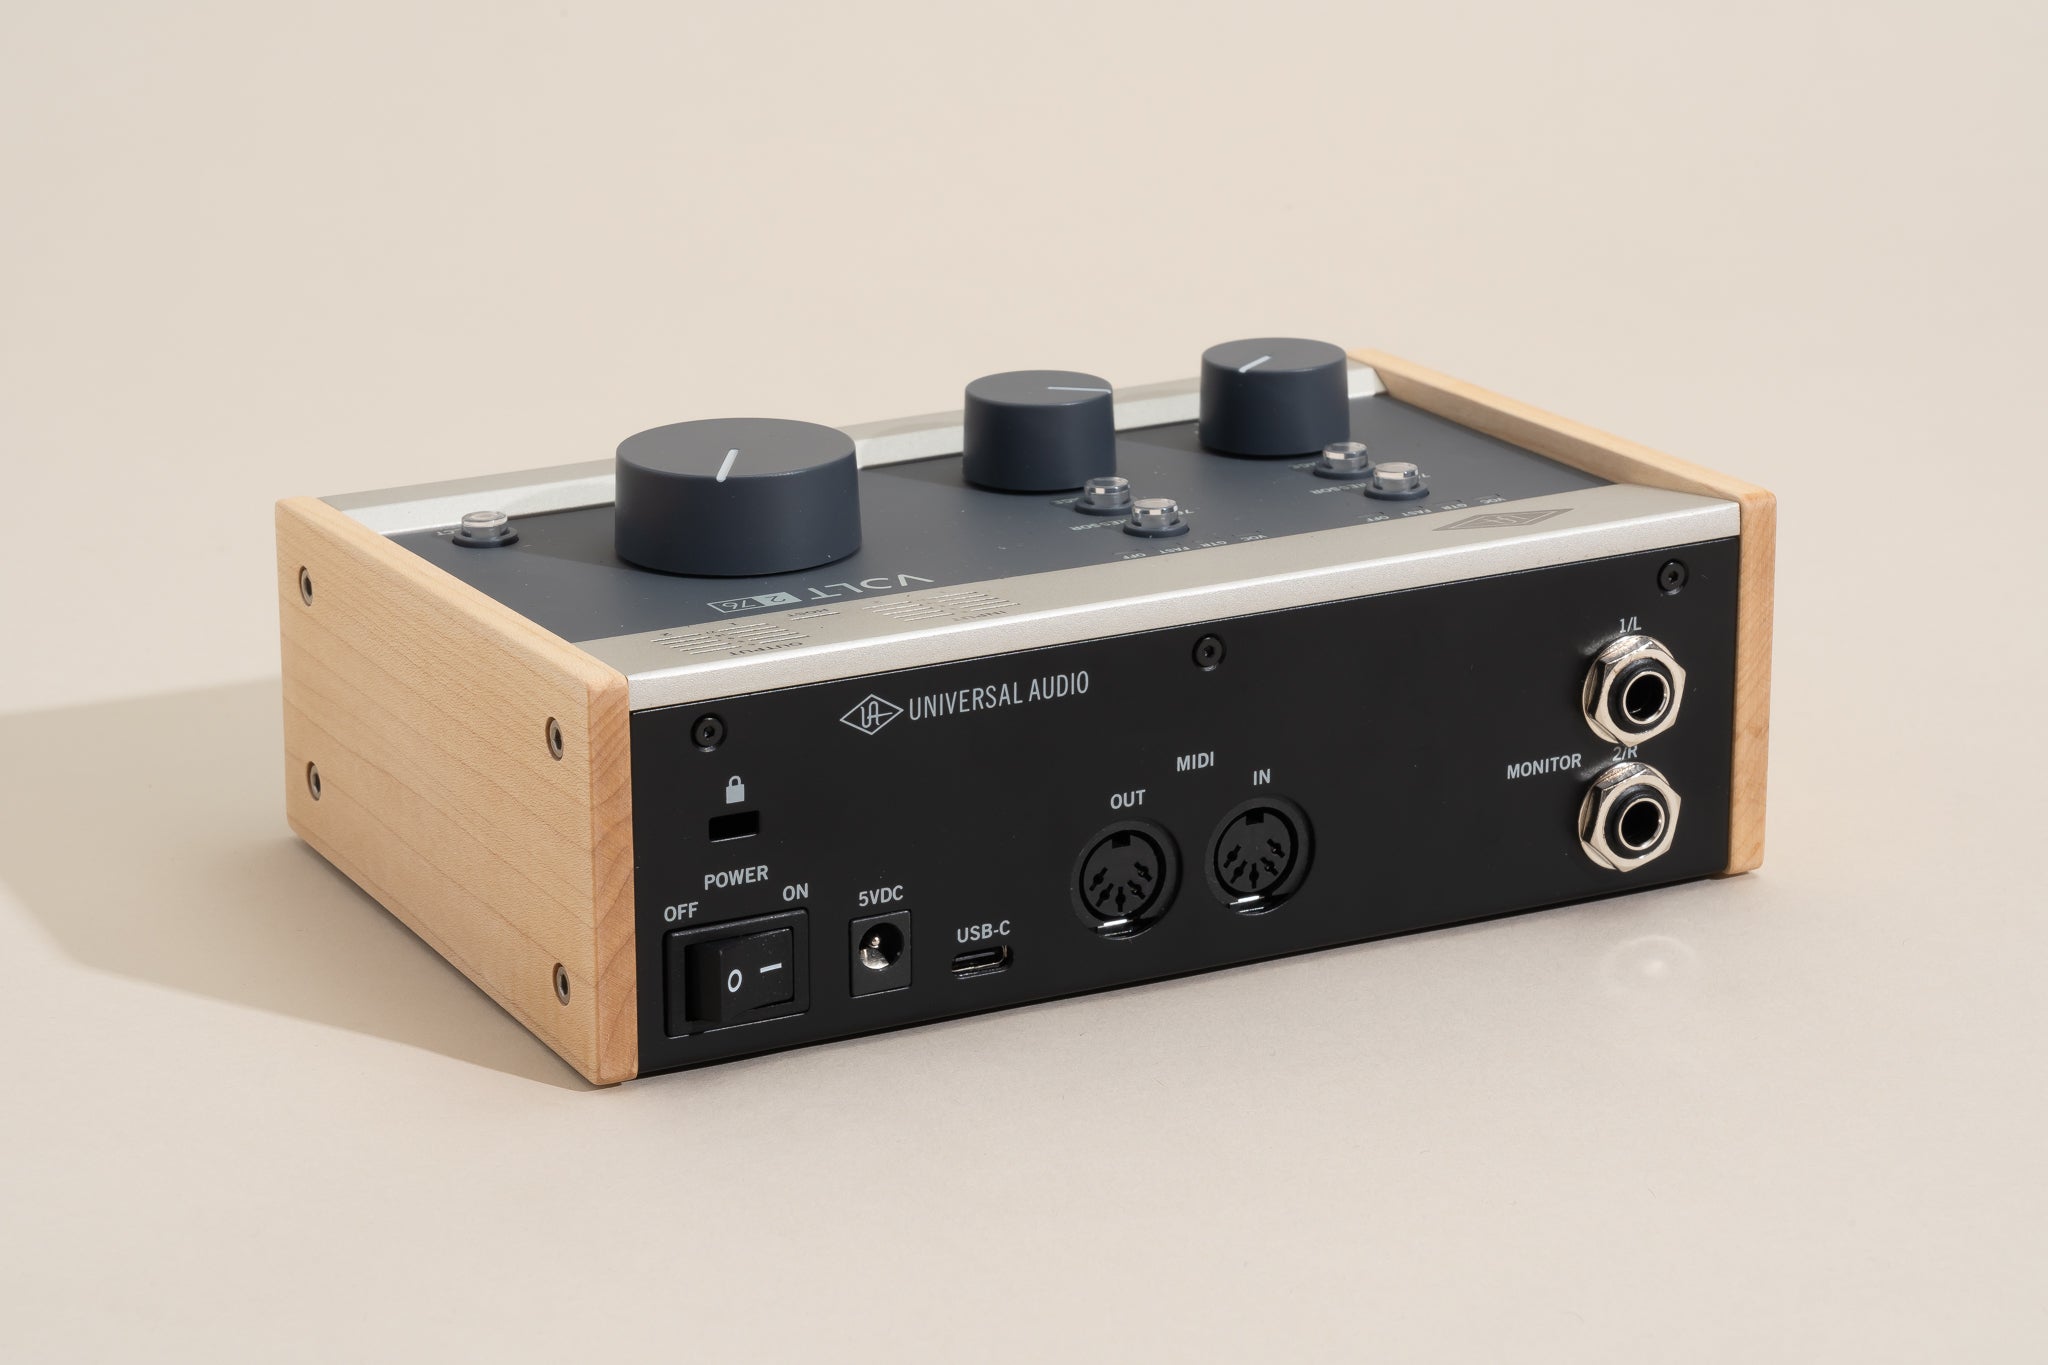
- Connect the cables to the turntable: Locate the audio outputs on your Numark USB Turntable, typically labeled as “Line Out” or “Audio Out.” Connect one end of the cables to these outputs.
- Connect the cables to the computer: Plug the other end of the cables into the appropriate audio input on your computer. Make sure the connections are secure to avoid any audio distortion or loss.
- Check the audio settings: Once the physical connections are made, you need to ensure that your computer is set up to receive audio input from the turntable. Go to your computer’s audio settings and make sure the input is set to the correct audio source. If using a USB turntable, select it as the default recording device.
With the turntable connected to your computer, you’re now ready for the next step: installing the necessary software. In the following section, we’ll guide you through the process of installing the software required for recording your vinyl records using the Numark USB Turntable.
Installing the necessary software
To fully utilize the recording capabilities of your Numark USB Turntable, you will need to install the appropriate software on your computer. Follow these steps to get the necessary software up and running:
- Determine the compatible software: Before proceeding, check the user manual or the Numark website to find out which software is recommended or provided for use with your specific model of the USB Turntable. Numark typically includes software such as Audacity or EZ Vinyl/Tape Converter with their turntables.
- Download and install the software: Visit the software’s official website or the Numark website to download the installation files. Follow the instructions provided by the software manufacturer to install it on your computer.
- Configure the software settings: Once the software is installed, launch it and navigate to the settings or preferences section. Set the input source to the audio input where you connected the Numark USB Turntable. Select the appropriate audio format and quality settings according to your preferences.
- Test the software: Before recording your vinyl records, it’s a good idea to test the software with a short sample recording. Play a record on the turntable and ensure that the software is capturing the audio properly. Adjust the audio levels and settings if necessary to optimize the recording quality.
It’s worth noting that some software programs may have additional features like noise reduction, equalization, or track splitting. Explore the software’s documentation or online resources to learn more about these advanced features and how to utilize them to enhance your recording.
Now that you have successfully installed and configured the necessary software for your Numark USB Turntable, you’re ready to start recording your vinyl records. The next section will guide you through the process of adjusting the audio settings to ensure optimal recording quality.
Adjusting the audio settings
Before you begin recording with your Numark USB Turntable, it’s crucial to adjust the audio settings to ensure optimal recording quality. Follow these steps to fine-tune the audio settings:
- Open the recording software: Launch the recording software that you installed in the previous step. Ensure that the Numark USB Turntable is connected to your computer.
- Select the input source: In the recording software, locate the audio input settings. Choose the Numark USB Turntable or the audio input where you have connected your turntable as the source of the audio input.
- Set the recording levels: Adjust the recording levels to avoid clipping or distortion. Start by setting the levels conservatively, then play a record and gradually increase the levels until you achieve a good balance between volume and clarity. Monitor the levels in the recording software to ensure they are within an acceptable range.
- Adjust the recording format: Depending on your preferences and the software capabilities, you may have the option to choose the recording format. Common formats include WAV and MP3. Consider the trade-offs between audio quality and file size when selecting the format.
- Enable monitoring: If available in your recording software, enable the monitoring feature. This allows you to hear the audio input in real-time, ensuring that the playback and recording levels are satisfactory.
- Configure any additional settings: Depending on your software and desired outcome, you may have access to additional settings like EQ adjustments, noise reduction, or automatic track detection. Experiment with these settings to achieve the desired audio quality and enhance the recording process.
It’s important to spend some time adjusting the audio settings to ensure the best possible recording quality. Take into account the characteristics of the vinyl record you’re about to record, as different records may require slight adjustments to capture their unique nuances accurately.
Once you have fine-tuned the audio settings, you’re ready to move on to the exciting part of actually recording your vinyl records with the Numark USB Turntable. The next section will guide you through the step-by-step process of recording a record using the Numark USB Turntable.
Recording a record using the Numark USB Turntable
Now that you have set up the Numark USB Turntable, connected it to your computer, installed the necessary software, and adjusted the audio settings, it’s time to start recording your vinyl records. Follow these steps to record a record using the Numark USB Turntable:
- Place the record on the turntable: Carefully place the vinyl record you wish to record onto the turntable platter. Ensure that the record is properly centered and seated on the spindle.
- Start the recording software: Launch the recording software on your computer. Ensure that the software is set to record from the Numark USB Turntable as the input source.
- Prepare for recording: Navigate to the recording controls in the software and make sure the recording feature is enabled. Set the desired recording format and quality, if applicable.
- Cue the record: Use the tonearm lift lever to raise the tonearm and carefully position it above the desired track on the vinyl record. Use the cueing lever or gently lower the tonearm onto the record’s surface, being cautious not to scratch the record.
- Begin recording: Once the tonearm is positioned, start the recording in the software. As the record plays, the software will capture the audio input from the Numark USB Turntable and save it as a digital file on your computer.
- Monitor the recording: Keep an eye on the recording software to ensure that the audio levels are within an acceptable range and that no clipping or distortion occurs. Also, listen to the playback through your computer’s speakers or headphones to monitor the quality in real-time.
- Record the desired tracks: If you wish to record multiple tracks from the same vinyl record, manually lift the tonearm and position it at the beginning of each track. Repeat the recording process for each track.
- Stop the recording: Once you have finished recording all the desired tracks, stop the recording in the software. This will finalize the recording and save the audio file on your computer.
Remember to handle the vinyl records with care throughout the recording process to prevent any scratches or damage. It’s also worth noting that the recording quality can be influenced by factors like the condition of the vinyl record, the cleaning and maintenance of the turntable, and the calibration of the stylus and tonearm. Regular maintenance and proper handling will help ensure the best recording results.
Now that you have successfully recorded your vinyl record using the Numark USB Turntable, it’s essential to save and export the recorded file properly. The next section will guide you through the process of saving and exporting the recorded file.
Saving and exporting the recorded file
After successfully recording your vinyl record using the Numark USB Turntable, it’s time to save and export the recorded file in a format that suits your needs. Follow these steps to save and export your recorded file:
- Review the recording: Before saving the file, take a moment to play back the recording and ensure that it captured the audio accurately. Listen for any distortions, skips, or other issues that might have occurred during the recording process.
- Choose a file name and location: Select a descriptive and meaningful name for your file. Consider including the album name, artist, and track number to easily identify the recording. Choose a location on your computer where you want to save the file.
- Select the file format: Depending on your software and preferences, you may have various options for the file format. Common formats include WAV, MP3, FLAC, and AIFF. Choose the format that best fits your intended use and device compatibility.
- Export the file: Find the export or save function in your recording software. Use the specified options to export the recorded file with the selected name, location, and file format. Follow any additional prompts or settings to complete the export process.
- Verify the exported file: Once the export is complete, navigate to the saved location on your computer and verify that the file has been successfully exported. Play the file to ensure that it retains the quality and fidelity of the original recording.
It’s important to note that saving and exporting the recorded file might involve additional settings or considerations depending on the software you are using. Some software programs offer advanced features like tagging, metadata editing, and track splitting, which allow you to further enhance the organization and presentation of the recorded tracks.
Now that you have successfully saved and exported the recorded file, you can enjoy it on various devices or share it with others. You can transfer the file to your smartphone, music player, or upload it to cloud storage for convenient access anywhere. Don’t forget to keep a backup of the recorded files to ensure their long-term preservation.
In the next section, we will address some common troubleshooting issues that you may encounter while using the Numark USB Turntable and offer solutions to resolve them.
Troubleshooting common issues
While using the Numark USB Turntable to record your vinyl records, you may encounter a few common issues. Here are some troubleshooting steps to help you resolve them:
No sound or distorted sound:
- Ensure that the turntable is properly connected to your computer’s audio input.
- Check the audio settings in your recording software to ensure that the correct input source is selected.
- Confirm that the cables are securely connected to both the turntable and your computer.
- Adjust the recording levels in your software to prevent clipping or distortion.
Skipping or jumping needles:
- Make sure that the vinyl record is clean and free from dust or debris that can cause skipping.
- Check the stylus for any signs of wear and replace it if necessary.
- Ensure that the turntable is positioned on a stable and level surface to minimize vibrations.
- Adjust the tracking force of the tonearm according to the manufacturer’s recommendations to prevent skipping.
Software compatibility issues:
- Ensure that you have installed the correct software for your Numark USB Turntable model.
- Check for any software updates or patches that may address compatibility issues.
- If the software is not recognizing the turntable, try reconnecting it or reinstalling the software.
- Refer to the software’s documentation or online support resources for troubleshooting specific compatibility issues.
Recording levels too low or too high:
- Adjust the recording levels in your software to find the optimal balance between volume and clarity.
- Take into account the dynamic range of the vinyl record and adjust the levels accordingly.
- Experiment with different recording settings and techniques to achieve the desired sound.
- Consider using software tools like amplification or compression to adjust the recording levels during post-production if needed.
If you encounter other issues not mentioned here or if the troubleshooting steps do not resolve the problem, consult the user manual of your Numark USB Turntable or reach out to their customer support for further assistance.
With these troubleshooting tips, you can overcome common issues and enjoy a smooth recording experience with your Numark USB Turntable. In the next section, we will conclude our guide and summarize the key points discussed.
Conclusion
Congratulations! You have now learned how to record your vinyl records using the Numark USB Turntable. Throughout this guide, we covered setting up the turntable, connecting it to your computer, installing the necessary software, adjusting the audio settings, recording your vinyl records, and saving/exporting the recorded files.
The Numark USB Turntable offers a convenient way to preserve and enjoy your vinyl collection in the digital age. By converting your records into digital files, you have the freedom to listen to your favorite tracks on various devices and share them with others. The high-fidelity audio quality of vinyl records captured by the Numark USB Turntable ensures an authentic listening experience.
Remember to take care of your vinyl records, properly clean and maintain your turntable, and handle the stylus and tonearm with caution to protect your records during the recording process. Regular maintenance will help preserve the lifespan and performance of your equipment.
Should you encounter any issues along the way, refer to the troubleshooting section for guidance. Additionally, don’t hesitate to consult the user manual or seek support from the Numark customer service team for further assistance.
Now that you have the knowledge and understanding to record your vinyl records, it’s time to explore the endless possibilities. Turn your vinyl collection into digital treasures, create personalized playlists, and enjoy the convenience of digital music while still savoring the nostalgic charm of vinyl.
We hope this guide has been helpful in your musical journey. Happy recording!