Home>Events & Info>Podcast>How To Record For Podcast

Podcast
How To Record For Podcast
Modified: February 17, 2024
Learn how to record for your podcast with our step-by-step guide. From equipment setup to editing tips, we've got you covered. Boost the quality of your podcast today!
(Many of the links in this article redirect to a specific reviewed product. Your purchase of these products through affiliate links helps to generate commission for AudioLover.com, at no extra cost. Learn more)
Table of Contents
- Introduction
- Step 1: Choosing the Right Equipment
- Step 2: Setting Up Your Recording Space
- Step 3: Choosing the Recording Software
- Step 4: Adjusting Microphone Settings
- Step 5: Testing and Troubleshooting
- Step 6: Recording Your Podcast
- Step 7: Editing and Enhancing the Audio
- Step 8: Exporting and Saving the Podcast
- Step 9: Publishing and Sharing Your Podcast
- Conclusion
Introduction
Podcasts have become increasingly popular in recent years, providing a unique platform for individuals and organizations to share their ideas, stories, and expertise with a global audience. Whether you’re a seasoned podcaster or just starting out, knowing how to record for a podcast is essential for producing high-quality and engaging audio content.
In this article, we will guide you through the process of recording a podcast, from choosing the right equipment to publishing and sharing your final product. We will cover each step in detail, providing valuable tips and insights to help you create professional-sounding podcasts that captivate your listeners.
Before we dive into the technical aspects, it’s important to note that the success of your podcast ultimately depends on the content you deliver. While having the right recording setup is crucial, the heart of any podcast is the value it brings to its audience. So, before hitting the record button, take some time to brainstorm and plan the topics, format, and overall goals of your podcast.
Now, let’s get started on the journey to becoming a podcasting pro!
Step 1: Choosing the Right Equipment
When it comes to recording a podcast, investing in the right equipment is crucial in order to achieve professional-level audio quality. Here are some key pieces of equipment you will need:
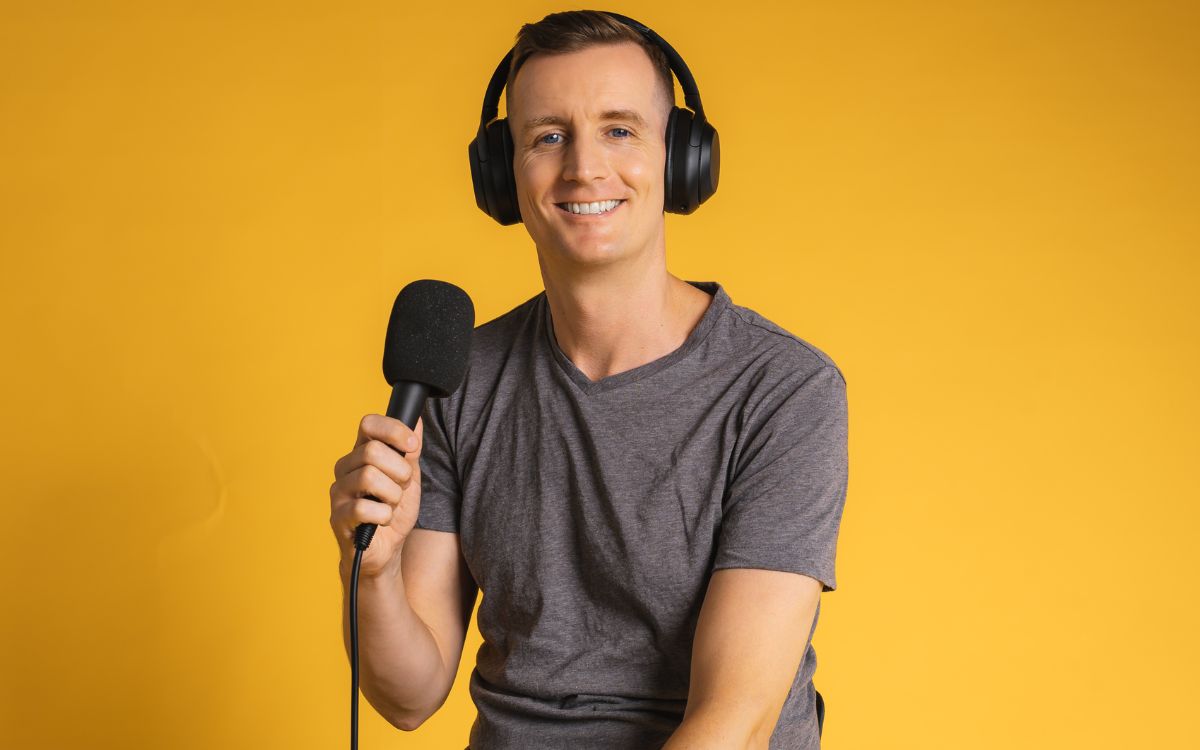
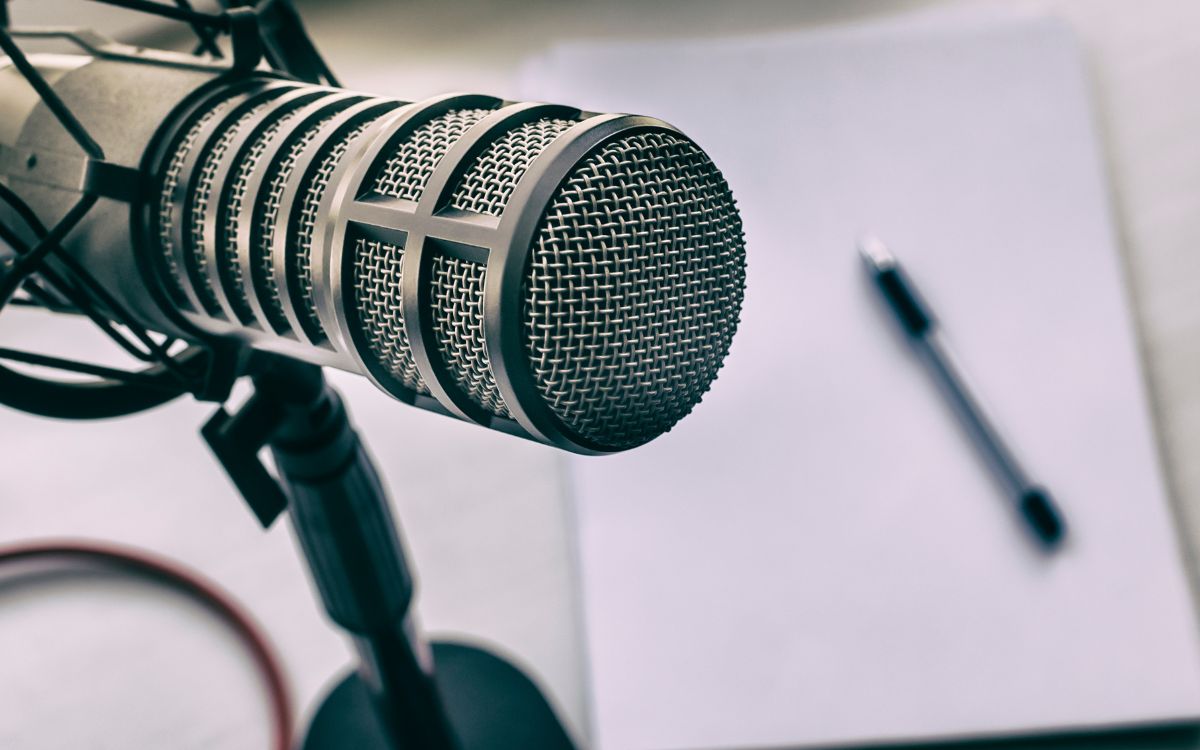
- Microphone: The microphone is the most important tool for capturing clear and crisp audio. There are various types of microphones to choose from, such as USB microphones, XLR microphones, and condenser microphones. Consider your budget and recording environment when selecting a microphone.
- Headphones: Good quality headphones are essential for monitoring and ensuring that your audio sounds the way you want it to. They help you catch any background noise or technical issues while recording.
- Pop Filter: A pop filter is a screen that is placed in front of the microphone to reduce plosive sounds (such as “p” and “b” sounds). It helps to eliminate unwanted noise and produce a cleaner sound.
- Boom Arm or Mic Stand: A boom arm or mic stand holds the microphone in place, allowing for easy and comfortable positioning during recording. This helps prevent handling noise and allows you to adjust the microphone to the ideal distance and angle.
- Audio Interface (for XLR microphones): If you opt for an XLR microphone, you will need an audio interface to connect it to your computer. The audio interface converts the analog signal from the microphone into a digital signal that your computer can process.
- Acoustic Treatment: Consider incorporating some form of acoustic treatment into your recording space. This can include foam panels, bass traps, and diffusers to minimize echo, reverberation, and external noise interference.
Remember, the quality of your equipment will have a direct impact on the overall sound of your podcast. While it’s important to invest in good equipment, it doesn’t mean you have to break the bank. There are excellent options available for every budget, so do your research and read reviews to find the best equipment that suits your needs.
Once you have gathered all the necessary equipment, you are ready to move on to the next step: setting up your recording space.
Step 2: Setting Up Your Recording Space
Creating a conducive recording environment is crucial for capturing high-quality audio and minimizing background noise. Here are some tips to set up your recording space:
- Choose a quiet room: Find a room where you can minimize external noises such as traffic, pets, or appliances. Ideally, select a room with carpeted floors or add rugs to reduce echo and reverberation.
- Clear the space: Remove any unnecessary objects or furniture that may cause unwanted noise or reflections. A clutter-free environment will ensure better sound quality and reduce distractions during recording.
- Consider acoustic treatment: If you have the means, consider adding acoustic foam panels or diffusers to the walls of your recording space. These treatments help absorb excess sound waves and create a more acoustically controlled environment.
- Position your microphone correctly: Place your microphone on a stable surface, such as a desk or boom arm, at a comfortable height and distance from your mouth. Experiment with microphone placement to find the best position for optimal audio capture.
- Use a pop filter: Attach a pop filter to your microphone to reduce plosive sounds and eliminate harsh breathing sounds. This will result in cleaner audio and a more professional sound.
- Avoid reflective surfaces: Minimize the presence of reflective surfaces in your recording space, such as glass windows or glossy furniture. These surfaces can bounce sound waves and create unwanted echoes or reverberations.
- Test for background noise: Before recording, take a moment to listen for any background noises that might interfere with your recording. This can include fans, air conditioners, or ambient noise from outside. Eliminate or reduce these noises as much as possible.
Remember, creating a quiet and controlled recording environment will greatly enhance the overall sound quality of your podcast. Take the time to set up your recording space properly before moving on to the next steps.
Next, we’ll explore how to choose the right recording software for your podcasting needs.
Step 3: Choosing the Recording Software
Choosing the right recording software is essential for capturing and editing your podcast episodes. There are various options available, both free and paid, that offer different features and levels of complexity. Here are some factors to consider when selecting your recording software:
- User-friendly interface: Look for software with an intuitive and user-friendly interface. This will make the recording and editing process smoother, especially if you are a beginner.
- Compatibility: Ensure that the software is compatible with your operating system (Windows, macOS, Linux, etc.). Check the system requirements to make sure your computer meets the necessary specifications.
- Recording capabilities: Consider the recording features offered by the software. Look for options such as multi-track recording, the ability to record from multiple microphones, and real-time input monitoring.
- Editing tools: Evaluate the editing tools available, such as cutting, trimming, adjusting volume levels, and adding effects. A good editing interface will make it easier to enhance the audio quality and create a polished final product.
- Exporting options: Check if the software allows you to export your podcast episodes in different file formats, such as MP3 or WAV. Additionally, ensure that you can adjust the bitrate and quality settings for optimal file size and compatibility.
- Add-ons and plugins: Some software offers add-ons or plugins that provide additional functionality and features. Consider if these are important to your podcasting needs, such as noise reduction plugins or advanced equalizers.
- Customer support and community: Research the software’s customer support options and online community. Having access to tutorials, forums, and technical assistance can be valuable, especially if you encounter any issues or have questions.
Popular recording software options include Audacity (free and open-source), Adobe Audition, GarageBand (for macOS users), and Reaper. Take the time to research and try out different software to find the one that fits your needs and budget.
Now that you have chosen your recording software, it’s time to move on to the next step: adjusting microphone settings.
Step 4: Adjusting Microphone Settings
Once you have your microphone set up, it’s important to adjust the microphone settings to ensure optimal recording quality. Here are some key adjustments to consider:
- Gain levels: Adjust the microphone’s gain or sensitivity level to capture the desired volume without distorting the sound. Test different gain settings and monitor the audio levels to find the right balance.
- Polar pattern: Some microphones offer different polar patterns, such as cardioid, omnidirectional, or bidirectional. Select the appropriate polar pattern based on your recording setup and the desired sound capture (e.g., solo podcasting, interviews, or group discussions).
- Positioning: Experiment with microphone positioning to achieve the best sound. The distance between the microphone and your mouth, as well as the angle, can affect the sound quality and the presence of background noise.
- Monitor headphones: Connect your headphones and ensure they are properly plugged into the correct audio output. This will allow you to monitor the audio in real-time and detect any immediate issues or background noises.
- Test your audio levels: Use the recording software’s built-in tools or a separate audio level meter to check the input levels. It’s important to avoid audio clipping (when the sound exceeds the maximum level and distorts) and ensure the audio signal is strong but not too weak.
- Eliminate background noise: Pay attention to any background noise or interference that might be picked up by the microphone. Close windows, turn off fans or air conditioners, and minimize other sources of noise before recording.
- Pop filter usage: Ensure that the pop filter is positioned correctly in front of the microphone to reduce plosive sounds and harsh breath sounds. This will result in cleaner audio and a more professional sound.
Take the time to adjust and fine-tune your microphone settings before starting your recording session. By doing so, you’ll ensure that you capture high-quality audio and minimize any technical issues or distractions.
Next, we’ll move on to Step 5: Testing and Troubleshooting to ensure everything is working smoothly before you hit the record button.
Step 5: Testing and Troubleshooting
Before diving into your podcast recording, it’s essential to test and troubleshoot your equipment and settings to ensure everything is working smoothly. Here are some important steps to take:
- Check your audio levels: Use your recording software’s audio level meters to monitor the input levels during a test recording. Speak into the microphone at your normal recording volume and adjust the gain levels if needed. Ensure that the audio levels do not peak or clip.
- Listen for background noise: Play back the test recording and listen for any unwanted background noise, such as hums or hisses. If you hear any issues, try adjusting the microphone placement, gain levels, or consider using noise reduction techniques in your editing software.
- Test multiple microphones: If you are recording with multiple microphones, test each one individually and in combination to ensure they are all functioning properly. Check that the audio levels are balanced and consistent across all microphones.
- Monitor headphone output: Listen to the playback through your headphones and make sure the audio sounds clear and balanced. If needed, adjust the headphone volume or audio output settings in your recording software.
- Double-check recording settings: Verify that your chosen recording software is set to the correct input source (your microphone) and that the desired file format and quality settings are selected.
- Anticipate technical issues: Prepare yourself for any potential technical issues that may arise during recording. Have a backup plan in case of power outages, computer crashes, or unexpected interruptions. Save your work frequently to avoid losing any valuable recordings.
- Test connectivity and cables: Ensure that all cables are securely connected and that there are no loose connections. Check for any crackling sounds or intermittent audio issues that may indicate a faulty cable.
- Practice recording: Take some time to practice recording a short segment to get familiar with the workflow and to identify any additional tweaks or adjustments needed before starting the actual podcast recording.
By thoroughly testing and troubleshooting your setup, you can address any potential issues before recording your podcast. This will help you achieve a smoother recording process and ensure the best possible audio quality.
Now that you’ve tested and troubleshooted, it’s time to move on to the exciting part: recording your podcast! We’ll cover this in detail in Step 6.
Step 6: Recording Your Podcast
Now that everything is set up and tested, it’s time to hit the record button and start recording your podcast! Here are some tips to ensure a successful recording session:
- Prepare an outline or script: Before you start recording, have a clear outline or script of what you want to cover in your podcast episode. This will help you stay focused and organized during the recording process.
- Maintain proper microphone technique: Position yourself at the correct distance from the microphone to achieve optimal sound quality. Speak directly into the microphone and avoid excessively loud or soft speaking. Use consistent microphone technique throughout the recording to ensure consistent audio levels.
- Take breaks and stay hydrated: Recording a podcast can be physically and mentally demanding. Take short breaks between segments or episodes to rest your voice, have a sip of water, and recharge. Staying hydrated will help maintain your vocal clarity.
- Speak confidently and naturally: When recording, try to speak with confidence and engage your audience with a natural tone. Avoid rushing through your content and take your time to articulate your words clearly.
- Minimize interruptions: Create a quiet environment while recording to avoid interruptions or background noise. Put your phone on silent mode and inform those around you about your recording schedule to minimize distractions.
- Record in segments: If your podcast episode is lengthy or involves different segments, consider recording in shorter segments. This approach allows for easier editing and helps to maintain focus and energy throughout the recording session.
- Monitor audio levels: Keep an eye on the audio levels in your recording software throughout the session. Make adjustments to the microphone gain if necessary, but avoid sudden changes that may create noticeable inconsistencies in volume.
- Demonstrate emotion and enthusiasm: Infuse your voice with emotion and enthusiasm to captivate your audience. By conveying passion and energy, you’ll create a more engaging podcast listening experience.
- Don’t be afraid to re-record: It’s okay to make mistakes or stumble over your words during the recording. Don’t hesitate to pause and re-record any sections that you’re not satisfied with. Remember, editing allows you to polish your recording later.
- Have fun and be yourself: Enjoy the process of recording your podcast! Let your personality shine through and have fun sharing your knowledge and passion with your listeners.
Remember, the recording process may take some practice, so don’t be discouraged if it doesn’t go perfectly the first time. With experience, you’ll become more comfortable and confident in recording your podcast episodes.
Once you are satisfied with your recording, it’s time to move on to the next step: editing and enhancing the audio.
Step 7: Editing and Enhancing the Audio
After recording your podcast, the next step is to edit and enhance the audio to create a polished and professional final product. Here’s how to approach the editing process:
- Import your recording: Open your recording software and import the audio file(s) from your recording session. Most software allows you to drag and drop the files into the project.
- Trim and clean up: Begin by trimming any unnecessary parts of the recording, such as pauses, mistakes, or background noise. Use the cutting or splitting tool in your software to remove these segments and create a seamless flow.
- Adjust volume levels: Normalize the audio levels to ensure a consistent volume throughout the podcast. Use the software’s volume automation tools or apply compression to balance out any volume disparities between speakers or segments.
- Remove background noise: If you notice any remaining background noise or unwanted sounds, use noise reduction techniques to minimize them. Most recording software offers noise reduction tools that help reduce hiss, hums, or other ambient noises.
- Enhance the audio quality: Experiment with equalization (EQ) settings to shape the tone of the voices or music in your podcast. Enhance clarity and presence by adjusting frequencies intelligently, but avoid excessive processing that may make the audio sound unnatural.
- Add music and sound effects: Consider adding background music or sound effects to enhance the listening experience. Choose royalty-free music or sound effects that complement the mood and theme of your podcast. Be careful not to overpower the main audio with background sounds.
- Smooth transitions: Ensure smooth transitions between different segments or edits. Use crossfades or fade-in/fade-out effects to prevent any abrupt changes in volume or audio texture.
- Listen and revise: Take breaks while editing to listen to your work-in-progress. Pay attention to the flow, pacing, and overall feel of the podcast. Revise and make adjustments as needed to achieve the desired end result.
- Prooflisten: Once you are satisfied with the editing, listen to the final version of your podcast from start to finish. Check for any remaining errors or inconsistencies, and make any final tweaks before moving on to the next step.
Editing your podcast allows you to create a professional and engaging listening experience. Take your time and don’t be afraid to experiment with different editing techniques to find the style that works best for your podcast.
Now that you have edited and enhanced the audio, it’s time to move on to exporting and saving your podcast in the next step.
Step 8: Exporting and Saving the Podcast
After you have edited and finalized your podcast, it’s time to export and save your audio file in a format that is suitable for distribution. Here’s how to proceed:
- Select the desired file format: Choose the appropriate audio file format for your podcast. The most common format for podcasts is MP3, as it offers a good balance between file size and audio quality. However, some platforms may have specific format requirements, so be sure to check their guidelines.
- Set the bitrate and quality: Adjust the bitrate and quality settings for your audio file. Higher bitrates generally result in better audio quality, but they also generate larger file sizes. Consider a bitrate of 128-192 kbps for spoken word podcasts, and higher bitrates (256-320 kbps) if your podcast includes music or requires higher audio fidelity.
- Apply metadata: Add relevant metadata to your podcast file, such as the episode title, artist name, episode number, and other relevant information. This will help with organization and searchability when your podcast is published on various platforms.
- Export the audio: Use your recording software’s export feature to save the final audio file. Provide a clear and descriptive filename for easy identification and organization.
- Backup your files: Make sure to create a backup of your final audio file and any associated project files. Keep multiple copies in different locations or on external storage devices to prevent accidental loss of your hard work.
- Transcribe your podcast: Consider transcribing your podcast episode for accessibility purposes and to improve search engine optimization. This will make your content more readable and discoverable by search engines.
- Tag your audio file: Add relevant tags or keywords to your audio file. These tags help categorize your podcast and make it more discoverable when users search for specific topics or themes.
- Organize your podcast files: Create a logical file structure to keep your podcast episodes organized. Consider organizing your files by date, episode number, or topic to make it easier to locate and manage your podcast episodes in the future.
- Export show notes and episode description: Along with the audio file, prepare show notes and an episode description that provide an overview of your podcast episode. This will help with SEO and give your audience a glimpse into the content of the episode.
By following these steps, you can ensure that your podcast episodes are properly exported, organized, and ready for publication. Now, let’s move on to the final step: publishing and sharing your podcast with the world.
Step 9: Publishing and Sharing Your Podcast
Now that you have completed the recording, editing, and exporting stages of your podcast, it’s time to share your creation with the world. Here are the steps to publish and share your podcast:
- Choose a podcast hosting platform: Select a podcast hosting platform that will serve as the central hub for your podcast episodes. Popular hosting platforms include Libsyn, Podbean, and Anchor. These platforms provide the necessary infrastructure to store and distribute your podcast episodes.
- Create an account: Sign up for an account on your chosen podcast hosting platform. Follow the platform’s instructions to set up your podcast show, providing relevant details such as the show’s name, description, and artwork.
- Upload your episodes: Use the platform’s interface to upload your podcast episodes. Make sure to include all the necessary metadata, such as episode titles, descriptions, and cover art.
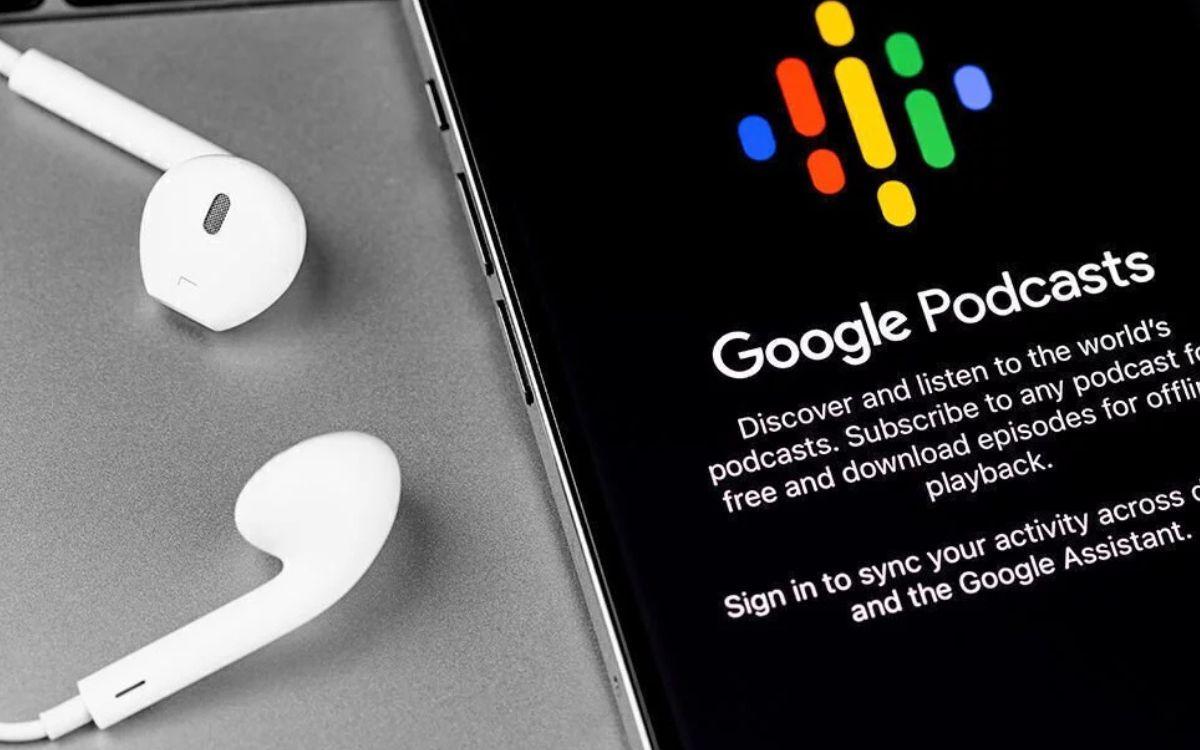
- Submit to podcast directories: Submit your podcast to popular podcast directories such as Apple Podcasts, Spotify, and Google Podcasts. These directories make it easier for your audience to discover and subscribe to your podcast. Follow the submission guidelines provided by each directory.
- Create a podcast website: Consider creating a website for your podcast. This will serve as a central hub where listeners can access your episodes, show notes, and additional resources. Include links to your podcast hosting platform and directories on your website.
- Promote your podcast: Utilize social media, email newsletters, and other marketing channels to promote your podcast. Engage with your audience, encourage them to share your episodes, and consider collaborating with other podcasters or influencers to expand your reach.
- Engage with your audience: Encourage your listeners to leave reviews and ratings for your podcast on podcast directories. Respond to comments, questions, and feedback from your audience to foster a sense of community and connection.
- Continue creating and publishing: Consistency is key in podcasting. Establish a regular schedule for releasing new episodes and stick to it. Regularly monitor your podcast’s analytics and listen to feedback from your audience to improve and refine your content.
- Explore monetization options: As your podcast grows, consider exploring monetization options such as sponsorships, partnerships, or crowdfunding. Research different monetization models and select the approach that aligns with your podcast’s goals and target audience.
Remember, building an audience for your podcast takes time and effort. Stay consistent, engage with your listeners, and continuously work to improve the quality of your content. Enjoy the journey of podcasting and have fun sharing your passion and knowledge with the world!
By following these steps, you will successfully publish and share your podcast, reaching and connecting with your target audience. Congratulations on creating and sharing your podcast with the world!
Conclusion
Recording a podcast is an exciting journey that allows you to share your voice, ideas, and expertise with a global audience. By following the steps outlined in this guide, you now have the knowledge and tools to record, edit, and publish high-quality podcasts.
Choosing the right equipment, setting up a conducive recording space, and selecting the appropriate recording software are all crucial steps in creating professional-level audio content. Adjusting microphone settings, testing and troubleshooting, and recording with confidence and enthusiasm will ensure a smooth and engaging recording process.
Once the recording is complete, the editing process allows you to fine-tune the audio, remove any imperfections, and create a polished final product. Exporting and saving the audio file in the right format, along with metadata and show notes, is the next step before publishing your podcast.
With the multitude of podcast hosting platforms available, you can easily share your podcast episodes with the world. By submitting your podcast to directories, creating a podcast website, and actively promoting your podcast through various channels, you can grow your audience and engage with your listeners.
Remember, podcasting is a continuous journey of improvement and learning. As you create and publish more episodes, listen to feedback from your audience, and adapt your content accordingly. Stay consistent, nurture your community, and explore monetization options as your podcast gains traction.
Finally, enjoy the process of podcasting. Embrace your unique voice and style, and have fun connecting with listeners who share your passion. With dedication and perseverance, your podcast has the potential to make a meaningful impact in the lives of your audience.
So, gear up, grab your microphone, and start recording. The world is waiting to hear your podcast!