Home>Production & Technology>Acoustic>How To Make An Acoustic Stompbox
Acoustic
How To Make An Acoustic Stompbox
Published: March 12, 2024
Learn how to make an acoustic stompbox to enhance your acoustic performances. Discover step-by-step instructions and tips for creating your own unique percussion instrument.
(Many of the links in this article redirect to a specific reviewed product. Your purchase of these products through affiliate links helps to generate commission for AudioLover.com, at no extra cost. Learn more)
Table of Contents
Introduction
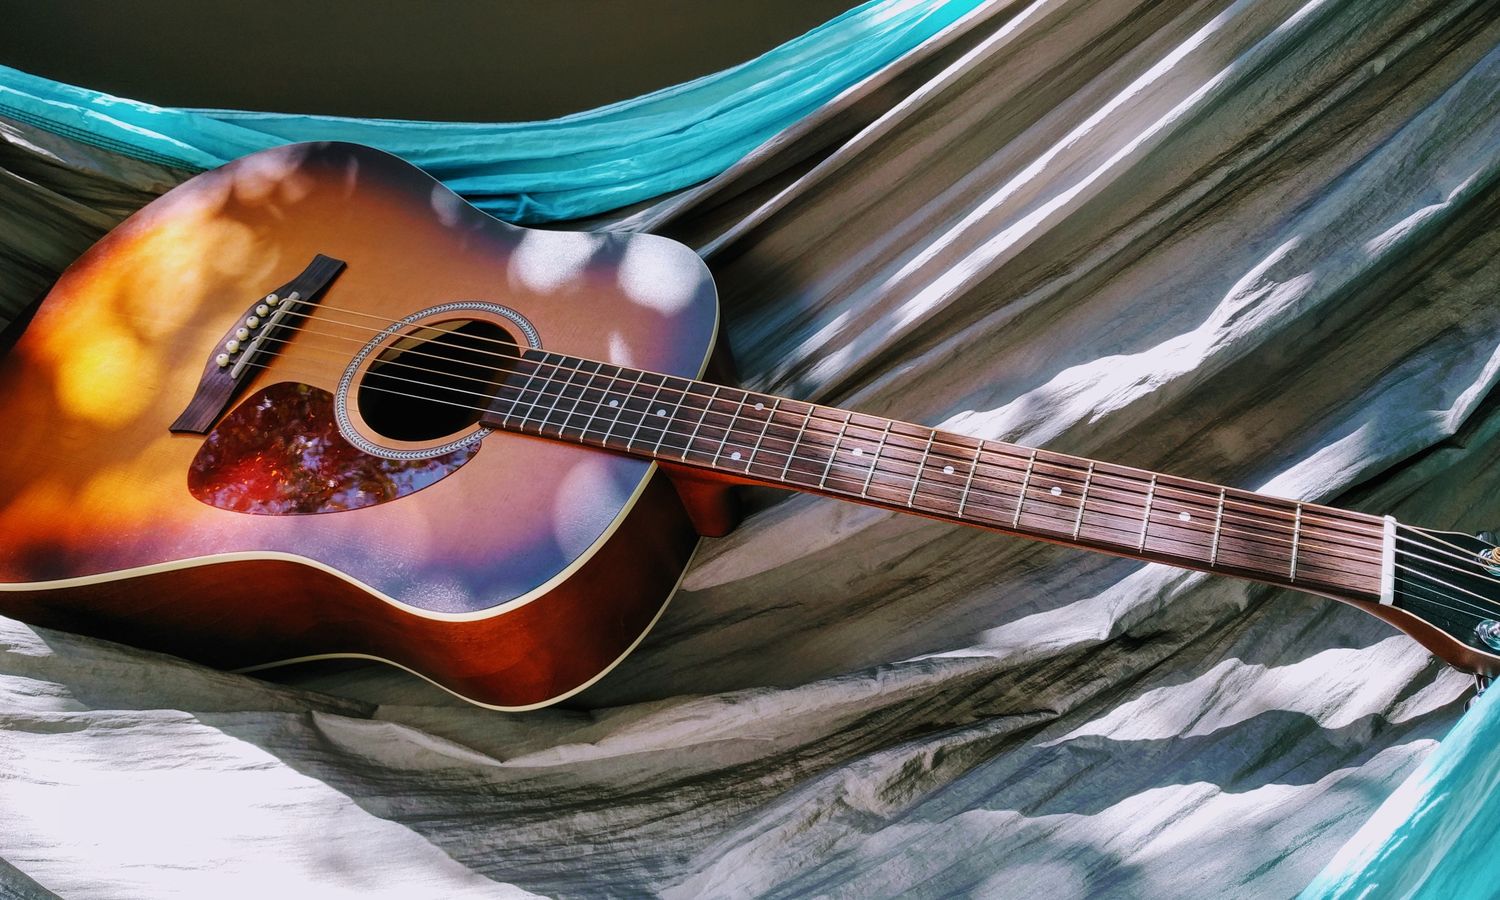
Creating your own acoustic stompbox can be a rewarding and enjoyable project for musicians and DIY enthusiasts alike. A stompbox, also known as a "stomp box" or "stomp pedal," is a percussion instrument that produces a deep, resonant sound when tapped with the foot. It adds a rhythmic dimension to acoustic performances, making it a popular choice for solo artists and bands seeking to enrich their sound.
Crafting your own stompbox allows for customization and personalization, enabling you to tailor the instrument to your specific preferences and playing style. Whether you're a seasoned woodworker or a novice craftsman, building an acoustic stompbox can be a fulfilling endeavor that combines creativity with practicality.
In this comprehensive guide, we will walk you through the step-by-step process of constructing an acoustic stompbox from scratch. From selecting the materials and tools to adding the finishing touches, you will gain valuable insights into the art of stompbox creation. By the end of this journey, you will have a unique and functional percussion instrument that reflects your craftsmanship and musical identity.
So, roll up your sleeves, gather your tools, and let's embark on this exciting venture to bring the rhythmic heartbeat of the stompbox to life. Whether you're a musician looking to expand your sonic repertoire or a DIY enthusiast seeking a hands-on project, this guide will equip you with the knowledge and skills to create a one-of-a-kind acoustic stompbox that resonates with your passion and creativity.
Materials and Tools Needed
To embark on the journey of crafting your own acoustic stompbox, you will need a selection of materials and tools to bring your vision to life. Here's a comprehensive list of what you'll need to get started:
Materials:
-
Wood: Select a sturdy and resonant wood for the main body of the stompbox. Birch plywood, oak, or maple are popular choices due to their durability and acoustic properties. Ensure that the wood is at least 1/2 inch thick to provide ample resonance.
-
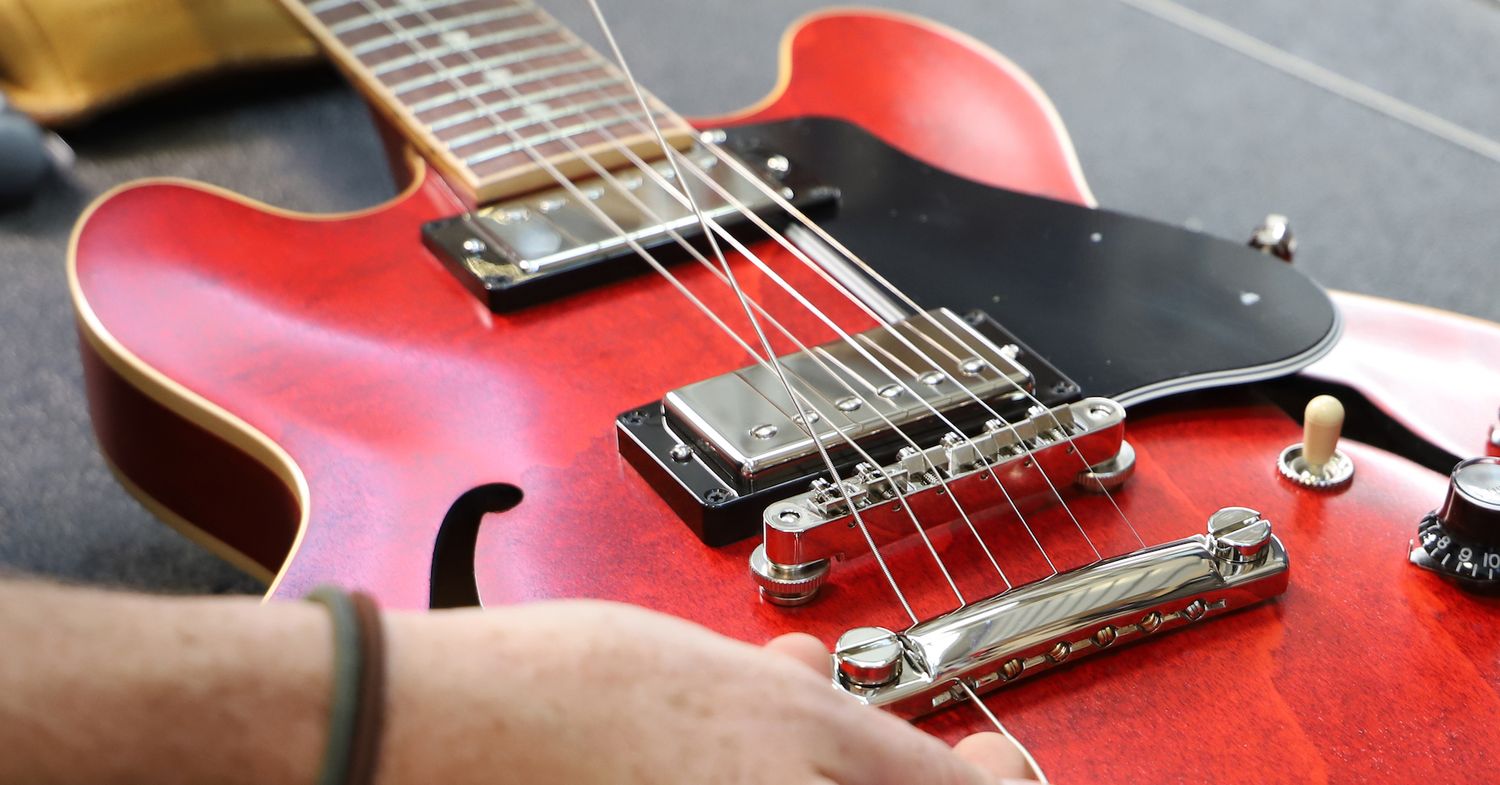
Pickup: A piezo pickup is essential for capturing the percussive sound produced by the stompbox. This transducer converts the physical vibrations into electrical signals, allowing the sound to be amplified through an acoustic guitar amp or PA system.
-
Stomp Pad: The stomp pad, often made of dense rubber or hardwood, serves as the striking surface of the stompbox. It should be robust enough to withstand frequent tapping while delivering a consistent and resonant sound.
-
Wood Glue: High-quality wood glue is crucial for securely bonding the components of the stompbox. Look for a strong adhesive that dries clear and is suitable for woodworking applications.
-
Finish: Consider applying a protective finish to the exterior of the stompbox to enhance its durability and aesthetics. Options include polyurethane, lacquer, or natural oils to preserve the wood and showcase its natural beauty.
Tools:
-
Saw: A handsaw or a power saw will be necessary for cutting the wood to the desired dimensions. A miter saw or table saw can provide precise and uniform cuts, ensuring a professional finish.
-
Drill: A power drill equipped with a hole saw attachment is essential for creating the sound hole in the stompbox. Additionally, you will need the drill for installing the pickup and assembling the components.
-
Sanding Tools: Sandpaper, a sanding block, or a power sander will be indispensable for smoothing the edges and surfaces of the wood, creating a tactile and visually appealing finish.
-
Clamps: Sturdy clamps are essential for holding the wood components together during the assembly and gluing process. They ensure a tight and secure bond while the adhesive sets.
-
Soldering Iron: If your pickup requires soldering for installation, a soldering iron and solder will be necessary to make the electrical connections.
-
Safety Gear: Prioritize safety by wearing protective gear such as safety goggles, a dust mask, and work gloves to safeguard yourself during the woodworking and assembly processes.
By gathering these materials and tools, you will be well-equipped to commence the construction of your acoustic stompbox. With careful attention to detail and a passion for craftsmanship, you can transform these raw components into a finely tuned instrument that resonates with your musical expression.
Step 1: Cutting the Wood
The initial step in crafting an acoustic stompbox involves precision and finesse in cutting the wood to the desired dimensions. This foundational stage sets the stage for the structural integrity and acoustic performance of the instrument. Here's a detailed walkthrough of the wood cutting process:
Selecting the Wood
Begin by selecting a high-quality wood that possesses the ideal combination of durability and resonance. Birch plywood, oak, or maple are popular choices due to their acoustic properties and ability to withstand the rigors of percussive use. Ensure that the wood is at least 1/2 inch thick to provide ample resonance and structural stability.
Marking and Measuring
Using a pencil and a measuring tape, carefully mark the dimensions of the stompbox components on the wood. The main body of the stompbox typically measures around 12 inches in length, 10 inches in width, and 2 inches in height. Precision is key at this stage, as accurate measurements will contribute to a well-proportioned and harmonious instrument.
Cutting the Components
With the dimensions clearly marked, proceed to cut the wood using a saw that is suitable for woodworking applications. A handsaw or a power saw can be employed to make precise and uniform cuts, ensuring clean edges and a professional finish. Take your time and exercise caution to achieve smooth and straight cuts that align with the designated measurements.
Smoothing the Edges
After cutting the main body of the stompbox, utilize sandpaper, a sanding block, or a power sander to smooth the edges and surfaces of the wood. This step is crucial for creating a tactile and visually appealing finish while ensuring that the components fit together seamlessly during assembly.
By meticulously executing the wood cutting process, you lay the groundwork for a stompbox that embodies precision and craftsmanship. With the main components expertly fashioned, you are ready to progress to the next stage of assembling the box, bringing you one step closer to the realization of your custom acoustic stompbox.
Step 2: Assembling the Box
With the wood components expertly cut and prepared, the next pivotal phase in crafting your acoustic stompbox is the meticulous assembly of the box. This step requires precision, attention to detail, and a methodical approach to ensure that the components seamlessly come together to form a robust and resonant instrument.
Aligning the Components
Begin by arranging the cut wood components in the designated configuration, ensuring that the sides, top, and bottom align perfectly to create a cohesive structure. Utilize clamps to hold the components in place, maintaining even pressure to facilitate a tight and secure bond during the assembly process.
Applying Wood Glue
Once the components are aligned, apply a generous amount of high-quality wood glue to the mating surfaces of the wood. Spread the glue evenly using a disposable brush or a small spatula, ensuring comprehensive coverage to promote a strong and enduring bond. The adhesive properties of the wood glue are instrumental in uniting the components to form a unified and resilient stompbox body.
Securing with Clamps
With the wood glue applied, carefully position the clamps along the edges of the assembled components to exert uniform pressure. This step is crucial for ensuring that the wood pieces adhere firmly to one another, minimizing gaps and promoting a seamless integration of the box structure. Allow the clamped assembly to set for the recommended duration as per the wood glue manufacturer's instructions, enabling the adhesive to cure and solidify the bond.
Verifying Alignment
After the wood glue has set and the clamps have been removed, inspect the assembled box to verify the alignment and structural integrity. Check for any discrepancies or irregularities, making any necessary adjustments to ensure that the box maintains its intended dimensions and symmetry. Attention to detail at this stage contributes to the overall stability and visual appeal of the stompbox.
Embracing Precision and Patience
Assembling the box demands a combination of precision and patience, as each step plays a pivotal role in shaping the final form of the stompbox. By meticulously aligning the components, applying wood glue with care, and securing the assembly with clamps, you lay the foundation for a stompbox that embodies craftsmanship and durability.
With the box assembly completed, you have achieved a significant milestone in the construction of your acoustic stompbox. The next stages will further enhance the functionality and sonic characteristics of the instrument, bringing you closer to the realization of your custom percussion companion.
Step 3: Installing the Pickup
The installation of the pickup is a pivotal stage in the construction of an acoustic stompbox, as it facilitates the conversion of physical vibrations into electrical signals, enabling the amplified projection of the instrument's percussive sound. This transformative process requires precision and attention to detail to ensure optimal performance and seamless integration with the stompbox.
Preparing the Pickup
Before commencing the installation, it is essential to prepare the pickup for seamless integration into the stompbox. Begin by identifying the ideal placement for the pickup within the interior of the stompbox. The location should be strategically chosen to capture the resonant vibrations generated when the stompbox is played, ensuring that the percussive sound is accurately translated into electrical signals.
Creating the Mounting Point
With the placement determined, carefully mark the position within the stompbox where the pickup will be installed. Utilize a drill equipped with a hole saw attachment to create a precise mounting point for the pickup. Exercise caution and employ steady pressure to achieve a clean and uniform aperture that accommodates the pickup while maintaining the structural integrity of the stompbox.
Securing the Pickup
Once the mounting point has been established, proceed to secure the pickup within the designated location. Ensure that the pickup is positioned securely and aligned to capture the optimal vibrations produced by the stompbox. Depending on the type of pickup, it may require additional fastening or adhesive to affix it firmly to the interior of the stompbox, minimizing movement and maximizing its effectiveness in capturing the percussive nuances.
Making Electrical Connections
Following the secure installation of the pickup, attention turns to making the necessary electrical connections to integrate it with the amplification system. If the pickup requires soldering for electrical connections, utilize a soldering iron and solder to establish the requisite wiring. Exercise care and precision during this process to ensure reliable electrical conductivity and minimize the risk of signal interference or disruptions.
Verifying Functionality
Upon completing the installation and electrical connections, it is imperative to verify the functionality of the pickup within the stompbox. Test the pickup by tapping the stompbox and monitoring the output through an amplifier or audio interface. Verify that the pickup accurately captures the percussive sound and delivers a clear and robust signal, indicative of successful integration within the stompbox.
By meticulously executing the installation of the pickup, you enhance the sonic capabilities of the acoustic stompbox, enabling it to translate physical impact into amplified rhythmic resonance. This pivotal stage brings you closer to the realization of a custom percussion instrument that embodies craftsmanship and musical expression.
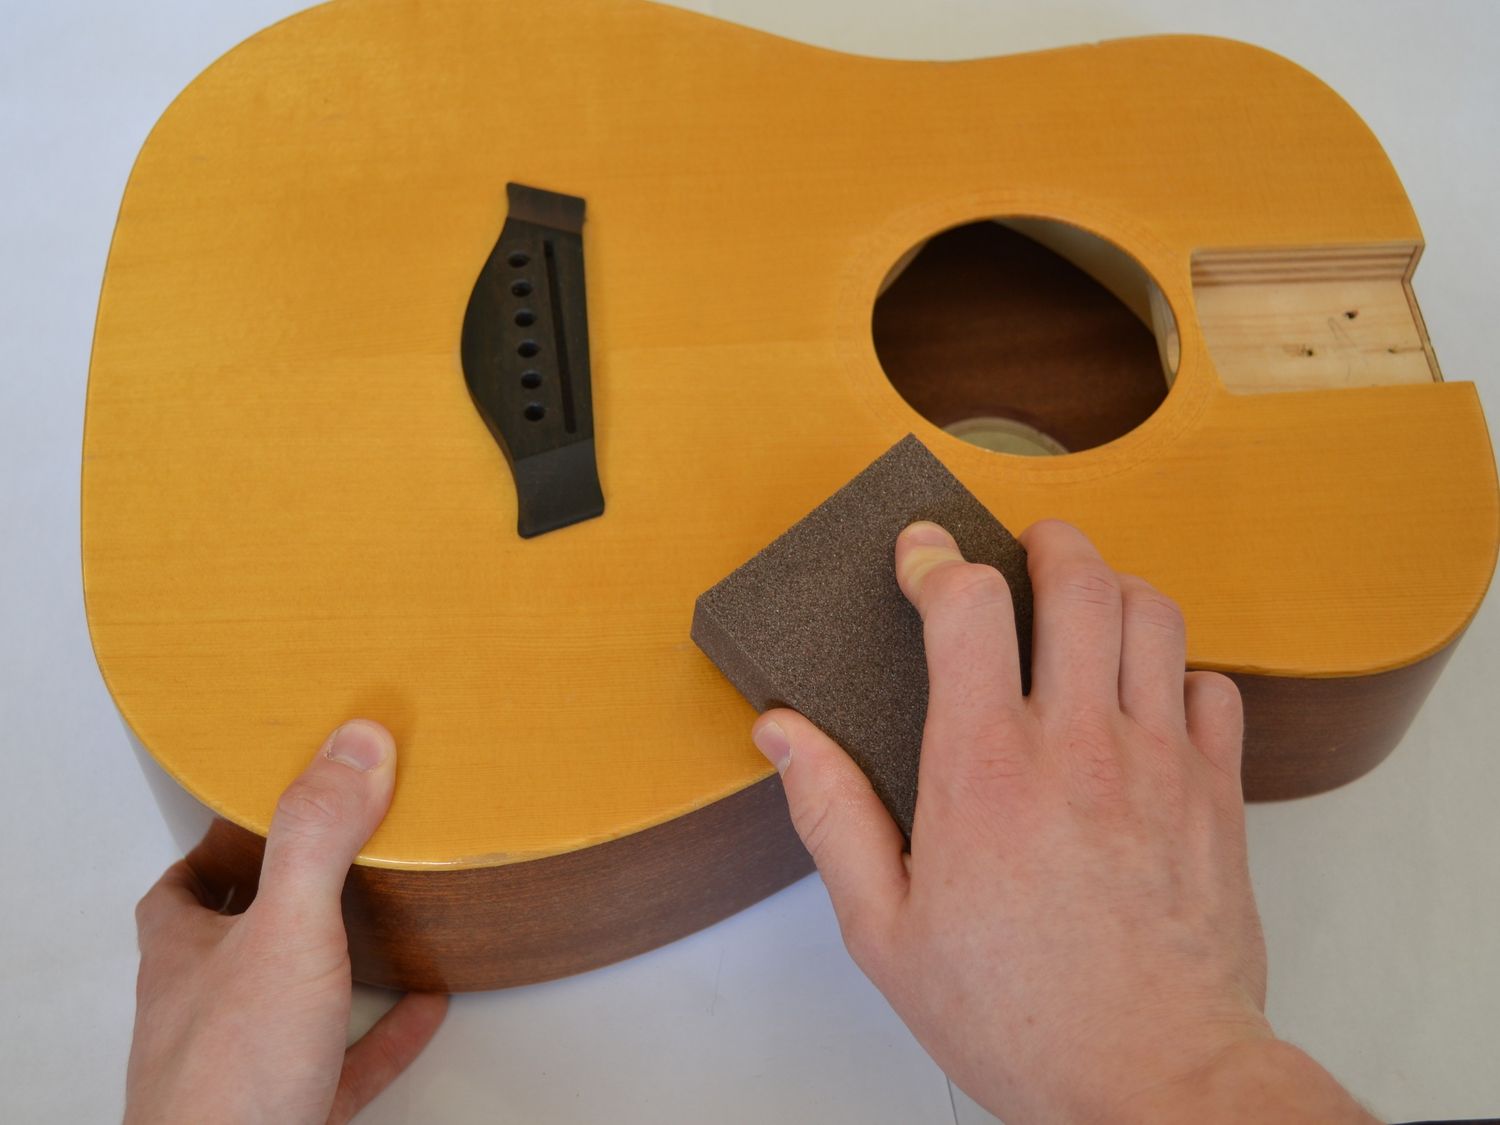
Step 4: Adding the Sound Hole
The addition of a sound hole is a critical step in the construction of an acoustic stompbox, as it plays a pivotal role in shaping the instrument's acoustic characteristics and resonance. The sound hole serves as a portal for the release of percussive sound, allowing the internal vibrations to project outward, enriching the instrument's sonic presence and depth. This transformative process demands precision and a keen understanding of acoustic principles to ensure optimal performance and tonal richness.
Selecting the Sound Hole Location
Before proceeding with the creation of the sound hole, deliberate consideration must be given to the optimal location within the stompbox. The placement of the sound hole significantly influences the instrument's tonal characteristics and projection. Typically, the sound hole is positioned on the front face of the stompbox, strategically chosen to maximize the release of resonant frequencies while maintaining structural integrity.
Marking and Measuring
With the location determined, meticulous attention is directed towards marking and measuring the dimensions of the sound hole. Utilizing a pencil and a measuring tape, accurately outline the perimeter of the sound hole on the front face of the stompbox. The dimensions of the sound hole are critical, as they directly impact the instrument's acoustic properties and the dispersion of percussive sound.
Cutting the Sound Hole
Armed with precision and a steady hand, carefully cut out the marked sound hole using a drill equipped with a hole saw attachment. Exercise caution and employ a controlled technique to create a clean and uniform aperture that aligns with the designated dimensions. The cutting process should be deliberate and methodical, ensuring that the integrity of the stompbox's structure is preserved while facilitating the unhindered release of resonant vibrations.
Smoothing the Edges
Following the creation of the sound hole, employ sandpaper or a sanding block to smooth the edges of the aperture. This step is crucial for refining the finish of the sound hole, ensuring that it presents a polished and professional appearance. Additionally, the smooth edges contribute to the overall tactile appeal of the stompbox while minimizing the risk of splintering or rough surfaces.
Enhancing Acoustic Resonance
The addition of the sound hole represents a transformative stage in the construction of the acoustic stompbox, elevating its sonic capabilities and tonal richness. The carefully crafted aperture serves as a conduit for the release of percussive energy, allowing the instrument to resonate with depth and clarity. By embracing precision and a deep understanding of acoustic principles, the sound hole becomes a defining feature that amplifies the expressive potential of the stompbox.
As the sound hole is seamlessly integrated into the stompbox, the instrument undergoes a profound transformation, evolving into a resonant and dynamic percussion companion that embodies craftsmanship and sonic excellence.
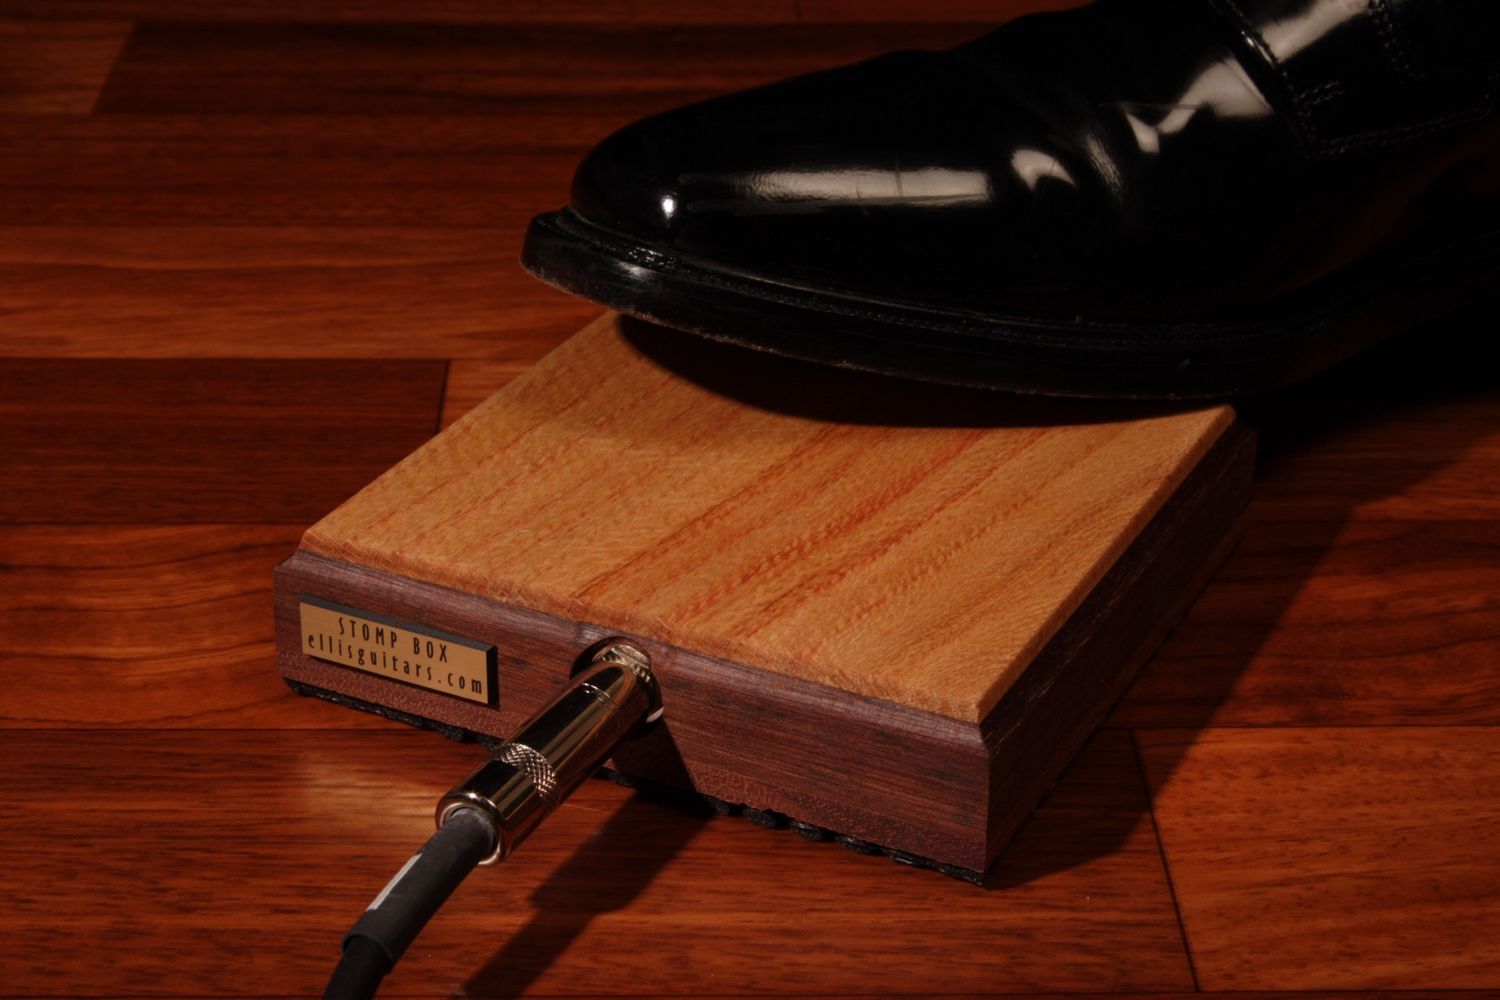
Step 5: Attaching the Stomp Pad
The process of attaching the stomp pad represents a pivotal stage in the construction of an acoustic stompbox, as it directly influences the instrument's playability, durability, and sonic resonance. The stomp pad, often crafted from dense rubber or hardwood, serves as the striking surface of the stompbox, translating the physical impact into resounding percussive rhythms. This transformative process demands precision, attention to detail, and a keen understanding of the interplay between materials and sound production.
Selecting the Stomp Pad
Before proceeding with the attachment of the stomp pad, deliberate consideration must be given to the selection of the striking surface. The stomp pad should exhibit robustness and resilience, capable of withstanding the repetitive impact of foot tapping while delivering consistent and resonant sound. Dense rubber and hardwood are popular choices due to their durability and acoustic properties, offering a tactile surface that responds to the performer's touch with clarity and depth.
Positioning and Alignment
With the stomp pad selected, meticulous attention is directed towards positioning and aligning it on the designated striking area of the stompbox. The placement of the stomp pad is critical, as it directly influences the instrument's responsiveness and tonal characteristics. Carefully mark the precise location for the stomp pad, ensuring that it aligns symmetrically and securely with the front face of the stompbox. Precision in positioning is essential to optimize the instrument's playability and sonic projection.
Securing the Stomp Pad
Once the positioning is determined, proceed to securely affix the stomp pad to the front face of the stompbox. Utilize high-quality wood glue or adhesive specifically designed for bonding rubber or hardwood to ensure a strong and enduring attachment. Apply the adhesive evenly to the mating surfaces, fostering a secure bond that minimizes the risk of detachment or shifting during performance. Employ clamps or weights to exert uniform pressure, facilitating a tight and reliable connection between the stomp pad and the stompbox.
Verifying Stability and Resonance
Following the attachment of the stomp pad, it is imperative to verify its stability and resonance. Test the stomp pad by tapping it with varying degrees of force, assessing its responsiveness and the quality of the percussive sound produced. The stomp pad should exhibit consistent and resonant characteristics, translating the physical impact into vibrant rhythms that resonate with clarity and depth. Attention to detail at this stage ensures that the stomp pad enhances the instrument's playability and sonic expressiveness.
Embracing Craftsmanship and Functionality
As the stomp pad is seamlessly affixed to the stompbox, the instrument undergoes a transformative evolution, culminating in a percussion companion that embodies craftsmanship and functionality. The carefully positioned and securely attached stomp pad becomes an integral component that amplifies the instrument's expressive potential, inviting performers to unleash rhythmic creativity and sonic resonance. By embracing precision and a deep understanding of material properties, the stomp pad emerges as a defining feature that elevates the acoustic stompbox into a resonant and dynamic instrument.
In summary, the attachment of the stomp pad represents a significant milestone in the construction of an acoustic stompbox, shaping its tactile and sonic characteristics with precision and artistry. With the stomp pad seamlessly integrated, the instrument stands poised to deliver resounding rhythms and expressive percussion, reflecting the fusion of craftsmanship and musical excellence.
Step 6: Finishing Touches
The culmination of the acoustic stompbox construction journey involves the application of finishing touches, a transformative stage that elevates the instrument from a collection of components to a refined and visually captivating percussion companion. This pivotal phase encompasses a range of meticulous processes aimed at enhancing the instrument's aesthetics, durability, and sonic resonance, culminating in a stompbox that embodies craftsmanship and artistic expression.
Sanding and Smoothing
The initial step in the finishing process entails meticulous sanding and smoothing of the stompbox's exterior surfaces. Employing fine-grit sandpaper and a methodical approach, the edges and surfaces are refined to achieve a tactile and visually appealing finish. This step not only enhances the instrument's aesthetic appeal but also ensures that the performer's interaction with the stompbox is characterized by smoothness and comfort.
Application of Protective Finish
To safeguard the wood and accentuate its natural beauty, the application of a protective finish is paramount. Options such as polyurethane, lacquer, or natural oils are carefully applied to the exterior of the stompbox, creating a durable and lustrous surface that accentuates the wood's grain and texture. The protective finish serves as a shield against wear and tear while enriching the visual allure of the instrument, reflecting the artisan's dedication to preserving and showcasing the inherent beauty of the wood.
Personalization and Customization
Embracing the spirit of individuality and creativity, the finishing touches stage offers an opportunity for personalization and customization. Whether through intricate woodburning, inlay work, or the addition of decorative elements, performers and craftsmen can imbue the stompbox with unique visual motifs and artistic expressions. This personalized touch not only distinguishes the instrument as a bespoke creation but also fosters a deep connection between the performer and their musical companion.
Quality Assurance and Inspection
As the finishing touches are meticulously applied, a comprehensive quality assurance and inspection process ensues. Every aspect of the stompbox, from the smoothness of its surfaces to the integrity of its finish, is scrutinized to ensure that the instrument meets the highest standards of craftsmanship and functionality. This meticulous attention to detail underscores the commitment to delivering a stompbox that embodies excellence in both form and function.
The Culmination of Craftsmanship
As the finishing touches are expertly applied, the acoustic stompbox undergoes a profound transformation, evolving into a refined and visually captivating percussion instrument that resonates with craftsmanship and artistic expression. The culmination of this transformative phase signifies the realization of a stompbox that not only delivers resounding rhythms but also stands as a testament to the fusion of artistry, dedication, and musical excellence.
Conclusion
In conclusion, the journey of crafting an acoustic stompbox from scratch is a testament to the fusion of artistry, craftsmanship, and musical ingenuity. From the initial selection of materials to the meticulous application of finishing touches, every stage of the construction process embodies a dedication to excellence and a deep understanding of the instrument's sonic potential.
The creation of an acoustic stompbox transcends the mere assembly of components; it represents a harmonious blend of woodworking finesse, acoustic principles, and a passion for musical expression. Each step, from cutting the wood to attaching the stomp pad, is imbued with precision and artistry, culminating in the realization of a percussion instrument that resonates with individuality and sonic excellence.
As the stompbox takes shape, it becomes more than a collection of meticulously crafted components; it evolves into a dynamic and resonant companion that amplifies the performer's rhythmic expression. The percussive heartbeat of the stompbox, brought to life through the integration of a pickup and the addition of a sound hole, embodies the transformative power of craftsmanship and musical innovation.
The attachment of the stomp pad, meticulously positioned and securely affixed, serves as a tactile interface that invites performers to unleash rhythmic creativity and sonic resonance. The finishing touches, from the application of a protective finish to the personalized embellishments, elevate the stompbox into a visually captivating and artistically expressive instrument.
Ultimately, the construction of an acoustic stompbox is a testament to the enduring allure of handcrafted instruments and the profound connection between the artisan and their creation. It embodies the spirit of individuality, inviting performers to infuse their unique identity into every tap and rhythm produced by the instrument.
As the final strokes of craftsmanship are applied, the acoustic stompbox stands as a testament to the fusion of artistry, dedication, and musical excellence. It represents not only a finely tuned percussion instrument but also a tangible expression of the artisan's passion for music and the timeless allure of handcrafted instruments.