Home>Production & Technology>Acoustic>How To Make DIY Acoustic Panels

Acoustic
How To Make DIY Acoustic Panels
Published: March 11, 2024
Learn how to make DIY acoustic panels to improve sound quality in your space. Follow our step-by-step guide for effective and affordable acoustic solutions.
(Many of the links in this article redirect to a specific reviewed product. Your purchase of these products through affiliate links helps to generate commission for AudioLover.com, at no extra cost. Learn more)
Table of Contents
Introduction
Creating a comfortable and acoustically pleasing environment is essential for anyone who values sound quality and ambiance. Whether you're a musician, a podcaster, a content creator, or simply someone who appreciates a peaceful and well-balanced space, acoustic panels can make a significant difference in the way sound behaves within a room. These panels are designed to absorb and diffuse sound waves, reducing echoes, reverberation, and unwanted noise, ultimately enhancing the overall acoustic experience.
While professional acoustic treatments are available, they can be quite expensive. Fortunately, with a bit of DIY spirit and some basic materials, you can craft your own acoustic panels at a fraction of the cost without compromising on quality. By following a few simple steps, you can create custom acoustic panels that not only improve the sound quality of your space but also add a touch of personal flair to your decor.
In this comprehensive guide, we will walk you through the process of creating your own DIY acoustic panels. From gathering the necessary materials to mounting the finished panels, we will cover each step in detail, providing you with the knowledge and confidence to embark on this rewarding project. Whether you're a seasoned DIY enthusiast or a newcomer to the world of crafting, this guide is designed to be accessible and informative, empowering you to transform your space into an acoustically optimized haven.
So, roll up your sleeves, gather your materials, and let's dive into the rewarding journey of creating custom DIY acoustic panels that will elevate the sonic atmosphere of your space.
Materials Needed
To embark on the fulfilling endeavor of creating your own DIY acoustic panels, you will need a selection of materials that are readily available and relatively affordable. By gathering these items, you can set the stage for a successful and rewarding crafting experience. Here's a comprehensive list of the materials you'll need:
-
Acoustic Insulation: This forms the core of the acoustic panel and is responsible for absorbing sound waves. Fiberglass and mineral wool are popular choices due to their excellent acoustic properties.
-
Wooden Frames: These frames provide structural support for the acoustic panels. You can use pine or any sturdy, lightweight wood for this purpose.
-
Fabric: Choose a fabric that not only complements your space aesthetically but also allows sound to pass through easily. Acoustic fabric or burlap are commonly used for this purpose.
-
Spray Adhesive: This will be used to securely attach the acoustic insulation to the wooden frames.
-
Staple Gun and Staples: Essential for securing the fabric to the wooden frames, a staple gun makes the wrapping process efficient and precise.
-
Mounting Hardware: Depending on your preference, you can use picture hanging hardware, sawtooth hangers, or French cleats to mount the finished panels on the wall.
-
Measuring Tape and Straight Edge: Accurate measurements and straight cuts are crucial for the panels to fit seamlessly into your space.
-
Utility Knife or Fabric Scissors: These tools will be used to cut the fabric to the appropriate size for wrapping the panels.
-
Protective Gear: Given that you'll be working with insulation, it's important to prioritize safety. Wear gloves, a mask, and safety glasses to protect yourself from any potential irritants.
By ensuring that you have all these materials on hand, you can proceed with confidence, knowing that you are well-equipped to bring your DIY acoustic panel vision to life. With these materials at your disposal, you're ready to move on to the next step: measuring and cutting the frames for your acoustic panels.
Step 1: Measure and Cut the Frame
The first step in creating DIY acoustic panels is to measure and cut the wooden frames that will provide structural support for the panels. Accurate measurements and precise cuts are essential to ensure that the panels fit seamlessly into your space and achieve the desired acoustic performance.
Begin by measuring the dimensions for the frames using a measuring tape and a straight edge. It's crucial to measure twice and cut once to avoid any unnecessary errors. Once you have determined the dimensions, transfer the measurements to the wooden boards, marking the cut lines clearly and accurately.
Next, using a saw or a miter saw, carefully cut the wooden boards according to the marked measurements. It's important to maintain straight and clean cuts to ensure that the frames fit together seamlessly and provide a professional finish to the panels.
After cutting the boards, assemble them to form the frames for the acoustic panels. Ensure that the corners are aligned perfectly and use wood glue or screws to secure the joints, reinforcing the structural integrity of the frames.
By meticulously measuring and cutting the frames, you lay a solid foundation for the construction of your DIY acoustic panels. This step sets the stage for the subsequent processes of attaching the insulation, wrapping the fabric, and mounting the finished panels, ultimately leading to the creation of custom acoustic treatments that enhance the sonic environment of your space.
With the frames expertly crafted and assembled, you are now ready to proceed to the next step: attaching the acoustic insulation to the frames. This pivotal stage will further shape the acoustic properties of the panels, bringing you closer to the realization of your personalized acoustic panel vision.
Step 2: Attach the Insulation
With the wooden frames expertly crafted and assembled, the next crucial step in the creation of DIY acoustic panels is to attach the acoustic insulation. This pivotal stage significantly influences the panels' ability to absorb sound waves effectively, ultimately shaping the acoustic performance of the finished panels.
Begin by laying the wooden frames on a clean and spacious work surface, ensuring that they are positioned face down to facilitate the insulation attachment process. Then, carefully unroll the acoustic insulation material and place it over the back of the frame, ensuring that it covers the entire surface area within the frame's perimeter.
Using a spray adhesive specifically designed for bonding insulation materials, apply an even layer of adhesive to the back of the frame. It's essential to follow the manufacturer's instructions for the adhesive application to ensure optimal bonding strength. Once the adhesive is applied, gently press the acoustic insulation onto the adhesive-coated surface, ensuring that it adheres firmly and uniformly.
To secure the insulation further, consider using a staple gun to affix the edges of the insulation to the wooden frame. This additional reinforcement helps prevent the insulation from shifting or sagging over time, ensuring that it maintains its acoustic properties effectively.
As you progress through this step, prioritize precision and attention to detail, ensuring that the insulation is smoothly and securely attached to the frame. By taking the time to execute this process meticulously, you lay the groundwork for acoustic panels that deliver exceptional sound absorption and contribute to a well-balanced sonic environment.
Upon completing the insulation attachment, take a moment to inspect the panels thoroughly, ensuring that the insulation is uniformly secured and free from any wrinkles or imperfections. This careful examination allows you to address any potential issues promptly, ensuring that the panels meet the highest standards of quality and performance.
With the acoustic insulation securely attached to the frames, you have successfully navigated through a pivotal stage in the creation of DIY acoustic panels. This accomplishment brings you one step closer to the realization of custom acoustic treatments that not only enhance the sonic atmosphere of your space but also reflect your creative vision and craftsmanship.
The next stage in the journey of crafting DIY acoustic panels involves wrapping the fabric around the insulated frames, infusing your panels with a personalized aesthetic touch while further enhancing their acoustic functionality. This exciting process will add a layer of visual appeal to the panels, aligning their appearance with your unique style and preferences.
Step 3: Wrap the Fabric
As you progress in the creation of your DIY acoustic panels, the next step involves wrapping the fabric around the insulated frames, infusing your panels with a personalized aesthetic touch while further enhancing their acoustic functionality. This exciting process will add a layer of visual appeal to the panels, aligning their appearance with your unique style and preferences.
Begin by selecting the fabric for wrapping the panels. Choose a fabric that not only complements your space aesthetically but also allows sound to pass through easily. Acoustic fabric or burlap are commonly used for this purpose due to their sound-transparent properties and wide range of color options. Lay the fabric flat on a clean and spacious work surface, ensuring that it is free from wrinkles or creases.
Place the insulated frame face down on the fabric, ensuring that it is positioned centrally to allow for even wrapping. Starting from one side, pull the fabric taut over the frame, holding it firmly in place. Use a staple gun to secure the fabric to the back of the frame, placing the staples at regular intervals along the edges. As you proceed, ensure that the fabric remains taut and smooth, minimizing any wrinkles or unevenness in the wrapping.
When reaching the corners of the frame, employ neat folding techniques to create clean and professional-looking corners. This may involve folding the fabric at an angle to achieve a seamless finish. By paying attention to the details and taking the time to execute precise folds, you can ensure that the corners of the panels exhibit a polished and uniform appearance.
Continue wrapping the fabric around the remaining sides of the frame, securing it with staples to maintain a consistent and snug fit. As you approach the final edge, trim any excess fabric, leaving just enough to secure it neatly to the frame. Once the fabric is securely attached, inspect the panels thoroughly, ensuring that the wrapping is smooth, free from wrinkles, and exhibits a professional finish.
By wrapping the fabric around the insulated frames with care and precision, you infuse your DIY acoustic panels with a personalized aesthetic touch, aligning their appearance with your unique style and preferences. This transformative process not only enhances the visual appeal of the panels but also contributes to their acoustic functionality, creating custom acoustic treatments that reflect your creative vision and craftsmanship.
With the fabric expertly wrapped around the panels, you have successfully navigated through a pivotal stage in the creation of DIY acoustic panels. This accomplishment brings you one step closer to the realization of custom acoustic treatments that not only enhance the sonic atmosphere of your space but also reflect your creative vision and craftsmanship.
Step 4: Mount the Panels
With the DIY acoustic panels expertly crafted and wrapped, the final step in this fulfilling journey involves mounting the finished panels, bringing them to their rightful place within your space. Proper mounting not only ensures that the panels contribute effectively to the acoustic environment but also adds a striking visual element to your decor.
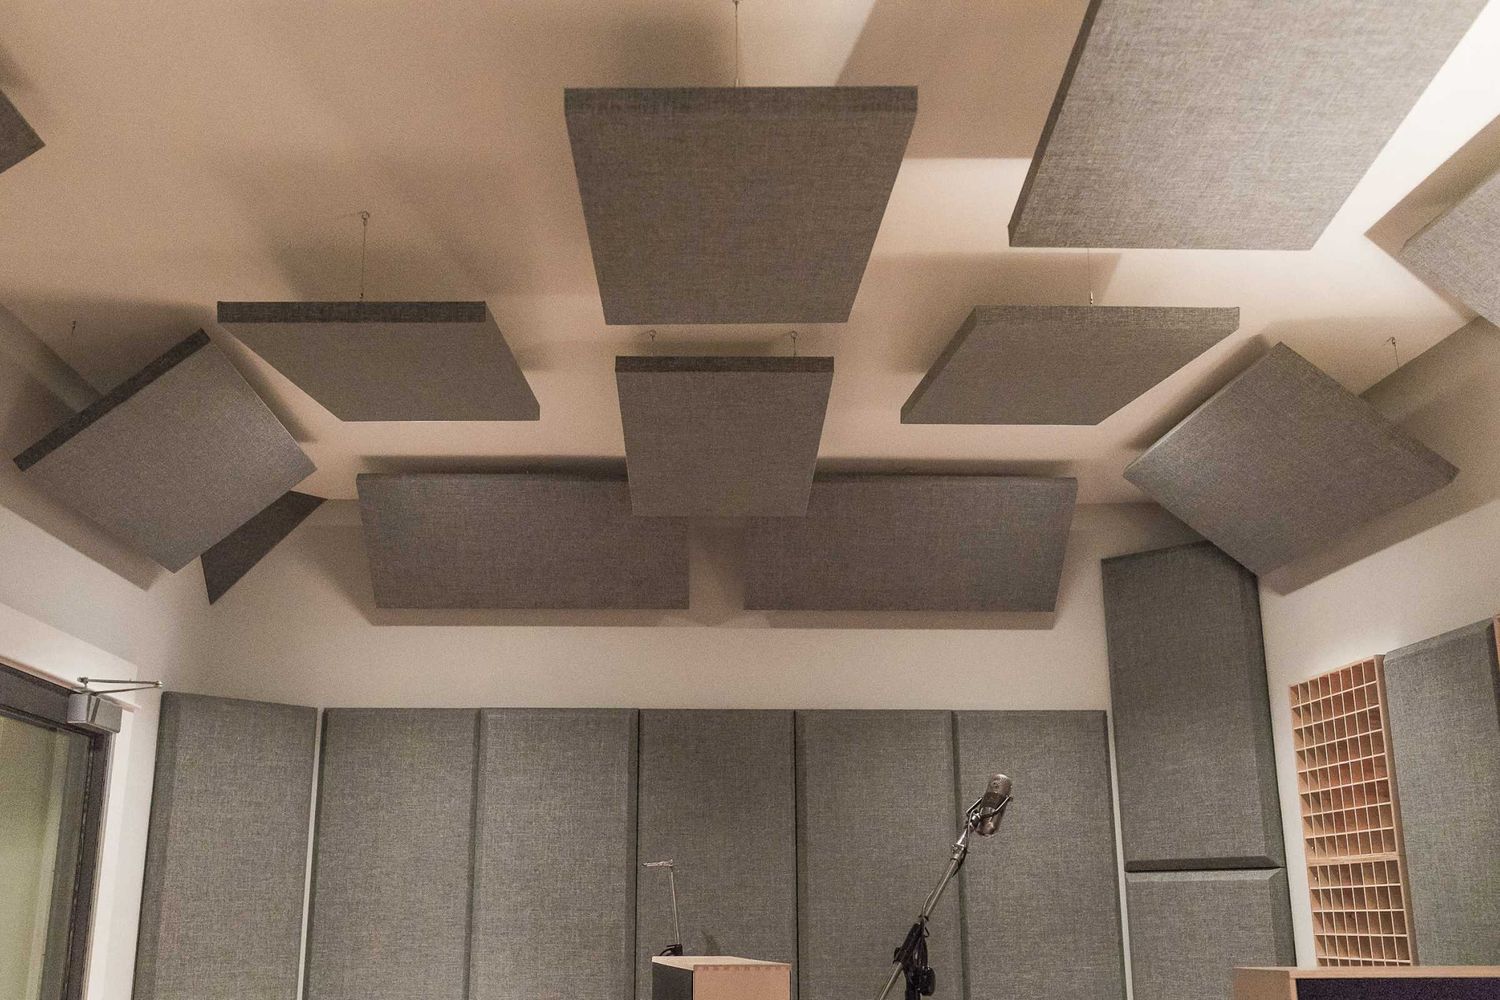
Begin by determining the optimal placement for the acoustic panels within your space. Consider the acoustics of the room and identify areas where sound reflection and reverberation may be prominent. Additionally, take into account the aesthetic impact of the panels, aiming to integrate them seamlessly into the existing decor while maximizing their acoustic performance.
Once the placement is determined, prepare the mounting hardware based on the chosen location. Depending on your preference, you can use picture hanging hardware, sawtooth hangers, or French cleats to mount the panels securely on the wall. Ensure that the chosen hardware is appropriate for the weight and size of the panels, providing reliable support for their installation.
With the mounting hardware in hand, carefully position the panels against the wall, ensuring that they are aligned accurately and level. Using a level tool, confirm that the panels are perfectly horizontal or vertical, depending on your design preference. This attention to detail ensures that the panels not only contribute to the acoustic environment but also enhance the visual symmetry of the space.
Once the panels are positioned correctly, proceed to affix the mounting hardware to the back of each panel, ensuring that they are securely attached. Take care to follow the manufacturer's guidelines for the installation of the chosen hardware, prioritizing stability and reliability. By securing the mounting hardware effectively, you guarantee that the panels are poised for long-term performance and visual impact.
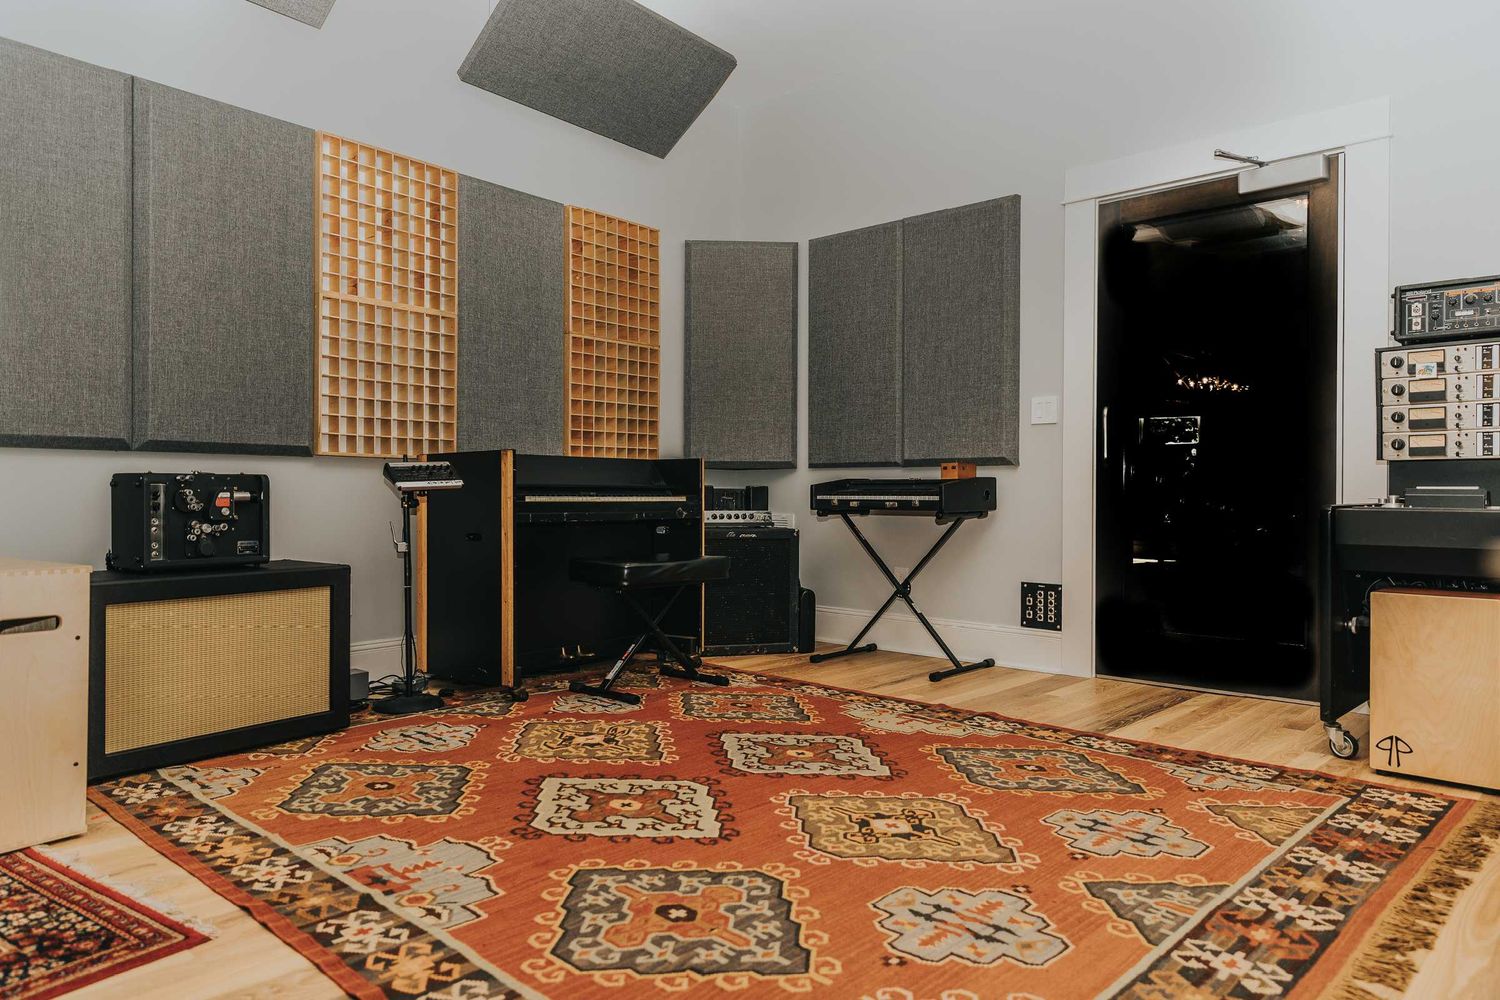
Finally, carefully lift each panel and hang it on the designated mounting hardware, ensuring that it is positioned securely and evenly. Take a step back to admire the transformative impact of the panels on the space, appreciating their contribution to the acoustic environment and the visual harmony of the room. With the panels mounted with precision and care, you have successfully brought your DIY acoustic panel vision to life, creating a space that resonates with both sonic excellence and aesthetic allure.
By mounting the finished panels with attention to detail and precision, you complete the journey of creating custom DIY acoustic treatments that elevate the sonic atmosphere of your space. This accomplishment not only reflects your dedication to craftsmanship but also enriches your environment with a personalized touch of acoustic and visual sophistication.
Conclusion
In conclusion, the journey of creating DIY acoustic panels is a rewarding endeavor that combines craftsmanship, creativity, and a passion for sonic excellence. By following the step-by-step process outlined in this guide, you have embarked on a transformative journey, culminating in the realization of custom acoustic treatments that enhance the sonic atmosphere of your space while reflecting your unique style and vision.
Throughout this journey, you have harnessed the power of acoustic insulation, wooden frames, and carefully selected fabric to craft panels that not only absorb sound waves effectively but also add a touch of aesthetic sophistication to your environment. From measuring and cutting the frames with precision to wrapping the fabric with care and attention to detail, each step has contributed to the creation of acoustic panels that align with your creative vision and elevate the overall ambiance of your space.
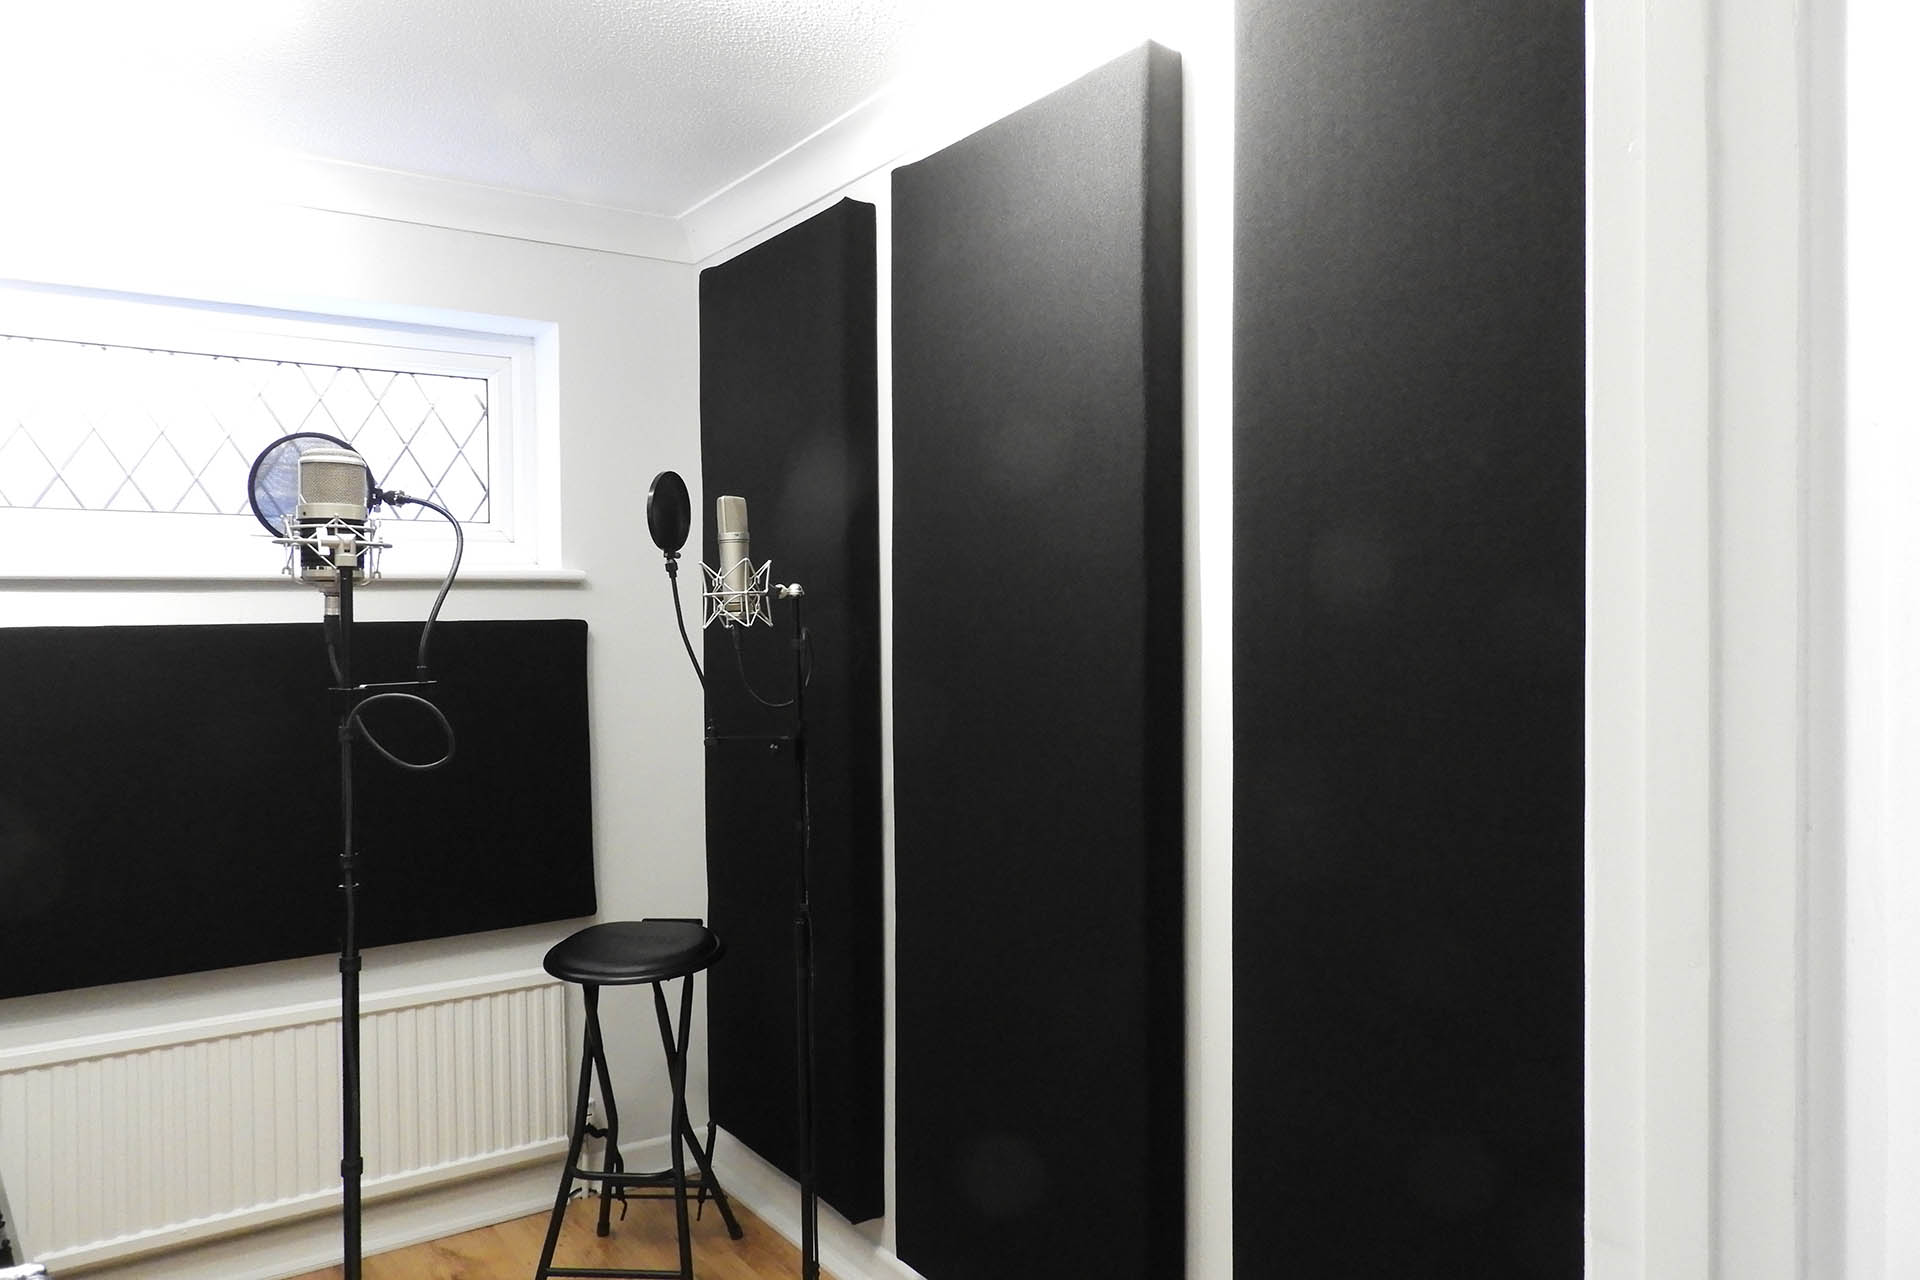
As you mount the finished panels, you witness the culmination of your efforts, observing how these custom treatments seamlessly integrate into your decor while making a significant impact on the acoustics of the room. The panels not only contribute to a well-balanced sonic environment by reducing echoes and reverberations but also serve as striking visual elements that enhance the overall appeal of your space.
By embracing the DIY spirit and investing your time and energy into this project, you have not only created acoustic panels but also curated an immersive sonic experience that resonates with your individuality. Whether you're a musician seeking an optimal recording environment, a content creator aiming to improve audio quality, or simply someone who values a peaceful and well-balanced space, these DIY acoustic panels stand as a testament to your dedication to craftsmanship and sonic excellence.
As you revel in the transformative impact of these custom treatments, you can take pride in the fact that you have not only crafted acoustic panels but also curated an immersive sonic experience that resonates with your individuality. The panels serve as a testament to your dedication to craftsmanship and sonic excellence, enriching your environment with a personalized touch of acoustic and visual sophistication.
In the end, the journey of creating DIY acoustic panels transcends the mere act of crafting physical objects; it represents a harmonious blend of artistry, functionality, and personal expression. As you bask in the enhanced sonic environment and the visual allure of your space, these panels stand as a testament to your ability to shape your surroundings in a way that reflects your unique style and resonates with your passion for acoustic excellence.

