Home>Events & Info>Acapella>How To Make DIY Acapella
Acapella
How To Make DIY Acapella
Published: January 3, 2024
Learn how to create your own DIY acapella music at home. Follow our step-by-step guide and start harmonizing your favorite songs today.
(Many of the links in this article redirect to a specific reviewed product. Your purchase of these products through affiliate links helps to generate commission for AudioLover.com, at no extra cost. Learn more)
Table of Contents
Introduction
Are you a fan of acapella music? Do you enjoy the unique sound of voices harmonizing without the aid of instrumental accompaniment? If so, have you ever wondered how to create your own acapella tracks? In this article, we will explore the exciting world of DIY acapella, where you can isolate the vocal track from your favorite songs and create your own acapella masterpiece.
Whether you’re a musician, a vocalist, or just a music enthusiast, making your own acapella can be a rewarding and fun experience. It allows you to appreciate the beauty of vocal harmonies and explore the intricacies of individual vocal performances. Plus, you can showcase your creativity by remixing acapella tracks or creating unique arrangements.
The process of making DIY acapella involves using various techniques and tools to separate the vocal track from the instrumental track. While it may seem like a daunting task, with the right approach and a bit of practice, you can achieve impressive results.
In this article, we will guide you through the step-by-step process of creating your own DIY acapella tracks. From choosing the right song to fine-tuning the acapella track, we will cover all the essential aspects to help you get started on your acapella journey.
So, if you’re ready to dive into the fascinating world of acapella and unleash your inner musician, let’s get started with the first step: choosing a song.
Step 1: Choose a Song
The first step in creating your own DIY acapella track is to choose a suitable song. When selecting a song, keep in mind that not all songs are ideal for creating acapella versions. Some songs have intricate instrumental arrangements or vocal effects that make it difficult to separate the vocals cleanly.
Here are a few tips to help you choose the right song for your DIY acapella project:
- Select songs with clear vocals: Look for songs where the vocals are prominent and easy to distinguish. Songs with strong lead vocals and minimal background instrumentation work best for acapella extraction.
- Avoid songs with heavy effects or vocal processing: Songs with excessive reverb, auto-tune, or other vocal effects can make it challenging to cleanly isolate the vocals. Choose songs with clean, natural vocals for better results.
- Choose songs with a steady tempo: It’s easier to work with songs that have a consistent and steady tempo. Avoid songs with fluctuating tempos or abrupt changes, as it can affect the quality of the acapella extraction.
- Consider the complexity of the song: While it’s possible to extract acapella vocals from complex songs, it may require more advanced techniques and tools. If you’re just starting out, it’s a good idea to choose relatively simple songs to practice with.
- Pick songs you enjoy: Creating acapella tracks can be a time-consuming process, so it’s important to choose songs that you genuinely enjoy. Working on songs you love will keep you motivated and make the whole experience more enjoyable.
Once you have selected a song that meets these criteria, you’re ready to move on to the next step: isolating the instrumental track.
Step 2: Isolate the Instrumental Track
After choosing a suitable song for your DIY acapella project, the next step is to isolate the instrumental track. This involves removing or reducing the vocals from the original song so that you can focus on extracting the acapella vocals later.
Here’s how you can isolate the instrumental track:
- Acquire a high-quality instrumental version: Look for an instrumental version of the song you have chosen. This can be found online through various music platforms or by using professional editing software. Ensure that the instrumental version is of high quality for better results.
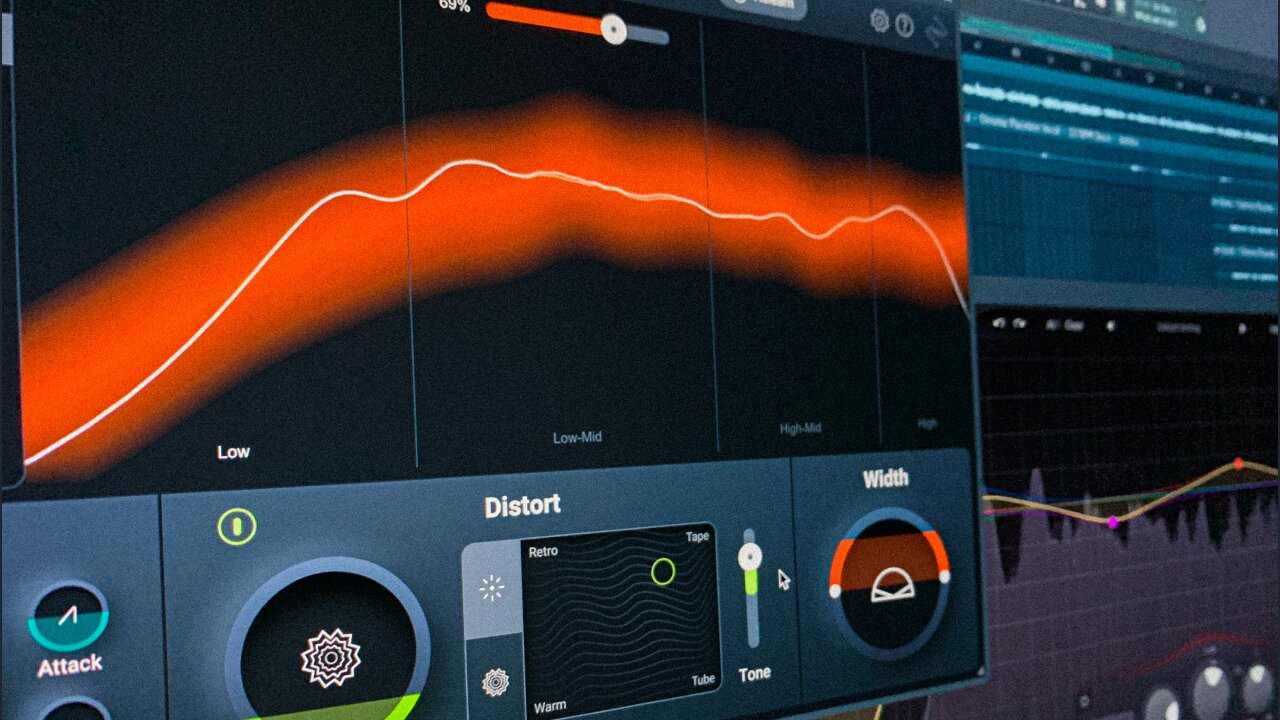
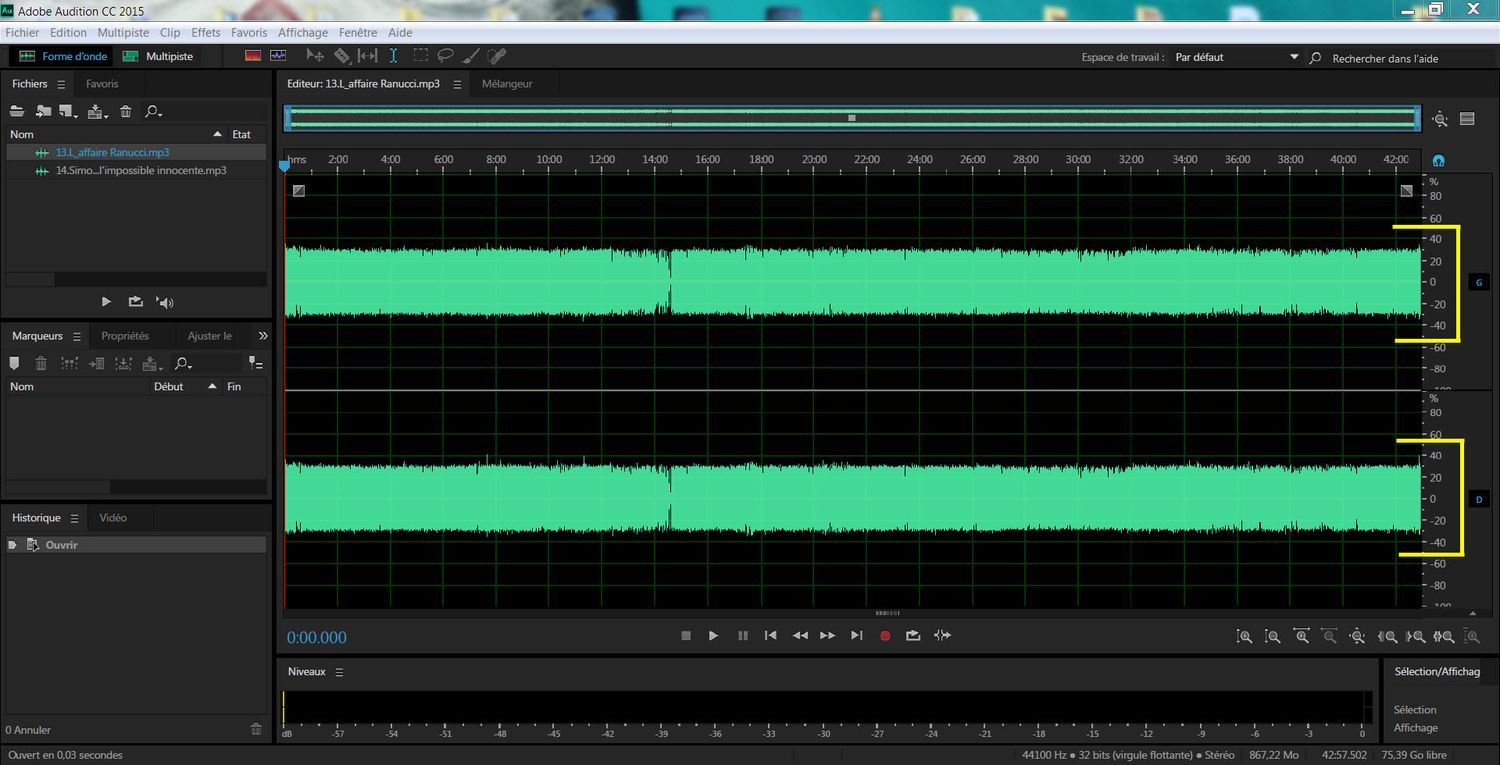
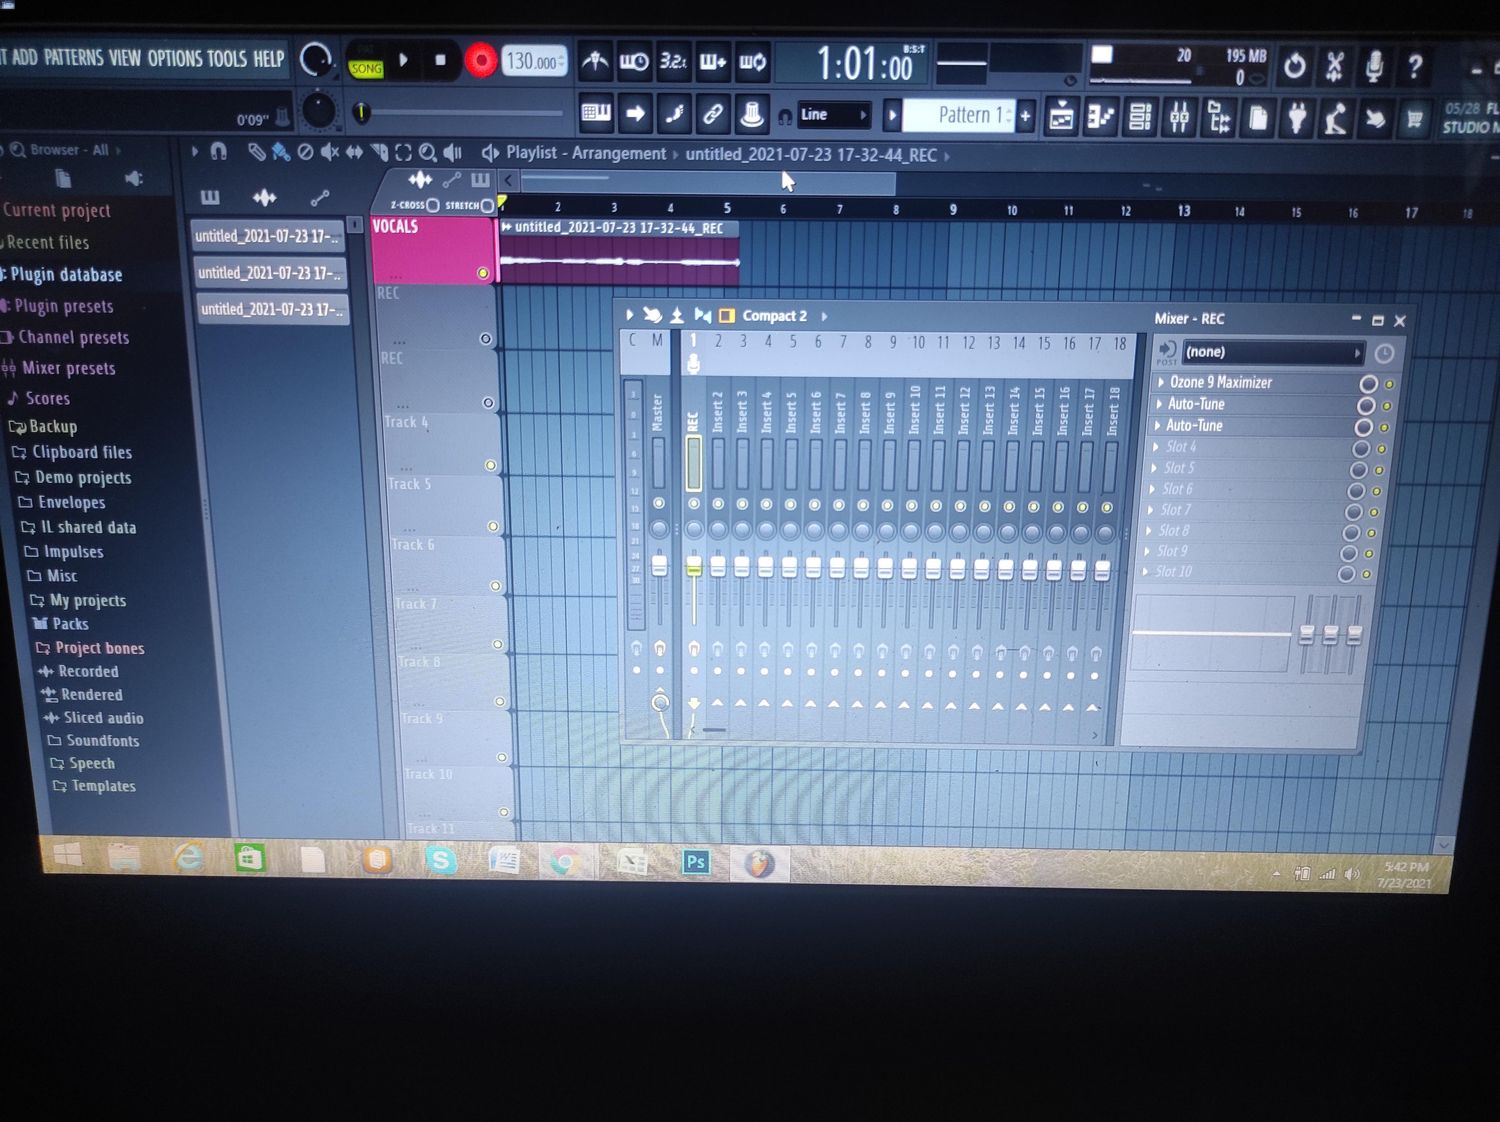
- Use an audio editing software: Open the instrumental track in an audio editing software such as Audacity, Adobe Audition, or GarageBand. These programs allow you to manipulate the audio and apply various effects and filters.
- Apply a vocal reduction technique: Most audio editing software have tools or plugins specifically designed for vocal reduction. Experiment with these tools to reduce or eliminate the vocals from the track. Keep in mind that complete removal of the vocals without affecting the instrumental quality can be challenging, so aim for a balance.
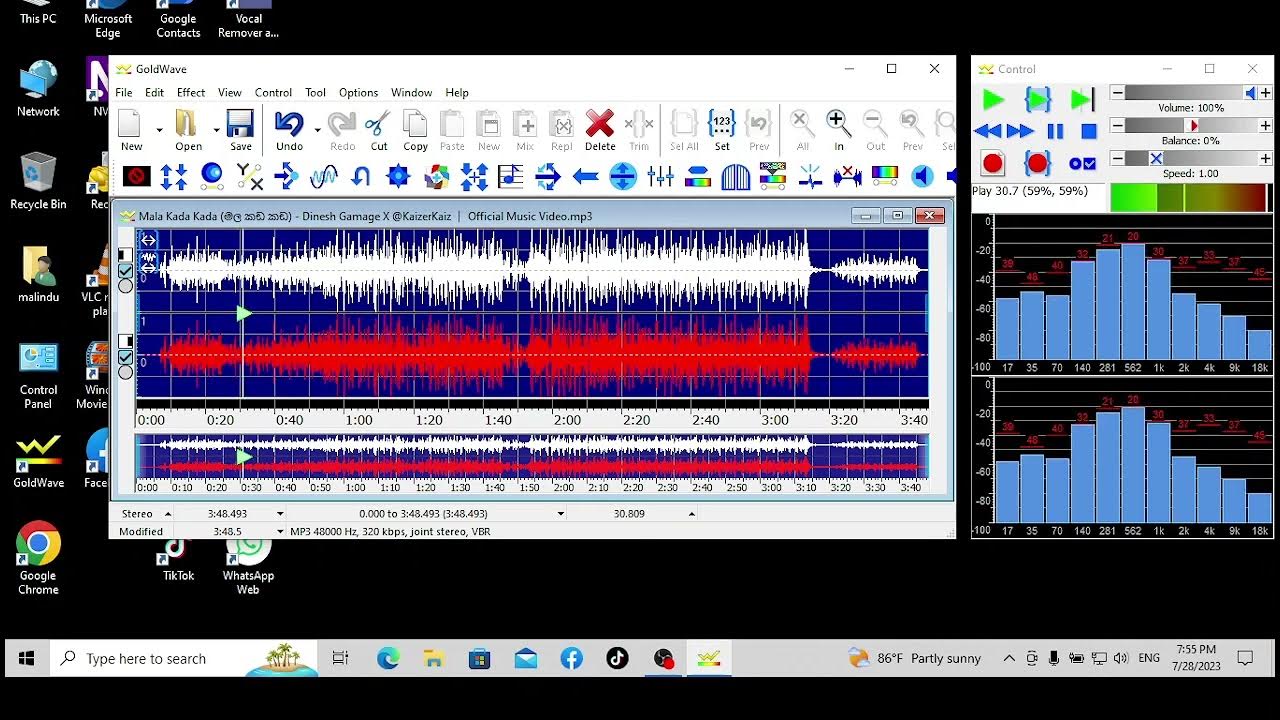
- Adjust EQ settings (optional): If your audio editing software has an equalizer (EQ), you can fine-tune the settings to further emphasize the instrumental frequencies and minimize the vocal frequencies. This can help create a clearer separation between the vocals and the instrumental track.
- Listen and make adjustments: Continuously listen to the isolated instrumental track and make adjustments as necessary. Pay attention to any artifacts or distortions that may have been introduced during the vocal reduction process.
- Save the isolated instrumental track: Once you are satisfied with the instrumental track, save it separately from the original file. This will ensure that you have a clean instrumental version to work with when extracting the acapella vocals.
Remember, the quality of the instrumental track will affect the success of extracting the acapella vocals in the next steps. Take your time to find or create a high-quality instrumental version for the best results.
With the instrumental track isolated, you’re now ready to move on to the next step: removing the vocal track.
Step 3: Remove the Vocal Track
Now that you have successfully isolated the instrumental track, it’s time to remove the vocal track from the original song. This step requires precision and careful editing to ensure that the vocals are separated cleanly and effectively.
Here’s how you can remove the vocal track:
- Import the original song: Open the original song, which includes both the vocals and the instrumental, in your preferred audio editing software.
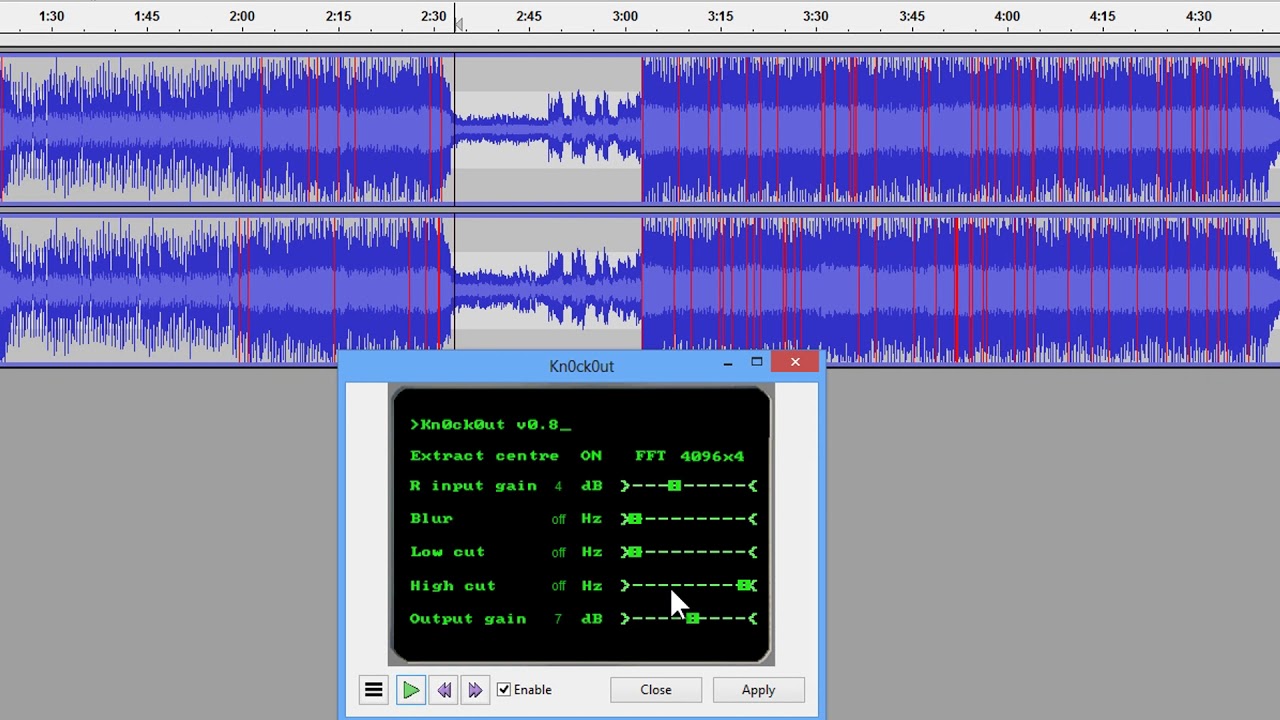
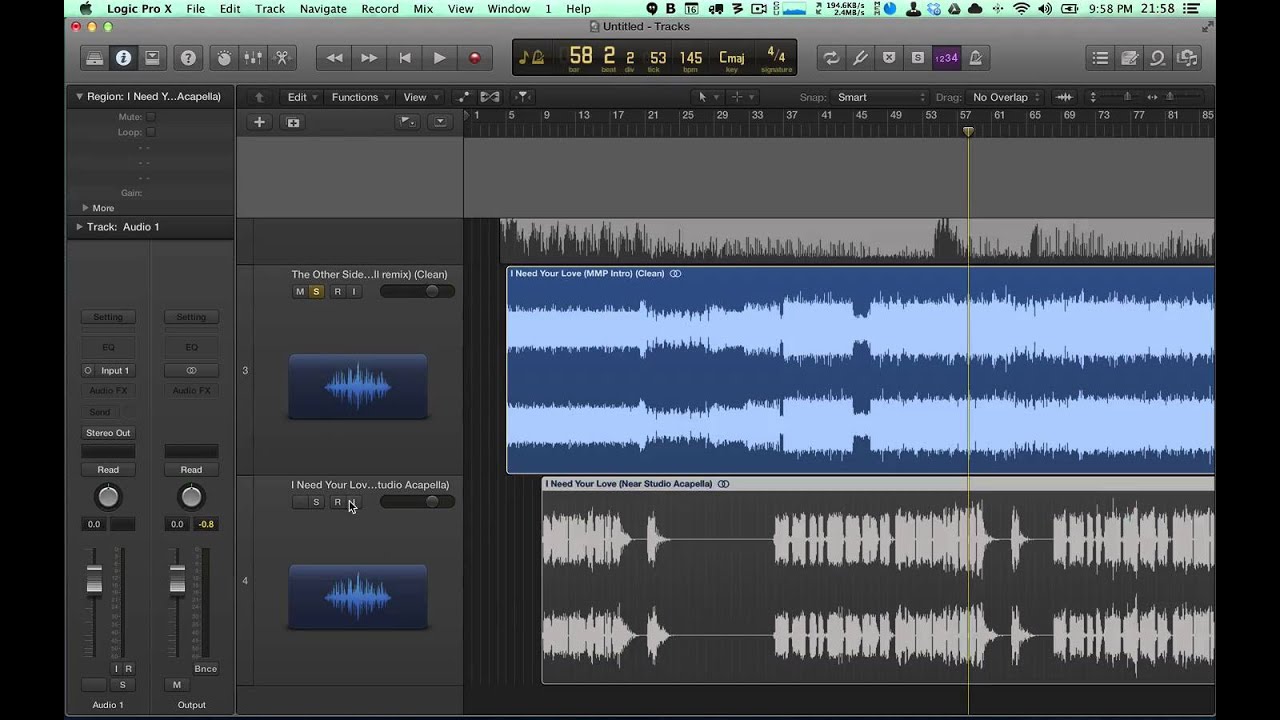
- Phase inversion technique: Check if your audio editing software has a phase inversion tool or plugin. This technique allows you to phase invert the instrumental track and combine it with the original song to cancel out the instrumental frequencies, leaving only the vocals.
- Align the tracks: Make sure that the instrumental track and the original song are synchronized by adjusting the start time and aligning the waveforms. This step ensures that the phase inversion technique works effectively.
- Apply phase inversion: Invert the phase of the instrumental track and combine it with the original song. This process cancels out the instrumental frequencies, leaving you with the isolated vocal track.
- Check for artifacts: Listen carefully to the isolated vocal track and check for any artifacts or distortions introduced during the phase inversion process. Make adjustments as needed to minimize any unwanted effects.
- Save the isolated vocal track: Once you are satisfied with the quality of the isolated vocal track, save it separately from the original file. This ensures that you have a clean vocal track to work with when fine-tuning the acapella later.
It’s important to note that the success of removing the vocal track using the phase inversion technique depends on the quality of the instrumental track you obtained in the previous step. If the instrumental track is not well-isolated or contains artifacts, it may impact the effectiveness of the phase inversion process.
With the vocal track successfully removed from the original song, you are one step closer to creating a DIY acapella track. The next step involves adjusting the pitch and tempo, if desired, to further customize your acapella.
Step 4: Adjust the Pitch and Tempo (Optional)
Once you have isolated the vocal track, you have the option to adjust the pitch and tempo of the vocals to suit your preferences or add a unique twist to your DIY acapella track. This step allows you to get creative and personalize the acapella to your desired sound.
Here are a few ways to adjust the pitch and tempo:
- Pitch shifting: Using an audio editing software, you can apply pitch shifting effects to the vocal track. This allows you to raise or lower the pitch, creating a higher or lower vocal range. Experiment with different pitch shifts to achieve the desired result.
- Time stretching: If you want to alter the tempo of the vocals, you can utilize the time stretching feature in your audio editing software. This feature allows you to speed up or slow down the vocals while maintaining the pitch. Adjust the tempo as needed to fit the desired rhythm or mood.
- Experimentation: Don’t be afraid to experiment with different combinations of pitch shifts and tempo adjustments. You can create unique variations, harmonies, or even completely transform the vocals to achieve a distinctive acapella sound.
While adjusting the pitch and tempo can add an extra layer of creativity to your DIY acapella track, it’s important to exercise caution and ensure that the alterations still sound natural and pleasing to the ear. Extreme pitch or tempo modifications may result in a distorted or unnatural sound, so it’s wise to make subtle adjustments and listen carefully as you go.
If you’re unsure about which pitch or tempo adjustments to apply, consider experimenting with different settings and consulting musical theory resources to guide your decision-making process.
Remember, adjusting the pitch and tempo is an optional step, and you can choose to skip it if you’re satisfied with the original vocal track. With the acapella track now customized to your liking, it’s time to fine-tune and polish it in the next step.
Step 5: Fine-tune the Acapella Track
After isolating and optionally adjusting the pitch and tempo of the vocal track, it’s time to fine-tune and polish the acapella to ensure a seamless and high-quality sound. This step involves refining the acapella track by applying various audio editing techniques to enhance its clarity and coherence.
Here are some tips to help you fine-tune the acapella track:
- Cleanup unwanted noises: Listen to the acapella track closely and remove any unwanted noises or artifacts using audio editing tools. This may include background noise, clicks, pops, or breath sounds that can distract from the overall quality of the acapella.
- Apply EQ and compression: Use equalization (EQ) techniques to enhance the tonal balance of the vocals. Adjust the frequencies to bring out the desired clarity and presence. Additionally, consider applying compression to even out the dynamics of the vocal track and ensure a consistent volume level.
- Consider adding subtle effects: Depending on your creative vision, you may choose to add subtle effects to the acapella track. This could include reverb, delay, or other effects, but be careful not to overpower or mask the natural sound of the vocals.
- Correct timing and phrasing: Pay attention to the timing and phrasing of the acapella track. Make sure the vocals are in sync with the intended rhythm and flow smoothly throughout the song. Adjust any timing discrepancies or vocal inconsistencies for a more polished result.
- Harmonize or layer vocals (optional): If you’re seeking a richer and more complex acapella sound, consider harmonizing or layering additional vocal tracks. This can add depth and create interesting vocal textures within the acapella.
Don’t forget to frequently listen to your progress and make small adjustments along the way. It’s crucial to maintain a balance between enhancing the acapella and preserving the authenticity of the original vocals.
Once you’re satisfied with the fine-tuning of the acapella track, it’s time to move on to the final step: mixing and exporting the acapella.
Step 6: Mix and Export the Acapella
Now that you have successfully fine-tuned and polished the acapella track, it’s time to mix it with the instrumental track and export the final DIY acapella. This step involves combining the isolated vocal track with the instrumental track and making adjustments to achieve a balanced, cohesive, and professional-sounding acapella.
Here’s how you can mix and export the acapella:
- Import the instrumental track: Open your preferred audio editing software and import both the isolated vocal track and the instrumental track.
- Adjust volume levels: Balance the volume levels of the vocal track and instrumental track so that neither is overpowering the other. Make subtle adjustments to achieve a harmonious blend.
- Pan vocals: Experiment with panning the vocals to create stereo width and add depth to the acapella. Adjust the positioning of the vocal track within the stereo field to complement the instrumental track.
- Apply effects (optional): If desired, apply additional effects to the acapella track as a whole. This could include reverb, delay, or other effects to enhance the overall sound and give it a cohesive character.
- Listen and make final adjustments: Take the time to carefully listen to the acapella track in its entirety. Pay attention to the overall balance, clarity, and cohesiveness. Make any necessary final adjustments to ensure a professional-quality result.
- Export the acapella: Once you are satisfied with the mix, export the acapella as a separate audio file. Choose a high-quality file format such as WAV or FLAC to preserve the integrity of the acapella.
At this point, you have successfully created your own DIY acapella track! Congratulations on your accomplishment. You now have the freedom to share your creation, remix it, or incorporate it into your own musical projects.
Remember, the mixing process is subjective, and it may take some experimentation and refinement to achieve the desired result. Don’t be afraid to trust your ears and make adjustments until you are satisfied with the final acapella.
Now that you’ve completed all the steps, it’s time to put your newfound knowledge and skills to use and start creating your own unique DIY acapella tracks!
Conclusion
Creating your own DIY acapella tracks is a rewarding and exciting endeavor that allows you to explore the art of vocal harmonies and unleash your creative potential. By following the step-by-step process outlined in this article, you can successfully isolate the vocal track from your favorite songs and craft your own unique acapella creations.
Throughout the process, it’s important to choose songs with clear vocals, isolate the instrumental track, and remove the vocal track using techniques like phase inversion. You also have the option to adjust the pitch and tempo of the vocals to add a personal touch to your acapella tracks.
Once you have fine-tuned and polished the acapella track, it’s time to mix it with the instrumental track and export the final product. The mixing process involves achieving a balanced and professional sound by adjusting the volume levels, panning the vocals, and potentially applying effects.
With your DIY acapella track completed, you have the freedom to share it with others, remix it, or incorporate it into your own musical projects. The possibilities are endless!
Remember, creating acapella tracks requires practice and patience. Don’t be discouraged if your initial attempts don’t meet your expectations. With time and experience, you will refine your skills and refine your techniques.
So go ahead, dive into the world of DIY acapella, and let your creativity soar. Start with your favorite songs, follow the steps outlined in this article, and create acapella tracks that showcase your artistry and passion for music.