Home>Production & Technology>Audio Cable>How To DIY Audio Cable
Audio Cable
How To DIY Audio Cable
Modified: January 22, 2024
Learn how to make your own high-quality audio cable with our step-by-step DIY guide. Get professional results at a fraction of the cost.
(Many of the links in this article redirect to a specific reviewed product. Your purchase of these products through affiliate links helps to generate commission for AudioLover.com, at no extra cost. Learn more)
Table of Contents
- Introduction
- Materials and Tools Needed
- Step 1: Choosing the Right Cable
- Step 2: Measuring and Cutting the Cable
- Step 3: Stripping the Cable and Preparing the Wires
- Step 4: Soldering the Wires
- Step 5: Applying Heat Shrink Tubing
- Step 6: Insulating and Securing the Cable
- Step 7: Testing and Troubleshooting
- Conclusion
Introduction
Welcome to the world of DIY audio cables! If you are an audio enthusiast looking to upgrade your audio setup or simply enjoy tinkering with electronics, building your own audio cables can be a rewarding and cost-effective option. Whether you’re a musician, a podcast producer, or just someone who appreciates high-quality audio, a well-made audio cable can make a significant difference in the sound quality of your equipment.
In this DIY guide, we will walk you through the step-by-step process of building your own audio cables. No matter if you’re a beginner or a seasoned DIYer, this guide will provide you with the knowledge and skills necessary to create custom audio cables tailored to your specific needs.
By making your own audio cables, you have the opportunity to choose the exact specifications and components that match your audio setup. You can select the desired length, connector type, and even the cable itself, allowing for full customization and control over the final product. Not only does this give you a sense of pride and accomplishment, but it also ensures that you have a high-quality cable that meets your specific requirements.
Building your own audio cables also presents a cost-effective alternative to purchasing pre-made cables. While professional-grade audio cables can often come with a hefty price tag, assembling your own can save you a significant amount of money without compromising on quality. Plus, as you gain more experience and proficiency in cable-building, you can even explore using more specialized and higher-grade components to further enhance your audio experience.
Throughout this guide, we will cover all the necessary steps, from selecting the right cable and connectors to soldering, insulation, and testing. Additionally, we will provide helpful tips and tricks to troubleshoot any issues that may arise during the process. So, roll up your sleeves, gather your tools, and let’s dive into the world of DIY audio cable building!
Materials and Tools Needed
Before you begin building your own audio cables, it’s important to gather all the necessary materials and tools. Having everything prepared in advance will ensure a smooth and efficient cable-building process. Here’s a list of what you’ll need:
- Audio cable: Choose a cable that matches your specific needs in terms of length, gauge, and construction. Popular choices include instrument cables and microphone cables. Make sure to select a cable with sufficient shielding for optimal signal quality.
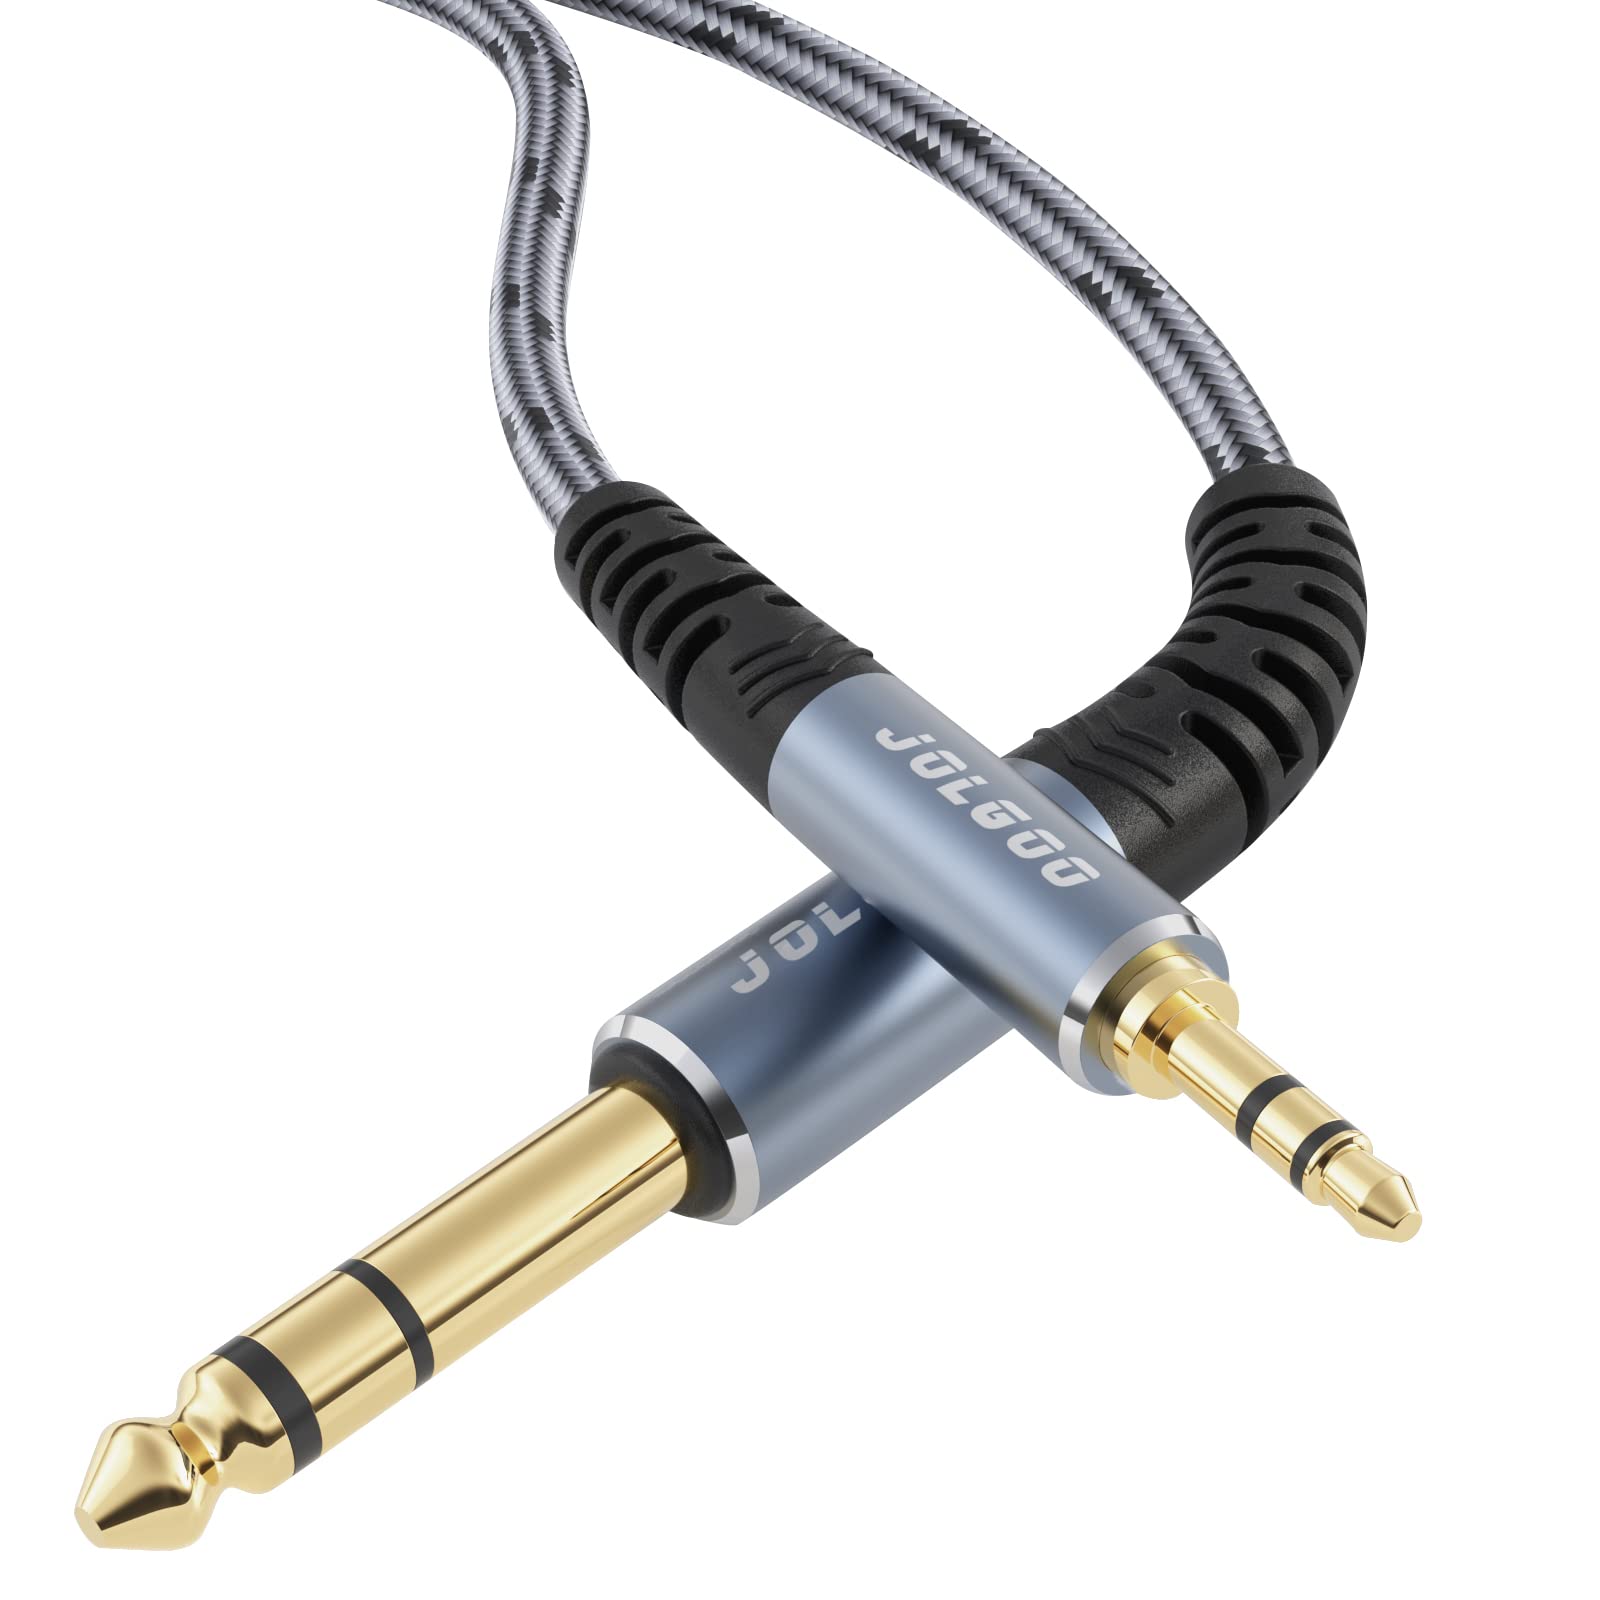
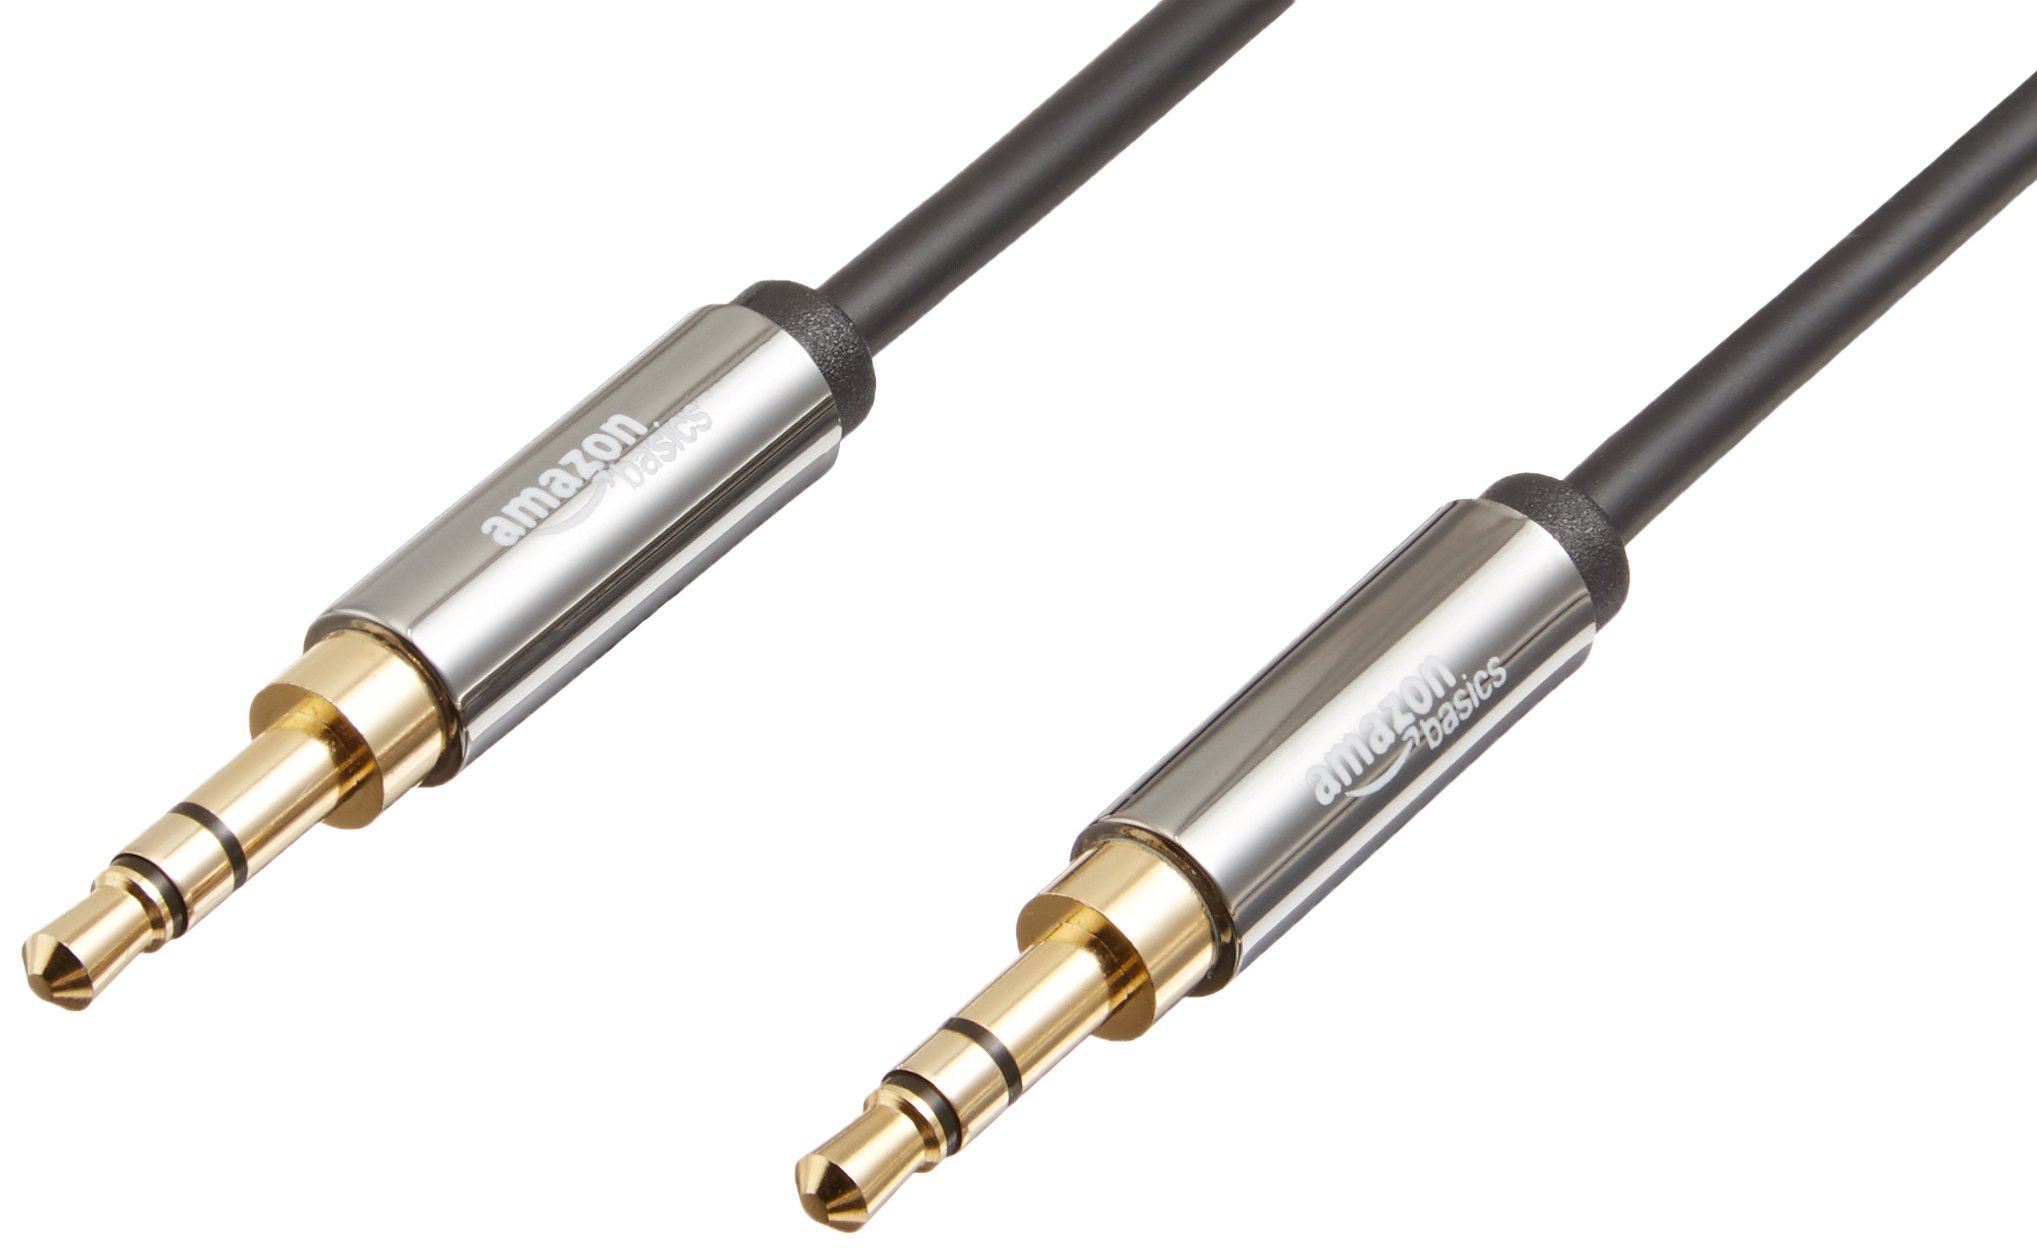
- Connectors: Depending on the type of audio equipment you will be connecting, you might need different types of connectors. Common options include 1/4″ TRS connectors, XLR connectors, and RCA connectors. Ensure that the connectors are of high quality to guarantee a reliable connection.
- Wire stripper: A wire stripper will be needed to remove the insulation from the cable, exposing the inner wires for soldering. Look for a wire stripper that is suitable for your cable’s gauge.
- Soldering iron: A soldering iron will be used to join the wires to the connectors. Choose a soldering iron with adjustable temperature settings for precise soldering.
- Solder: High-quality solder is essential for creating strong and reliable connections. Opt for lead-free solder for a safer and environmentally-friendly option.
- Heat shrink tubing: Heat shrink tubing is used to insulate and protect the soldered connections. It shrinks when heated, creating a tight and durable seal. Make sure to select tubing of an appropriate size for your cable and connectors.
- Heat gun or lighter: A heat gun or lighter is needed to heat the shrink tubing, causing it to shrink and provide a secure seal. Be cautious when using an open flame and follow safety precautions.
- Wire cutters: Wire cutters are necessary for cutting the cable to the desired length and trimming excess wires. Look for a pair of wire cutters that can handle the thickness of your cable.
- Electrical tape: Electrical tape can be used as an additional layer of insulation or to secure the cable and connectors together.
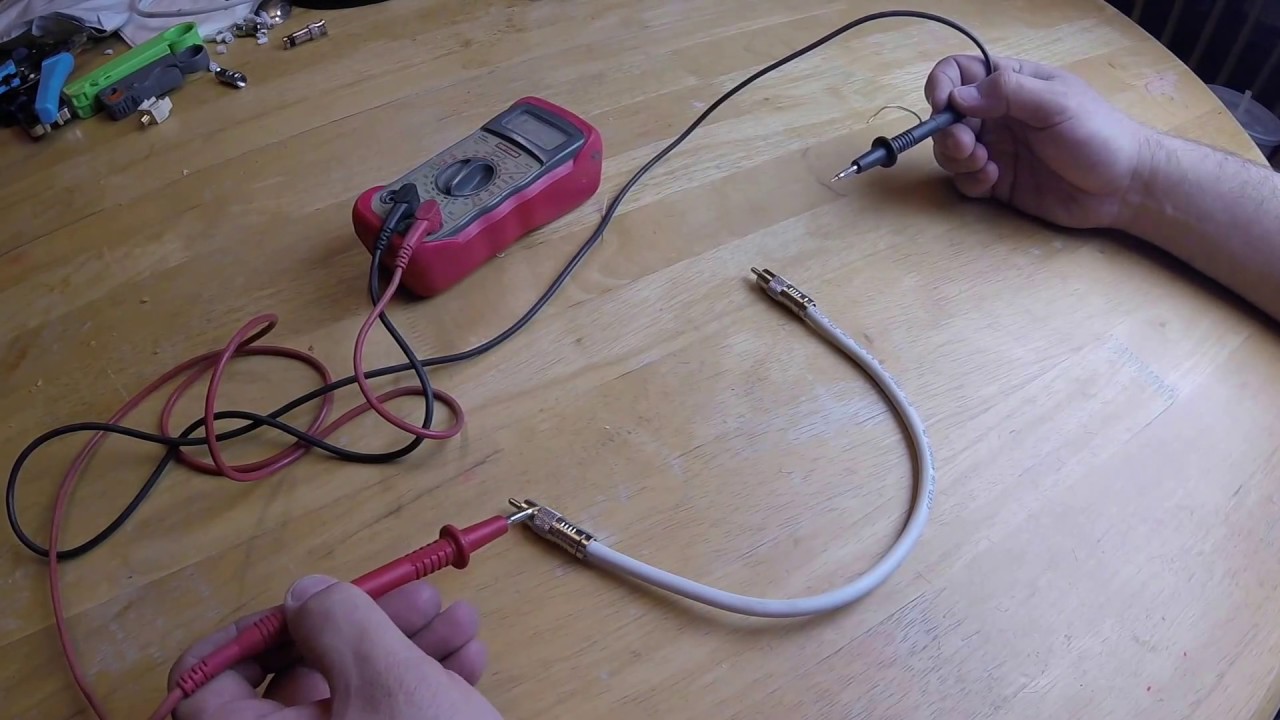
- Multimeter: A multimeter is a handy tool for testing the continuity and quality of your connections. It can help identify any wiring issues or faults in the cable.
By gathering all of these materials and tools, you will be well-prepared to embark on your audio cable-building journey. Having everything within reach will make the process more efficient and enjoyable. Now that you have everything ready, let’s move on to the next step: choosing the right cable!
Step 1: Choosing the Right Cable
When it comes to building your own audio cables, selecting the right cable is crucial for achieving optimal audio quality. The type of cable you choose will depend on the specific audio equipment you’ll be using and the purpose of the cable. Here’s what you need to consider in order to make the right choice:
Cable Type: There are various types of audio cables available, each with its own characteristics and intended use. For instance, if you’re building a cable for electric guitars or keyboards, a shielded instrument cable would be ideal. If you’re building audio cables for microphones, XLR cables are the go-to choice. Understanding the different cable types and their applications will help you select the best cable for your specific needs.
Length: Determine the length of cable you require based on the distance between the audio devices you’ll be connecting. It’s important not to exceed the maximum recommended length for the type of cable you’re using, as longer cables can introduce signal loss and degradation.
Gauge: Cable gauge refers to the thickness of the wires inside the cable. Thicker wires have lower resistance and can carry higher currents, resulting in better signal integrity. The appropriate gauge will depend on the power requirements and distance of the audio signal you’re working with. Generally, a thicker gauge is preferred for longer cable runs or higher power applications.
Shielding: Shielding is crucial for minimizing interference and noise in audio cables. Look for cables with adequate shielding, such as braided shielding or foil shielding, to ensure a clean and noise-free audio signal. Shielding becomes especially important when using cables in environments with high electromagnetic interference, such as near power cables or radio equipment.
Connector Compatibility: Consider the type of connectors used in your audio equipment and ensure that the cable you choose has compatible connectors. Popular connector types include 1/4″ TRS (Tip-Ring-Sleeve), XLR, RCA, and SpeakON. Matching the right connector type with your equipment will ensure a secure and proper connection.
By carefully considering these factors, you’ll be able to choose the right cable that meets your specific audio requirements. Now that you have selected the perfect cable, let’s proceed to the next step: measuring and cutting the cable.
Step 2: Measuring and Cutting the Cable
Now that you’ve chosen the right audio cable, it’s time to measure and cut it to the desired length. Taking accurate measurements and cutting the cable properly will ensure a clean and professional-looking finished product. Here’s how to do it:
- Measure the Cable: Determine the length of cable you need for your specific setup. Measure from the desired starting point to the end point, keeping in mind any bends or curves the cable may need to make. It’s always a good idea to add a few inches of extra length to account for any unexpected changes or adjustments you may need to make later on.
- Mark the Cable: Use a marker or a piece of tape to mark the spot where the cable needs to be cut. Double-check your measurements to ensure accuracy before proceeding to the next step.
- Cut the Cable: Using a sharp pair of wire cutters or cable cutters, carefully cut through the cable at the marked spot. Make sure to cut cleanly and avoid damaging the inner wires or the shielding. If your cable has an outer insulation jacket, be cautious not to cut too deeply and only cut through the outer layer.
- Inspect the Cut: After cutting the cable, inspect the cut ends to ensure they are clean and free from any frayed strands or jagged edges. If necessary, trim any excess materials to ensure the ends are smooth and ready for the next steps of the assembly process.
Remember, precision is key when measuring and cutting the cable. Take your time and exercise caution to achieve the best results. Once you have successfully measured and cut the cable to the desired length, you’re now ready to move on to the next step: stripping the cable and preparing the wires.
Step 3: Stripping the Cable and Preparing the Wires
After cutting the cable to the desired length, the next step in building your own audio cable is to strip the outer insulation and prepare the wires for soldering. This process ensures a clean and secure connection between the cable and the connectors. Follow these steps to strip the cable and prepare the wires:
- Gather the Tools: For this step, you will need a wire stripper, which is specifically designed to remove the insulation from the cables.
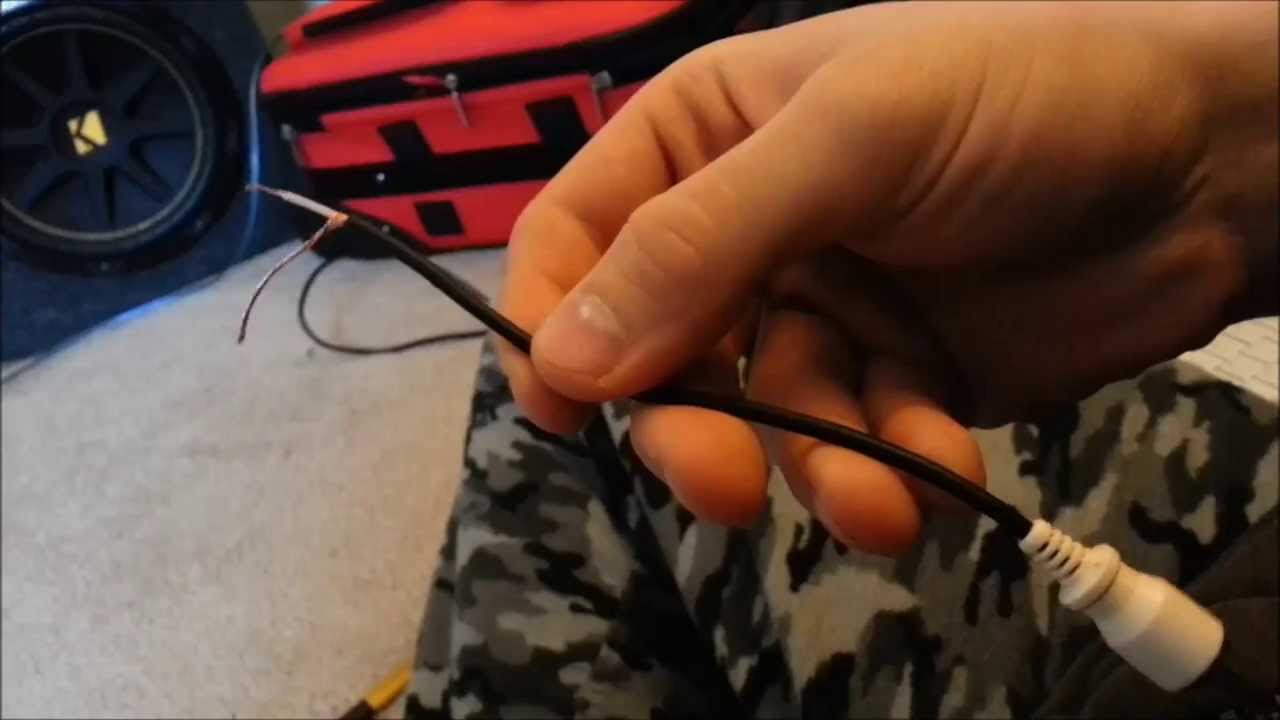
- Expose the Wires: Before stripping the cable, examine the cut end to identify the different wires. Typically, audio cables consist of two wires: a positive wire (usually color-coded) and a negative wire (commonly surrounded by a shield). Locate the outer insulation, which is usually made of rubber or plastic, and carefully cut a small section using a sharp utility knife or wire cutters. Be cautious not to damage the inner wires or the shielding.
- Strip the Insulation: Once you have made a small cut in the outer insulation, insert the cable into the appropriate wire gauge slot on your wire stripper. Gently squeeze the handles or rotate the stripper around the cable, applying slight pressure. The insulation should come off, exposing the individual wires underneath. Avoid stripping off too much insulation to prevent damage to the inner wires.
- Separate the Wires: After stripping the insulation, separate the wires from each other and the shielding if there is one. Use your fingers or a small tool to gently separate any twisted or tangled wires. Straightening them out will make the soldering process easier and more efficient.
It’s important to be patient and careful while stripping the cable and preparing the wires. Rushing this step or using excessive force can damage the wires, resulting in poor audio quality or unreliable connections. Once you have successfully stripped the cable and prepared the wires, you’re now ready to move on to the next step: soldering the wires.
Step 4: Soldering the Wires
Soldering the wires is a crucial step in building your own audio cable, as it creates a strong and reliable connection between the cable and the connectors. Soldering ensures that the electrical signal flows smoothly and without any interruptions, resulting in optimal audio quality. Follow these steps to solder the wires:
- Gather the Tools: For this step, you will need a soldering iron, solder, and a helping hand tool or a small clamp to hold the cable and connectors in place.
- Heat the Soldering Iron: Turn on the soldering iron and allow it to heat up. It’s recommended to set the soldering iron to a temperature suitable for the gauge of the wires and the type of connectors you are using. Refer to the manufacturer’s instructions for the recommended temperature range.
- Tin the Wires: Apply a small amount of solder to the tip of the soldering iron to “tin” it. This helps improve heat transfer during the soldering process. Touch the tinned tip of the soldering iron to the exposed end of one wire. Let the wire heat up for a few seconds, then apply solder to the wire until it is coated evenly. Repeat this process for all the wires.
- Solder the Wires to the Connectors: Place the connector onto the wire, aligning the exposed wire with the corresponding terminal on the connector. Apply the tip of the soldering iron to the joint where the wire and the connector meet. Allow the joint to heat up for a few seconds, then apply solder to the joint. The solder should melt and flow evenly around the joint. Remove the soldering iron and let the joint cool. Be careful not to move or disturb the joint while it is cooling.
- Repeat for Each Wire: Repeat the soldering process for each wire, ensuring that each wire is securely soldered to its corresponding terminal on the connector. Take your time and ensure that the solder joints are clean, smooth, and free from any excess solder or stray wires.
Remember, soldering requires precision and attention to detail. Take your time and ensure that each solder joint is done correctly for a strong and reliable connection. Once you have successfully soldered all the wires, you’re ready to move on to the next step: applying heat shrink tubing.
Step 5: Applying Heat Shrink Tubing
After soldering the wires to the connectors, it’s time to apply heat shrink tubing to provide insulation and protection. Heat shrink tubing is a specially designed tube that shrinks when heated, creating a tight and secure seal around the soldered joint. This step ensures the longevity and durability of your audio cable. Follow these steps to apply heat shrink tubing:
- Gather the Tools: For this step, you will need heat shrink tubing of an appropriate size for your cable and connectors, as well as a heat gun or lighter to apply heat to the tubing.
- Measure and Cut the Heat Shrink Tubing: Measure the length of heat shrink tubing required to cover the soldered joint. Add a little extra length to ensure full coverage. Use a pair of scissors or a sharp utility knife to cut the heat shrink tubing to the desired length.
- Slide the Tubing onto the Cable: Before applying heat, slide the cut piece of heat shrink tubing onto the cable, moving it towards the soldered joint. Ensure that the tubing is positioned to fully cover the joint without extending too far beyond it.
- Apply Heat: Use a heat gun or a lighter to apply heat to the heat shrink tubing. Move the heat source back and forth along the tubing, keeping it a few inches away to avoid overheating or melting the tubing. As the tubing heats up, it will shrink and conform to the shape of the joint, creating a snug and protective barrier.
- Inspect and Test: Once the heat shrink tubing has cooled down, visually inspect the joint to ensure that the tubing has fully shrunk and is securely in place. Gently tug on the tubing to confirm that it is tightly sealed and provides a robust insulation layer. Additionally, use a multimeter to test for continuity and ensure that the soldered connection is still intact.
Properly applied heat shrink tubing will provide excellent insulation and protection for your soldered connections. Take your time during this step to ensure that the tubing is applied evenly and securely. With the heat shrink tubing successfully applied, you’re now ready to move on to the next step: insulating and securing the cable.
Step 6: Insulating and Securing the Cable
After soldering the wires and applying heat shrink tubing, it’s important to properly insulate and secure the cable to ensure its longevity and reliability. Proper insulation protects the wires from damage and minimizes the risk of electrical shorts or signal interference. Follow these steps to insulate and secure the cable:
- Gather the Tools: For this step, you will need electrical tape and cable ties or velcro straps.
- Wrap with Electrical Tape: Start by wrapping a layer of electrical tape around the base of the connectors where the cable and connector meet. This helps provide an additional layer of insulation and stability for the connection. Continue wrapping the tape around the exposed wires, overlapping each wrap slightly to ensure complete coverage. Make sure to wrap all the way to the end of the heat shrink tubing and secure the tape firmly in place.
- Bundle and Secure the Cable: To prevent strain and protect the cable from external forces, bundle the excess cable length together using plastic cable ties or velcro straps. These will help keep the cable organized and minimize the risk of accidental pulls or tugs that could damage the connectors or soldered joints. Make sure not to overtighten the cable ties or velcro straps to avoid damaging the cable.
- Inspect and Test: Once you have completed the insulation and securing process, visually inspect the entire cable assembly to ensure that the connectors, soldered joints, heat shrink tubing, and insulation are all in good condition. Ensure that the connectors are securely attached and that there are no exposed wires or loose connections. Finally, use a multimeter to test for continuity and ensure that all connections are working correctly.
Properly insulating and securing your cable is essential for its durability and reliability. Taking the time to wrap the connectors with electrical tape and secure the cable will provide added protection against potential damage. With the cable insulated and secured, you have now completed this step. It’s time to move on to the final step: testing and troubleshooting your newly built audio cable.
Step 7: Testing and Troubleshooting
Once you have completed building your own audio cable, it’s crucial to thoroughly test it to ensure that it functions properly and meets your expectations. Testing allows you to identify any potential issues and make necessary adjustments. Follow these steps to test and troubleshoot your newly built audio cable:
- Set Up the Test: Connect one end of the cable to your audio source and the other end to your audio output device. Ensure that both devices are powered on and functioning correctly.
- Play Audio: Play audio through the connected devices and listen for any distortions, intermittent sound, or noise. Pay attention to the clarity and quality of the audio signal.
- Check for Signal Loss: Test the cable by playing audio at different volume levels and frequencies. Listen for any loss of signal or variations in sound quality. Ensure that the cable maintains a consistent and clear audio signal throughout the testing process.
- Inspect the Connections: Carefully examine the connectors and soldered joints. Ensure that there are no loose connections, frayed wires, or exposed metal that could cause signal interruption or electrical shorts. Resolder any questionable connections if necessary.
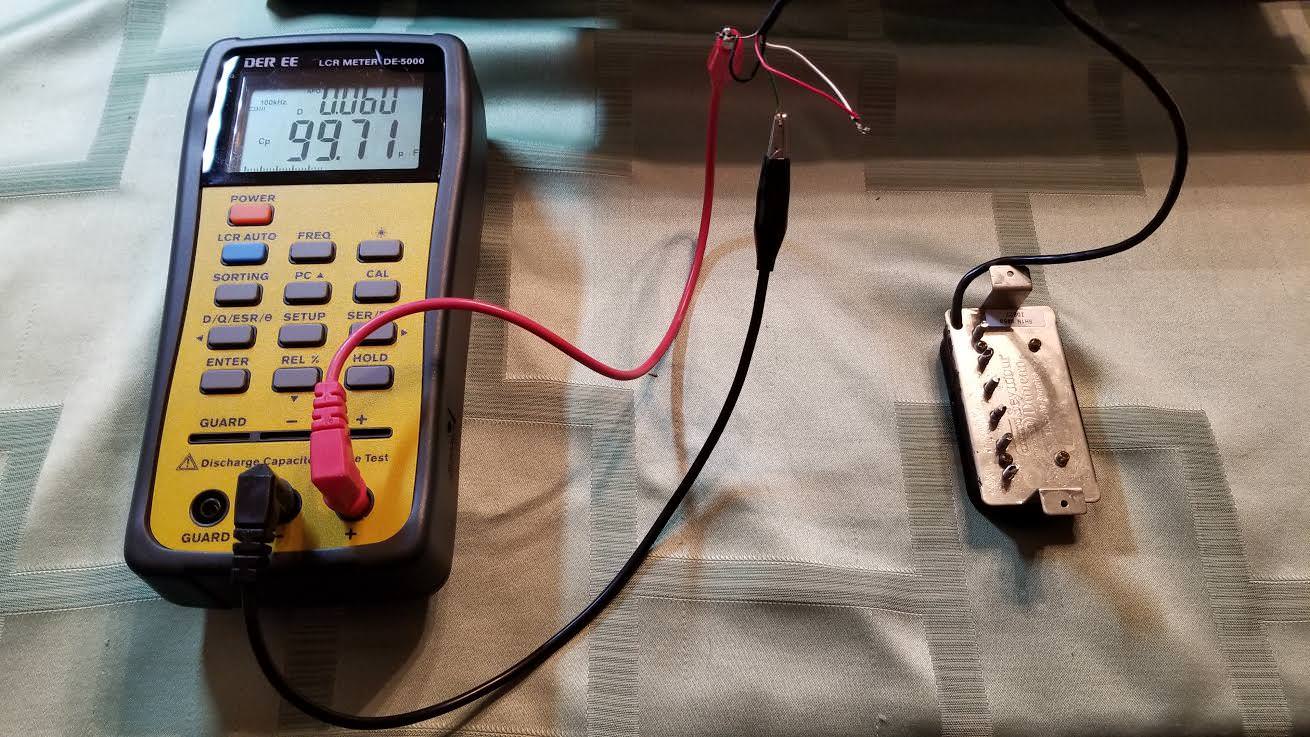
- Test with a Multimeter: Use a multimeter to test the continuity of the cable and verify that the connections are working properly. Check for proper conductivity between each respective wire and connector pin. This will help identify any wiring issues or faults in the cable.
- Troubleshoot and Make Adjustments: If you encounter any issues during the testing process, such as poor audio quality or intermittent signal, troubleshoot the problem areas. Check for loose connections, damaged wires, or faulty components. Re-solder any problematic connections, replace damaged parts if necessary, and retest the cable to ensure improvements.
Testing and troubleshooting your newly built audio cable is an essential step to ensure its proper functionality. By carefully checking the audio quality, inspecting the connections, and using a multimeter, you can identify any potential issues and make necessary adjustments for optimal performance. Once you are confident in the quality and functionality of your audio cable, you’re ready to enjoy the enhanced audio experience it provides!
Conclusion
Congratulations! You have successfully completed the process of building your own audio cable. By following the step-by-step guide presented here, you have gained the knowledge and skills necessary to create custom audio cables that meet your specific needs and preferences.
Building your own audio cables not only allows for customization but also provides cost-effective alternatives to pre-made cables. With the ability to choose the right cable, connectors, and components, you can ensure high-quality audio transmission and achieve the desired sound quality for your audio setup.
Throughout the process, you have learned how to choose the right cable based on its type, length, gauge, and shielding. You have also mastered the techniques of measuring, cutting, stripping, soldering, and applying heat shrink tubing to create secure and reliable connections. Additionally, you have gained insights into insulating and securing the cable to enhance its durability and protect against damage.
Remember, proper testing and troubleshooting are crucial to ensure the functionality of your newly built audio cable. By carefully listening for audio quality, inspecting connections, and using a multimeter, you can identify and address any issues that may arise, ensuring optimal performance.
Building your own audio cables is a rewarding and fulfilling experience, and it allows you to have full control over your audio setup. Whether you are a musician, a podcaster, or an audiophile, the skills you have acquired through this guide can be applied to various audio cable projects, enhancing your overall audio experience.
So, gather your tools, select the right materials, and let your creativity and expertise shine through as you embark on future audio cable-building endeavors. Enjoy the satisfaction and pride that comes with creating custom cables tailored to your specific needs, and immerse yourself in the enhanced audio quality that your DIY cables provide.