Home>Production & Technology>Audio Cable>How To Make Mini USB To 3.5 Mm Male Headphone Audio Cable
Audio Cable
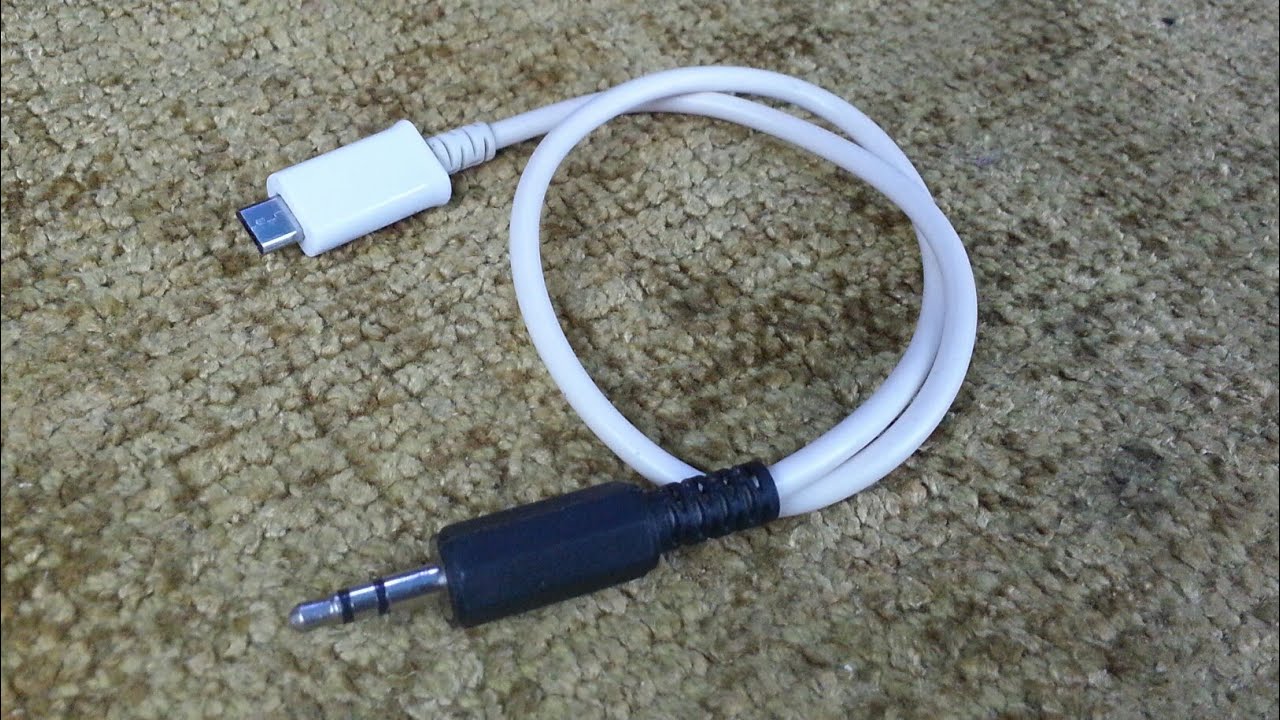
How To Make Mini USB To 3.5 Mm Male Headphone Audio Cable
Published: December 20, 2023
Learn how to create a Mini USB to 3.5mm Male Audio Cable effortlessly and enjoy seamless audio connectivity. Ideal for music enthusiasts and tech-savvy individuals.
(Many of the links in this article redirect to a specific reviewed product. Your purchase of these products through affiliate links helps to generate commission for AudioLover.com, at no extra cost. Learn more)
Table of Contents
Introduction
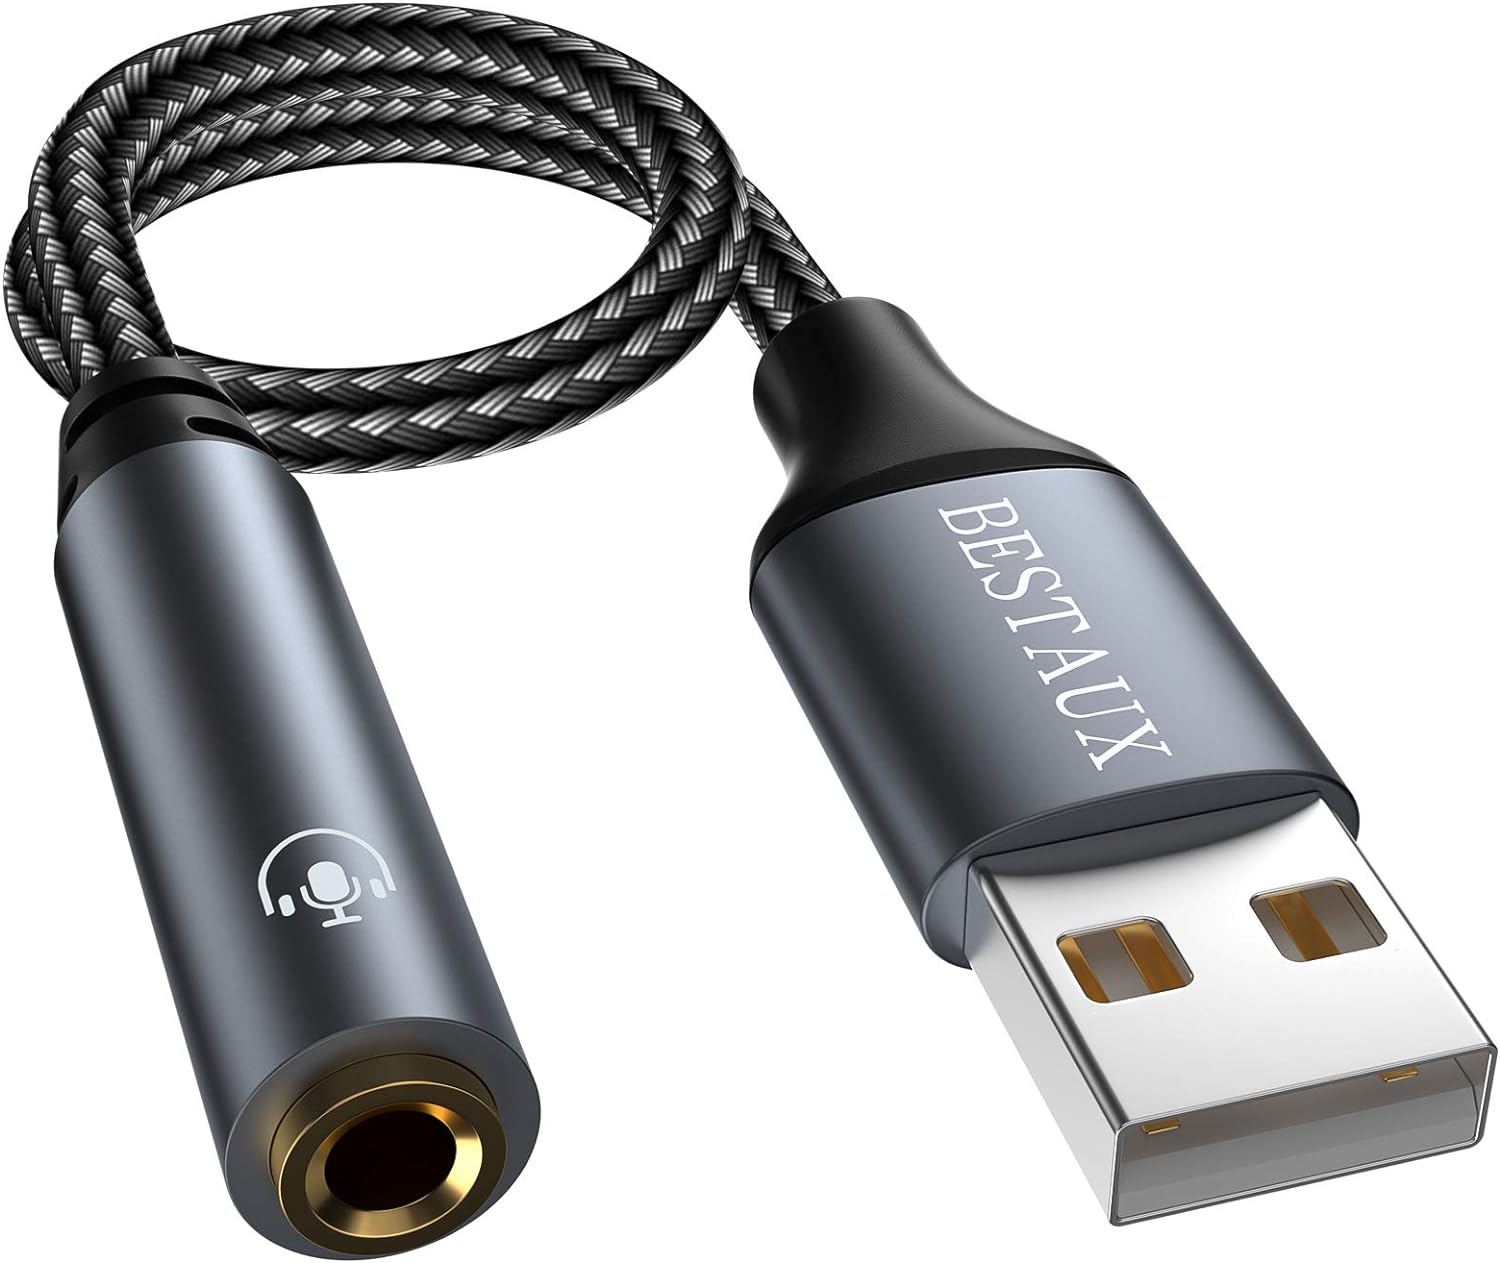
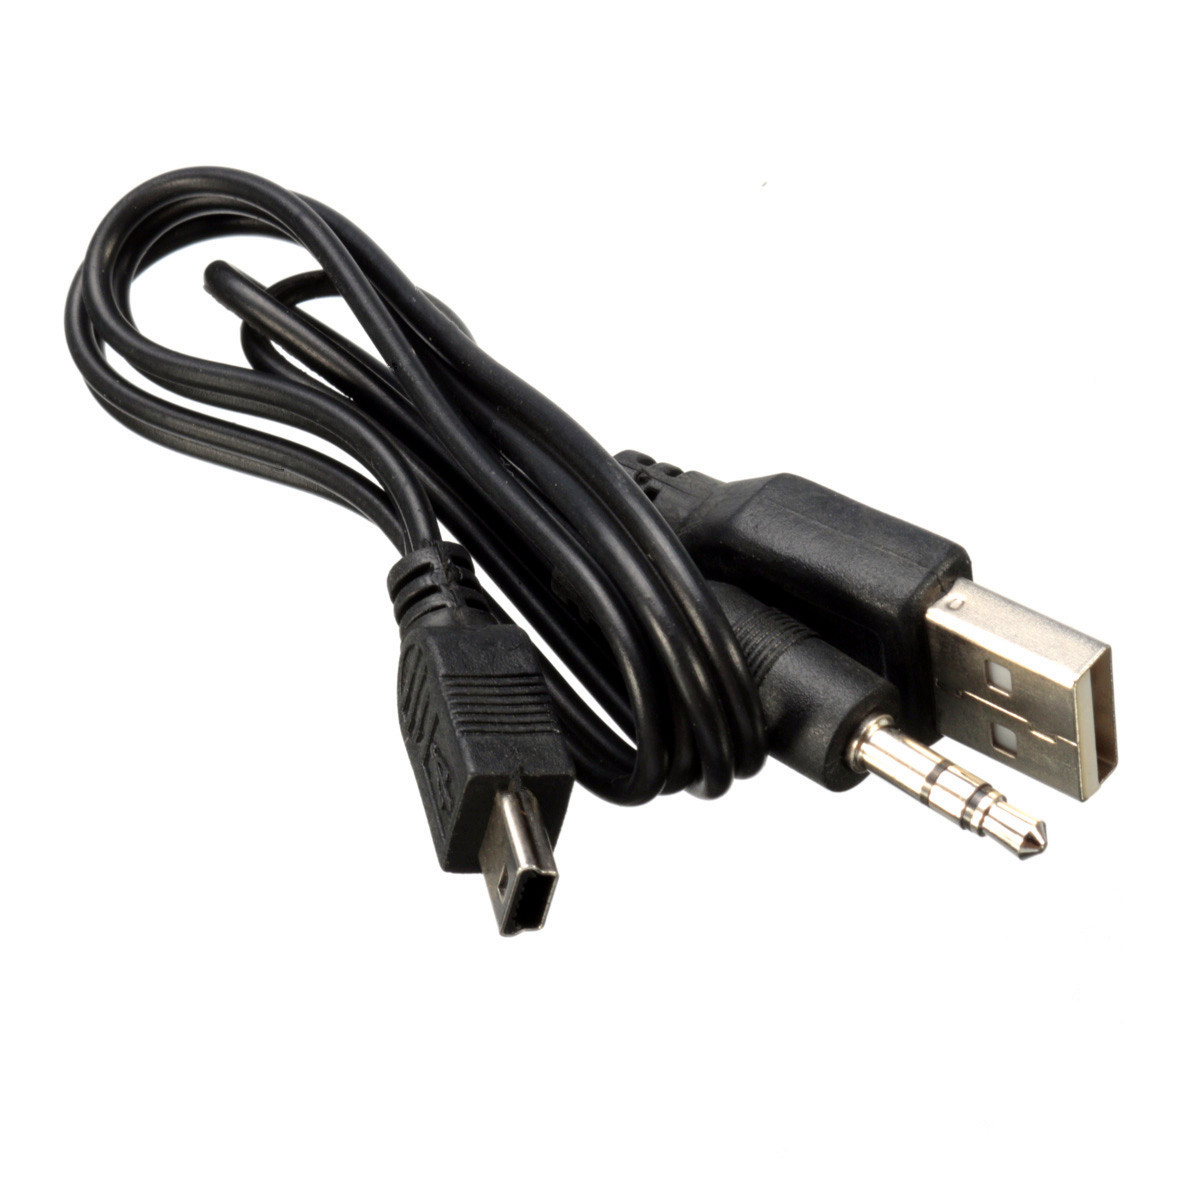
Audio cables are an essential component for connecting audio devices to speakers, headphones, or other audio systems. While there are various types of audio cables available in the market, one popular option is the Mini USB to 3.5 mm Male Headphone Audio Cable.
This versatile cable allows you to connect your USB devices, such as laptops or smartphones, to audio devices like headphones or speakers with a 3.5 mm audio jack. It provides a convenient solution for listening to high-quality audio or transferring audio signals between devices.
In this article, we will guide you through the process of creating your own Mini USB to 3.5 mm Male Headphone Audio Cable. Whether you are an audiophile or simply looking for a cost-effective way to connect your devices, this DIY project will give you the satisfaction of creating your own audio cable.
By following our step-by-step instructions, you can customize the length of the cable, choose high-quality materials, and ensure a secure connection. So, let’s dive into the materials needed and the steps involved in making your own Mini USB to 3.5 mm Male Headphone Audio Cable.
Materials Needed
Before you begin creating your Mini USB to 3.5 mm Male Headphone Audio Cable, it’s important to gather all the necessary materials. Here’s a list of what you’ll need:
- USB cable
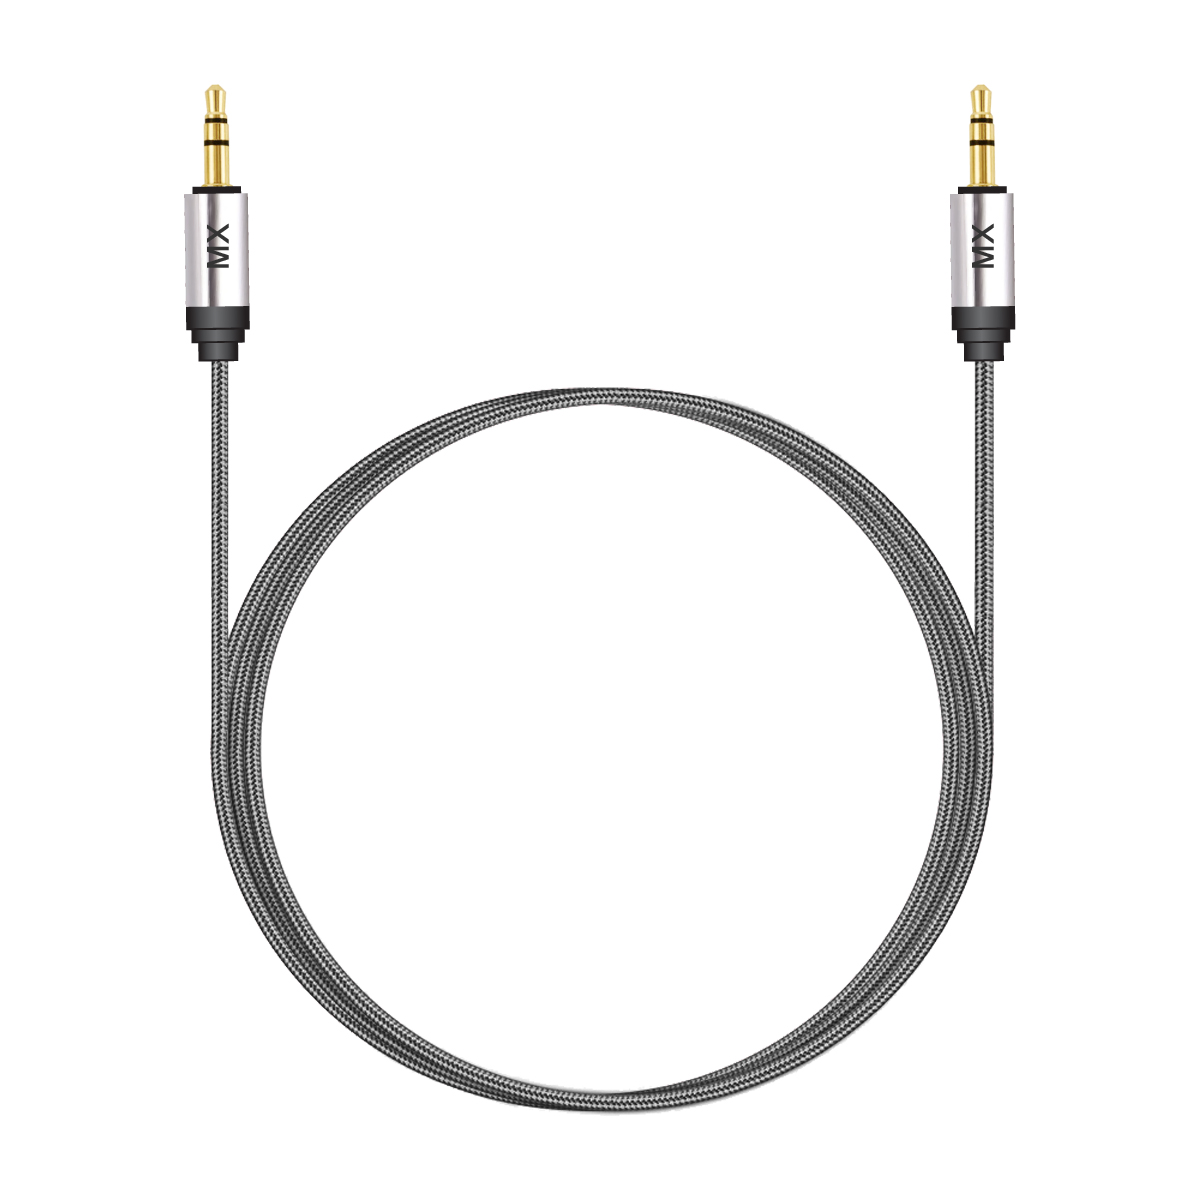
- 3.5 mm audio jack
- Wire stripper
- Soldering iron
- Solder wire
- Heat shrink tubing
- Heat gun or lighter
- Wire cutters
- Electrical tape
- Multimeter (optional)
These materials are readily available at electronics stores or online retailers. When selecting the USB cable and audio jack, consider the quality and durability of the components to ensure optimal audio performance and longevity.
Step 1: Gather the Required Tools
Before diving into the process of making your Mini USB to 3.5 mm Male Headphone Audio Cable, it’s important to gather all the necessary tools. Having the right tools on hand will make the job easier and ensure a neat and professional result. Here’s a list of tools you’ll need for this project:
- Wire stripper: This tool will allow you to remove the insulation from the wires, exposing the metal strands for soldering.
- Soldering iron: A soldering iron is a crucial tool for creating secure and reliable connections between the wires and connectors.
- Solder wire: Solder is used to join the wires and connectors by melting it with the heated soldering iron.
- Heat shrink tubing: Heat shrink tubing serves as insulation for the soldered connections, protecting them from damage and providing extra stability.
- Heat gun or lighter: The heat gun or lighter is necessary to heat and shrink the heat shrink tubing, creating a tight and secure seal.
- Wire cutters: Wire cutters are essential for trimming and cutting the cables and wires to the desired lengths.
- Electrical tape: Electrical tape can be used to provide additional insulation and secure the cables and wires.
- Multimeter (optional): While not required, a multimeter can be helpful for testing the continuity and functionality of the cable.
Make sure you have all these tools readily available before starting the project. Having everything organized and within reach will streamline the process and prevent unnecessary interruptions.
Step 2: Prepare the USB Cable
Now that you have gathered all the necessary tools, let’s move on to preparing the USB cable for the Mini USB to 3.5 mm Male Headphone Audio Cable. Follow these steps to ensure a clean and efficient connection:
- Using wire cutters, trim the USB cable to the desired length. Consider the distance between your audio device and the audio jack to determine the appropriate length.
- Strip the outer insulation of the USB cable using a wire stripper. Be careful not to cut through the inner wires while removing the insulation.
- Once the outer insulation is removed, you will find several colored inner wires. Identify the positive (usually red) and negative (usually black) wires. These wires will be responsible for carrying the audio signal.
- Trim the positive and negative wires to a manageable length, leaving enough room for soldering.
- Strip a small portion of insulation from the tips of the positive and negative wires, exposing the metal strands.
- Twist the exposed metal strands of the positive wire together and create a neat bundle. Repeat the process with the negative wire.
By preparing the USB cable with these steps, you are now ready to move on to preparing the 3.5 mm audio jack for the next phase of the project.
Step 3: Prepare the 3.5 mm Audio Jack
After preparing the USB cable in the previous step, it’s time to move on to preparing the 3.5 mm audio jack for the Mini USB to 3.5 mm Male Headphone Audio Cable. Follow these steps to ensure a proper connection:
- Inspect the 3.5 mm audio jack and identify the different sections. Typically, the three sections include left audio, right audio, and ground.
- If necessary, separate the different sections of the audio jack by unscrewing or disassembling it, depending on the type of audio jack you are using.
- Once you have access to the sections, identify the corresponding wires from the USB cable for each section of the audio jack. Typically, the positive wire (usually red) goes to the left audio, the negative wire (usually black) goes to the right audio, and the remaining wire (usually white or another color) goes to the ground.
- Trim the corresponding wires from the USB cable to a manageable length, leaving room for soldering.
- Strip a small portion of insulation from the tips of the wires, exposing the metal strands.
- Connect each wire to its corresponding section on the 3.5 mm audio jack. Wrap the positive wire around the left audio section, the negative wire around the right audio section, and the ground wire around the ground section.
By properly preparing the 3.5 mm audio jack and connecting the wires from the USB cable, you are now one step closer to creating your Mini USB to 3.5 mm Male Headphone Audio Cable. The next step will involve soldering the wires to ensure a secure and reliable connection.
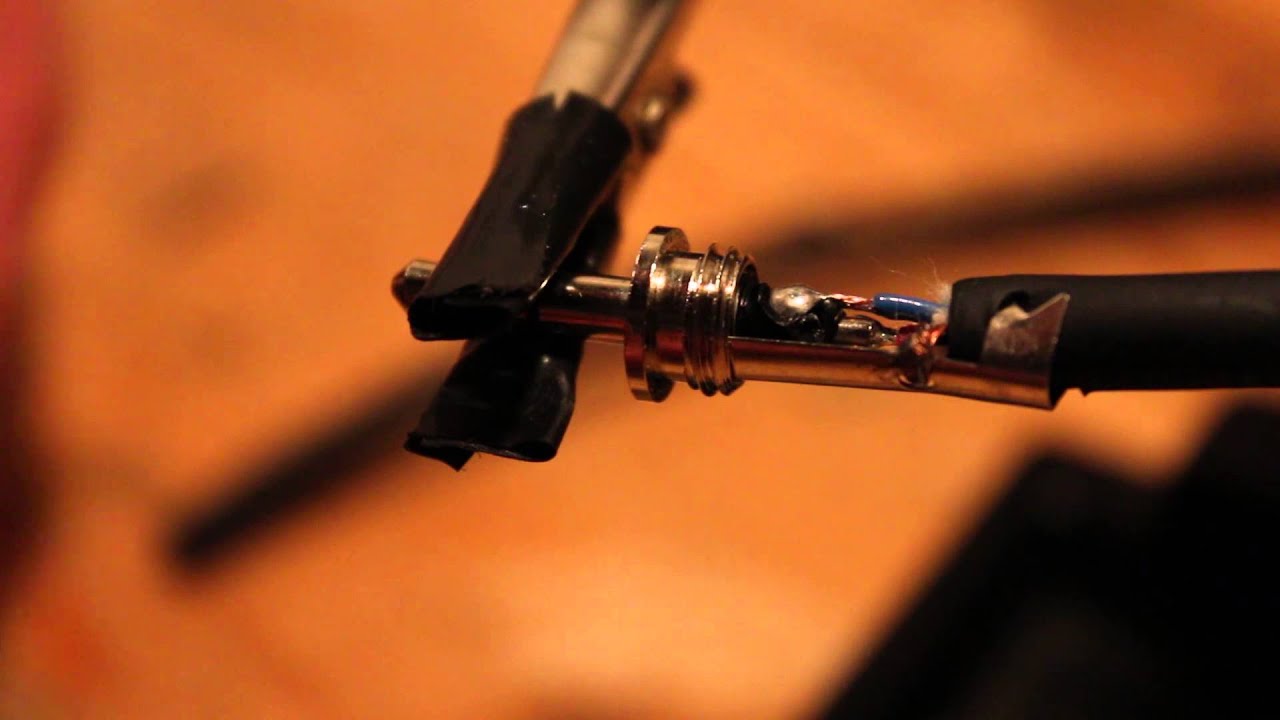
Step 4: Solder the Wires
Soldering the wires is a crucial step in creating a durable and reliable Mini USB to 3.5 mm Male Headphone Audio Cable. Proper soldering ensures a secure electrical connection and reduces the risk of signal loss or intermittent connections. Follow these steps to solder the wires:
- Plug in the soldering iron and allow it to heat up to the appropriate temperature. Refer to the manufacturer’s instructions for the recommended temperature for soldering audio cables.
- Once the soldering iron is heated, hold it against the exposed metal strands of the wire and apply a small amount of solder to the strands. The solder will melt and flow over the wire, creating a solid electrical connection.
- Repeat the process for each wire, ensuring that the solder covers the entire exposed portion of the wire.
- Be careful not to apply too much solder, as it can create an unwanted bridge between the wires or cause an uneven surface.
- After soldering each wire, inspect the connections to ensure they are secure and there are no stray strands of wire or excess solder.
Proper soldering technique is crucial for creating a reliable audio cable. Take your time and double-check the connections to ensure a clean and professional result. Once the wires are soldered, you can proceed to the next step of insulating the connections.
Step 5: Insulate the Connections
Insulating the connections is an important step to protect the soldered wires and ensure a secure and long-lasting Mini USB to 3.5 mm Male Headphone Audio Cable. Follow these steps to properly insulate the connections:
- Cut a piece of heat shrink tubing for each soldered connection. The tubing should be long enough to cover the exposed soldered area completely.
- Slide the heat shrink tubing over one end of the wire, covering the exposed soldered area.
- Use a heat gun or lighter to apply heat evenly to the heat shrink tubing. As the tubing heats up, it will shrink tightly around the wires, creating a snug and insulated cover.
- Repeat the process for each soldered connection, ensuring that the heat shrink tubing covers all exposed soldered areas.
- Inspect the insulations to ensure there are no bare wires or gaps in the heat shrink tubing. If necessary, reapply heat to any areas that may need additional cover or reinforcement.
- For extra protection, you can further insulate the connections using electrical tape. Wrap the tape tightly around the heat shrink tubing, covering the entire soldered area.
By properly insulating the connections, you are safeguarding them from external elements, preventing short circuits, and ensuring a reliable and durable Mini USB to 3.5 mm Male Headphone Audio Cable. The final step is to test the cable before putting it into use.
Step 6: Test the Cable
Before you start using your newly created Mini USB to 3.5 mm Male Headphone Audio Cable, it’s important to test it to ensure proper functionality. Follow these steps to test the cable:
- Plug one end of the cable into your audio source, such as a laptop or smartphone.
- Connect the other end of the cable to an audio device, such as headphones or speakers, using the 3.5 mm audio jack.
- Play a test audio file or any audio source on your device.
- Check if the audio is being transmitted properly through the cable. Ensure that you can hear the audio clearly through the connected headphones or speakers.
- Test both the left and right audio channels to ensure that the connections are correct and that the audio is balanced.
- If you encounter any issues, double-check the soldered connections, insulation, and ensure that the cables are properly connected to the audio source and device.
By testing the cable, you can verify its functionality and make any necessary adjustments if needed. Once you have confirmed that the cable is working properly, you can enjoy high-quality audio playback or audio transfer between your devices.
Conclusion
Creating your own Mini USB to 3.5 mm Male Headphone Audio Cable can be a rewarding DIY project that allows you to customize the length and quality of the cable to suit your needs. By following the step-by-step instructions provided in this guide, you can create a reliable and durable audio cable that delivers high-quality sound.
Throughout the process, we discussed the materials needed and the tools required for this project. We covered each step, including preparing the USB cable and the 3.5 mm audio jack, soldering the wires, insulating the connections, and testing the cable for proper functionality.
Taking the time to properly prepare and solder the wires, as well as insulate the connections, ensures that your audio cable will provide a secure and reliable connection, minimizing the risk of signal loss or connectivity issues. Testing the cable allows you to confirm its functionality and make any necessary adjustments before using it regularly.
Remember to gather the appropriate tools and materials and follow safety precautions when soldering. It’s also important to pay attention to the color coding of the wires and the corresponding sections of the audio jack to ensure correct connections and audio channel balance.
By creating your own Mini USB to 3.5 mm Male Headphone Audio Cable, you have the flexibility to customize the cable length, choose high-quality components, and enjoy a seamless audio experience. So, go ahead and embark on this DIY project and enjoy the satisfaction of creating your own audio cable to enhance your audio setup.