Home>Production & Technology>Audio Cable>How To Convert A USB Data Cable To An Analog Audio Cable

Audio Cable
How To Convert A USB Data Cable To An Analog Audio Cable
Published: December 20, 2023
Learn how to convert a USB data cable into an analog audio cable and enjoy high-quality sound using our comprehensive guide. Upgrade your audio experience now!
(Many of the links in this article redirect to a specific reviewed product. Your purchase of these products through affiliate links helps to generate commission for AudioLover.com, at no extra cost. Learn more)
Table of Contents
Introduction
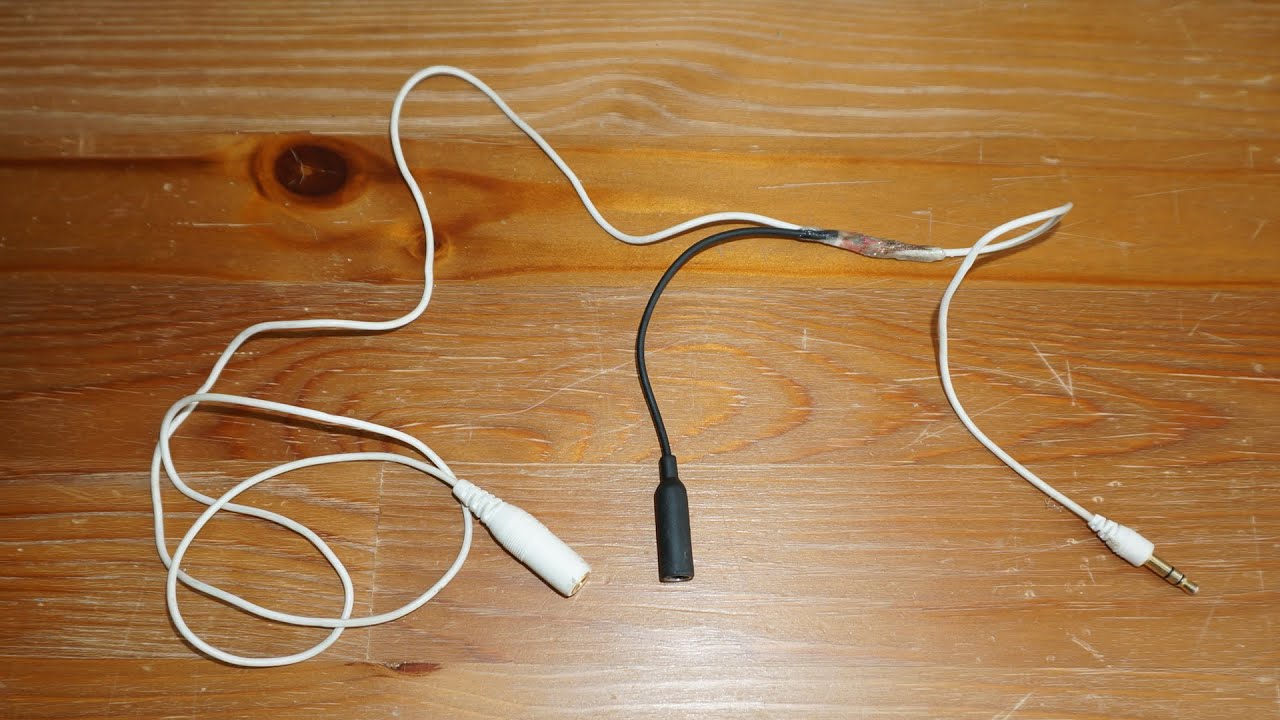
Welcome to the world of audio cables! In this article, we will delve into the fascinating realm of converting a USB data cable into an analog audio cable. Whether you’re a DIY enthusiast, an audiophile on a budget, or simply curious about the inner workings of audio equipment, understanding how to repurpose a USB cable can be a valuable skill.
USB data cables are commonly used for transferring data and charging devices, while analog audio cables are the go-to choice for connecting audio devices like headphones, speakers, and amplifiers. By converting a USB cable into an analog audio cable, you can find new uses for it or even save some money by repurposing existing cables.
This article will guide you step-by-step through the process of converting a USB cable into an analog audio cable. No specialized tools or equipment are required. With a little patience and some basic soldering skills, you’ll be able to create your own custom audio cables.
Before we delve into the conversion process, it’s important to have a basic understanding of USB data cables and analog audio cables. This will help you comprehend the purpose and functionality of each component involved in the conversion.
So, let’s get started and unlock the potential of your USB cables by transforming them into versatile analog audio cables!
Understanding USB Data Cables and Analog Audio Cables
USB data cables and analog audio cables serve distinct purposes in the world of technology and audio equipment. Understanding their differences and functionality is crucial before attempting to convert a USB cable into an analog audio cable.
USB data cables, commonly known as Universal Serial Bus cables, are primarily used for transferring data and providing power to devices. They are designed to connect various peripherals, such as smartphones, tablets, printers, keyboards, and external hard drives, to a computer or power source. USB cables typically have a rectangular USB-A or USB-B connector on one end, which plugs into the computer or charging port, and a smaller connector, such as USB-C or micro-USB, on the other end, which connects to the peripheral device.
Analog audio cables, on the other hand, are used for transmitting audio signals between audio equipment. These cables are essential for connecting headphones, speakers, amplifiers, microphones, and other audio devices. Analog audio cables come in different types, including 3.5mm (also known as aux cables or mini-jack), RCA cables, XLR cables, and quarter-inch cables. These cables transmit electrical signals that accurately represent sound waves, allowing you to enjoy high-quality audio playback and recording.
The main difference between USB data cables and analog audio cables lies in their wiring and the type of signals they transmit. USB cables are designed to carry digital data and power, while analog audio cables transmit analog audio signals. USB cables use multiple twisted pairs of wires that are shielded to minimize interference, whereas analog audio cables typically have two or more conductors surrounded by shielding materials.
Converting a USB data cable into an analog audio cable involves modifying the wiring to accommodate audio signals. It’s important to note that this conversion will only work for devices that support analog audio input, such as speakers or amplifiers with analog audio connectors. It may not be compatible with devices that solely rely on digital audio input, such as USB audio interfaces or sound cards.
Now that you have a basic understanding of USB data cables and analog audio cables, you’re ready to embark on the journey of converting a USB cable into an analog audio cable.
Tools Needed for Conversion
Before diving into the conversion process, it’s important to gather the necessary tools and materials. Having the right tools will make the process easier and ensure a successful outcome. Here’s a list of the tools you’ll need:
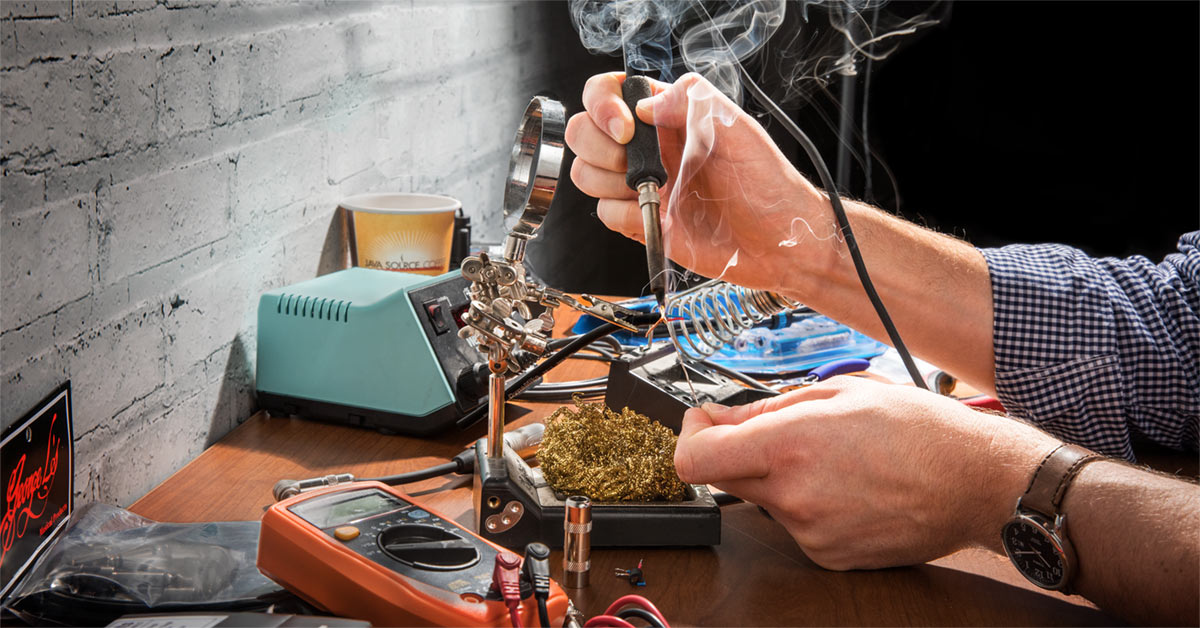
- Soldering Iron: A soldering iron is an essential tool for connecting wires together. Ensure that you have a soldering iron with a fine tip, as it will allow for precise soldering.
- Solder: Solder is a metal alloy used to join electrical components together. Look for rosin-core solder, as it contains flux, which helps improve the soldering process.
- Wire Cutters/Strippers: Wire cutters/strippers are necessary for cutting and removing the insulation from the wires. They allow for clean and precise cuts, ensuring proper connections.
- Heat Shrink Tubing: Heat shrink tubing is used to insulate and protect soldered connections. It shrinks when heated, creating a tight and secure seal around the joint.
- Electrical Tape: Electrical tape can be used as an alternative to heat shrink tubing for insulating and securing connections. It provides electrical insulation and helps prevent short circuits.
- Small Phillips Screwdriver: Depending on the type of audio connector you’re using, you may need a small Phillips screwdriver to secure the cable to the connector.
- Multimeter: A multimeter is an optional tool but can be helpful for testing the continuity of the cables and ensuring proper connections.
It’s essential to have a clean and organized work area before starting the conversion process. Make sure to have a stable surface, good lighting, and necessary safety equipment, such as safety goggles.
With the above tools in hand, you’re now ready to move on to the next steps of converting your USB cable into an analog audio cable. So let’s get started!
Step 1: Preparing the USB Cable
The first step in converting a USB cable into an analog audio cable is to prepare the USB cable for modification. Follow these steps:
- Gather the necessary materials: In addition to the USB cable, you will need wire cutters/strippers, a soldering iron, solder, heat shrink tubing or electrical tape, and optionally a multimeter for testing.
- Identify the wires: USB cables typically have four wires inside: red (+5V power), white (data-), green (data+), and black (ground). Strip off a small portion of the outer insulation to expose these wires.
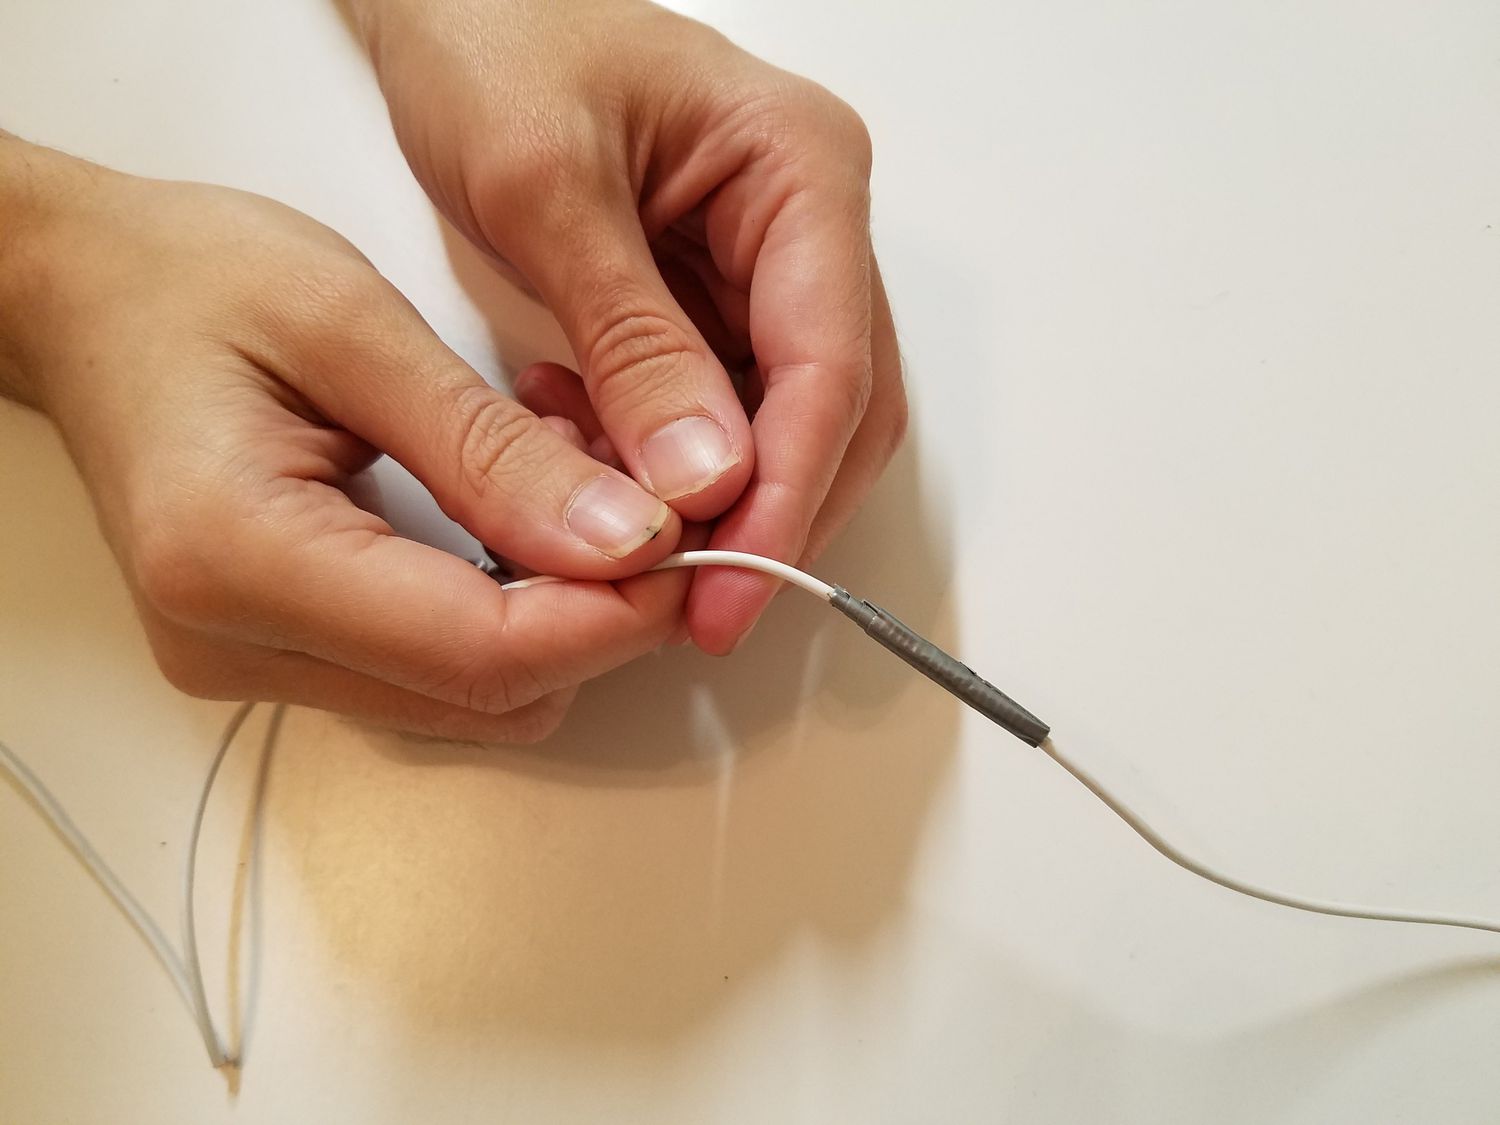
- Separate the wires: Gently separate the four wires from each other. Be careful not to damage or break any of the wires during this process.
- Trim the wires: Use wire cutters to trim the ends of the wires, removing any frayed ends or damaged sections. This will ensure clean and solid connections later.
- Strip the wire insulation: Using wire strippers, carefully strip off a small portion of insulation from the ends of each wire, exposing the bare metal underneath. Take caution not to strip off too much insulation.
By following these steps, you have effectively prepared the USB cable for modification. The next step will involve preparing the analog audio connector, which will allow you to connect the USB cable to audio devices. Stay tuned!
Step 2: Preparing the Analog Audio Connector
Now that you have prepared the USB cable, it’s time to move on to preparing the analog audio connector. Follow these steps:
- Select the correct audio connector: Depending on the audio devices you plan to connect the cable to, choose the appropriate analog audio connector. The most common connector for consumer audio devices is the 3.5mm (auxiliary) plug. Make sure you have the corresponding male or female connector, depending on your needs.
- Inspect the audio connector: Examine the audio connector closely and identify its different parts. It generally consists of three segments: the tip, the ring, and the sleeve. Familiarize yourself with the internal connections of the connector to ensure proper soldering.
- If necessary, disassemble the audio connector: Some audio connectors may come pre-assembled, while others may require disassembly for soldering the wires. Follow the manufacturer’s instructions, if available, to safely disassemble the audio connector.
- Prepare the connector’s soldering points: Use a small Phillips screwdriver or any provided tools to loosen the screws or terminals on the audio connector. This will allow you to easily connect and secure the wires later on.
- Identify the connection points: Identify the appropriate connection points for each wire on the audio connector. These connection points may be labeled or color-coded, depending on the connector type.
By completing these steps, you have successfully prepared the analog audio connector for soldering the USB cable. The next step will involve soldering the USB cable to the audio connector, bringing both components together to create the analog audio cable. Stay tuned for the next section!
Step 3: Soldering the USB Cable to the Audio Connector
Now that you have prepared both the USB cable and the analog audio connector, it’s time to solder them together. Follow these steps to ensure a successful soldering process:
- Heat up the soldering iron: Plug in the soldering iron and let it heat up. It usually takes a few minutes to reach the desired temperature.
- Tin the soldering iron tip: Apply a small amount of solder to the soldering iron tip. This process, known as tinning, helps improve heat transfer and soldering efficiency.
- Solder the USB cable wires: Take one of the USB cable wires and place it on the corresponding connection point of the audio connector. Apply the heated soldering iron to the wire and the connection point simultaneously. Once the solder melts, create a secure bond by feeding solder onto the connection.
- Repeat for all remaining wires: Follow the same soldering process for the remaining USB cable wires, ensuring that each wire is connected to the correct corresponding connection point on the audio connector.
- Inspect the soldered joints: After soldering all the wires, carefully inspect the soldered joints. Ensure that they are visually clean, shiny, and free of excess solder or any loose strands of wire.
- Secure the connections: If the audio connector has screws or terminals, tighten them to secure the connection between the USB cable wires and the audio connector. This will provide stability and prevent any accidental disconnections.
- Optional: Use heat shrink tubing or electrical tape: For added insulation and protection, slide a small piece of heat shrink tubing over each soldered joint. Use a heat source such as a heat gun or hairdryer to shrink the tubing and create a tight seal. Alternatively, you can use electrical tape to securely wrap each soldered joint.
By following these steps, you have successfully soldered the USB cable to the audio connector, forming the foundation of your analog audio cable. The next step will involve testing the converted cable to ensure its functionality. Stay tuned for the next section!
Step 4: Testing the Converted Cable
After soldering the USB cable to the audio connector, it’s important to test the converted cable to ensure its functionality. Follow these steps to carry out the testing process:
- Plug in the converted cable: Connect one end of the converted cable to the audio output source, such as a headphone jack on a device or an audio output port on a computer or amplifier.
- Connect the other end of the cable: Connect the other end of the converted cable to the audio input destination, such as headphones, speakers, or an audio input port on a recording device or amplifier.
- Play audio: Begin playing audio on the source device and check if you can hear the audio through the connected destination device. Ensure that the volume is appropriately adjusted and that there are no distorted or missing audio signals.
- Test both audio channels: To ensure proper stereo sound, test the audio on both the left and right channels. You can use a test track or a stereo audio source to verify that both channels are functioning correctly.
- Check for any issues: Pay attention to any potential audio drops, static, or crackling noises. If there are any issues, double-check the soldered connections and ensure they are secure and properly connected.
- Perform a continuity test: If you have a multimeter, you can perform a continuity test to ensure that each wire is properly connected from end to end. This test can help identify any potential breakages or poor connections.
By performing these steps and conducting thorough testing, you can ensure that the converted cable is functioning as intended. If you encounter any issues during testing, double-check your soldering connections and make necessary adjustments.
Congratulations! You have successfully converted a USB cable into an analog audio cable. You can now enjoy using your custom-made cable to connect various audio devices and enjoy high-quality audio playback.
Conclusion
Converting a USB data cable into an analog audio cable opens up a world of possibilities for audio enthusiasts and DIY enthusiasts alike. By repurposing existing USB cables, you can create custom-made analog audio cables that suit your specific needs and save money in the process.
In this comprehensive guide, we’ve explored the step-by-step process of converting a USB cable into an analog audio cable. We started by understanding the differences between USB data cables and analog audio cables, as well as the functionality of each. We then discussed the tools and materials necessary for the conversion process.
We walked through the individual steps of preparing the USB cable, including identifying and separating the wires, trimming and stripping the insulation, and ensuring clean wire ends. We also covered the preparation of the analog audio connector, including selecting the correct connector, inspecting and disassembling (if necessary), and identifying the connection points.
The core of the conversion process involved soldering the USB cable to the audio connector, ensuring secure and proper connections. We discussed the importance of tinning the soldering iron tip, soldering the wires to their corresponding connection points, and inspecting the joints for clean and secure bonds.
Finally, we emphasized the importance of testing the converted cable to ensure its functionality. We outlined the steps to connect the cable to audio input and output devices, play audio, test both audio channels, and perform a continuity test using a multimeter.
By following this guide, you now have the knowledge and skills to convert USB cables into analog audio cables. Get creative with your cable conversions, experiment with different connectors and cable lengths, and enjoy the flexibility of having custom-made audio cables for your audio setup.
Remember to always prioritize safety during the conversion process, follow manufacturer’s guidelines, and double-check your soldered connections. With practice, you’ll become a master at repurposing USB cables into analog audio cables and creating personalized audio solutions. Happy converting!

