Home>Production & Technology>Audio Cable>How To Splice 3.5 Mm Audio Cable
Audio Cable
How To Splice 3.5 Mm Audio Cable
Modified: January 22, 2024
Learn how to splice a 3.5 mm audio cable and easily repair damaged wires. Enhance your audio experience with this step-by-step guide.
(Many of the links in this article redirect to a specific reviewed product. Your purchase of these products through affiliate links helps to generate commission for AudioLover.com, at no extra cost. Learn more)
Table of Contents
Introduction
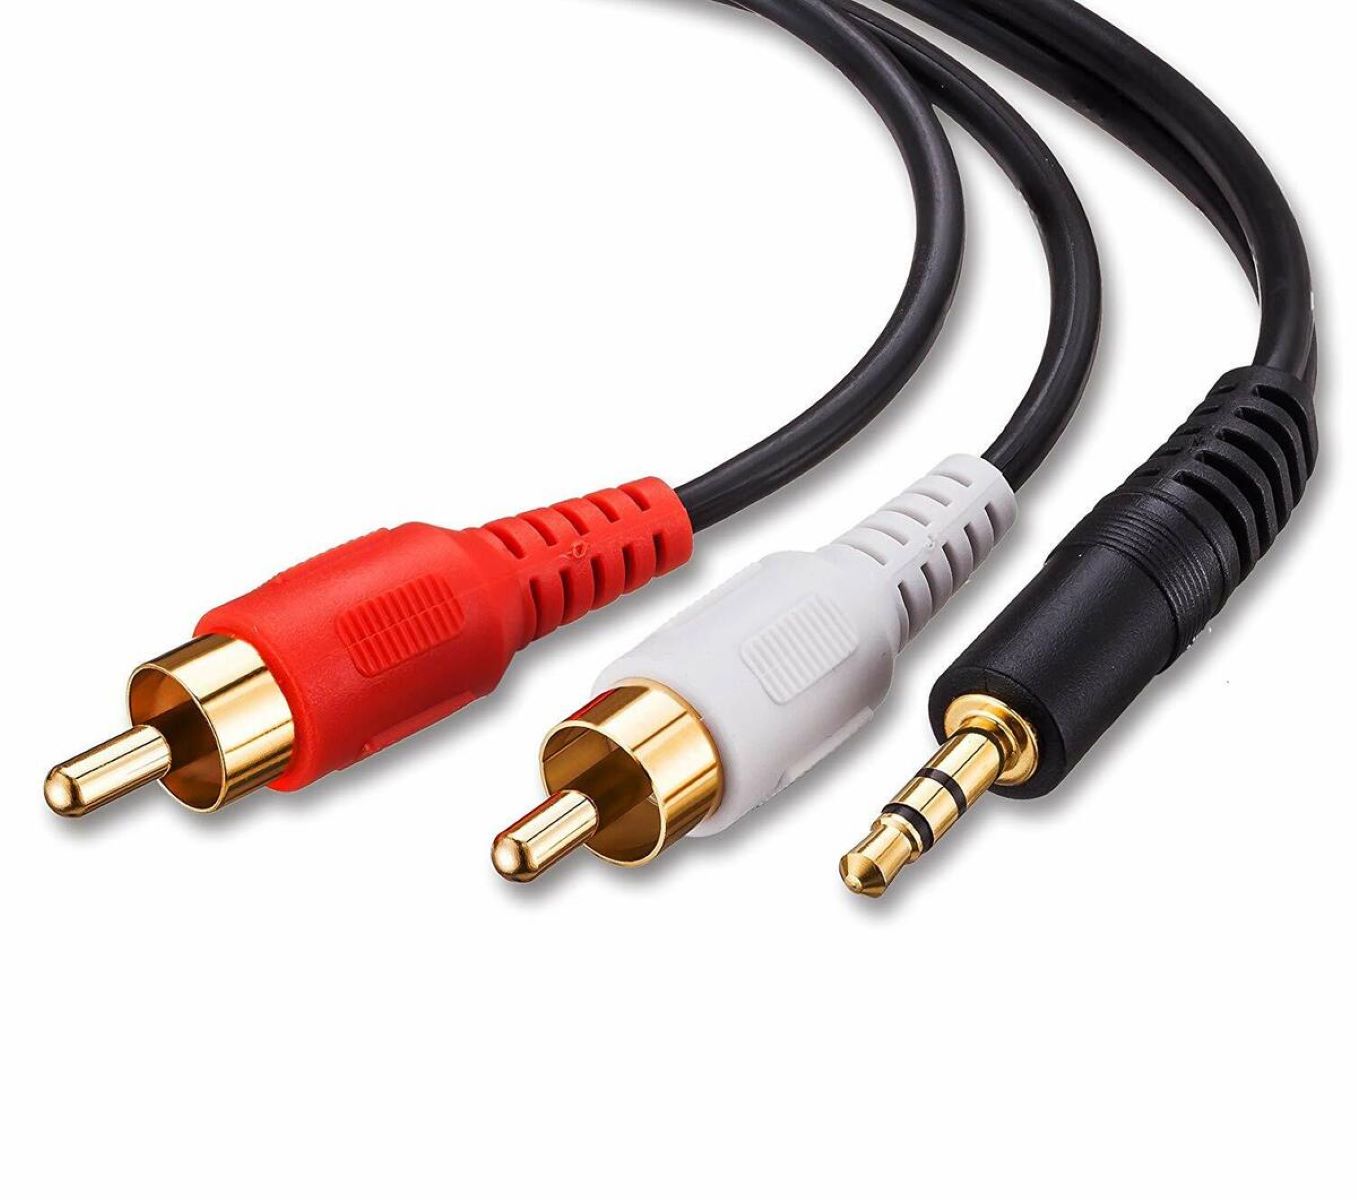
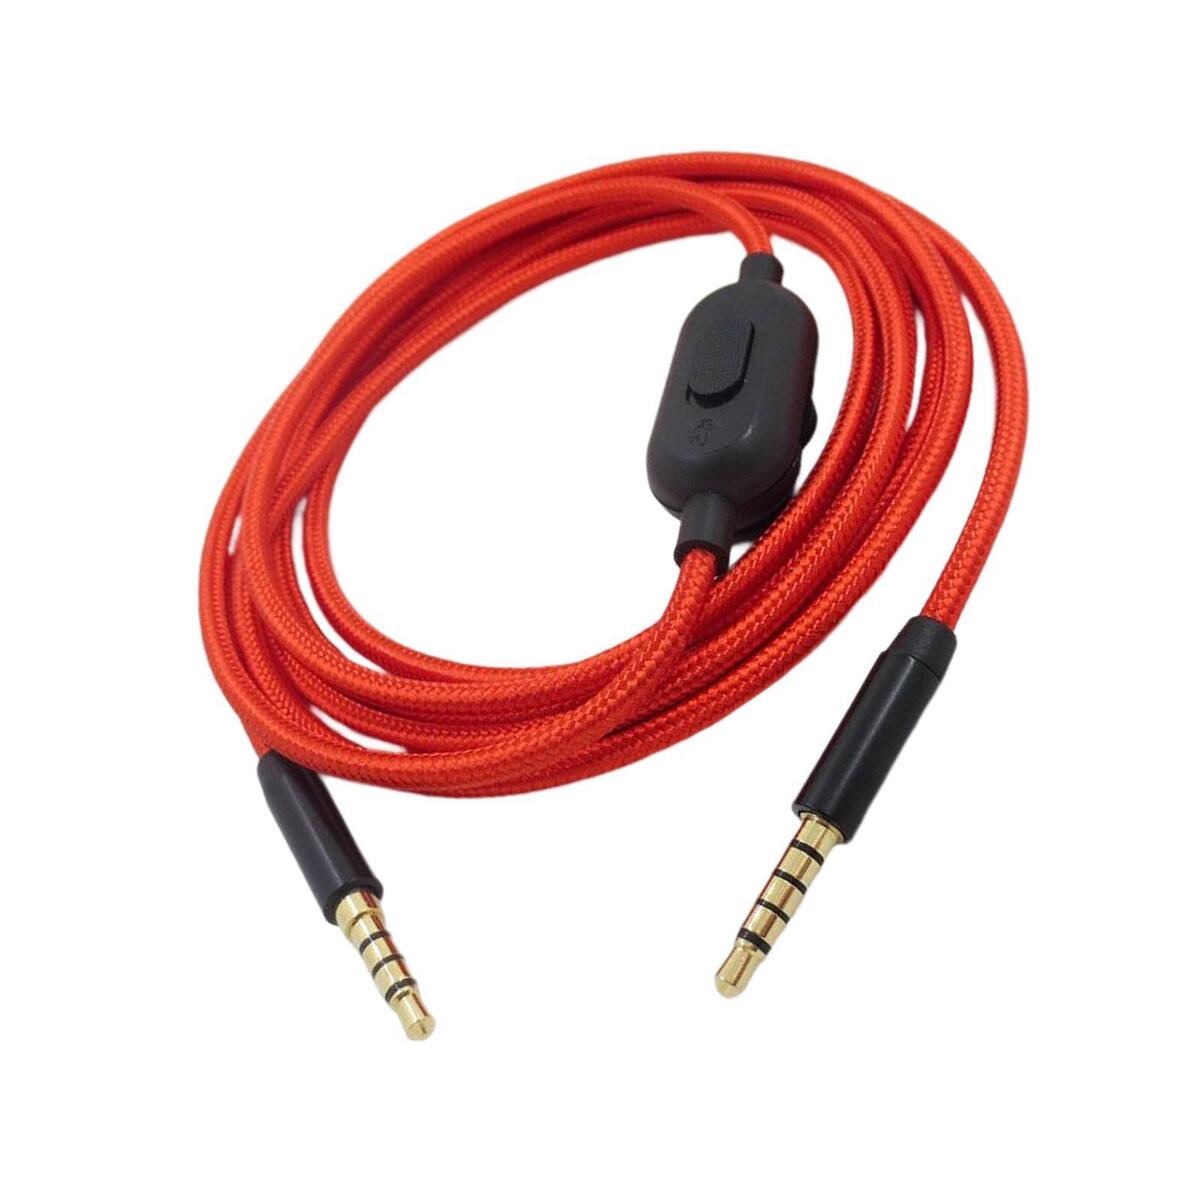
Audio cables are an essential component of any sound system, allowing us to enjoy high-quality sound from our favorite devices. One common type of audio cable is the 3.5mm audio cable, also known as an auxiliary or headphone cable.
Whether you need to repair a damaged audio cable or customize the length to better suit your needs, learning how to splice a 3.5mm audio cable can be a valuable skill. In this article, we will guide you through the process of splicing a 3.5mm audio cable step by step.
Before we dive into the details, it’s important to note that splicing an audio cable can require some technical skills and precision. If you are not confident in your ability to handle the task, it’s always best to consult with a professional or consider purchasing a new cable altogether.
That being said, if you’re up for the challenge and willing to give it a try, splicing a 3.5mm audio cable can be a rewarding experience. Not only can it save you money, but it also allows you to customize your cables to your exact specifications. So, let’s get started!
Tools and Materials Required
Before you begin splicing a 3.5mm audio cable, gather the following tools and materials:
- 3.5mm Audio Cable: This is the cable you will be splicing. Ensure that it is long enough for your needs and is in good condition.
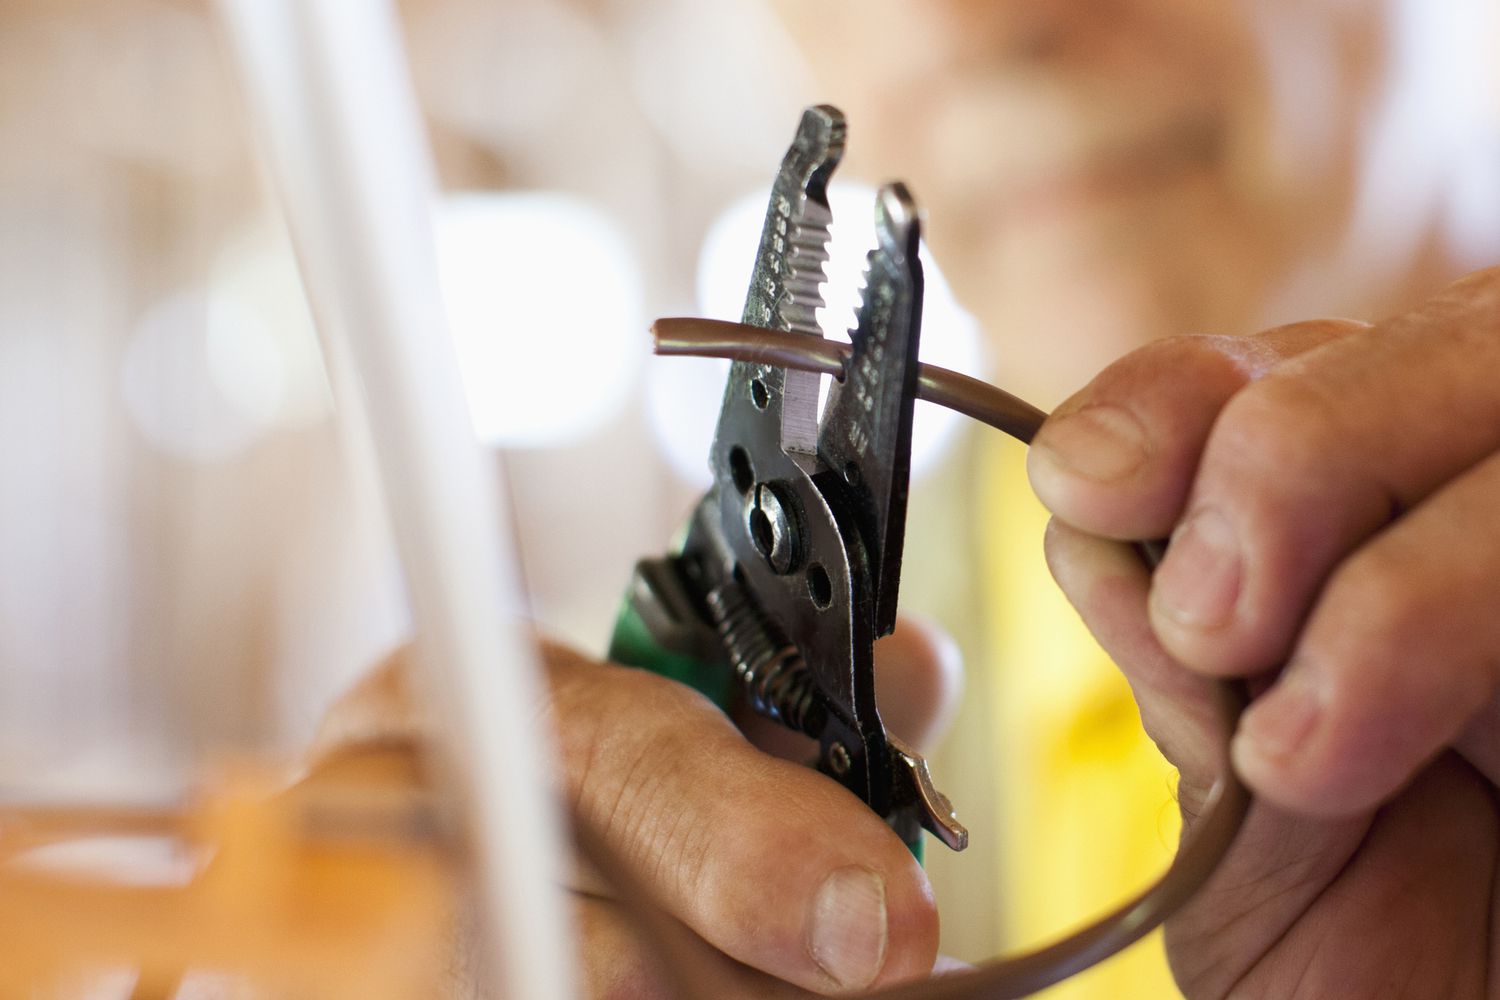
- Wire Strippers: These specialized tools allow you to strip the insulation from the cable’s wires without damaging them.
- Soldering Iron: A soldering iron will be used to make secure connections between the wires.
- Soldering Wire: High-quality soldering wire is necessary to create reliable and long-lasting connections.
- Heat Shrink Tubing: Heat shrink tubing acts as insulation for the spliced wires. It shrinks when heated, providing a tight seal.
- Heat Gun or Lighter: A heat gun or lighter is required to shrink the tubing and insulate the spliced wires.
- Electrical Tape: In case you don’t have heat shrink tubing, electrical tape can be used as an alternative for insulation.
- Wire Cutters: Wire cutters are used to trim excess wire and ensure clean and precise cuts.
- Multimeter (optional): A multimeter can be handy for testing the continuity and proper connections of the spliced wires.
Having these tools and materials ready before you begin the splicing process will make the task easier and more efficient. If you don’t have any of these items, you can find them at your local electronics or hardware store.
Step 1: Gather the Supplies
Before you start splicing the 3.5mm audio cable, it’s important to gather all the necessary supplies and make sure you have a clean, well-lit workspace. Here’s what you’ll need:
- 3.5mm Audio Cable: Choose a cable that matches your desired length and is in good condition.
- Wire Strippers: Use wire strippers designed for the gauge of the cable you’re working with. This will prevent any damage to the wires.
- Soldering Iron: Make sure your soldering iron is in good working condition and has a clean tip. This will ensure smooth and effective soldering.
- Soldering Wire: Select a high-quality soldering wire for strong and reliable connections.
- Heat Shrink Tubing: Heat shrink tubing will provide insulation and protection for the spliced wires.
- Heat Gun or Lighter: You’ll need a heat gun or lighter to shrink the tubing and create a secure seal.
- Wire Cutter: Use a wire cutter to trim the excess wire for a clean and professional look.
- Electrical Tape (optional): If you don’t have heat shrink tubing, you can use electrical tape as an alternative for insulation.
Once you have gathered all the necessary supplies, find a clean and well-lit workspace. A clutter-free area will make it easier to handle the cables and tools needed for the splicing process. Ensure you have enough space to work comfortably and safely.
It’s also a good idea to have a small container or tray to keep the screws, small components, and cut-off wire pieces. This will help you stay organized and prevent any parts from getting lost.
Now that you have all the supplies and a suitable workspace, you are ready to move on to the next step: preparing the cable for splicing.
Step 2: Prepare the Cable
Before you start splicing the 3.5mm audio cable, it’s important to properly prepare the cable for the splicing process. Follow these steps to prepare the cable:
- Inspect the Cable: Examine the cable for any signs of damage, such as cuts, fraying, or exposed wires. If you notice any damage, it’s recommended to replace the cable entirely to ensure optimal performance.
- Measure and Cut: Determine the desired length for your cable and use a wire cutter to trim it accordingly. Ensure that the cut is clean and straight.
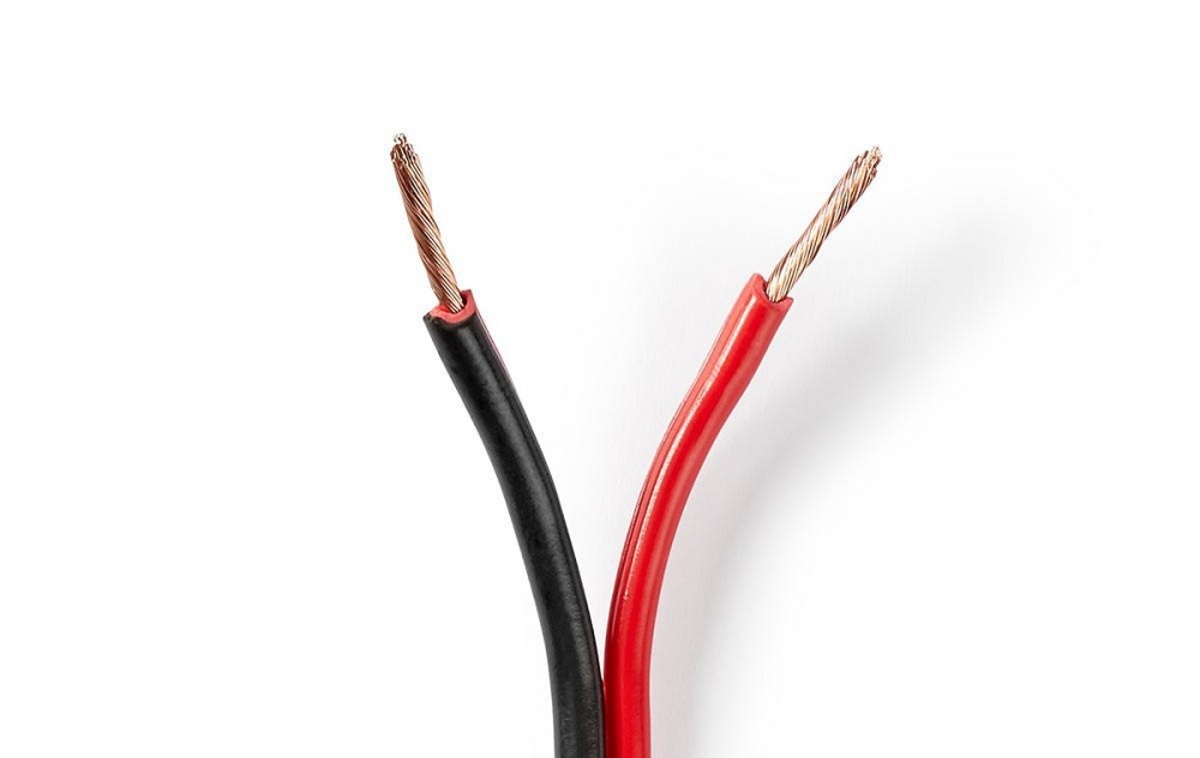
- Strip the Insulation: Use a wire stripper to carefully remove about 1 inch (2.5 cm) of the outer insulation from both ends of the cable. Be cautious not to damage the inner wires during this process.
- Separate the Wires: Once the insulation is stripped, you’ll find several smaller wires within the cable. Typically, there will be three wires: one for the left audio channel, one for the right audio channel, and one for the ground. Gently separate and arrange these wires, keeping them organized for the next step.
It’s crucial to handle the cable and its wires with care during the preparation process. Avoid pulling or tugging on the wires too forcefully, as this can result in damage or breakage. Take your time to ensure the insulation is adequately stripped and the wires are separate and untangled.
Once you’ve completed the cable preparation, you’re ready to move on to the next step: identifying and connecting the wires.
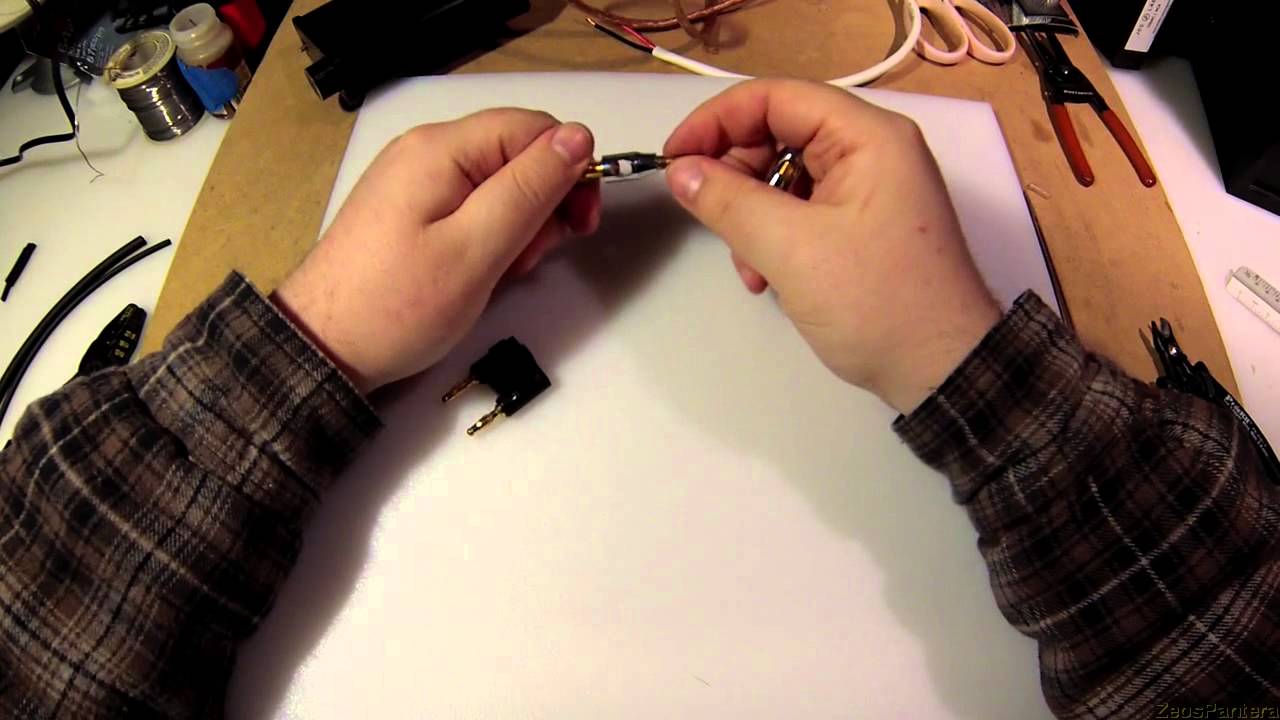
Step 3: Identify and Connect the Wires
Identifying and connecting the wires correctly is crucial for the successful splicing of a 3.5mm audio cable. Follow these steps to properly identify and connect the wires:
- Identify the Wires: The three wires you exposed during the cable preparation process typically include a red or blue wire for the right audio channel, a green or yellow wire for the left audio channel, and a copper or silver wire for the ground.
- Strip the Wires: Use a wire stripper to carefully remove about 1/4 inch (6 mm) of insulation from the ends of each wire. This will expose the metal conductor inside.
- Twist the Exposed Wire Ends: After stripping, twist the exposed wire ends gently to prevent fraying and make them easier to connect.
- Match the Colors: Match the colors of the wires on one end of the cable to the corresponding colors on the other end. For example, connect the red or blue wire from one end to the red or blue wire on the other end.
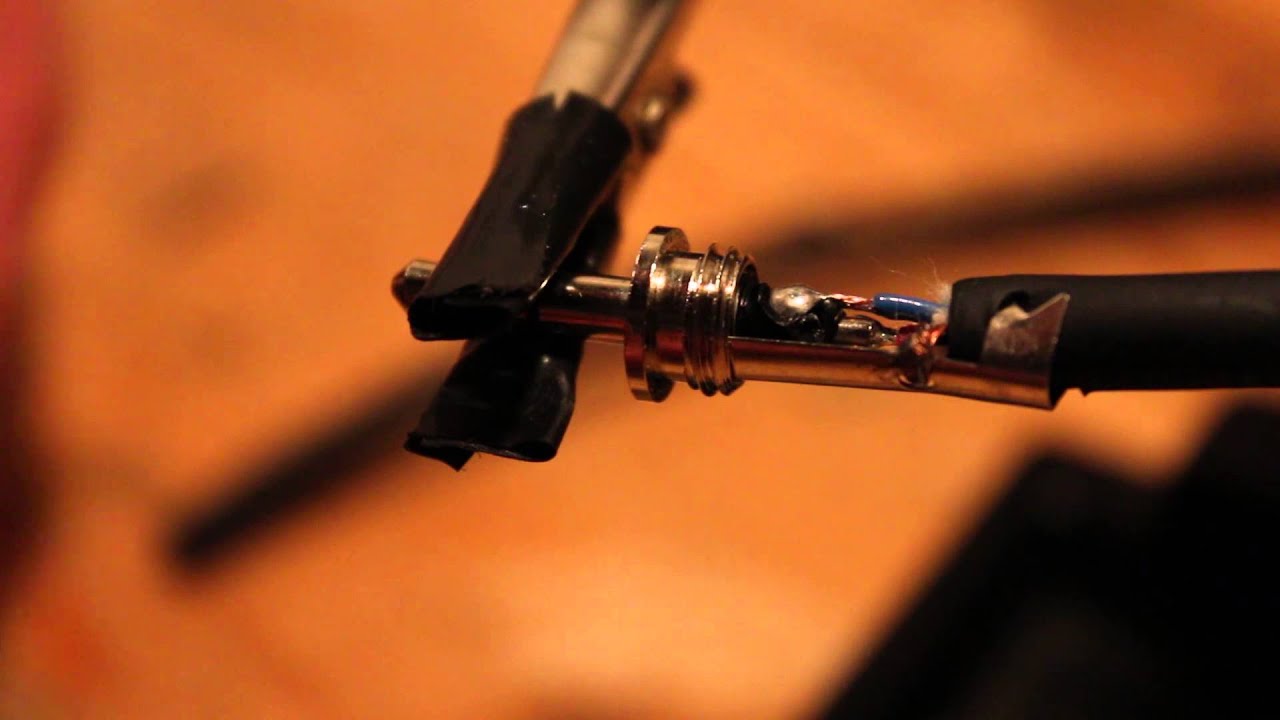
- Solder the Connections: Apply heat to the twisted wire ends using a soldering iron, then apply a small amount of solder to the connection. Ensure that the solder flows evenly and forms a secure bond between the wires.
It’s important to take your time when soldering the connections to ensure the wires are securely bonded. Avoid overheating the wires or applying excessive solder, as this can lead to poor connections or damage.
Once you have successfully connected the wires, it’s a good idea to use a multimeter to test the continuity of the connections. This step is optional but can help ensure that the connections are solid and properly established.
With the wires identified and properly connected, you’re ready to move on to the next step: insulating the connections.
Step 4: Insulate the Connections
After successfully connecting the wires, it’s crucial to insulate the connections to ensure electrical safety and prevent any short circuits. Follow these steps to properly insulate the connections on your spliced 3.5mm audio cable:
- Slide Heat Shrink Tubing: Select an appropriate size of heat shrink tubing and slide it over each individual connection. Make sure the tubing covers the soldered area and extends a bit beyond it.
- Apply Heat: Carefully heat the heat shrink tubing using a heat gun or a lighter. Move the heat source around the tubing evenly to shrink it. Take caution not to overheat the tubing, as it may melt or deform.
- Confirm Insulation: Check that the heat shrink tubing has completely shrunk and tightly sealed the connected wires. The tubing should appear smooth and even with no gaps or exposed wires.
If you don’t have access to heat shrink tubing, an alternative method is to use electrical tape to insulate the connections. Wrap the exposed connections with electrical tape, ensuring it covers the soldered area and provides a secure seal. Make sure to wrap the tape tightly, but not so tightly that it causes undue strain on the cables.
Insulating the connections is a critical step to protect the integrity of your audio signal and prevent any interference or short circuits. Failure to properly insulate the connections can result in poor audio quality or even damage to your audio equipment.
Once the connections are properly insulated, you can proceed to the next step: testing the spliced cable.
Step 5: Test the Spliced Cable
After completing the splicing process and insulating the connections, it’s essential to test the spliced cable to ensure it functions properly. Follow these steps to test your spliced 3.5mm audio cable:
- Connect the Cable: Plug one end of the spliced cable into the audio source (such as a smartphone or MP3 player) and the other end into a compatible audio output device (such as headphones or speakers).
- Play Audio: Start playing audio through the connected audio source and check if the sound is clear and distortion-free. Test both the left and right audio channels to ensure they are functioning correctly.
- Check for Interference: While playing audio, listen for any unwanted noise, crackling sounds, or interference. Pay attention to the background noise level and any inconsistencies in the audio quality.
- Wiggle Test: Gently wiggle the cable near the connection points and listen for any interruption or loss of audio. This test helps determine if the connections are secure and reliable.
If you notice any issues during the testing process, such as poor audio quality, interference, or a loose connection, carefully inspect the spliced area. Check for any loose wires, soldering defects, or insulation problems that may be causing the issue.
If you encounter problems with the spliced cable, it may require rework or professional assistance. However, if the spliced cable passes the testing phase with no issues, you can move on to the final step: securing the splice.
By thoroughly testing the spliced cable, you can ensure that it functions properly and meets your audio needs.
Step 6: Secure the Splice
Once you have tested the spliced cable and confirmed that it is functioning properly, it’s important to secure the splice to ensure long-term durability. Follow these steps to properly secure the splice on your 3.5mm audio cable:
- Slide Heat Shrink Tubing: If you haven’t already done so, slide a larger piece of heat shrink tubing over the entire spliced area, covering the individual heat shrink tubing on each connection as well.
- Apply Heat: Use a heat gun or a lighter to evenly heat the larger heat shrink tubing. Make sure to move the heat source around the tubing to shrink it evenly and create a tight seal.
- Confirm Secured Splice: Check that the larger heat shrink tubing has fully shrunk and tightly secured the entire spliced area. The tubing should be snug and completely enclose the connections.
Securing the splice with heat shrink tubing provides additional protection and stability to the spliced area. It helps prevent any strain or movement that can lead to loose connections or potential damage over time.
If you used electrical tape instead of heat shrink tubing for insulation, ensure that it is tightly wrapped around the spliced area. You can also add an additional layer of electrical tape to enhance the security of the splice.
By securing the splice, you can have peace of mind knowing that your 3.5mm audio cable is professionally spliced and will withstand regular use without any issues.
After securing the splice, take a moment to visually inspect the entire cable for any signs of damage or loose connections. If everything looks good, congratulations! You have successfully spliced your 3.5mm audio cable. Now you can enjoy your personalized cable and its improved functionality.
Conclusion
Splicing a 3.5mm audio cable can be a rewarding DIY project that allows you to repair damaged cables or customize the length to your needs. By following the step-by-step guide outlined in this article, you can successfully splice your own audio cables.
Throughout the process, it’s important to gather the necessary tools and materials, prepare the cable, identify and connect the wires correctly, insulate the connections, test the spliced cable, and finally secure the splice for long-term durability.
Remember, while splicing an audio cable is a viable option for certain situations, it does require careful attention to detail and precision. If you are unsure of your abilities or the cable is of high value, it’s best to consult a professional or consider purchasing a new cable.
With the proper skills and techniques, splicing a 3.5mm audio cable can save you money, provide customization options, and give you a sense of accomplishment. Whether you’re repairing a damaged cable or adapting it to your specific needs, understanding the splicing process is a valuable skill to have.
Always keep safety in mind during the splicing process. Use caution when handling tools, soldering irons, and heat sources. Take your time and ensure proper insulation and secure connections to maintain optimal audio performance.
Now that you have reached the end of this article, you have the knowledge and skills to confidently splice your 3.5mm audio cables. Armed with this understanding, you can enjoy high-quality sound from your favorite audio devices for years to come.