Home>Production & Technology>Audio Cable>How To Ground 3.5 Mm Audio Cable

Audio Cable
How To Ground 3.5 Mm Audio Cable
Modified: January 22, 2024
Learn how to ground your 3.5mm audio cable and ensure optimal audio performance. Find step-by-step instructions and tips for grounding an audio cable.
(Many of the links in this article redirect to a specific reviewed product. Your purchase of these products through affiliate links helps to generate commission for AudioLover.com, at no extra cost. Learn more)
Table of Contents
Introduction
Welcome to our comprehensive guide on how to ground a 3.5mm audio cable. Whether you’re an audio enthusiast, a musician, or simply someone who wants to enhance their audio listening experience, understanding how to properly ground an audio cable is essential. Grounding is the process of connecting the cable’s ground wire to prevent unwanted noise and interference in audio signals. This is particularly important for 3.5mm audio cables that are commonly used in devices like smartphones, laptops, and headphones.
Unwanted noise and interference can degrade the audio quality and disrupt the overall listening experience. By grounding the audio cable, you can help ensure a clean and uninterrupted audio signal, resulting in improved sound reproduction.
In this guide, we will walk you through the step-by-step process of grounding a 3.5mm audio cable. We will explain the concept of grounding, provide a list of tools and materials you’ll need, and outline each step in detail. Whether you’re a seasoned DIYer or a beginner, this guide is designed to be accessible and easy to follow. By the end of this guide, you’ll have the knowledge and skills to effectively ground your own 3.5mm audio cable.
It’s important to note that before attempting any modifications to your audio cable, you should ensure that you have a basic understanding of electrical work and safety precautions. If you are uncomfortable or unfamiliar with working on audio cables, it may be best to consult a professional for assistance.
Now, let’s dive into the world of grounding audio cables and discover how to achieve optimal audio quality!
Understanding Grounding in Audio Cables
Grounding plays a crucial role in maintaining the signal integrity and minimizing interference in audio cables. In simple terms, grounding refers to establishing a connection between the ground wire of the cable and a common reference point or ground. This helps to eliminate or minimize unwanted electrical noise and interference, such as humming, buzzing, or static, that can degrade the audio signal.
Audio cables, including 3.5mm cables, consist of multiple conductors that transmit audio signals. Along with the primary signal-carrying conductors, there is also a ground wire. The ground wire serves as a shield, protecting the audio signal from external interference and reducing the overall electrical noise in the system.
When an audio cable is not properly grounded, it becomes susceptible to picking up electromagnetic interference (EMI) from various sources, such as other cables, power sources, or electromagnetic fields. These disturbances can result in audible noise, distortions, and a diminished audio experience.
To ensure effective grounding, it is important to establish a solid connection between the ground wire of the cable and a suitable ground reference point. This could be a ground lug on an audio device or the ground terminal on an amplifier or audio interface. By connecting the ground wire to a common ground, any unwanted electrical noise or interference can be redirected away from the audio signal path, resulting in cleaner and clearer sound reproduction.
It’s worth noting that different audio devices and setups may have different grounding configurations. Some devices may have a dedicated ground connection, while others may rely on a shared ground or a floating ground. Understanding the specific grounding requirements of your audio equipment is crucial to ensure proper grounding of the 3.5mm audio cable.
In the next sections, we will provide you with the necessary tools and materials, as well as a step-by-step guide on how to ground a 3.5mm audio cable. By following these instructions, you will be able to eliminate unwanted noise and interference, resulting in an enhanced audio experience.
Tools and Materials Required
Before you begin grounding your 3.5mm audio cable, it’s important to gather all the necessary tools and materials. Having the right equipment will make the process smoother and ensure a successful grounding job. Here is a list of items you will need:
- Soldering Iron: A soldering iron is essential for attaching the ground wire to the audio cable. Make sure to use a soldering iron with a fine tip for precise soldering.
- Solder: High-quality solder is crucial for creating a solid and reliable connection between the ground wire and the audio cable.
- Wire Strippers: Wire strippers are necessary for removing the insulation from the cable, exposing the necessary wires for grounding.
- Heat Shrink Tubing: Heat shrink tubing is used to insulate and protect the soldered connections. Make sure to choose the appropriate size for your cable.
- Electrical Tape: Electrical tape can be used as an alternative to heat shrink tubing for insulating the soldered connections.
- Heat Gun or Lighter: A heat gun or a lighter is required to shrink the heat shrink tubing and provide a secure seal.
- Wire Cutters: Wire cutters are essential for cutting and trimming the ground wire and excess heat shrink tubing.
- Multi-Meter: A multi-meter is not strictly necessary, but it can be helpful for testing the continuity and resistance of the grounded cable.
Additionally, you will need the following materials:
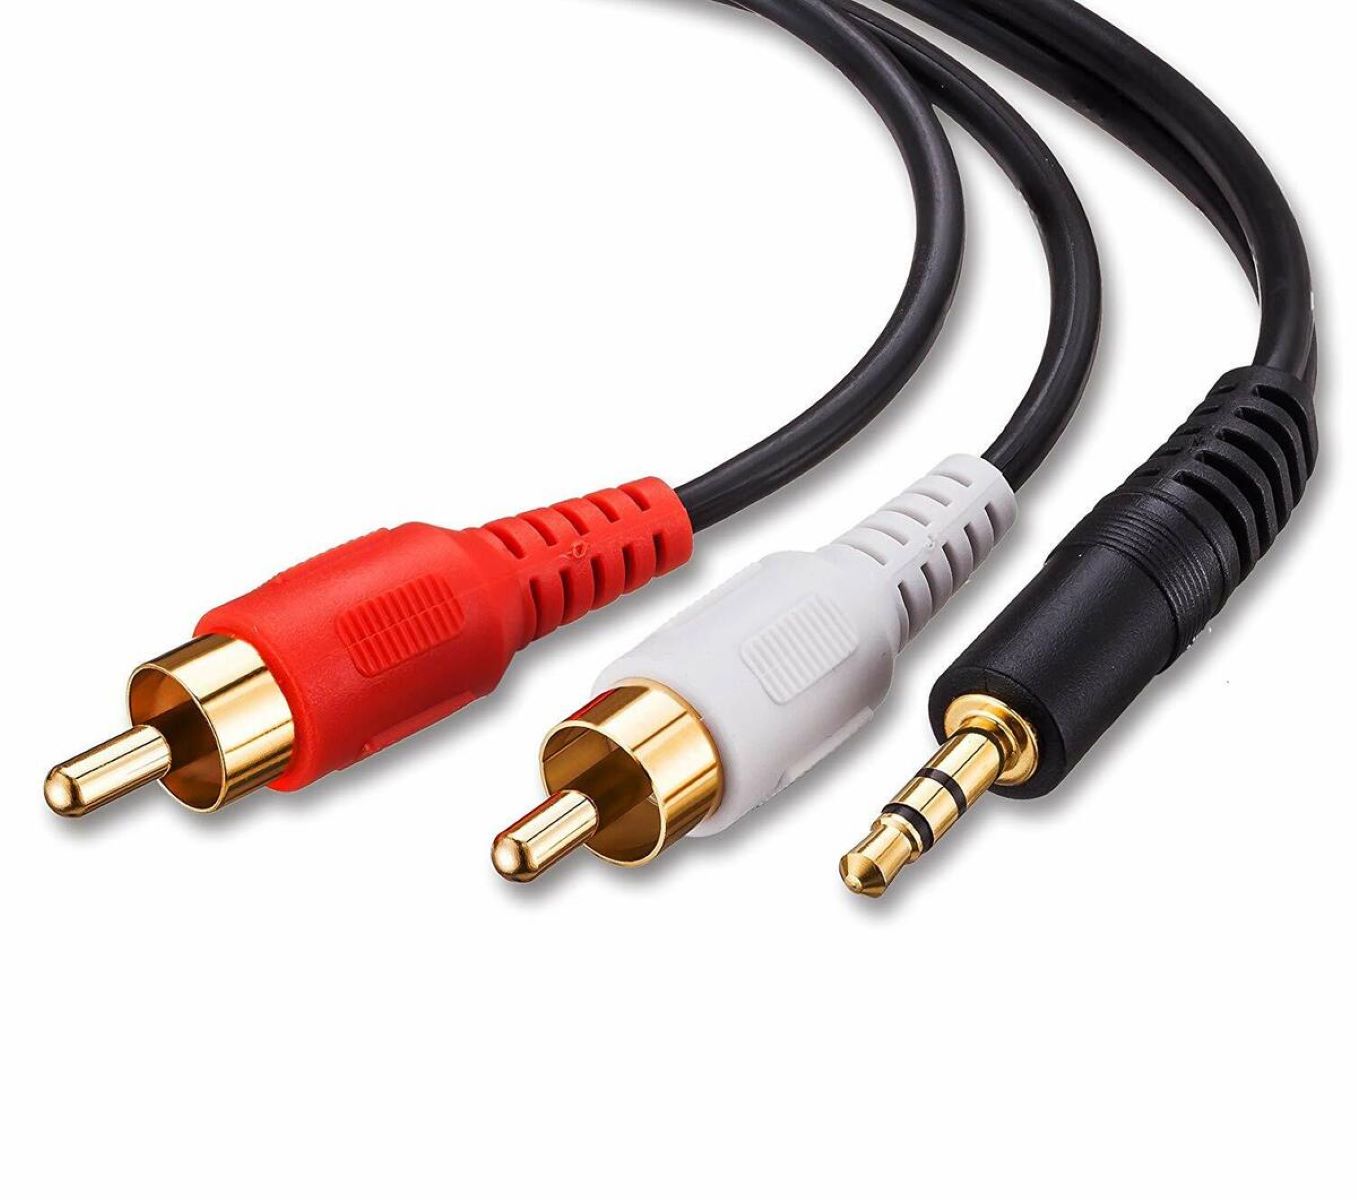
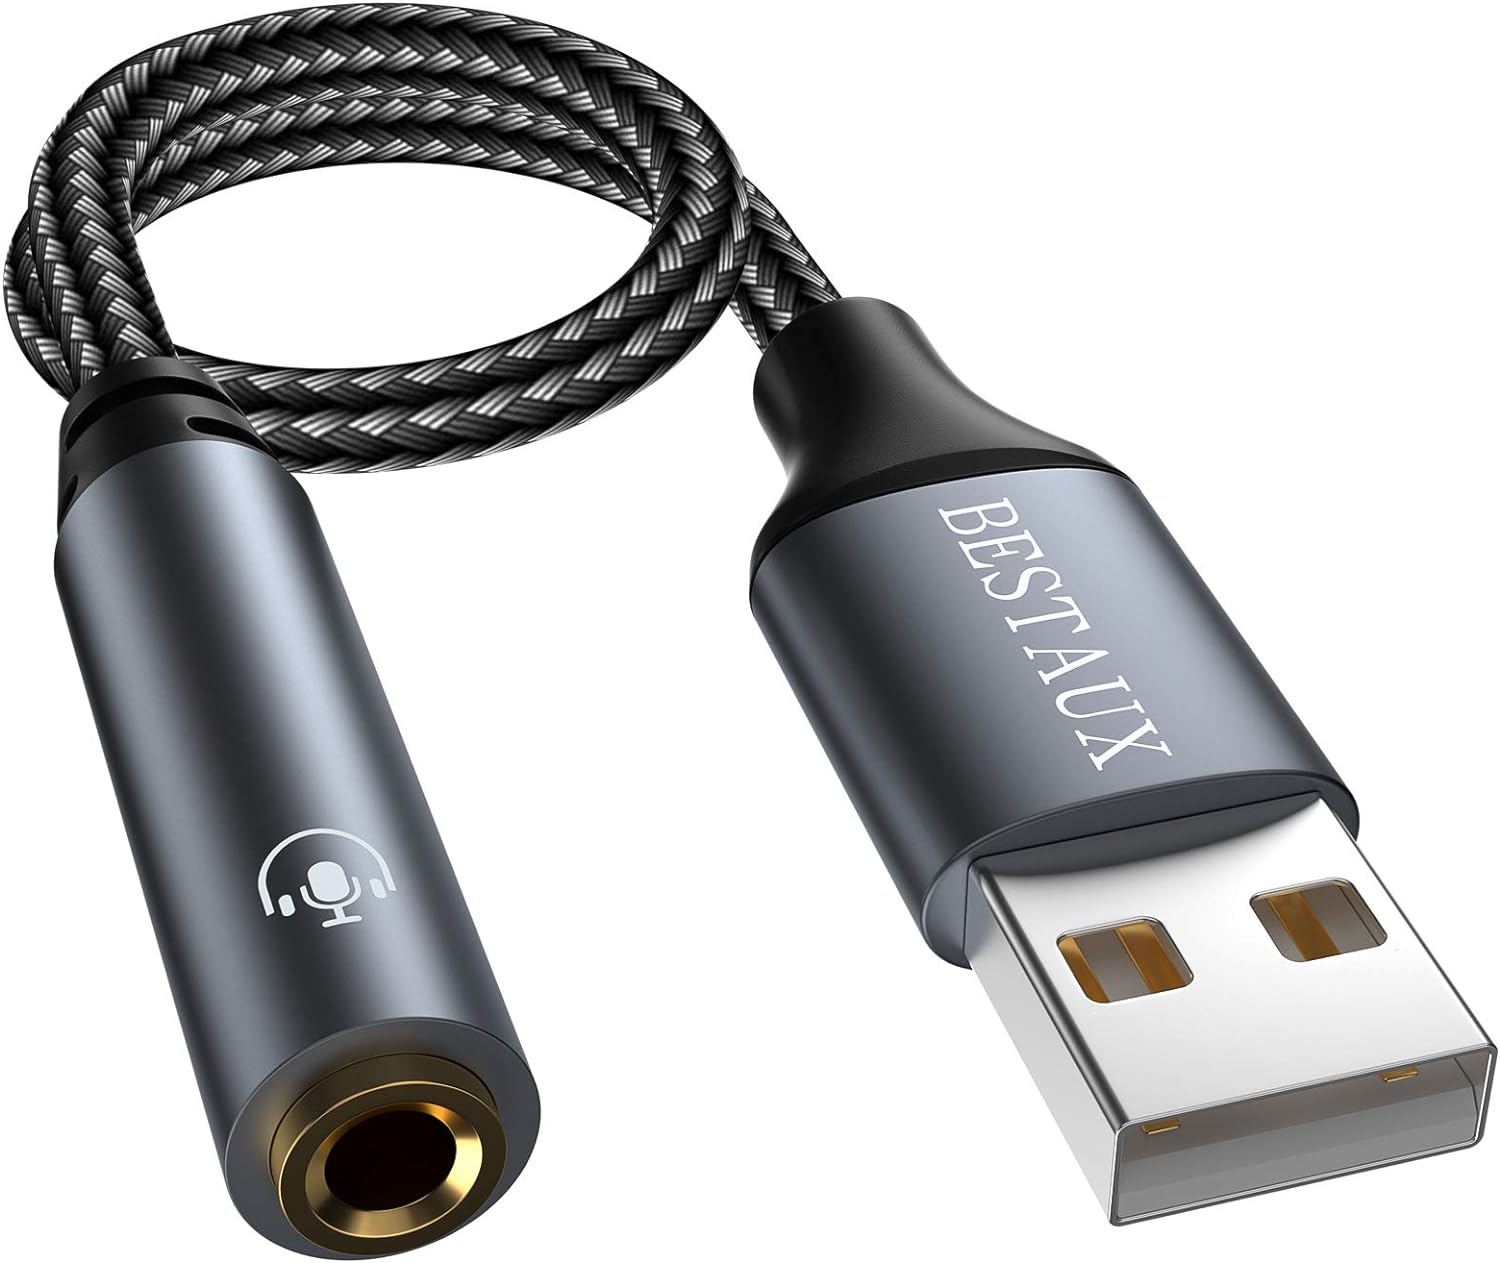
- 3.5mm Audio Cable: Choose a high-quality 3.5mm audio cable that suits your needs. It’s best to use a cable with a dedicated ground wire.
- Heat Shrink Tubing: As mentioned earlier, heat shrink tubing is essential for insulating and protecting the soldered connections.
- Electrical Tape: If you prefer to use electrical tape instead of heat shrink tubing, make sure to have it on hand.
- Flux: Flux can be used to improve soldering quality and ensure a reliable connection between the ground wire and the audio cable.
With these tools and materials at your disposal, you’ll be well-equipped to tackle the grounding process for your 3.5mm audio cable. In the next section, we will guide you through the step-by-step process of grounding the cable.
Step 1: Check Cable Connections
Before you can start grounding your 3.5mm audio cable, it’s important to ensure that the cable is in good condition and that all the connections are secure. Follow these steps to check the cable connections:
- Inspect the cable for any visible signs of damage, such as cuts, frayed wires, or loose connectors. If you notice any damage, it’s best to replace the cable to ensure optimal audio quality.
- Ensure that the connectors at both ends of the cable are clean and free of dirt, dust, or corrosion. If needed, gently clean the connectors using a soft cloth or compressed air.
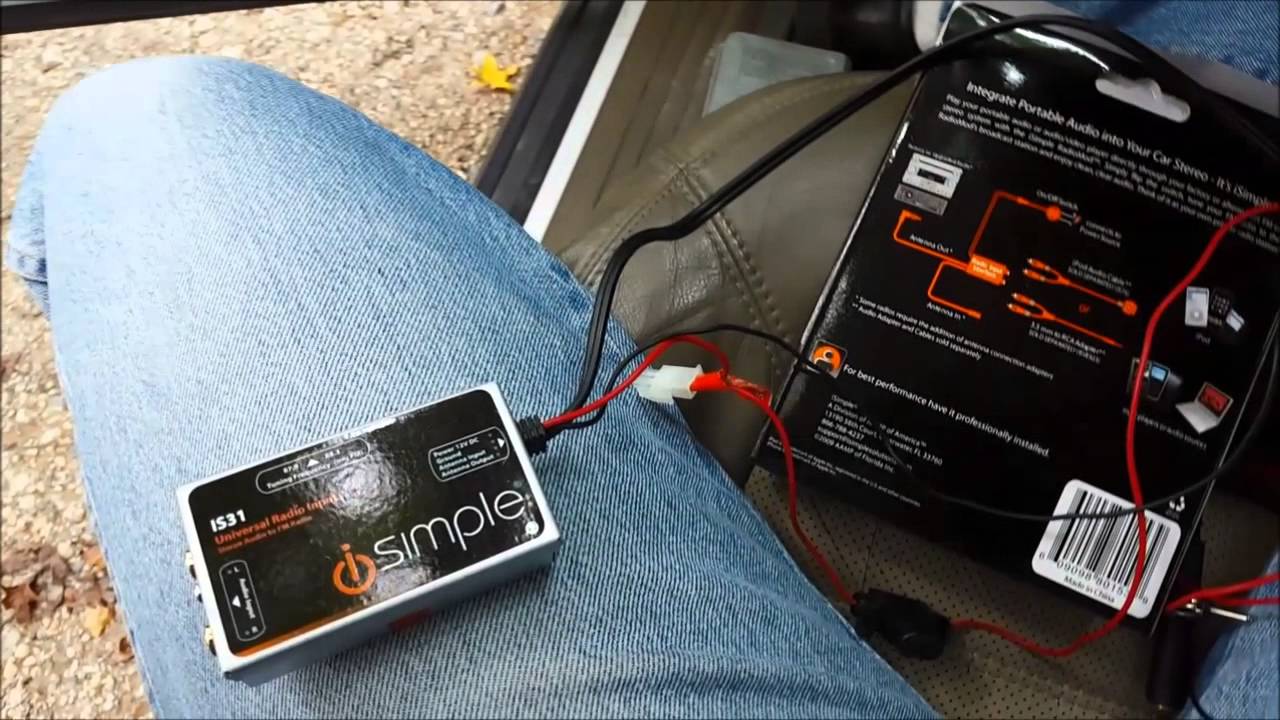
- Plug the 3.5mm connector into the audio source device, such as a smartphone or audio player, and the other end into the output device, such as headphones or speakers.
- Check for a secure and snug fit of the connectors. Make sure they are fully inserted, and there is no wobbling or looseness.
- Test the audio connection by playing some audio through the cable. Listen for any distortions, crackling sounds, or intermittent disruptions. If you encounter any issues, double-check the cable connections and try a different audio source or output device to rule out any specific device-related problems.
By thoroughly checking the cable connections, you can ensure that the grounding process will be effective. Properly functioning and secure cable connections are essential for achieving optimal audio quality.
Once you have confirmed that the cable connections are in good condition, you’re ready to move on to the next step: identifying the ground wire. This step will help you locate the specific wire that needs to be grounded for effective noise reduction and interference elimination. Keep reading to learn more!
Step 2: Identify the Ground Wire
In order to properly ground your 3.5mm audio cable, it’s crucial to identify the ground wire. The ground wire is responsible for carrying unwanted electrical noise and interference away from the audio signal, ensuring a clean and clear sound reproduction. Here’s how you can identify the ground wire:
- If your audio cable has a metal housing or shielding, it is likely that the ground wire is connected to it. Look for any wires that are attached or soldered to the metal housing.
- If your audio cable has a visible shield wire, it is also an indication of the ground wire. Shield wires are often braided or have a foil-like appearance and are used to protect the inner conductors from external interference.
- Refer to the manufacturer’s specifications or documentation for your audio cable. They may provide information on the wiring configuration and the location of the ground wire.
- If you are unable to visually identify the ground wire, you can use a multimeter set to measure continuity or resistance. Attach one probe of the multimeter to the metal housing or shielding of the cable and touch the other probe to each wire in the cable. The wire that shows continuity or low resistance with the housing is likely the ground wire.
Once you have identified the ground wire, it’s important to mark it or make a note of its position. This will ensure that you can easily distinguish it from the other wires during the grounding process. Properly identifying the ground wire is a crucial step in achieving effective grounding and minimizing unwanted noise and interference.
With the ground wire now identified, you’re ready to proceed to the next step: preparing the cable for grounding. We will guide you through the necessary preparations to ensure a successful grounding job. Keep reading!
Step 3: Prepare the Cable
Preparing the cable is an important step in the grounding process as it ensures a clean and secure connection between the ground wire and the audio cable. Follow these steps to prepare the cable for grounding:
- Using wire strippers, carefully strip away a small section of the outer insulation from the end of the cable. Be cautious not to damage the inner wires.
- Once the outer insulation is stripped, you will see a group of individual wires inside. Identify the ground wire that you previously marked or identified in Step 2.
- Using the wire strippers again, strip a small section of the insulation from the end of the ground wire. This will expose a small section of bare wire for soldering.
- Inspect the other wires in the cable to ensure that their insulation is intact and not damaged. If any of the inner wires are damaged or frayed, it’s best to trim them and strip a fresh portion of insulation.
- To prevent the inner wires from touching each other or getting tangled during the grounding process, consider using some electrical tape or heat shrink tubing to isolate and separate the wires. This will make the soldering process easier and prevent any accidental short circuits.
By properly preparing the cable, you ensure that the individual wires are in optimal condition for soldering and that the ground wire is easily accessible. Taking the time to prepare the cable will result in a cleaner and more reliable grounding connection.
With the cable now prepared, you’re ready to move on to the next step: soldering the ground wire. We will guide you through the soldering process to create a secure and effective grounding connection. Keep reading!
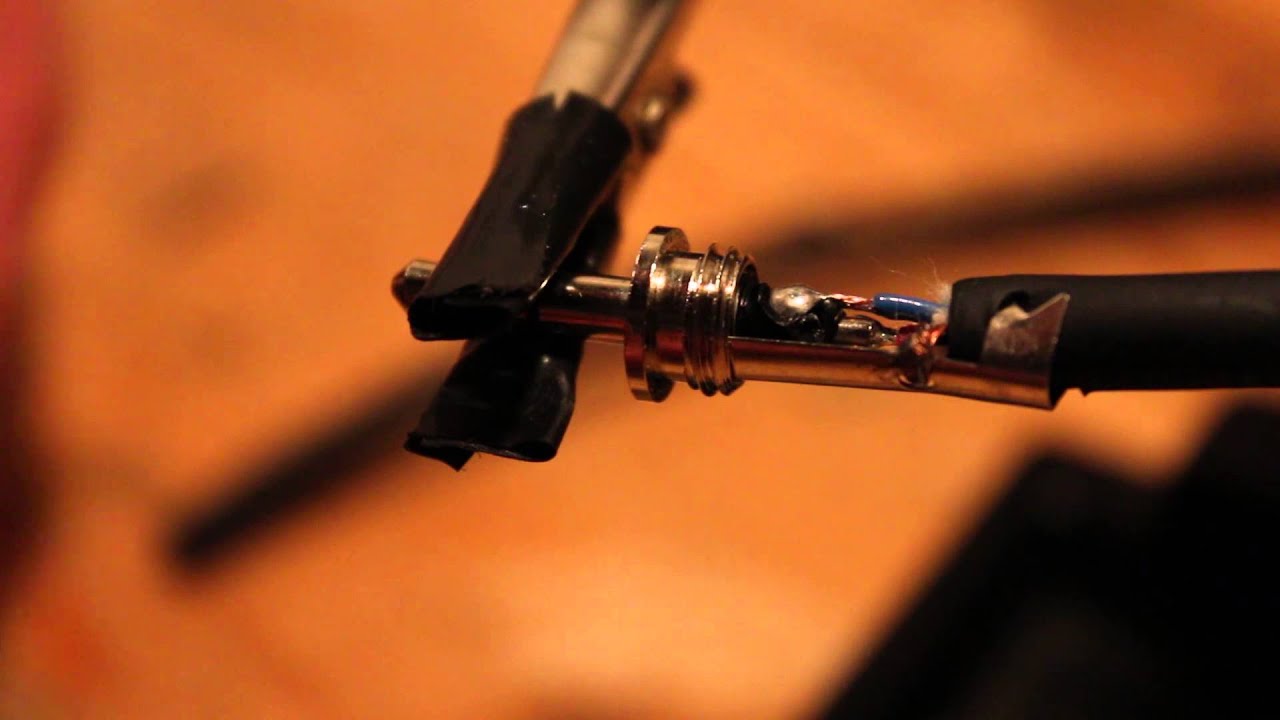
Step 4: Solder the Ground Wire
Soldering the ground wire is a critical step in establishing a solid and reliable connection between the ground wire and the audio cable. Follow these steps to properly solder the ground wire:
- Start by heating up your soldering iron and allowing it to reach the appropriate temperature. Refer to the manufacturer’s instructions for the recommended temperature for soldering audio cables.
- Once the soldering iron is heated, gently hold the exposed section of the ground wire against the corresponding contact point on the cable. The contact point can be a metal housing or a designated ground connection on the cable.
- With the ground wire and contact point in place, apply some solder to the tip of the soldering iron to ensure good heat transfer. The solder should flow freely and form a smooth, shiny connection.
- Carefully touch the soldering iron to the contact point and the ground wire simultaneously. The heat from the soldering iron will melt the solder, creating a secure bond between the wire and the contact point. It’s important to ensure that the soldering iron maintains contact for a few seconds to allow the solder to properly flow and create a strong joint.
- Once the solder has cooled and solidified, inspect the solder joint for any cold solder joints or excess solder. A good solder joint should have a smooth and shiny appearance. If needed, you can use a small wire cutter or a pair of pliers to trim any excess solder or wires.
- For added protection and insulation, slide a small piece of heat shrink tubing over the soldered connection. Use a heat gun or a lighter to heat the tubing and make it shrink tightly around the joint. If you prefer, you can also use electrical tape to wrap around the soldered connection, ensuring a secure and insulated connection.
By following these steps and properly soldering the ground wire, you establish a reliable grounding connection for your 3.5mm audio cable. This connection will help eliminate unwanted noise and interference, resulting in improved audio quality.
With the ground wire now securely soldered, it’s time to move on to the final step: testing the grounding. We will guide you through the testing process to ensure that the grounding is effective. Keep reading!
Step 5: Test the Grounding
After grounding your 3.5mm audio cable, it is essential to test the grounding to ensure its effectiveness in reducing noise and interference. Follow these steps to properly test the grounding:
- Plug one end of the grounded 3.5mm audio cable into an audio source device, such as a smartphone or computer.
- Connect the other end of the cable to an output device, such as headphones or speakers.
- Play audio through the cable and listen carefully for any unwanted noise, buzzing, or interference. Pay attention to the clarity and overall sound quality.
- While the audio is playing, touch the metal housing of the audio cable, which is connected to the ground wire. If the grounding is effective, you should notice a reduction in noise or interference when you make contact with the ground connection. The audio should sound cleaner and clearer.
- If you find that the grounding is not effective or there is still noticeable noise and interference, double-check the soldered connection for any cold joints or loose wires. Ensure that the ground wire is securely connected to the designated ground point.
- If necessary, re-solder the ground connection, taking care to clean the previous solder and re-establish a solid connection. Re-test the grounding after making any adjustments.
Testing the grounding ensures that it is functioning as intended and effectively eliminating unwanted noise and interference. If you are still experiencing issues with noise or interference, it may be necessary to consult a professional audio technician to help diagnose and troubleshoot the problem.
Once you have confirmed that the grounding is successful and the audio is clean and clear, you can enjoy an enhanced audio experience with your properly grounded 3.5mm audio cable.
Congratulations! You have successfully followed the steps to ground your 3.5mm audio cable. By grounding the cable, you have eliminated unwanted noise and interference, resulting in improved audio quality. Enjoy the crisp and clear sound!
Conclusion
Grounding a 3.5mm audio cable is a crucial step in ensuring optimal audio quality and minimizing unwanted noise and interference. By following the step-by-step instructions in this guide, you have learned how to effectively ground your audio cable and achieve a clean and clear sound reproduction.
Understanding the concept of grounding and identifying the ground wire were important initial steps. By properly preparing the cable and soldering the ground wire, you have established a strong connection that redirects unwanted electrical noise away from the audio signal.
Testing the grounding was the final step, allowing you to verify its effectiveness. If the audio sounded cleaner and clearer after making the grounding connection, you can be confident that the grounding process was successful.
Remember, it’s essential to use high-quality tools and materials to ensure a reliable and long-lasting grounding connection. If you encounter any difficulties or issues during the grounding process, consider seeking assistance from a professional audio technician.
Now that you have successfully grounded your 3.5mm audio cable, you can enjoy an enhanced audio experience with reduced noise and interference. Whether you’re using the cable for personal listening, professional studio work, or live performances, proper grounding is key to achieving the best audio quality possible.
We hope this comprehensive guide has been informative and helpful. Happy grounding and enjoy your improved audio experience!