Home>Production & Technology>Audio Cable>How To Get A 3.5 Mm Audio Cable To Work Thorugh Digital Optical Cable In A TV
Audio Cable
How To Get A 3.5 Mm Audio Cable To Work Thorugh Digital Optical Cable In A TV
Modified: January 22, 2024
Learn how to connect your TV to an audio device using a 3.5 mm audio cable. Get step-by-step instructions to make it work with a digital optical cable.
(Many of the links in this article redirect to a specific reviewed product. Your purchase of these products through affiliate links helps to generate commission for AudioLover.com, at no extra cost. Learn more)
Table of Contents
Introduction
Welcome to the world of audio cables! Whether you’re an avid music lover, a gamer, or a movie enthusiast, having the right audio setup is essential for the ultimate immersive experience. When it comes to connecting your devices, there are various types of cables available, each serving a specific purpose.
In this article, we’ll dive into the world of 3.5mm audio cables and digital optical cables, two popular options for transmitting audio signals. We’ll explore how to connect a 3.5mm audio cable to a TV through a digital optical cable, and troubleshoot common issues along the way.
Before we delve into the nitty-gritty details, let’s understand the fundamental differences between these two cable types. A 3.5mm audio cable, also known as a mini-jack or AUX cable, is a versatile analog cable commonly used to connect audio devices such as smartphones, tablets, laptops, and headphones. On the other hand, a digital optical cable, also known as a TOSLINK cable or SPDIF cable, is a high-quality fiber-optic cable designed to transmit digital audio signals.
Why would you want to connect a 3.5mm audio cable to a TV through a digital optical cable? Well, some TVs may not have a dedicated 3.5mm audio output, or you may prefer the superior audio quality offered by a digital optical connection. Luckily, with the right adapters, it’s possible to bridge the gap and enjoy your favorite audio content in stunning detail.
Now that we have a basic understanding of the different cable types and their purpose, let’s move on to the next section and explore how to determine if your TV is compatible with a digital optical cable.
Understanding the Difference between 3.5mm Audio and Digital Optical Cables
Before we dive into the steps of connecting a 3.5mm audio cable to a TV through a digital optical cable, it’s essential to understand the differences between these two cable types.
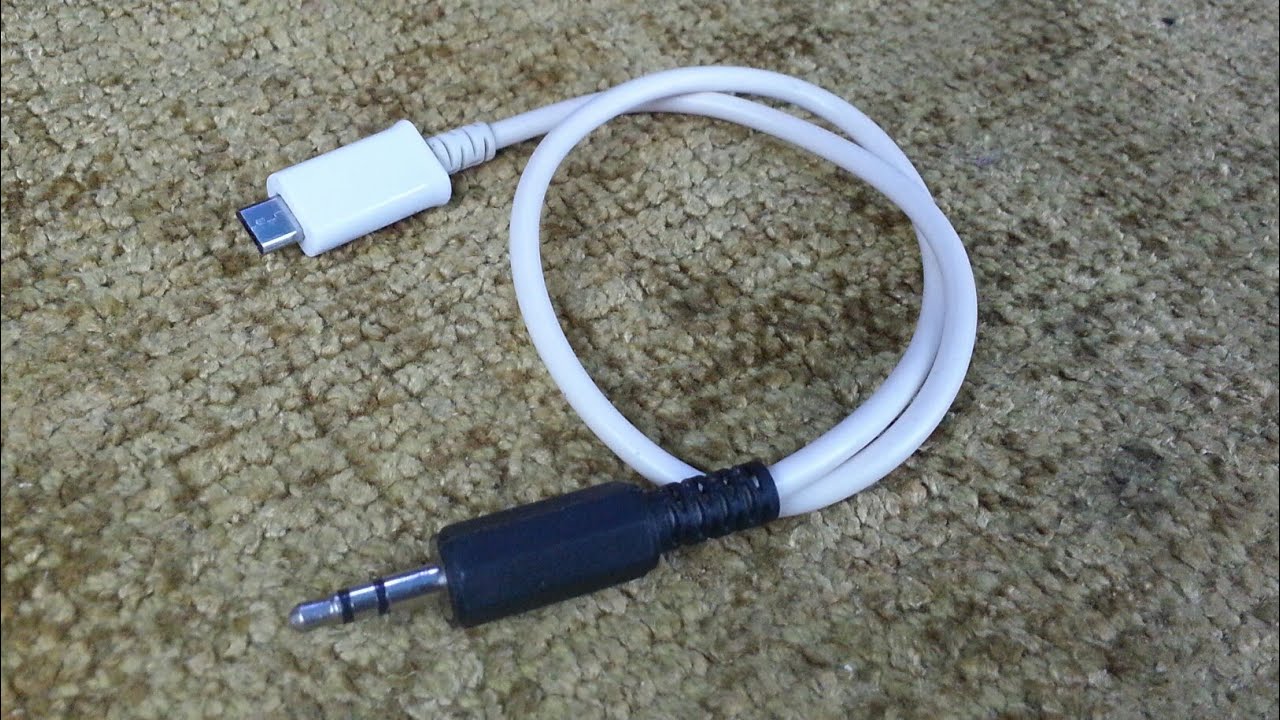
The 3.5mm audio cable, often referred to as a mini-jack or AUX cable, is a widely used analog cable for transmitting audio signals. It features a small 3.5mm jack connector on both ends, which can be plugged into devices like smartphones, tablets, laptops, and headphones. The cable carries an analog signal, which means it transmits sound waves in a continuous electrical waveform. While 3.5mm audio cables are convenient and offer universal compatibility, they are not designed for high-fidelity audio transmission.
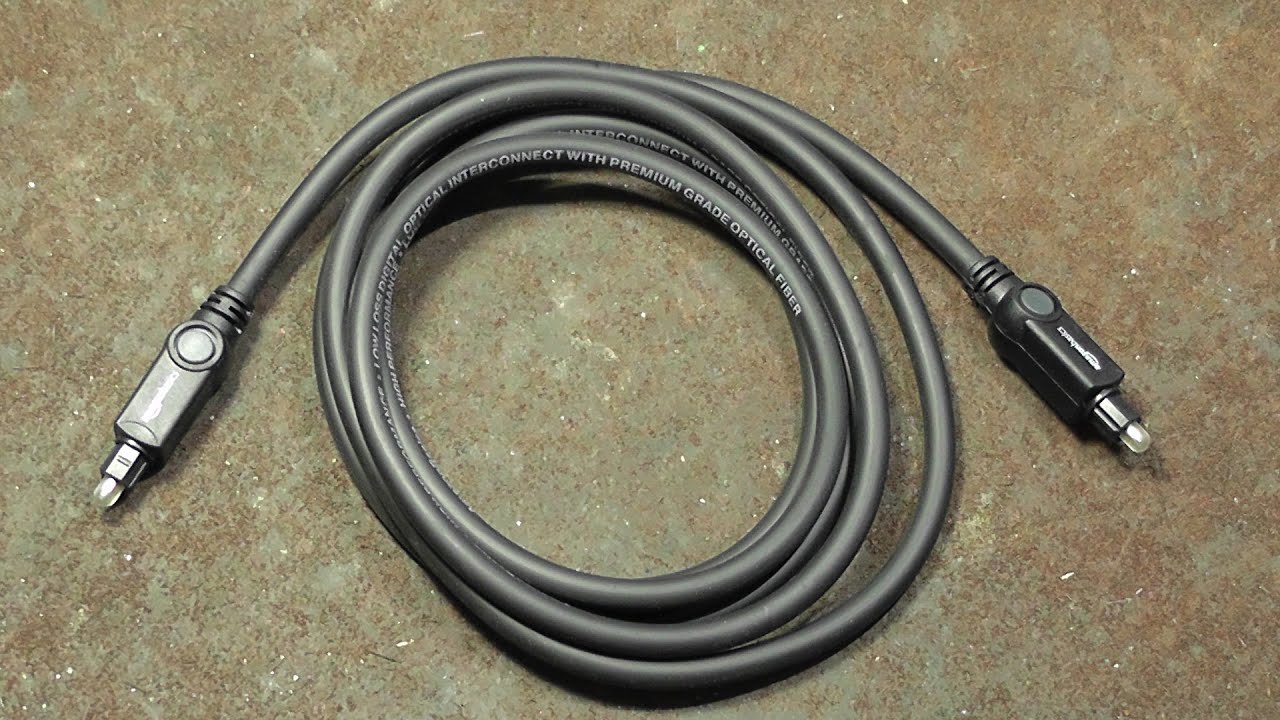
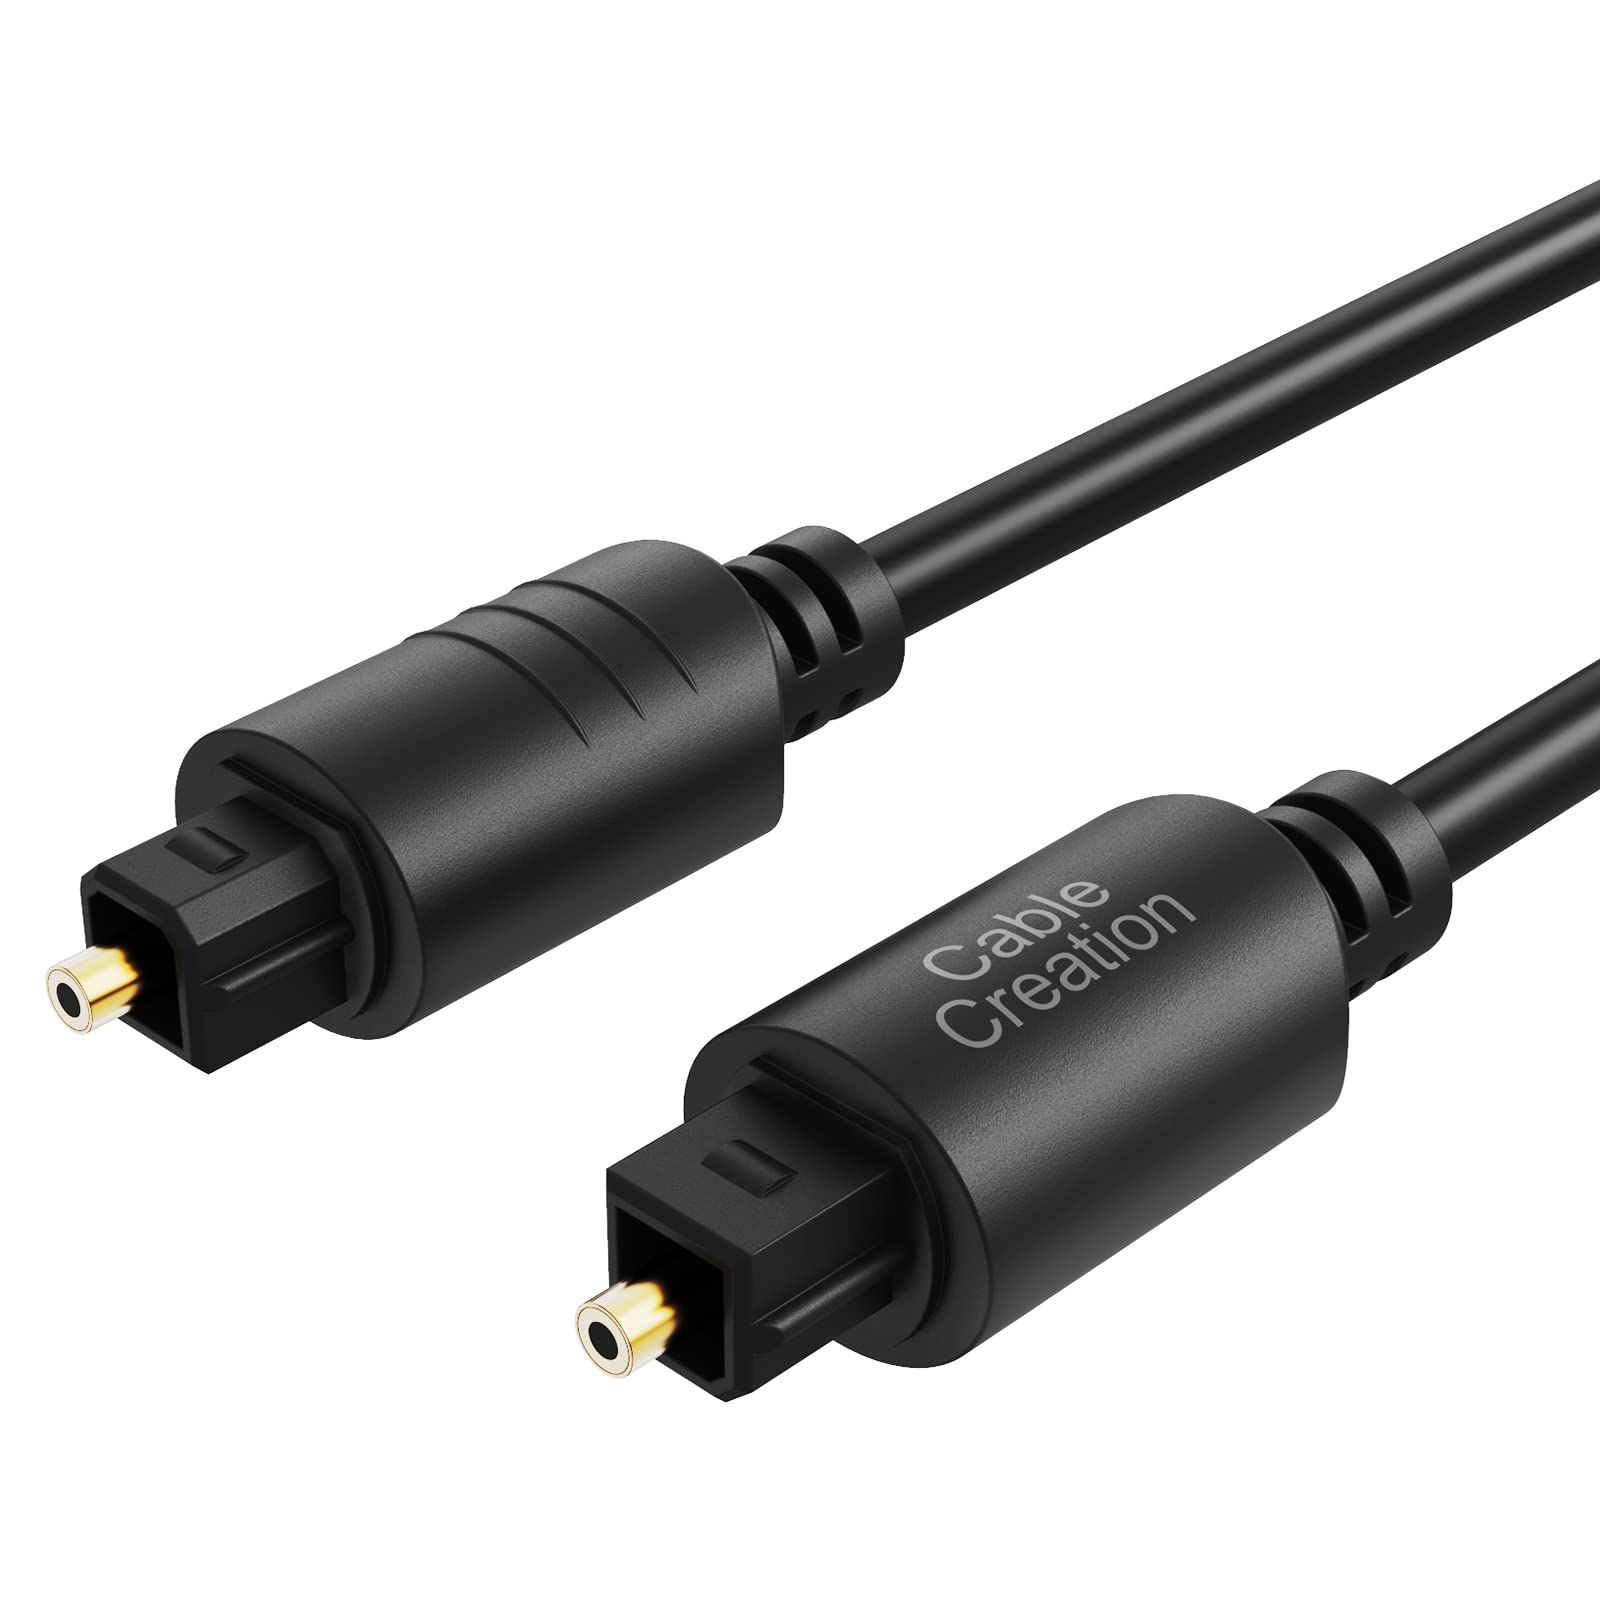
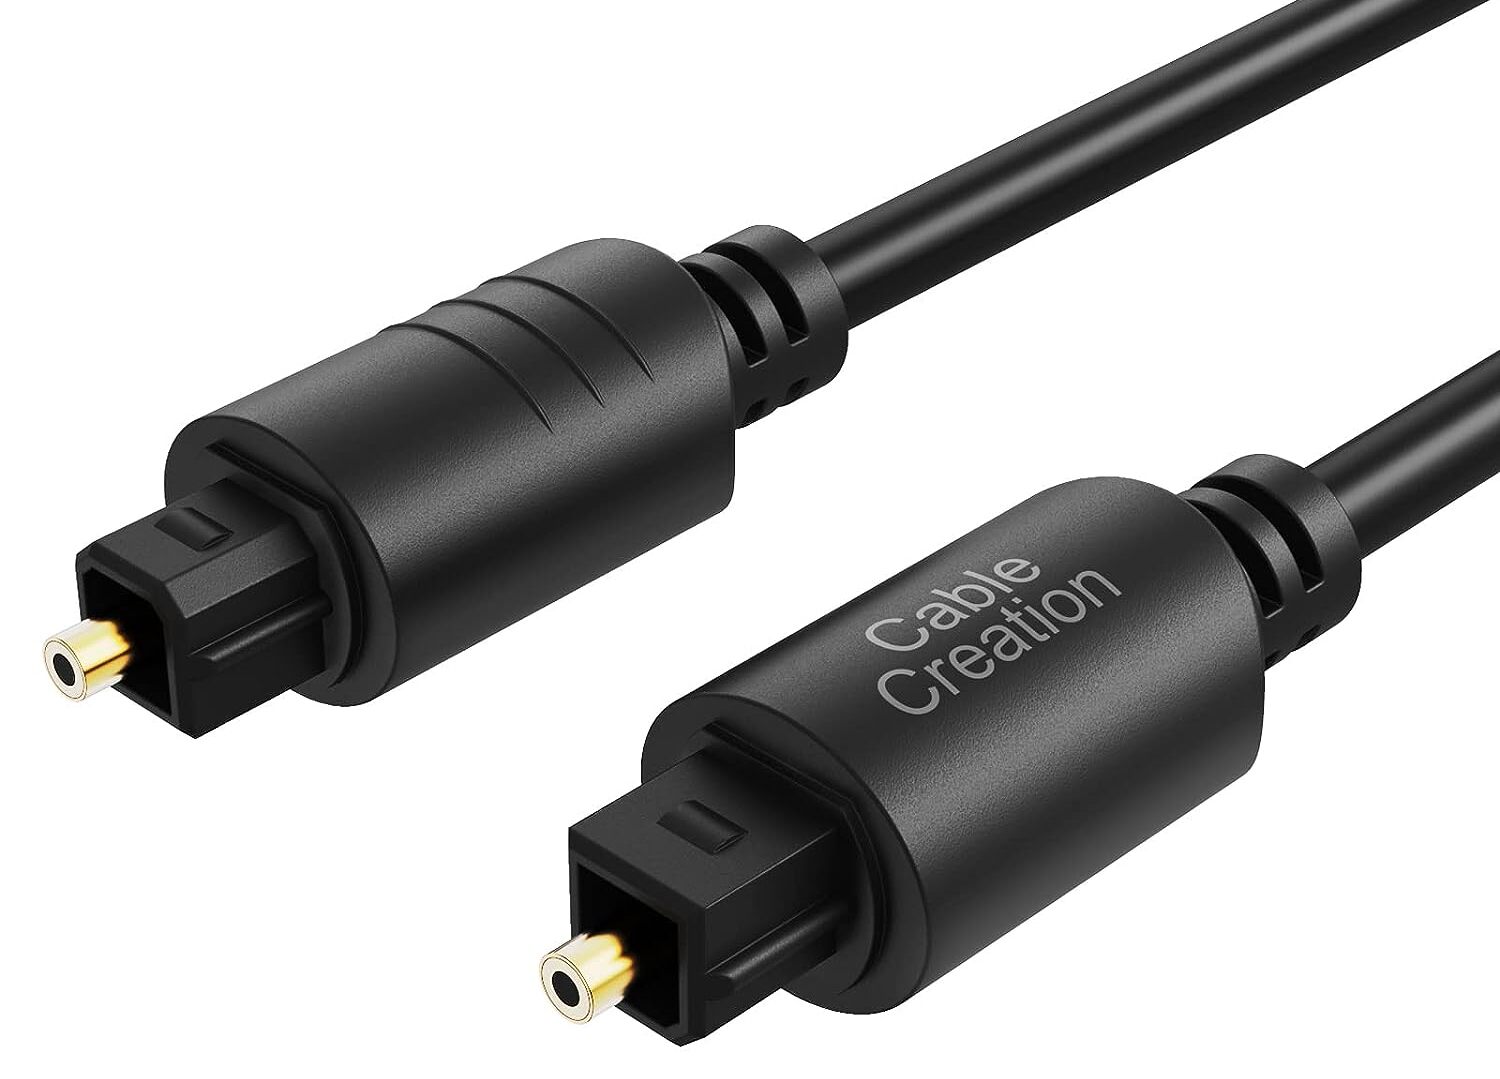
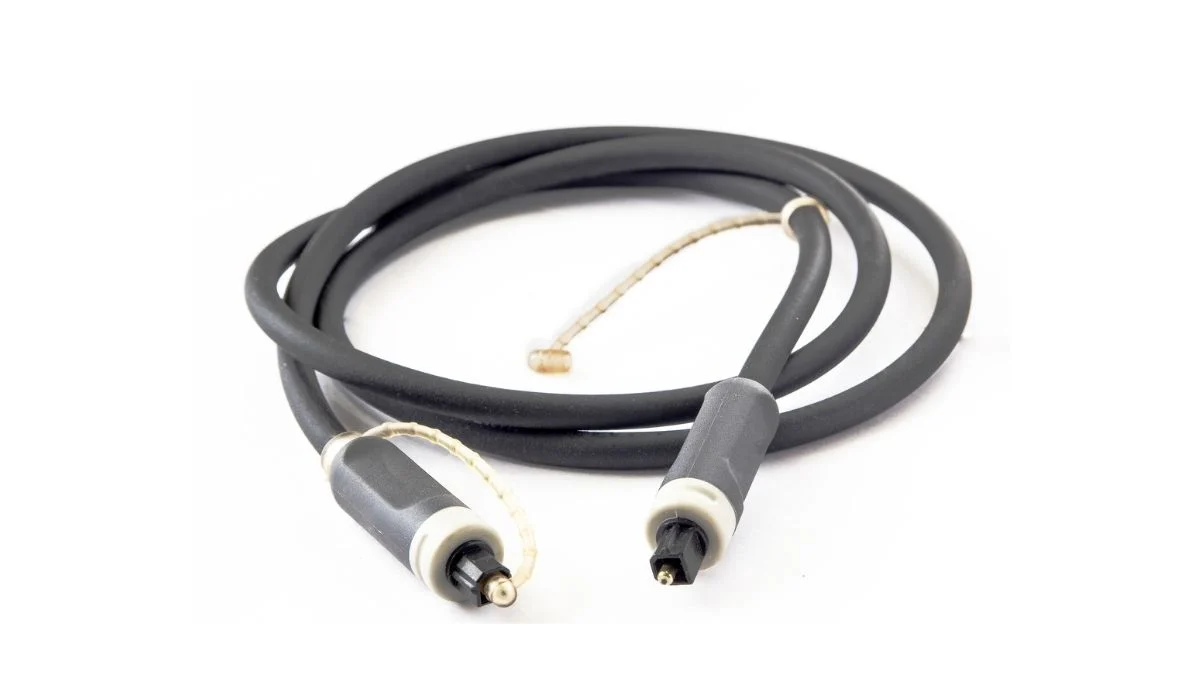
On the other hand, digital optical cables, also known as TOSLINK or SPDIF cables, are fiber-optic cables that transmit digital audio signals. Unlike analog cables, digital optical cables use light to transmit data, resulting in high-quality audio transmission and reduced interference. The cables feature a unique square-shaped connector with a small opening and a shielded fiber-optic core inside. This technology enables them to transmit uncompressed audio signals, making them ideal for home theater setups, gaming consoles, and other audio devices that support digital audio output.
One crucial aspect to consider is that digital optical cables can transmit multi-channel audio, such as Dolby Digital or DTS surround sound formats, which provide a more immersive audio experience. This is beneficial if you have a soundbar or a receiver that supports multi-channel audio and want to enjoy a cinematic audio experience while watching movies or playing games.
While both 3.5mm audio cables and digital optical cables serve their purposes, it’s important to understand their limitations and choose the right cable based on your specific audio needs and device compatibility.
Now that we have a clear understanding of the differences between 3.5mm audio and digital optical cables, let’s move on to the next section and explore how to check the compatibility between your TV and a digital optical cable.
Checking Compatibility between TV and Digital Optical Cable
Before connecting a 3.5mm audio cable to a TV through a digital optical cable, it’s crucial to ensure that your TV supports a digital optical audio output. Here are the steps to check the compatibility:
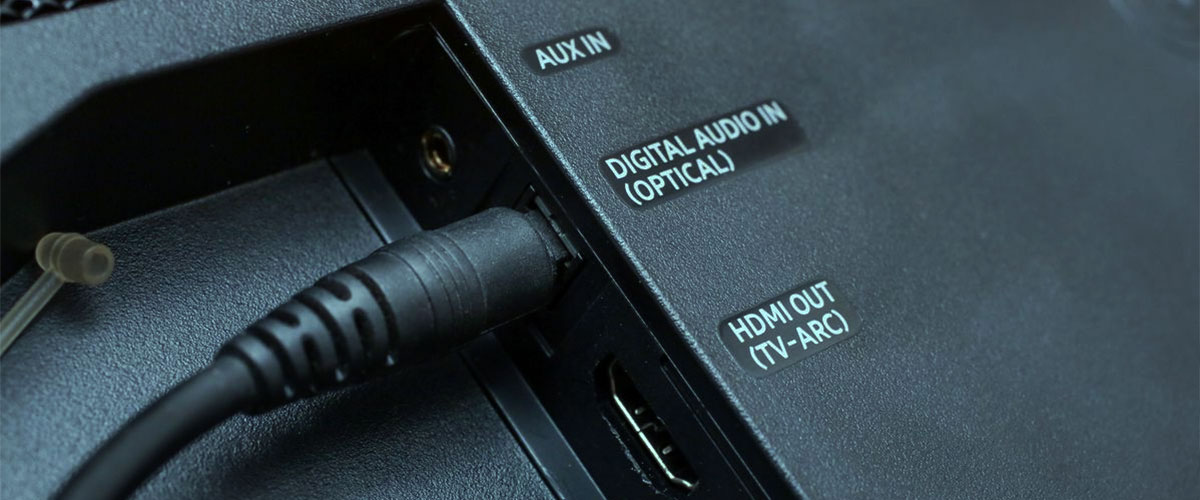
- Refer to the TV’s user manual: The user manual is a valuable resource that provides detailed information about the TV’s audio output options. Look for any mention of optical audio or digital audio output. If your TV supports digital optical audio output, it will typically have an optical port labeled “Optical Out” or “Digital Audio Out.”
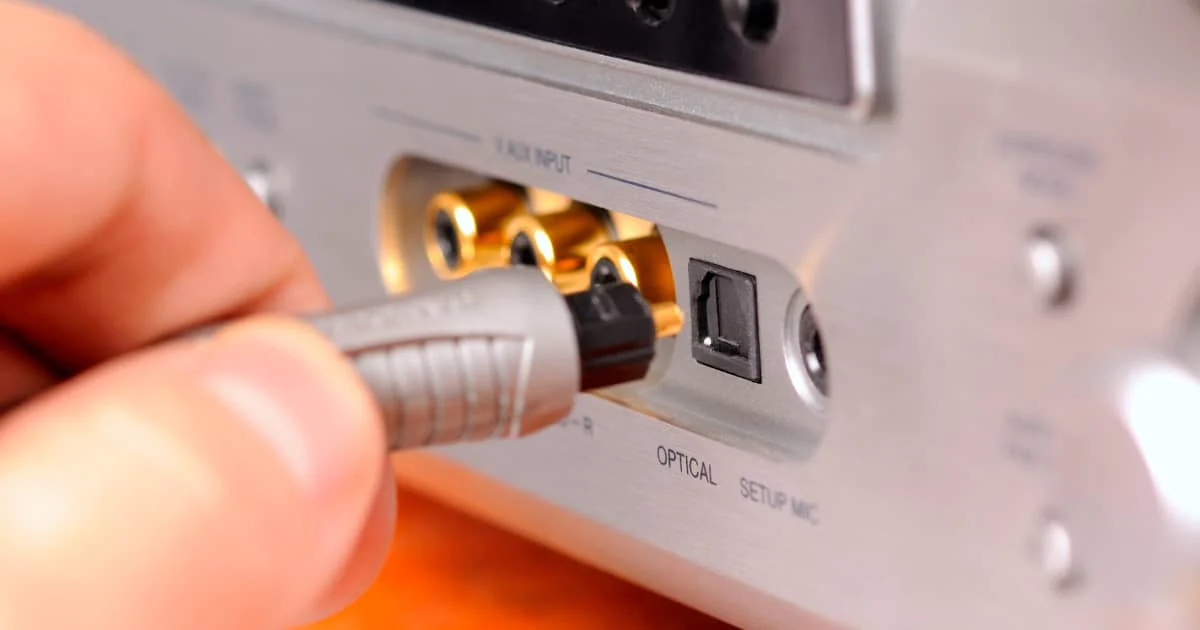
- Inspect the physical connections: Examine the back of your TV for any available ports. Locate the audio output section and look for an optical audio port. The optical port will have a small square-shaped opening with a protective cover.
- Consult the TV manufacturer’s website: If you don’t have access to the user manual or need additional information, visit the official website of your TV’s manufacturer. Look for the product support section or search for your TV model to find detailed specifications, including the audio output options.
- Check the TV’s sound settings: Access the TV’s menu by pressing the “Menu” button on your TV remote. Navigate to the audio or sound settings section and look for any options related to audio output. If there is a setting for digital audio output or optical audio output, it indicates that your TV supports a digital optical connection.
- Consider using an audio extractor: If your TV does not have a dedicated optical audio output, you may still be able to connect a digital optical cable. Purchase an audio extractor with a digital optical output that can convert the audio signal from another audio output port, such as HDMI or RCA.
It’s essential to note that while most modern TVs come equipped with digital optical audio output, there are still some older models or budget-friendly options that may not include this feature. Checking the compatibility beforehand will save you time and frustration when trying to connect your audio cables.
Now that we’ve determined the compatibility between your TV and a digital optical cable, let’s move on to the next section and learn how to connect the 3.5mm audio cable to the TV through the digital optical cable.
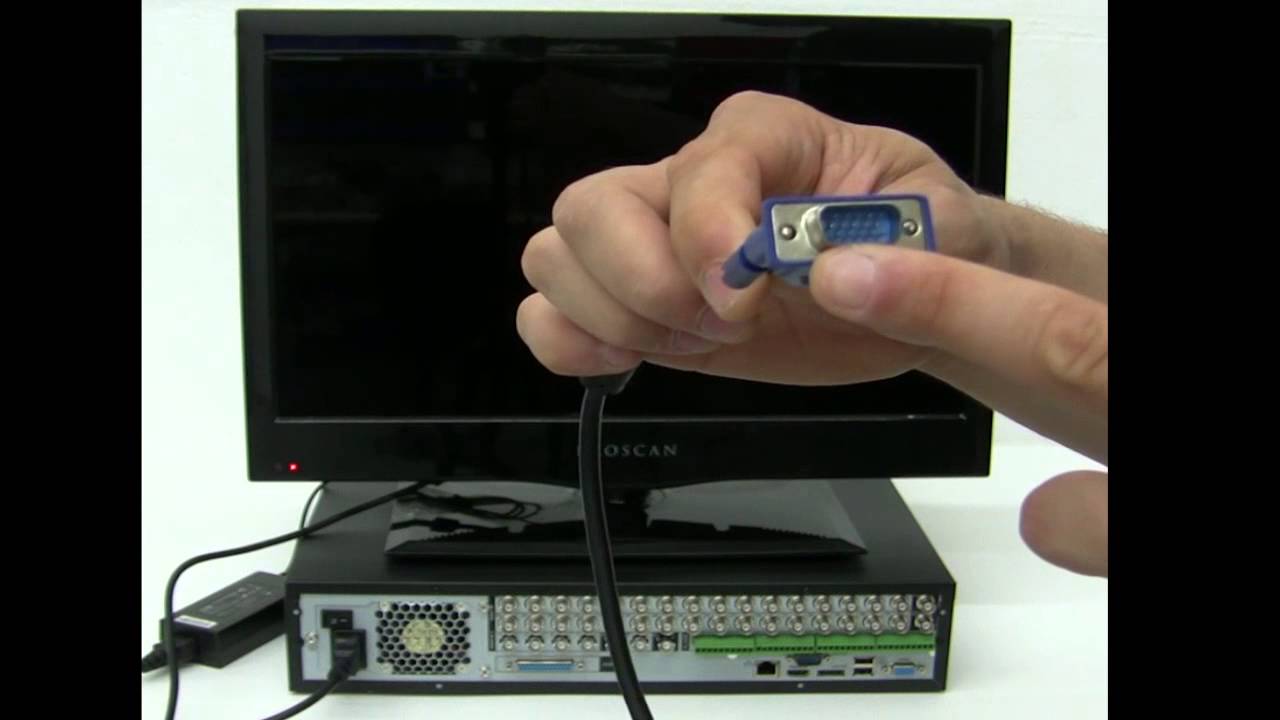
Connecting the 3.5mm Audio Cable to a Digital Optical Cable
Once you have confirmed the compatibility between your TV and a digital optical cable, you can proceed with connecting the 3.5mm audio cable to the TV through the digital optical cable. Follow these steps:
- Ensure that your TV and audio device are turned off: Before making any connections, it’s important to turn off both your TV and the audio device you plan to connect.
- Locate the audio output ports on your TV: Look for the digital optical audio output port on the back of your TV. It is usually labeled as “Optical Out” or “Digital Audio Out.” Remove any protective covers from the port.
- Prepare your digital optical cable: Take one end of the digital optical cable and insert it into the digital optical audio output port on your TV. Give a gentle twist to secure it in place.
- Find the audio input ports on your audio device: Look for the audio input ports on the audio device you want to connect. Depending on the device, it may have a 3.5mm audio input or an optical audio input. Make sure to remove any protective covers from the ports.
- Connect the 3.5mm audio cable to the audio device: Insert one end of the 3.5mm audio cable into the audio input port on your device. If you’re connecting to a 3.5mm audio input, simply insert the cable fully into the port. If your device has an optical audio input, you will need to use a 3.5mm to optical audio adapter to convert the signal.
- Power on your TV and audio device: Once you have made all the connections, turn on your TV and the audio device. Make sure to select the appropriate input source on your audio device.
- Adjust the audio settings: Navigate to the audio settings on your TV and audio device. Ensure that the audio output is set to the appropriate option, such as “Digital Audio” or “Optical Audio.” This enables the audio signal to be routed through the digital optical cable.
- Test the audio connection: Play some audio on your TV and check if the sound is being transmitted through your audio device. Adjust the volume levels accordingly to achieve the desired audio experience.
By following these steps, you should be able to successfully connect your 3.5mm audio cable to your TV through a digital optical cable. Remember to use the correct adapters if necessary and carefully handle the cables to avoid any damage.
If you encounter any issues or have difficulty getting the audio to work, proceed to the next section, where we will troubleshoot common problems and provide solutions for a seamless audio experience.
Troubleshooting Common Issues
While connecting a 3.5mm audio cable to a TV through a digital optical cable is usually straightforward, you may encounter some issues along the way. Here are some common problems and their potential solutions:
- No sound or distorted sound: If you’re not getting any sound or the audio is distorted, check the following:
- Ensure that the cables are securely connected at both ends.
- Verify that the correct input source is selected on your audio device.
- Check the audio settings on your TV and audio device to ensure they are configured correctly for digital optical audio output.
- Try a different digital optical cable or 3.5mm audio cable to rule out any cable-related issues.
- Incorrect audio output: If the audio is being played through your TV’s built-in speakers instead of the external audio device, follow these steps:
- Check the audio settings on your TV and ensure that the correct audio output device is selected.
- Verify that the cables are connected to the appropriate audio input ports on the audio device.
- Restart both your TV and audio device to allow them to recognize the new audio connection.
- Compatibility issues: If you have confirmed that your TV and audio device are compatible but still can’t establish a connection, try the following:
- Double-check that the digital optical cable is inserted correctly into the optical output port on your TV and the optical input port on your audio device.
- Ensure that any adapters or converters used in the audio setup are functioning properly and not causing compatibility issues.
- If using an audio extractor, confirm that it is set up correctly and compatible with your audio device.
- Interference or signal loss: If you experience signal loss or interference in the audio transmission, consider the following:
- Keep the digital optical cable away from other cables or electronic devices that may cause electromagnetic interference.
- Ensure that the digital optical cable is not stretched or bent excessively, as this can weaken the signal.
- If using a long digital optical cable, consider using a signal booster to maintain audio quality over longer distances.
If you’ve tried troubleshooting the issues mentioned above and are still unable to resolve the problem, it may be helpful to consult the user manuals of your TV and audio device or seek assistance from technical support. They can provide further guidance based on the specific make and model of your equipment.
Now that we’ve covered common troubleshooting steps, let’s move on to the concluding section and summarize what we’ve learned.
Conclusion
Connecting a 3.5mm audio cable to a TV through a digital optical cable can expand your audio options and enhance your overall entertainment experience. Understanding the differences between these cable types and ensuring compatibility between your TV and a digital optical cable are crucial first steps.
By following the steps outlined in this article, you can connect your 3.5mm audio cable to your TV through a digital optical cable successfully. Remember to check your TV’s user manual, inspect the physical connections, consult the manufacturer’s website, and explore the sound settings on your TV.
In the process, you may encounter some common issues like no sound, incorrect audio output, compatibility concerns, or interference. By troubleshooting these problems methodically, you can address them and enjoy uninterrupted audio playback.
Keep in mind that every TV and audio setup may have unique configurations, so it’s essential to refer to the user manuals, seek technical support if needed, and adapt the instructions according to your specific equipment.
Now that you have the knowledge and tools to connect your 3.5mm audio cable to your TV through a digital optical cable, you can immerse yourself in high-quality audio while enjoying your favorite movies, music, or games. Upgrade your audio setup and elevate your entertainment experience today!