Home>Production & Technology>Audio Cable>How To Make 3.5 Mm Audio Cable
Audio Cable
How To Make 3.5 Mm Audio Cable
Modified: January 22, 2024
Learn how to make your own 3.5 mm audio cable with this easy step-by-step guide. Get the best sound quality for your devices with a DIY audio cable.
(Many of the links in this article redirect to a specific reviewed product. Your purchase of these products through affiliate links helps to generate commission for AudioLover.com, at no extra cost. Learn more)
Table of Contents
Introduction
Welcome to this comprehensive guide on how to make a 3.5mm audio cable! Whether you’re an audiophile looking for a custom cable to enhance your listening experience or someone in need of a replacement cable, this step-by-step tutorial will guide you through the process.
The 3.5mm audio cable, also known as an auxiliary or headphone cable, is a widely used connection for audio devices such as headphones, speakers, and portable music players. This versatile cable allows you to connect your devices and enjoy high-quality audio without sacrificing convenience. The great thing about making your own 3.5mm audio cable is that you have complete control over the length, quality, and design, ensuring a tailor-made solution that suits your specific needs.
In this article, we will cover all the necessary steps and materials required to create your DIY 3.5mm audio cable. From stripping the cable to soldering the wires and testing the connection, you’ll learn everything you need to know to successfully make your own cable.
Before we begin, it’s important to note that some basic knowledge of soldering and electrical wiring is recommended for this project. Additionally, ensure you have the necessary tools and materials on hand, which we will cover in the following section.
So, let’s dive in and discover how to make a 3.5mm audio cable that meets your audio needs and satisfies your inner DIY enthusiast!
Materials Needed
Before you start creating your own 3.5mm audio cable, you’ll need to gather a few essential materials. Having these items ready beforehand will ensure a smooth and efficient process. Here’s a list of what you’ll need:
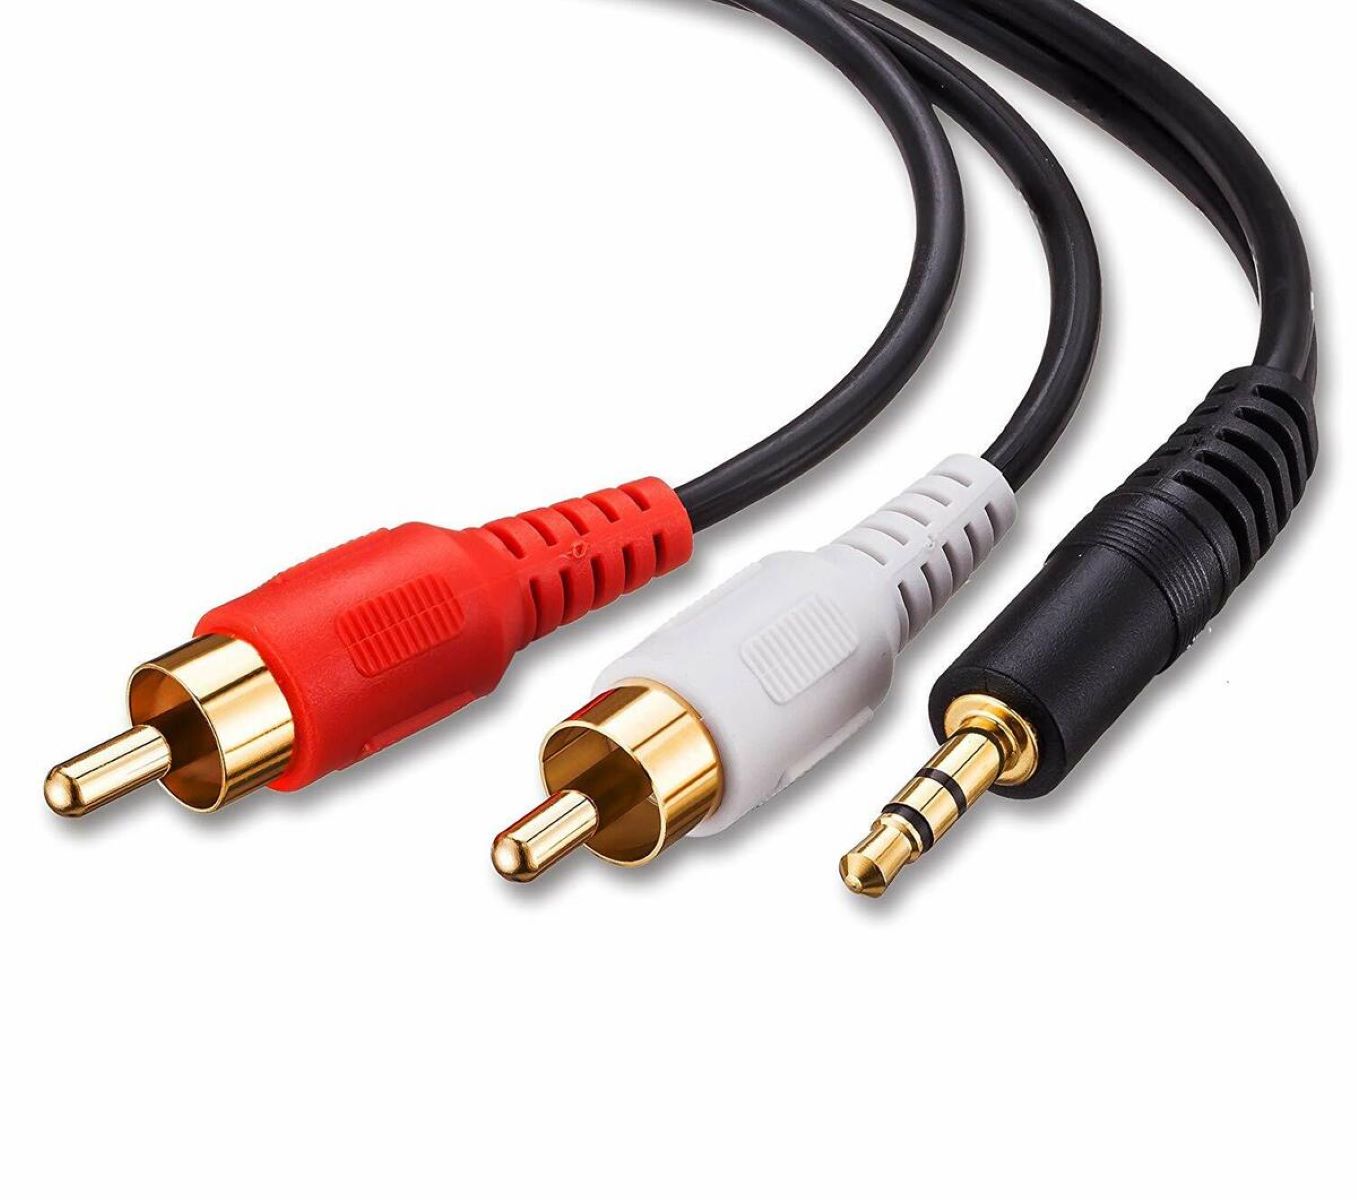
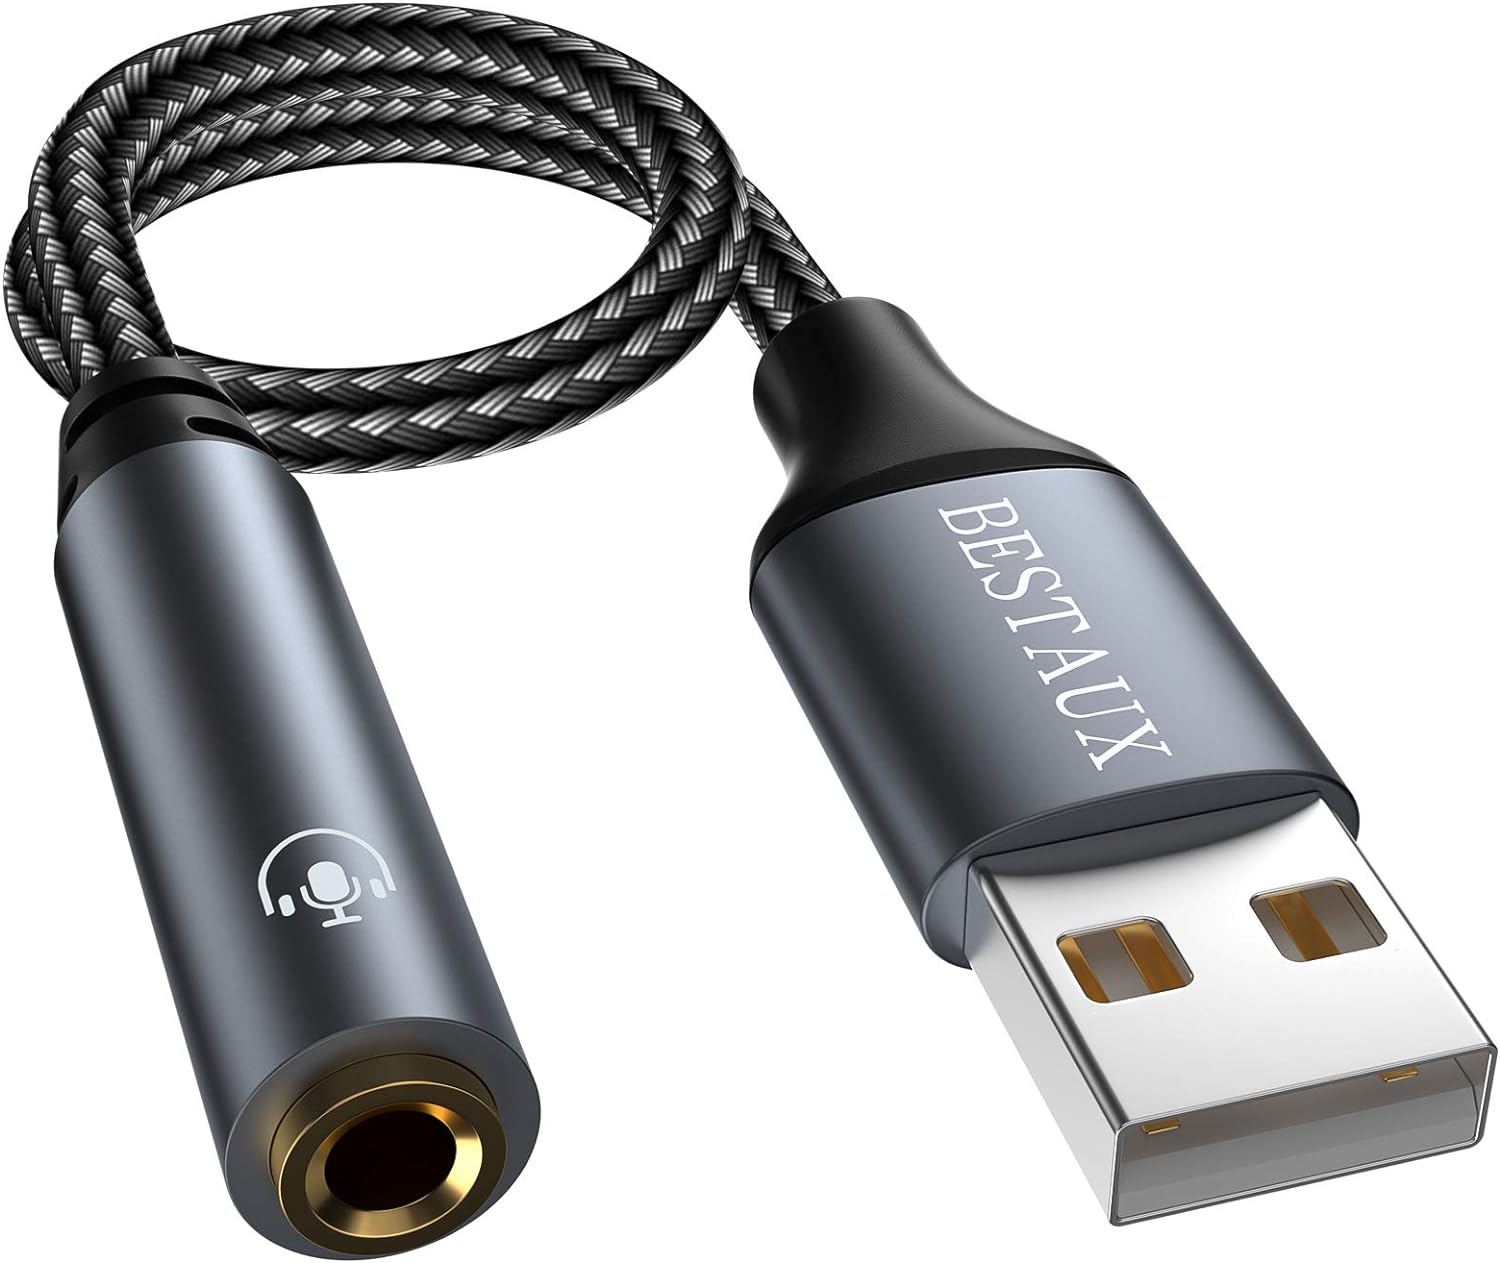
- 3.5mm Audio Connectors: These are the plugs that will connect your cable to your audio devices. You can find them easily at electronics stores or online.
- Audio Cable: Choose a high-quality audio cable with the desired length. It’s recommended to use a shielded cable to minimize interference and maintain audio quality.
- Soldering Iron: A soldering iron is necessary for connecting the wires to the audio connectors. Make sure to choose one with adjustable heat settings for better control.
- Solder: Opt for quality solder that is suitable for audio connections. A 60/40 or 63/37 tin-lead rosin core solder is commonly used for audio cable construction.
- Wire Stripper: This tool is essential for removing the outer insulation of the audio cable and exposing the individual wires for soldering.
- Heat Shrink Tubing: Heat shrink tubing provides insulation and protection to the soldered connections. Choose the appropriate size to fit over the cable and connectors.
- Heat Gun or Lighter: This is needed to shrink the heat shrink tubing and create a secure and professional-looking finish.
- Wire Cutters: Use wire cutters or scissors to trim the cable and wires to the desired length.
- Multimeter: A multimeter is useful for testing the continuity and integrity of the audio cable and connections.
Once you’ve gathered all the necessary materials, you’ll be ready to proceed with making your 3.5mm audio cable. Ensure that you have a clean and well-organized workspace, as working with small components and soldering requires attention to detail.
Now that you have everything you need, let’s move on to the first step: stripping the cable.
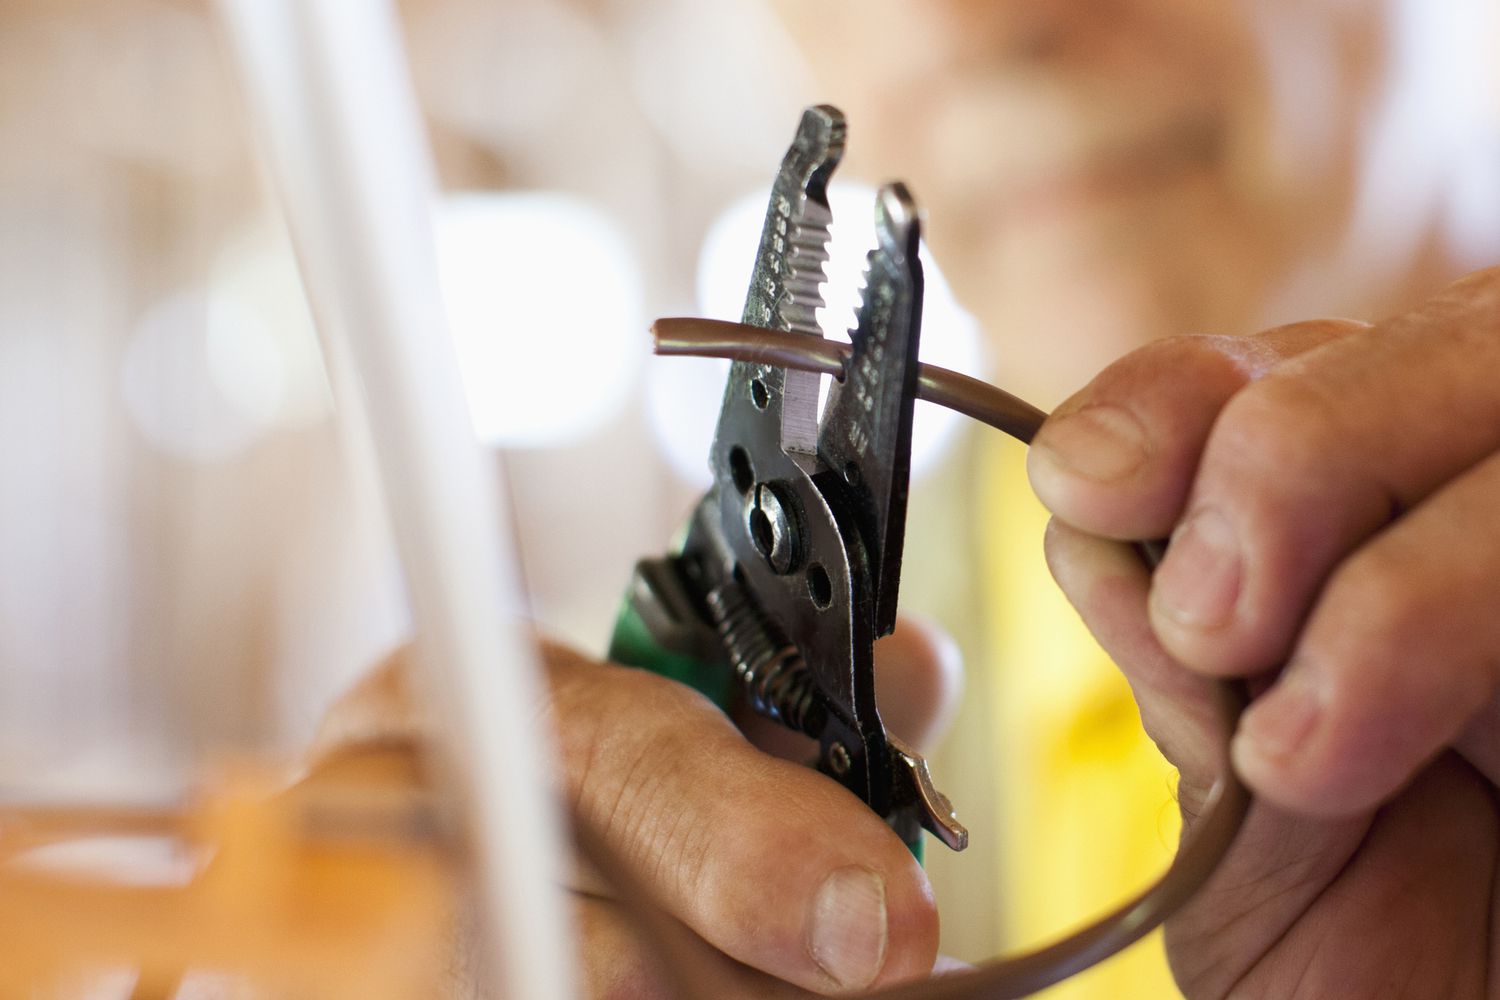
Step 1: Strip the Cable
The first step in creating your 3.5mm audio cable is to strip the outer insulation of the cable. This will expose the individual wires inside, allowing you to solder them to the audio connectors.
Follow these steps to strip the cable:
- Measure the desired length of your cable and use wire cutters or scissors to trim it accordingly. Make sure to leave some extra length for allowances.
- Locate the end of the cable and carefully use a wire stripper to remove about an inch or so of the outer insulation. Be cautious not to cut through the inner wires.
- Once the desired length is stripped, gently twist the exposed wires together to keep them organized and prevent fraying.
It’s essential to strip the cable carefully, ensuring that you don’t damage or expose the inner wires. Take your time and exert gentle pressure when using the wire stripper to avoid any mishaps.
Once you’ve successfully stripped the cable, you’re ready to move on to the next step: separating the wires.
Step 2: Separate the Wires
After stripping the outer insulation of the audio cable, the next step is to separate the individual wires inside. Identifying and separating these wires is crucial for the proper connection and soldering of the audio connectors.
Follow these steps to separate the wires:
- Inspect the exposed end of the cable and identify the different-colored wires inside. The most common colors are red, white, and copper or black.
- Gently untwist the twisted wires and separate them from each other. Be cautious not to damage or break the wires during this process.
- If needed, use wire strippers to remove a small portion of the insulation from the ends of each wire. This will ensure a clean soldering surface.
It’s important to note that not all audio cables will have the same color-coding for their wires. Some may use different color combinations or have additional wires. In such cases, refer to the manufacturer’s documentation or use a multimeter to identify the correct wires.
Once you have successfully separated the wires, it’s time to move on to preparing the audio connectors in the next step.
Step 3: Prepare the Connectors
In the third step of making your 3.5mm audio cable, you will prepare the connectors that will be attached to the stripped ends of the cable. Proper preparation of the connectors is essential for a secure and reliable connection.
Follow these steps to prepare the connectors:
- Take your 3.5mm audio connectors and examine them closely. There are usually three contact points on each connector: Tip, Ring, and Sleeve.
- Use a small pair of pliers or tweezers to unscrew the casing of the connectors, exposing the inner components.
- Inside the connector, you will find small terminals or screws. Loosen these terminals or screws, so they are ready to receive the stripped wires.
- Identify which wire goes to which contact point on the connector. Typically, the left audio channel wire goes to the Tip, the right audio channel wire goes to the Ring, and the ground wire goes to the Sleeve. Refer to the manufacturer’s documentation or use a multimeter to confirm the correct connections.
- If necessary, trim the stripped wires to an appropriate length that matches the depth of the terminals or screws inside the connector.
It’s crucial to handle the connectors with care and attention to detail during this step. Make sure to loosen the terminals or screws enough to accommodate the stripped wires, without causing any damage to the connector or its components.
With the connectors prepared, you’re now ready to move on to the next step: soldering the wires to the connectors.
Step 4: Solder the Wires
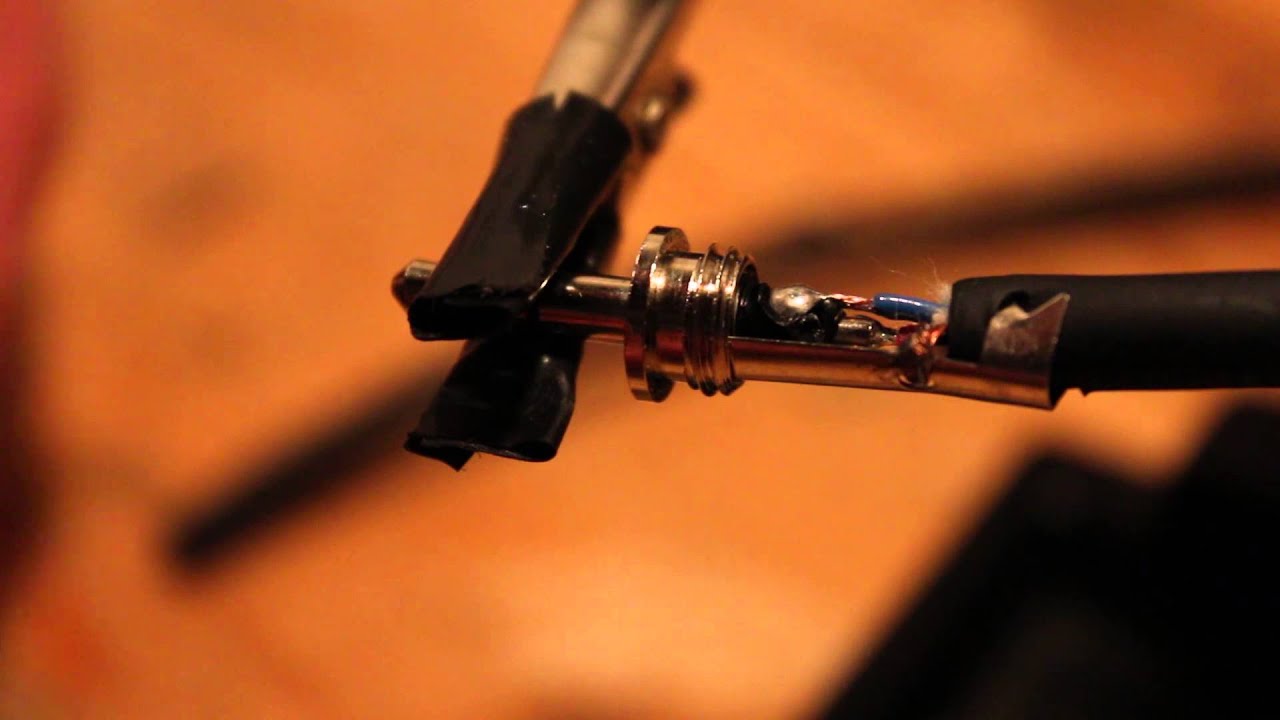
Now that you have prepared the connectors and identified the correct wires, it’s time to solder the wires to the connectors. Soldering creates a strong and reliable electrical connection between the wires and the connector terminals.
Follow these steps to solder the wires:
- Heat up your soldering iron and allow it to reach the appropriate temperature. The ideal temperature for soldering audio cables is typically between 300-350 degrees Celsius (572-662 degrees Fahrenheit).
- Take one of the stripped wires and loop it around the corresponding terminal or screw on the audio connector. Make sure the wire is securely wrapped around the terminal.
- Hold the soldering iron in your dominant hand and the solder wire in your other hand. Place the tip of the soldering iron on the wrapped wire and terminal to heat them up.
- Once the wire and terminal are heated, gently touch the solder wire to the connection point. Allow the solder to melt and flow around the wire and terminal, creating a solid bond.
- Remove the solder wire and the soldering iron, keeping the wire steady until the solder cools and solidifies. Ensure that the solder joint is smooth and without any excess solder.
- Repeat the above steps for each wire, ensuring that there is no contact between the wires to avoid any interference or short circuits.
Remember to maintain a steady hand and avoid applying excessive heat or solder, as it can damage the wires or the connector. Practice good soldering techniques to create clean and professional connections.
Once you have successfully soldered all the wires to their respective terminals, you’re ready to move on to the next step: testing the connection.
Step 5: Test the Connection
After soldering the wires to the connectors, it’s essential to test the connection to ensure that everything is working properly. This step will help you identify any potential issues and make adjustments if necessary.
Follow these steps to test the connection:
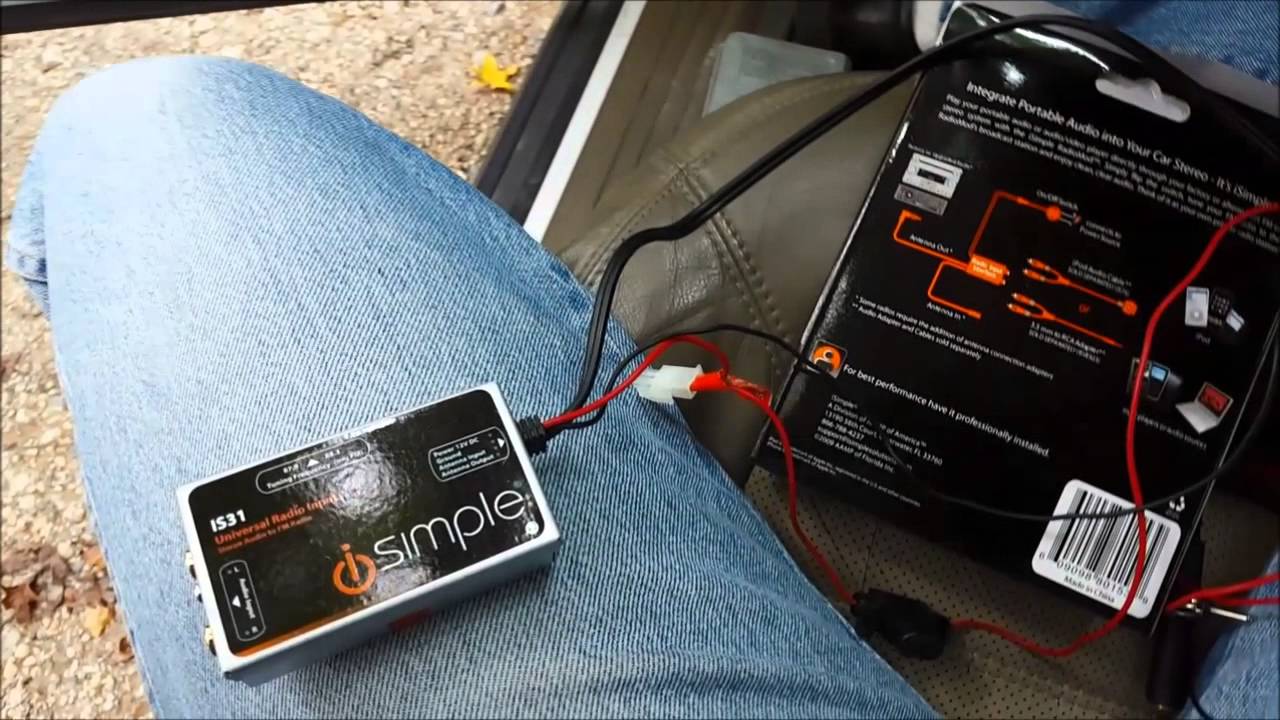
- Plug one end of the cable into a compatible audio device, such as headphones or speakers.
- Plug the other end into a compatible audio source, such as a smartphone or music player.
- Play a sound or music through the audio source, and listen for the audio to come through the headphones or speakers.
- Check for any crackling, static, or distortion in the audio. If you experience any of these issues, the connection may not be properly soldered.
- To troubleshoot, carefully inspect the soldered connections. Look for any loose or cold solder joints that may need to be reheated and re-soldered.
- If everything sounds clear and there are no issues, congratulations! Your 3.5mm audio cable is functioning correctly.
It’s important to thoroughly test the connection to ensure that the audio signal is clear and uninterrupted. If you encounter any problems, double-check your soldering and make any necessary adjustments to rectify the issue.
With the connection successfully tested, it’s time to move on to the next step: securing the connection.
Step 6: Secure the Connection
Once you have tested the connection and ensured that it is functioning properly, it’s important to secure the soldered connections to prevent any accidental damage or disconnection in the future. Securing the connection will give your 3.5mm audio cable added durability and longevity.
Follow these steps to secure the connection:
- Cut a piece of heat shrink tubing that is slightly longer than the exposed soldered connections.
- Slide the heat shrink tubing over the soldered connections, ensuring that it covers the entire length of the exposed wires and solder joints.
- Heat the shrink tubing using a heat gun or a lighter, moving the heat source back and forth to evenly distribute the heat. Be cautious not to overheat the tubing to prevent damage to the cable or connectors.
- As the heat is applied, the tubing will shrink, forming a tight and secure seal around the soldered connections.
- Allow the tubing to cool and solidify before handling the cable.
- Inspect the secured connection to ensure that the heat shrink tubing has fully shrunk and covers all exposed areas.
The heat shrink tubing provides insulation and mechanical protection to the soldered connections, shielding them from potential stress, strain, and external elements. It also gives the cable a professional and finished appearance.
With the connection securely protected, you’re now ready to repeat the process for the other end of the cable in the next step.
Step 7: Repeat for the Other End
Now that you have successfully completed the soldering and securing of one end of the 3.5mm audio cable, it’s time to repeat the process for the other end. This ensures that both ends of the cable are properly connected and functional.
Follow these steps to repeat the process for the other end:
- Strip the outer insulation of the audio cable at the other end, following the same steps as in Step 1.
- Separate the individual wires, ensuring they are properly identified and organized.
- Prepare the audio connectors for this end, following the same steps as in Step 3.
- Solder the wires to the connectors, following the same steps as in Step 4.
- Test the connection, following the same steps as in Step 5, to ensure proper functionality.
- Secure the connection using heat shrink tubing, following the same steps as in Step 6.
By repeating the process for the other end, you ensure consistency and reliability throughout the entire length of the audio cable.
Once you have completed both ends of the cable, you’re almost done! The final step involves testing the entire cable for overall functionality and performance.
Step 8: Test the Cable
Testing the entire cable is the final step in creating your 3.5mm audio cable. This step ensures that the cable performs as expected and delivers high-quality audio without any issues or interference.
Follow these steps to test the cable:
- Plug one end of the cable into a compatible audio device, such as headphones, speakers, or a music player.
- Plug the other end into a compatible audio source.
- Play various types of audio content, such as music, podcasts, or videos, and carefully listen for any distortions, crackling, or audio dropouts.
- Move the cable gently while the audio is playing to check for any loose connections that may cause intermittent audio.
- Try different audio sources and devices to ensure compatibility and consistent performance.
- If you encounter any issues, double-check the soldered connections and make sure they are secure. Re-solder any loose connections if necessary.
It’s important to conduct thorough testing to ensure that the cable functions properly in various scenarios. This will help you identify any faults or irregularities early on and make any necessary adjustments or repairs.
Once you have tested the cable and are satisfied with the audio quality and performance, you have successfully made your own 3.5mm audio cable!
Congratulations on completing the process of making a 3.5mm audio cable from scratch. Enjoy your custom-made cable and the enhanced listening experience it brings!
Conclusion
Making your own 3.5mm audio cable can be a rewarding and fulfilling experience. By following the steps outlined in this guide, you have learned how to create a custom audio cable that suits your needs and preferences. From stripping the cable to soldering the wires and testing the connection, you have gained valuable knowledge and skills in cable construction.
Creating your own audio cable allows you to have control over the length, quality, and design, ensuring a tailored solution that matches your specific requirements. Whether you are an audiophile seeking the highest audio quality or someone in need of a functional and reliable cable, the DIY approach offers flexibility and customization.
Remember to take your time, practice good soldering techniques, and pay attention to detail throughout the process. This will ensure a well-made cable that delivers exceptional audio performance for years to come.
In addition to the satisfaction of making something with your own hands, you also have the advantage of saving money compared to purchasing pre-made audio cables. Plus, you can customize the design to reflect your personal style or even make cables as gifts for fellow audio enthusiasts.
Now that you have the knowledge and skills to create your own 3.5mm audio cables, feel free to experiment and explore other variations, such as using different cable types or connectors. The possibilities are endless, and you can continue to refine your craft and improve your cable-building skills.
Thank you for joining us on this DIY journey of making a 3.5mm audio cable. Enjoy the process of creating and using your custom-made cable, and may it provide you with many hours of high-quality audio enjoyment!