Home>Devices & Equipment>Microphone>How To Connect A Microphone To Garageband
Microphone
How To Connect A Microphone To Garageband
Modified: February 17, 2024
Learn how to connect a microphone to Garageband with our step-by-step guide. Get professional sound quality for your recordings.
(Many of the links in this article redirect to a specific reviewed product. Your purchase of these products through affiliate links helps to generate commission for AudioLover.com, at no extra cost. Learn more)
Table of Contents
Introduction
So, you've got a great idea for a song, podcast, or voiceover project, and you're ready to bring it to life using Garageband. But before you can start recording, you need to connect a microphone to your computer. Whether you're using a USB microphone or an XLR microphone, this process is essential for capturing high-quality audio.
In this guide, we'll walk you through the steps to connect a microphone to Garageband, Apple's popular digital audio workstation. We'll cover the different types of microphones, including USB and XLR options, and provide detailed instructions for setting up your microphone input in Garageband. By the end of this article, you'll have the knowledge and confidence to seamlessly integrate your microphone with Garageband, allowing you to unleash your creativity and produce professional-quality recordings.
Let's dive in and explore the world of microphone connectivity in the context of Garageband, empowering you to harness the full potential of this versatile software for your audio projects.
Understanding Microphone Types
Before delving into the technical aspects of connecting a microphone to Garageband, it’s important to understand the two primary types of microphones: USB and XLR.
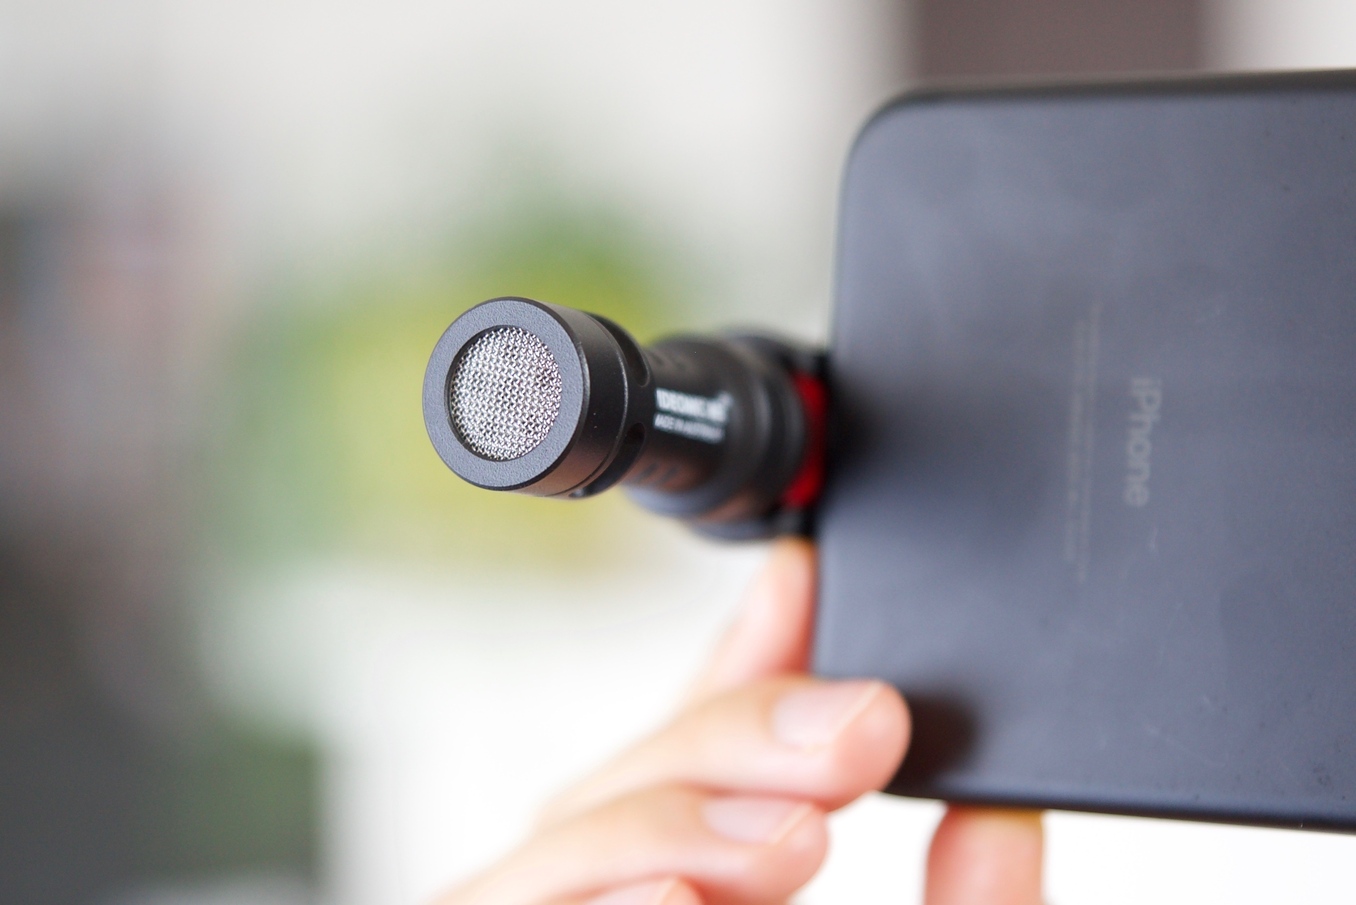
USB Microphones:
- USB microphones are popular for their simplicity and ease of use. They connect directly to your computer’s USB port, eliminating the need for an audio interface or external power source. This plug-and-play functionality makes USB microphones ideal for beginners and those seeking a hassle-free setup.
- These microphones are often equipped with built-in preamps and analog-to-digital converters, allowing them to convert sound signals into digital data that can be processed by your computer.
- USB microphones are available in a variety of designs, including condenser, dynamic, and shotgun models, catering to different recording needs and environments.
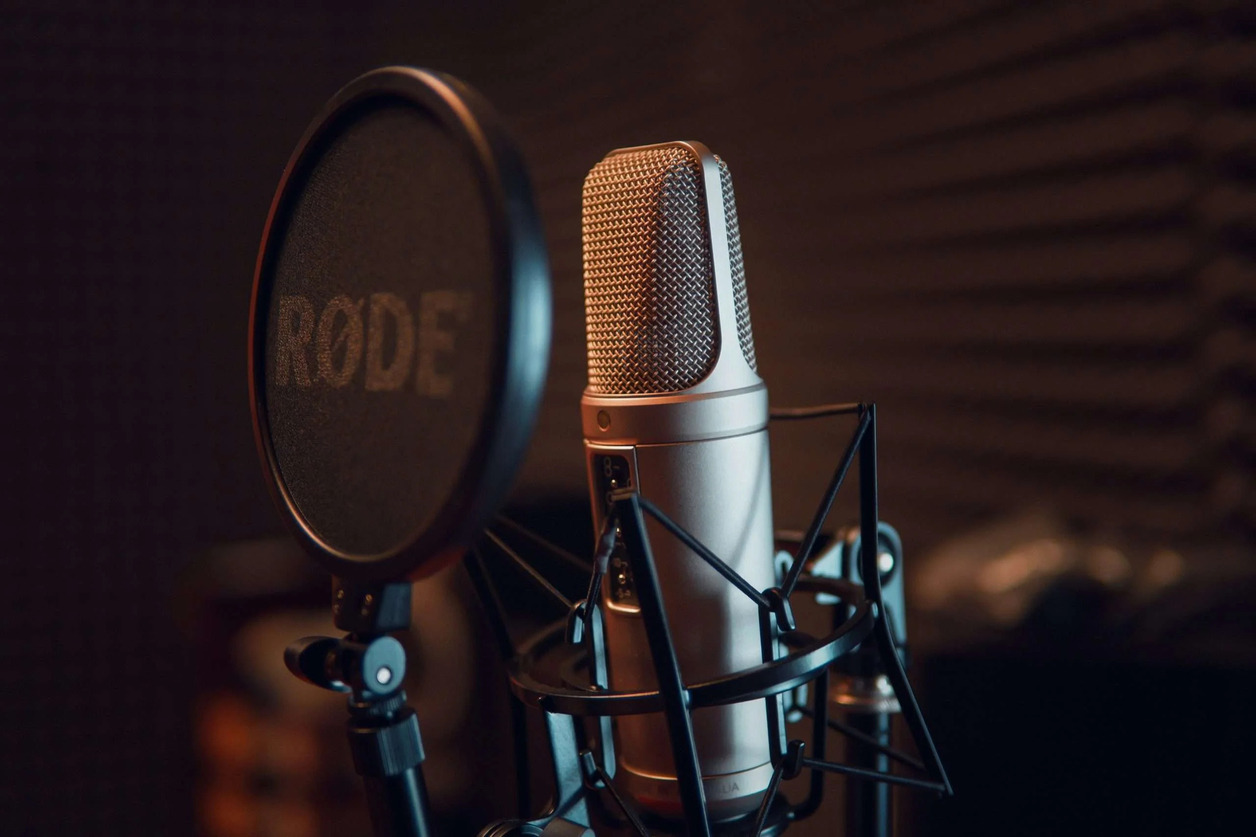
XLR Microphones:
- XLR microphones, characterized by their three-pin XLR connectors, are the standard choice in professional audio production and live sound settings.
- Unlike USB microphones, XLR microphones require an audio interface or mixer to connect to your computer. The audio interface serves as a bridge between the microphone and your computer, providing essential functions such as preamplification, analog-to-digital conversion, and phantom power for condenser microphones.
- With XLR microphones, you have greater flexibility in choosing high-end studio condenser microphones, dynamic microphones, or specialty microphones tailored to specific recording applications.
Understanding the distinctions between USB and XLR microphones is crucial when selecting the right microphone for your recording setup. Whether you opt for the convenience of a USB microphone or the versatility of an XLR microphone, both types offer unique advantages that can elevate the quality of your audio productions when integrated with Garageband.
Connecting a USB Microphone to Garageband
Connecting a USB microphone to Garageband is a straightforward process that requires minimal additional equipment. Follow these steps to seamlessly integrate your USB microphone with Garageband:
- Plug and Play: Begin by connecting your USB microphone to an available USB port on your computer. Once connected, your computer should recognize the microphone as an audio input device automatically.
- Launch Garageband: Open Garageband on your computer. If it’s your first time using Garageband, create a new project by selecting the appropriate audio track option for your recording needs.
- Select Input Device: In Garageband, navigate to the Preferences menu and click on the Audio/MIDI tab. Under the Input Device section, choose your USB microphone from the dropdown menu. This selection ensures that Garageband receives audio input from your USB microphone.
- Adjust Settings: Once your USB microphone is selected as the input device, you may need to adjust the input gain or volume levels to achieve optimal audio recording levels. This can typically be done within Garageband’s input settings or directly on the microphone, if applicable.
- Begin Recording: With your USB microphone successfully connected and configured in Garageband, you’re ready to start recording. Press the record button in Garageband to capture your audio, whether it’s vocals, instruments, or spoken dialogue.
By following these steps, you can seamlessly connect your USB microphone to Garageband and leverage its capabilities to capture pristine audio for your creative endeavors. The simplicity and convenience of USB microphones make them an excellent choice for home studios, podcasting, and casual recording sessions, allowing you to focus on your artistry without the complexities of additional audio equipment.
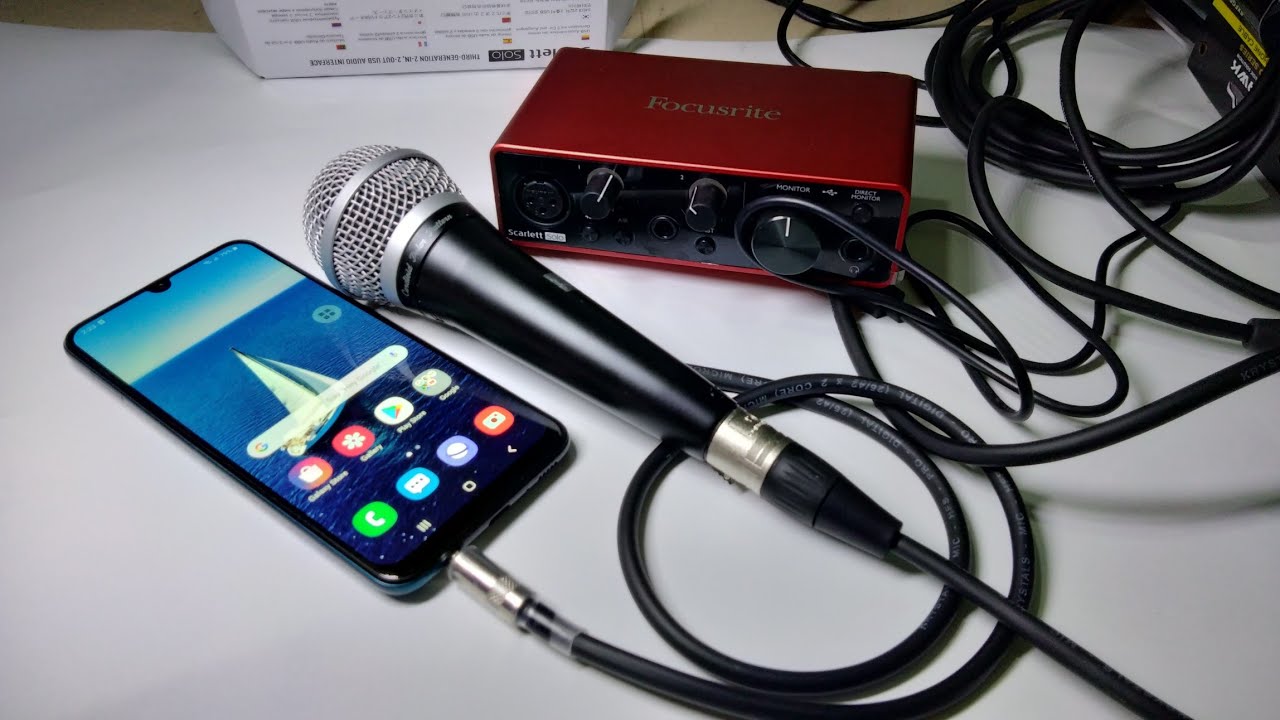
Connecting an XLR Microphone to Garageband
Integrating an XLR microphone with Garageband involves a few additional steps compared to connecting a USB microphone. Here’s a guide to seamlessly link your XLR microphone to Garageband for professional-grade audio recording:
- Audio Interface Setup: Begin by connecting your XLR microphone to an audio interface using a balanced XLR cable. The audio interface serves as the intermediary device that translates the analog signal from the microphone into digital data that can be processed by your computer.
- Connect the Audio Interface to Your Computer: Using a USB or Thunderbolt cable, connect the audio interface to an available port on your computer. This establishes the communication link between your XLR microphone, audio interface, and Garageband.
- Launch Garageband: Open Garageband and create a new project or open an existing one to begin the recording process.
- Configure Input Settings: In Garageband’s Preferences menu, navigate to the Audio/MIDI tab and select your audio interface as the input device. This step ensures that Garageband recognizes the audio signal from your XLR microphone via the audio interface.
- Phantom Power (If Required): If you’re using a condenser microphone that requires phantom power, ensure that your audio interface provides phantom power and activate it as needed to power the microphone.
- Adjust Input Levels: Within Garageband, you can fine-tune the input gain levels to achieve optimal audio recording levels. This step is crucial for capturing clean and distortion-free audio from your XLR microphone.
- Commence Recording: Once your XLR microphone and audio interface are properly connected and configured in Garageband, you’re ready to unleash your creativity and begin recording high-quality audio with precision and clarity.
By following these steps, you can seamlessly integrate an XLR microphone with Garageband, leveraging the superior sound quality and versatility that XLR microphones offer. Whether you’re recording vocals, acoustic instruments, or professional voiceovers, the combination of an XLR microphone and Garageband empowers you to achieve exceptional audio results for your music and multimedia projects.
Setting Up Microphone Input in Garageband
Configuring the microphone input settings in Garageband is essential for optimizing the audio recording process and ensuring that your microphone is seamlessly integrated with the software. Follow these steps to set up the microphone input in Garageband:
- Open Garageband: Launch Garageband on your computer, and either create a new project or open an existing one where you intend to record audio using your microphone.
- Access Preferences: Once Garageband is open, navigate to the “Garageband” menu at the top-left corner of the screen and select “Preferences.”
- Choose Audio/MIDI Settings: In the Preferences window, click on the “Audio/MIDI” tab to access the audio input settings for your microphone.
- Select Input Device: Under the “Audio Input” section, choose your connected microphone from the dropdown menu. This ensures that Garageband receives audio input from the designated microphone.
- Adjust Buffer Size (Optional): Depending on your recording setup and the performance of your computer, you may need to adjust the buffer size to optimize audio latency and processing efficiency. This setting can be adjusted within the Preferences window to suit your specific recording requirements.
- Configure Input Levels: Garageband provides input level controls that allow you to adjust the gain or volume of your microphone input. Ensure that the input levels are appropriately set to capture clean and distortion-free audio signals from your microphone.
- Monitor Input Signal: Utilize Garageband’s input monitoring feature to listen to the incoming audio signal from your microphone in real-time. This enables you to monitor the quality and levels of the recorded audio before and during the recording process.
By following these steps and customizing the microphone input settings in Garageband, you can fine-tune the recording environment to suit your specific microphone and audio production needs. Whether you’re capturing vocals, instruments, or spoken dialogue, optimizing the microphone input settings in Garageband ensures that you achieve professional-quality recordings with precision and clarity.
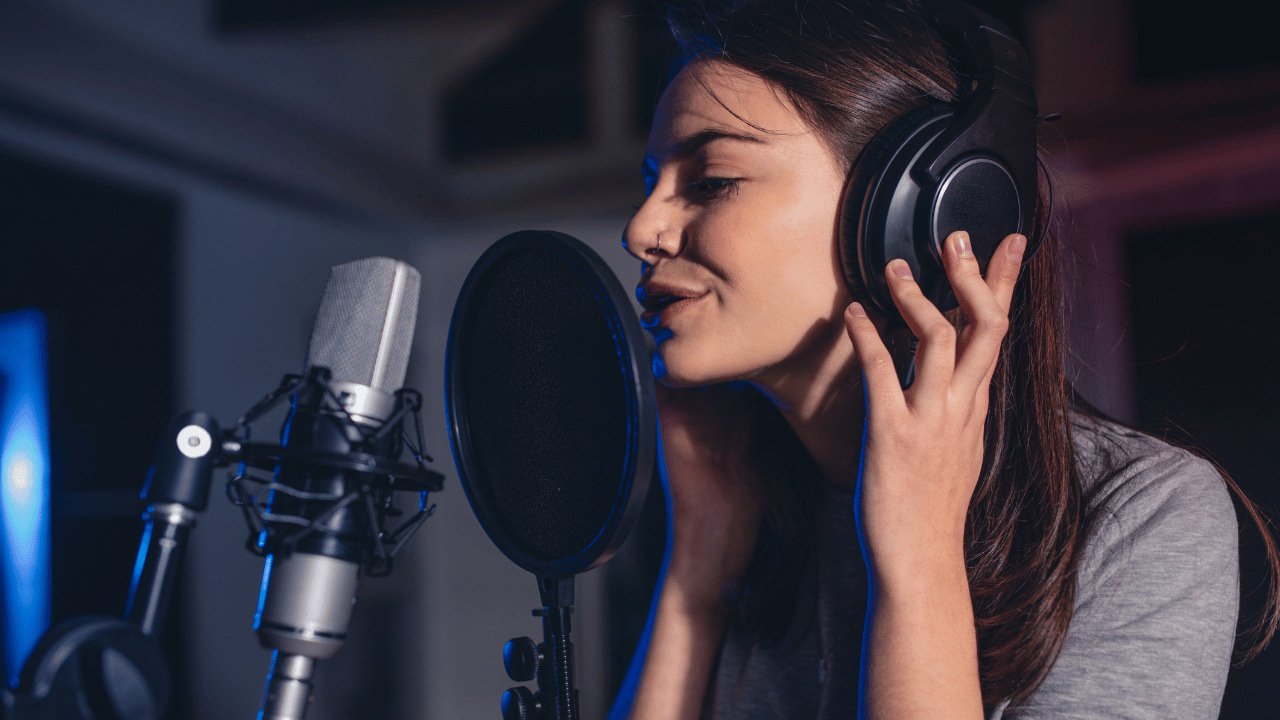
Testing and Adjusting Microphone Levels
After connecting your microphone to Garageband and configuring the input settings, it’s crucial to test and adjust the microphone levels to achieve optimal audio quality. Properly setting the microphone levels ensures that your recordings are clear, balanced, and free from distortion. Follow these steps to test and adjust the microphone levels in Garageband:
- Preparation: Ensure that your microphone is connected and set up in Garageband as outlined in the previous sections. This includes selecting the appropriate input device, configuring input settings, and confirming that the microphone is receiving a signal.
- Signal Monitoring: Before recording, use Garageband’s monitoring feature to listen to the microphone’s input signal in real-time. This allows you to gauge the audio levels and make adjustments as needed.
- Input Gain Adjustment: If your microphone or audio interface features an input gain control, use it to adjust the input signal’s strength. Aim to set the gain at an optimal level where the audio is robust and free from clipping or distortion.
- Perform Sound Check: Record a brief test segment using your microphone to evaluate the audio quality. Listen back to the recording and assess the clarity, volume, and overall fidelity of the captured sound.
- Level Meter Monitoring: Utilize Garageband’s level meters to monitor the input signal’s amplitude. Aim to maintain a healthy signal level without allowing it to peak into the red zone, which indicates potential distortion.
- Adjust Input Levels: If necessary, fine-tune the input levels within Garageband to ensure that the recorded audio remains within an optimal range. Make subtle adjustments to achieve a balanced and well-defined sound without overloading the input signal.
- Re-test and Refine: After making adjustments, perform another test recording and carefully listen to the results. Continuously refine the microphone levels until you achieve a pristine and well-balanced audio capture that meets your quality standards.
By meticulously testing and adjusting the microphone levels in Garageband, you can elevate the quality of your recordings and ensure that your audio projects resonate with clarity and precision. This iterative process of fine-tuning the microphone levels empowers you to capture professional-grade audio that accurately reflects your creative vision.
Conclusion
Connecting a microphone to Garageband opens up a world of creative possibilities, allowing you to capture pristine audio for music production, podcasting, voiceovers, and more. Whether you opt for a USB microphone for its simplicity or an XLR microphone for its professional-grade performance, the process of integrating your microphone with Garageband is essential for achieving exceptional audio results.
By understanding the distinctions between USB and XLR microphones, you can make informed decisions when selecting the right microphone for your recording setup. USB microphones offer convenience and ease of use, making them ideal for home studios and casual recording sessions. On the other hand, XLR microphones, when paired with an audio interface, provide superior sound quality and versatility, catering to the demands of professional audio production.
Once your microphone is connected, setting up the microphone input in Garageband becomes a pivotal step in optimizing the recording environment. Configuring the input settings, adjusting levels, and monitoring the input signal ensure that your recordings are characterized by clarity, balance, and precision.
Testing and adjusting the microphone levels further refines the recording process, allowing you to capture audio with the desired tonal characteristics and dynamic range. By fine-tuning the microphone levels, you can mitigate potential issues such as distortion and ensure that your recordings exhibit professional-grade fidelity.
Ultimately, the seamless integration of your microphone with Garageband empowers you to unleash your creativity and produce captivating audio content. Whether you’re a musician, podcaster, content creator, or voiceover artist, the ability to connect and optimize your microphone within Garageband is a gateway to expressing your artistry with uncompromising audio quality.
As you embark on your audio production journey, remember that the process of connecting a microphone to Garageband is not merely about technical setup; it’s about channeling your passion and creativity through the art of sound. By mastering the integration of your microphone with Garageband, you embark on a path where your sonic aspirations can flourish, resonating with clarity, emotion, and impact.