Home>Production & Technology>Metronome>How Adjust The Speed Of A Metronome In Reaper
Metronome
How Adjust The Speed Of A Metronome In Reaper
Published: January 14, 2024
Learn how to adjust the speed of a metronome in Reaper with our step-by-step guide. Improve your timing and tempo control.
(Many of the links in this article redirect to a specific reviewed product. Your purchase of these products through affiliate links helps to generate commission for AudioLover.com, at no extra cost. Learn more)
Table of Contents
Introduction
Welcome to the world of music production! Whether you’re a beginner or a seasoned musician, you’ve likely encountered the need for a metronome. A metronome is an essential tool that helps musicians keep time and maintain a consistent tempo while playing or recording music. In this article, we will explore how to adjust the speed of a metronome in Reaper, a popular digital audio workstation (DAW) that is widely used in the music production industry.
Reaper is known for its versatility and powerful features, making it a top choice for musicians and producers around the world. One of its handy features is the built-in metronome, which allows users to set the desired tempo for their projects. By adjusting the metronome speed, you can ensure that your music stays in sync and flows smoothly.
Whether you are working on a tight deadline, recording a live performance, or simply practicing your instrument, having the ability to control the speed of your metronome is crucial. With Reaper, you have the flexibility to adjust the tempo to your exact preference, enabling you to create music with precision and accuracy.
In the following sections, we will delve into the process of adjusting the speed of a metronome in Reaper. We will provide step-by-step instructions, so even if you are new to the software, you’ll be able to follow along and make the necessary adjustments to enhance your music production experience.
What is a Metronome?
A metronome is a musical device that helps musicians keep time and maintain a steady tempo while playing or practicing music. It is a valuable tool for both beginner and professional musicians alike, as it allows them to develop their sense of rhythm and timing.
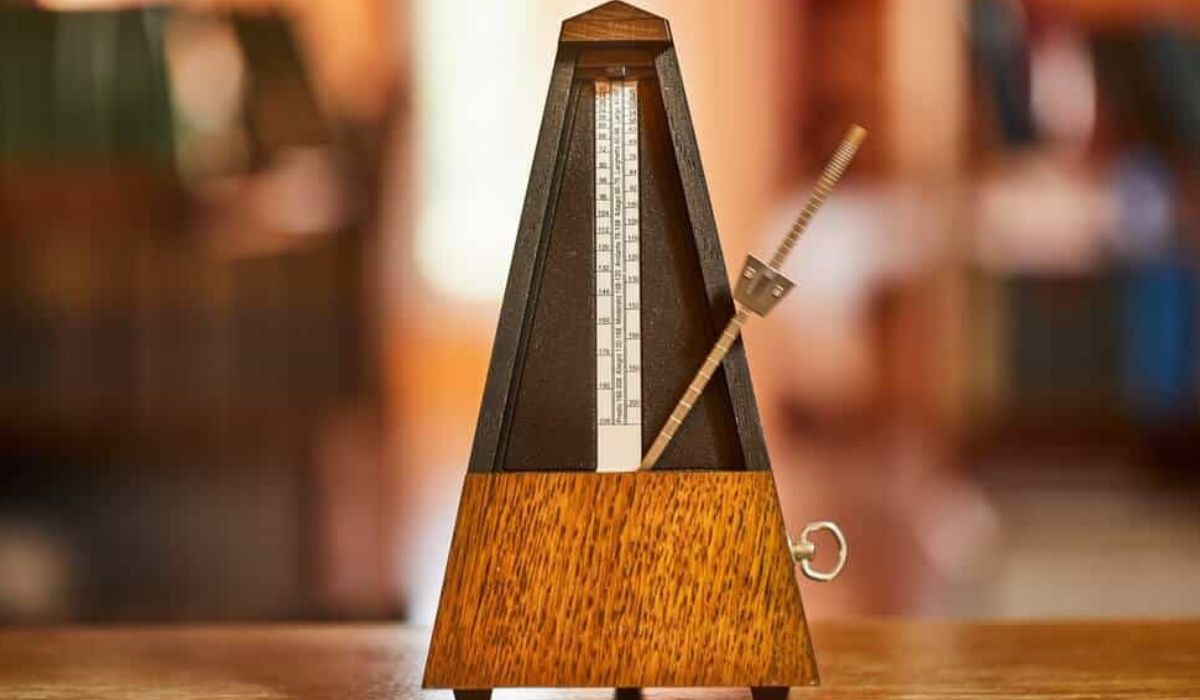
Traditionally, a metronome is a mechanical device that produces a series of audible clicks or ticks at regular intervals. These ticks can be set to a specific tempo, which is measured in beats per minute (BPM). The metronome acts as a steady guide, providing a constant reference point for musicians to play along with.
In modern times, metronomes have evolved to include digital versions, both as standalone devices and software applications. These digital metronomes offer more advanced features and customization options. They can produce a variety of sounds, offer visual cues, and allow precise adjustments to tempo and time signature.
The primary purpose of a metronome is to improve a musician’s timing and rhythmic accuracy. By practicing with a metronome, musicians can develop a more consistent sense of tempo, which is crucial for ensemble playing or recording in a studio setting. It helps musicians stay synchronized, stay on beat, and maintain a steady rhythm throughout a performance.
Metronomes are commonly used in various music genres, including classical, jazz, rock, pop, and many others. They are not only valuable for instrumentalists but also for vocalists who need to maintain a consistent tempo while singing or delivering a melodic phrase.
Overall, a metronome is an indispensable tool for musicians of all levels, from beginners to professionals. It promotes discipline, precision, and accuracy in music performance and production, making it an essential component of any musician’s toolkit.
Understanding Reaper
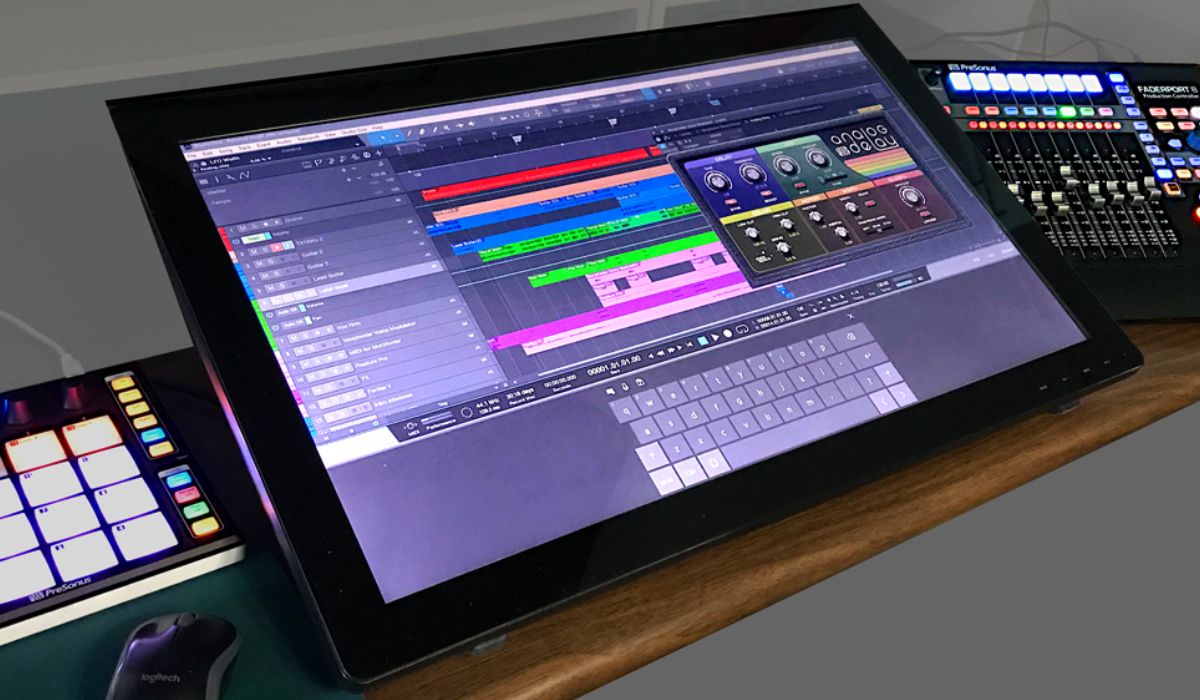
Before we dive into adjusting the speed of a metronome in Reaper, let’s take a moment to familiarize ourselves with the software. Reaper is a powerful digital audio workstation (DAW) that is widely used by musicians, producers, and audio engineers for recording, editing, and mixing music.
Reaper offers a user-friendly interface that caters to both beginners and experienced users. It provides a comprehensive set of tools and features that allow you to create professional-quality music. From multi-track recording to flexible audio routing and extensive plugin support, Reaper offers a robust and customizable environment for music production.
One of the standout features of Reaper is its efficiency and low resource footprint, allowing it to run smoothly even on less powerful computers. This makes it a popular choice for musicians and producers who value performance and stability.
Reaper supports a wide range of audio formats and offers advanced audio editing capabilities such as time-stretching, pitch-shifting, and spectral editing. It also includes built-in virtual instruments and effects, as well as support for external plugins, giving you endless possibilities for sound shaping and experimentation.
Another noteworthy aspect of Reaper is its extensive customization options. You can customize the layout, keyboard shortcuts, and appearance of the software to suit your workflow and personal preferences. This flexibility makes Reaper an adaptable tool that can cater to different music production styles and workflows.
Whether you are a singer-songwriter recording vocals and acoustic instruments, a producer working with electronic music, or a composer scoring for film and television, Reaper provides the tools and flexibility to bring your musical ideas to life.
Now that we have a basic understanding of Reaper, we can proceed to explore how to adjust the speed of a metronome in this powerful DAW. By making use of this feature, you can ensure that your music stays in perfect time while you focus on creating and performing.
Adjusting the Speed of a Metronome in Reaper
Now that we are familiar with Reaper, let’s dive into the process of adjusting the speed of a metronome within the software. By following these steps, you’ll be able to fine-tune the metronome’s tempo to suit your musical needs:
Step 1: Opening the Metronome Settings
The first step is to locate the metronome settings within Reaper. To do this, go to the top menu and click on “Options.” From the drop-down menu, select “Preferences.” This will open up the preferences window.
Within the preferences window, look for the “Project” category. Click on it to expand the options, and then select “Metronome/Sync.” This will take you to the metronome settings.
Step 2: Changing the Metronome Speed
Once you’re in the metronome settings, you will see various options that you can modify. Look for the “Timebase” section, which allows you to adjust the metronome’s timing.
You can adjust the metronome speed by changing the “BPM” (beats per minute) value. You can either type in a specific BPM value or use the arrows to increase or decrease the tempo incrementally. Play around with the BPM value until you find the desired speed for your metronome.
In addition to the BPM value, you may have other customization options such as the metronome sound, accent beat, or pre-roll settings. Feel free to explore these options and tweak them to your liking.
Step 3: Testing the Adjusted Metronome Speed
After making adjustments to the metronome speed, it’s essential to test it to ensure that it meets your requirements. Create a new project or open an existing one and activate the metronome by enabling the record and playback buttons.
Start playing or recording and listen to the metronome’s clicks or ticks. Pay attention to the tempo and see if it aligns with your desired timing. If needed, go back to the metronome settings and make further adjustments until you achieve the desired tempo for your musical project.
Remember, the metronome is meant to be a helpful tool that keeps you in time and aids your music production process. Spend some time experimenting with different tempos to find the sweet spot that complements your musical style and enhances your overall performance.
By following these simple steps, you can easily adjust the speed of the metronome in Reaper and have full control over your music’s timing and groove. Whether you’re practicing, recording, or producing, the metronome feature in Reaper will be an invaluable asset to your music production toolkit.
Step 1: Opening the Metronome Settings
Before you can start adjusting the speed of the metronome in Reaper, you need to access the metronome settings within the software. Follow these steps to open the metronome settings:
- Launch Reaper on your computer and open the project in which you want to adjust the metronome speed.
- In the top menu, click on “Options” to reveal a drop-down menu. From the options listed, select “Preferences.” This will open the preferences window.
- Within the preferences window, locate and click on the “Project” category. This will expand the options for project settings.
- Look for and select “Metronome/Sync” from the expanded project settings options. This will take you to the metronome settings.
Once you have followed these steps, you should now have the metronome settings window in front of you, ready to make adjustments to the metronome speed and other related parameters.
Opening the metronome settings in Reaper is an essential first step as it provides access to all the necessary options for customizing the metronome to your desired specifications. From here, you can proceed to the next steps to fine-tune the metronome speed and optimize it according to your musical needs.
Reaper’s intuitive interface and easy-to-navigate options make it user-friendly even for those new to the software. By following these steps, you will be well on your way to adjusting the metronome speed and experiencing the benefits of a synchronized and reliable timing reference as you work on your musical projects.
Step 2: Changing the Metronome Speed
Once you have accessed the metronome settings in Reaper, you can proceed to adjust the speed of the metronome by following these simple steps:
- In the metronome settings window, locate the “Timebase” section. This is where you can make changes to the metronome’s timing properties.
- Look for the “BPM” (beats per minute) value, which represents the tempo of the metronome. This is the value you will modify to change the speed.
- You can either manually type a specific BPM value into the input field or use the up and down arrows next to it to increase or decrease the tempo incrementally.
- Experiment with different BPM values to find the speed that suits your musical needs. If you’re unsure where to start, a typical tempo range for a metronome is between 40 BPM and 220 BPM.
Changing the metronome speed allows you to adapt it to different musical styles or specific sections of your composition. For example, you might want a slower tempo for a delicate ballad or a faster tempo for a lively rock riff.
Besides adjusting the BPM value, you may also have additional customization options available, depending on the metronome settings in Reaper. These options can include selecting a different metronome sound, setting an accent beat, or even enabling a pre-roll before the playback starts.
Feel free to explore these options and make further adjustments to enhance your metronome experience in Reaper. The goal is to find a metronome speed that keeps you in perfect time and brings out the best in your musical performance.
Remember, the metronome is a tool that helps you maintain a consistent tempo and improve your rhythmic accuracy. Adjusting the metronome speed to your preference allows you to stay in control of the timing as you work on your musical projects in Reaper.
Once you have made the desired changes to the metronome speed and other related settings, you’re ready to move on to the next step and test the adjusted metronome speed in action.
Step 3: Testing the Adjusted Metronome Speed
After you have made adjustments to the metronome speed in Reaper, it’s important to test and evaluate the changes to ensure they meet your musical needs. Follow these steps to test the adjusted metronome speed:
- Create a new project in Reaper or open an existing one where you intend to use the metronome.
- Activate the metronome by enabling the record and playback buttons in the transport toolbar. This ensures that you will hear the metronome clicks or ticks during playback.
- Start playing your instrument or recording your musical parts while listening to the metronome clicks or ticks. Pay close attention to the timing and tempo to determine if it aligns with your desired speed.
- If the timing feels off or the tempo doesn’t feel right, return to the metronome settings in Reaper and make further adjustments to the BPM value.
- Replay or record your musical parts and listen again to assess the changes. Repeat this process until you find the perfect metronome speed that suits your musical project.
Testing the adjusted metronome speed is crucial to ensure that your music stays in time and maintains a consistent tempo. It allows you to verify that the metronome is providing an accurate and reliable timing reference for your recordings or live performances.
Keep in mind that the metronome is meant to be a helpful tool, providing a steady beat and aiding your musical performance. Pay attention to how the adjusted metronome speed feels and whether it enhances your sense of rhythm and timing.
During the testing phase, be open to fine-tuning the metronome speed based on your musical preferences and the specific needs of your project. Finding the right balance between precision and musical feel is essential for creating engaging and cohesive music.
By following these steps and actively listening to the adjusted metronome speed, you’ll be able to ensure that your music remains in sync and flows smoothly, allowing you to focus on your creative process with confidence.
Once you are satisfied with the tested and adjusted metronome speed, you can continue working on your musical project, recording, or practicing with the metronome as your reliable timing companion in Reaper.
Conclusion
Adjusting the speed of a metronome in Reaper is a valuable tool for musicians and music producers. By following the steps outlined in this article, you can easily fine-tune the metronome speed to ensure your music stays in perfect time and maintains a consistent tempo.
Reaper’s intuitive interface and customizable features make it a powerful digital audio workstation that caters to the needs of musicians at all levels. With the metronome settings accessible within Reaper, you have the flexibility to customize the metronome speed and other parameters to suit your musical preferences and project requirements.
The process of adjusting the metronome speed in Reaper involves opening the metronome settings, changing the BPM value to modify the speed, and testing the adjusted metronome speed to ensure it aligns with your musical intentions.
By using the metronome as a reliable timing reference, you can improve your sense of rhythm, enhance your musical performances, and create professional-quality recordings. Whether you’re practicing your instrument, recording a song, or working on a complex arrangement, the metronome in Reaper will be a valuable aid in your music production journey.
Remember to experiment with different metronome speeds and find the tempo that best suits your musical style and project requirements. The ability to control the metronome speed allows you to adapt to different musical genres, moods, and sections of your compositions.
So, whether you’re a beginner musician looking to develop your sense of timing or a seasoned producer striving for a perfect rhythm, take advantage of the metronome feature in Reaper and make the most of your music production experience.
With a little practice and experimentation, you’ll find that adjusting the speed of the metronome in Reaper becomes second nature, enhancing your musical journey and helping you create music that is precise, engaging, and full of rhythm.