Home>Production & Technology>Metronome>How To Adjust Metronome Volume Studio One 4
Metronome
How To Adjust Metronome Volume Studio One 4
Published: January 13, 2024
Learn how to adjust the metronome volume in Studio One 4 and keep your timing on point. Enhance your music production workflow with this essential skill.
(Many of the links in this article redirect to a specific reviewed product. Your purchase of these products through affiliate links helps to generate commission for AudioLover.com, at no extra cost. Learn more)
Table of Contents
Introduction
Welcome to the world of Studio One 4, a powerful digital audio workstation that empowers musicians and producers to create professional-level music with ease. One of the essential elements in music production is the metronome, a tool used to maintain a steady tempo throughout a performance or recording session. The metronome not only helps to keep musicians in sync but also serves as a valuable practice tool for developing timing and rhythm skills.
In this article, we will explore the process of adjusting the metronome volume in Studio One 4. Whether you’re a seasoned musician or just starting your musical journey, having control over the metronome volume is crucial for an optimal recording or practice experience. By being able to adjust the volume, you can ensure it is audible enough to guide your performance without overwhelming other elements in your mix.
Studio One 4 offers a comprehensive set of tools and features that allow users to customize their metronome settings to suit their specific needs. With just a few simple steps, you can easily modify the metronome volume to achieve the desired level of prominence in your workflow.
So, whether you’re a guitarist laying down a new riff, a singer recording a vocal track, or a producer fine-tuning your mix, understanding how to adjust the metronome volume in Studio One 4 will undoubtedly enhance your musical experience.
Purpose of the Article
The purpose of this article is to guide users of Studio One 4 in adjusting the metronome volume effectively. By providing step-by-step instructions and an overview of the process, this article aims to empower musicians and producers to take control of their metronome settings and optimize their music production experience.
Understanding how to adjust the metronome volume is essential for several reasons. First and foremost, it allows musicians to strike the right balance between hearing the metronome clearly and preserving the integrity of other audio elements in the mix. When recording or practicing with multiple instruments or tracks, it’s crucial to ensure the metronome is audible enough to guide your performance without overpowering other components.
Additionally, being able to adjust the metronome volume in Studio One 4 grants users the flexibility to customize their workflow based on personal preferences. Some musicians may prefer a more prominent metronome sound, while others may desire a subtle background beat. By being able to control the volume, you can tailor the metronome to suit your specific needs, enhancing your overall recording and practice sessions.
Furthermore, understanding how to adjust the metronome volume can help improve the accuracy and precision of your musical performances. The metronome serves as a timing reference, keeping musicians in sync and ensuring a consistent tempo throughout the composition. By being able to clearly hear the metronome, you can develop better timing and rhythm skills, leading to more polished and professional musical executions.
Whether you’re a beginner or an experienced musician, having control over the metronome volume in Studio One 4 is a valuable skill that can greatly enhance your music production journey. This article serves as a comprehensive guide to help you navigate the metronome settings and make the necessary adjustments to achieve the optimum metronome volume for your specific needs.
Overview of Studio One 4
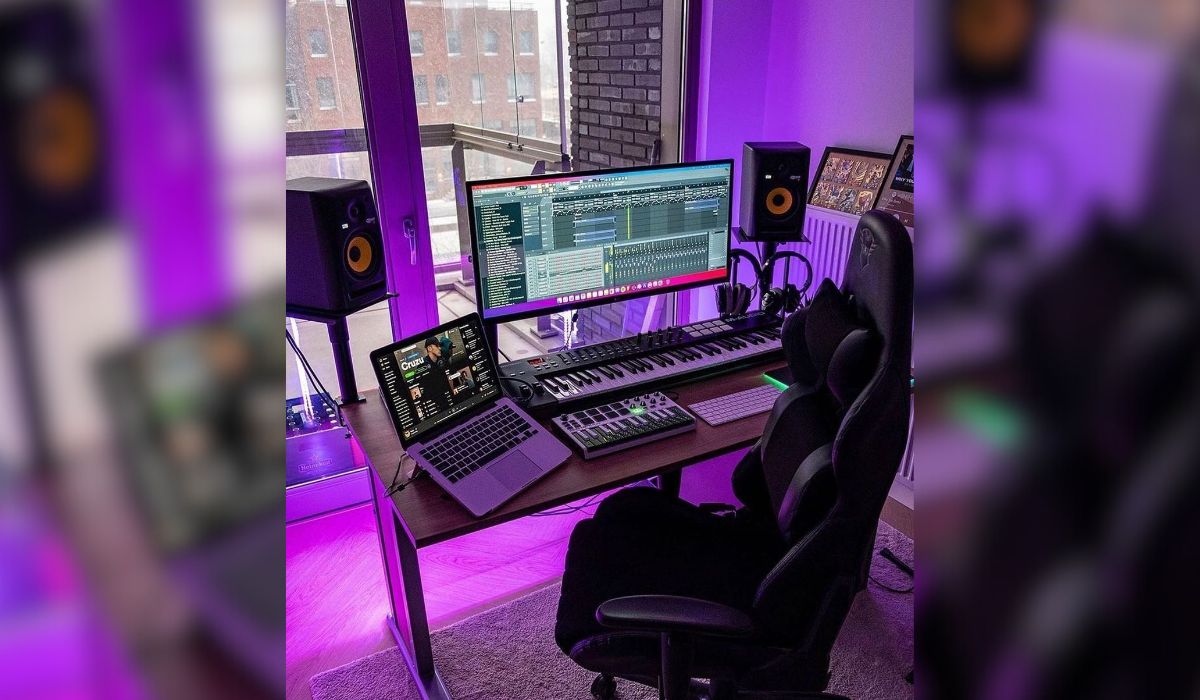
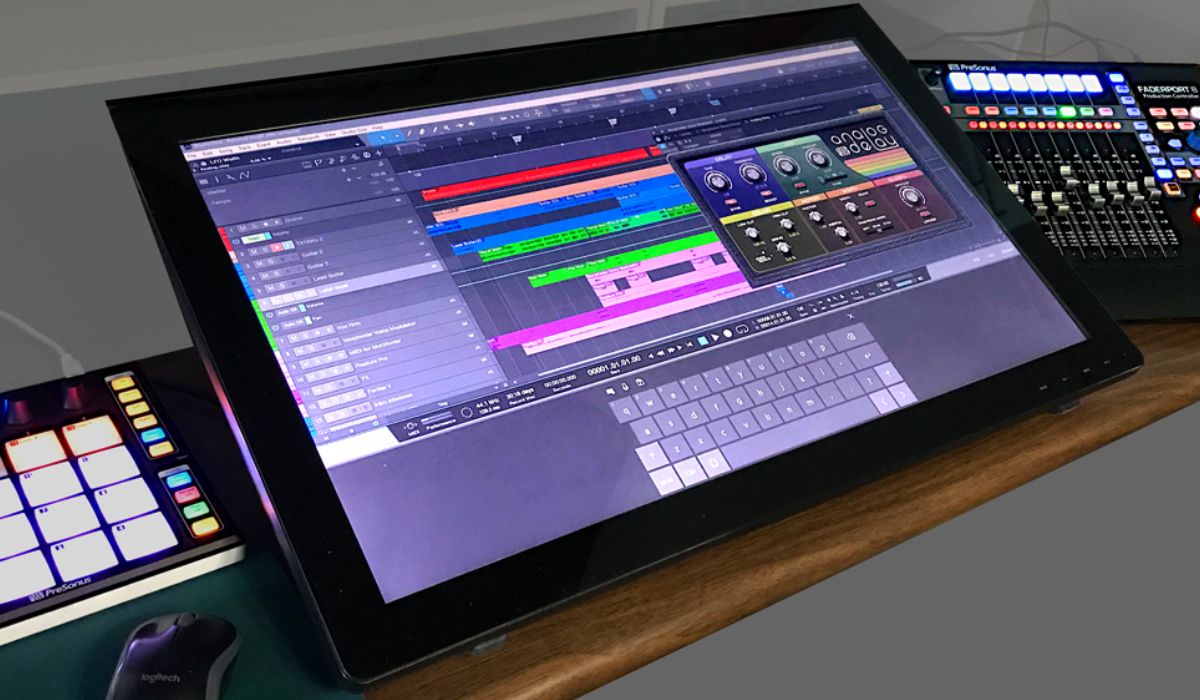
Studio One 4 is a powerful digital audio workstation (DAW) developed by PreSonus, designed to facilitate music production and recording processes. With its intuitive interface and plethora of innovative features, Studio One 4 has become a popular choice among musicians, producers, and audio engineers.
One of the standout features of Studio One 4 is its user-friendly interface, which makes it accessible to both beginners and professionals alike. The drag-and-drop functionality allows for seamless arrangement and manipulation of audio and MIDI clips, making the composition process smooth and efficient.
Studio One 4 also boasts an impressive collection of virtual instruments and effects, enabling users to explore and experiment with a diverse range of sounds. From realistic orchestral samples to cutting-edge synthesizers and virtual drum kits, Studio One 4 offers a comprehensive library of tools to enhance your creative endeavors.
In addition to its extensive sound library, Studio One 4 also supports third-party plugins, allowing users to expand their sonic palette even further. This versatility makes Studio One 4 a go-to choice for those seeking to customize their sound and experiment with different audio processing techniques.
Flexibility and versatility are key aspects of Studio One 4, evident in its advanced automation capabilities. Users can automate various parameters, such as volume, panning, and plugin parameters, to bring their tracks to life and add expressive nuances to their mixes.
Collaboration is made easy with Studio One 4’s robust sharing and collaboration features. Whether working with a team or seeking feedback from fellow musicians, Studio One 4 provides a streamlined environment for seamless project sharing and collaboration.
Overall, Studio One 4 is a comprehensive DAW with a wide range of features and tools to support musicians and producers in their creative endeavors. Its intuitive interface, powerful virtual instruments, and extensive plugin support make it a versatile and user-friendly choice for music production, including the task of adjusting the metronome volume.
Importance of Adjusting Metronome Volume
Adjusting the metronome volume in Studio One 4 plays a crucial role in the music production process. Here are a few reasons why it is important:
1. Timing and Rhythm: The metronome serves as a rhythmic guide, ensuring that all musicians stay in sync and maintain a consistent tempo throughout the composition. By adjusting the metronome volume to a comfortable level, musicians can develop their timing and rhythm skills, leading to more accurate and precise performances.
2. Focus and Concentration: A properly adjusted metronome volume can help musicians maintain focus and concentration during recording or practice sessions. It provides a steady auditory cue, helping to eliminate distractions and keep musicians engaged in the music-making process.
3. Balance in the Mix: When recording or practicing with multiple instruments or tracks, it is important to find the right balance between the metronome and other audio elements. By adjusting the metronome volume, you can ensure it is audible enough to guide your performance without overpowering other instruments or tracks in the mix.
4. Customization: Each musician has unique preferences when it comes to the metronome. Some may prefer a more prominent and assertive metronome sound, while others may prefer a softer and more subtle beat. Being able to adjust the metronome volume in Studio One 4 allows musicians to tailor it to their specific liking, enhancing their overall recording and practice experience.
5. Recording Accuracy: When recording to a click track, adjusting the metronome volume is crucial to ensure accurate and tight performances. A well-balanced metronome level gives the musician a clear and consistent beat to follow, resulting in more precise recordings.
6. Dynamic Playing: Musicians often vary their dynamics while performing, playing some parts louder or softer to create a sense of expression and emotion. Adjusting the metronome volume can help musicians strike the right balance between their dynamic playing and the steady beat of the metronome, resulting in a more cohesive and impactful musical performance.
Overall, adjusting the metronome volume in Studio One 4 is not only important for maintaining timing and rhythm but also for creating a comfortable and focused environment for musicians to perform and practice. It allows for customization, balance in the mix, and enhances the overall accuracy and quality of recordings. By understanding and utilizing the metronome volume adjustment feature, musicians can elevate their musical performances to new heights.
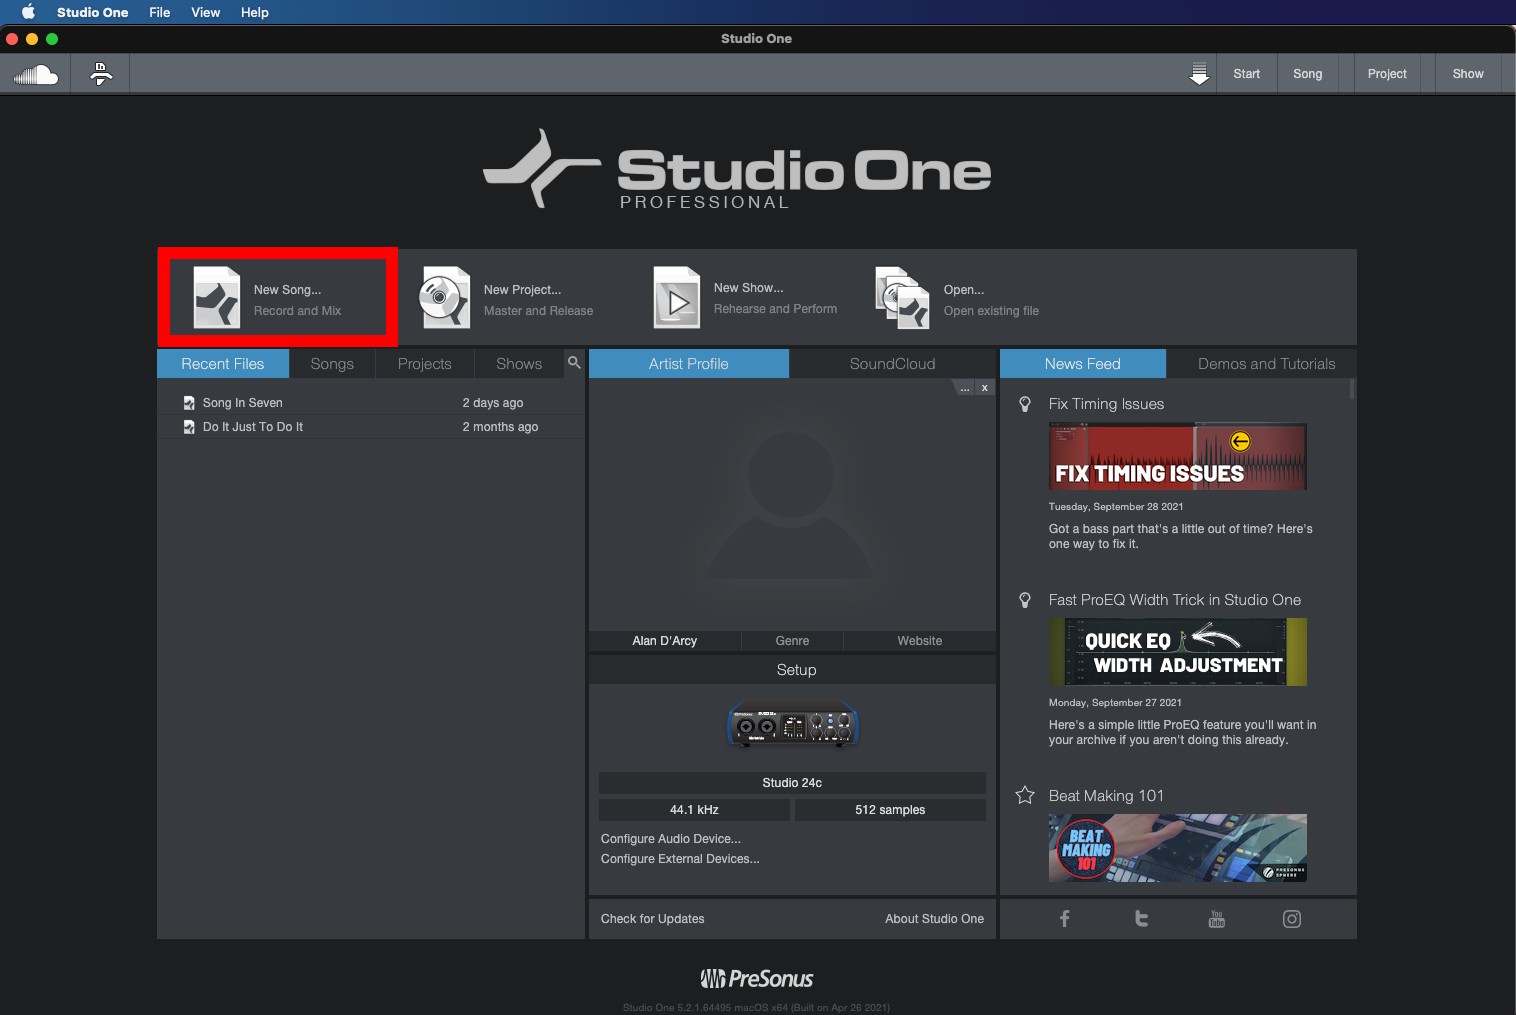
Step 1: Opening Studio One 4
The first step in adjusting the metronome volume in Studio One 4 is to open the software. Follow these instructions to get started:
1. Launch Studio One 4: Locate the Studio One 4 icon on your computer’s desktop or in your applications folder. Double-click on the icon to open the software. It may take a few moments for Studio One 4 to load, depending on your computer’s speed.
2. Create a New Song or Open an Existing Project: Once Studio One 4 is open, you will have the option to either create a new song or open an existing project. Choose the appropriate option based on your needs. If you’re starting fresh, select “New Song” to create a new project. If you’re working on an existing project, select “Open” to access your saved files.
3. Select the Song or Project Template: Studio One 4 offers a variety of song and project templates to choose from. These templates provide a starting point with pre-configured settings for different musical genres and production styles. Select the template that best suits your needs or choose the “Empty Song” option if you prefer to start from scratch.
4. Wait for the Project to Load: Once you have selected the song or project template, Studio One 4 will load the project and display the main workspace. Depending on the size and complexity of the project, it may take a few moments for all the tracks, plugins, and settings to load.
5. Familiarize Yourself with the Studio One 4 Interface: Take a moment to explore the Studio One 4 interface. Familiarize yourself with the various sections, such as the arrangement view, mixer, browser, and transport controls. Understanding the layout and functionality of Studio One 4 will make it easier to navigate and locate the metronome volume settings.
Now that you have successfully opened Studio One 4 and are familiar with the project workspace, you are ready to proceed to the next step: accessing the metronome settings.
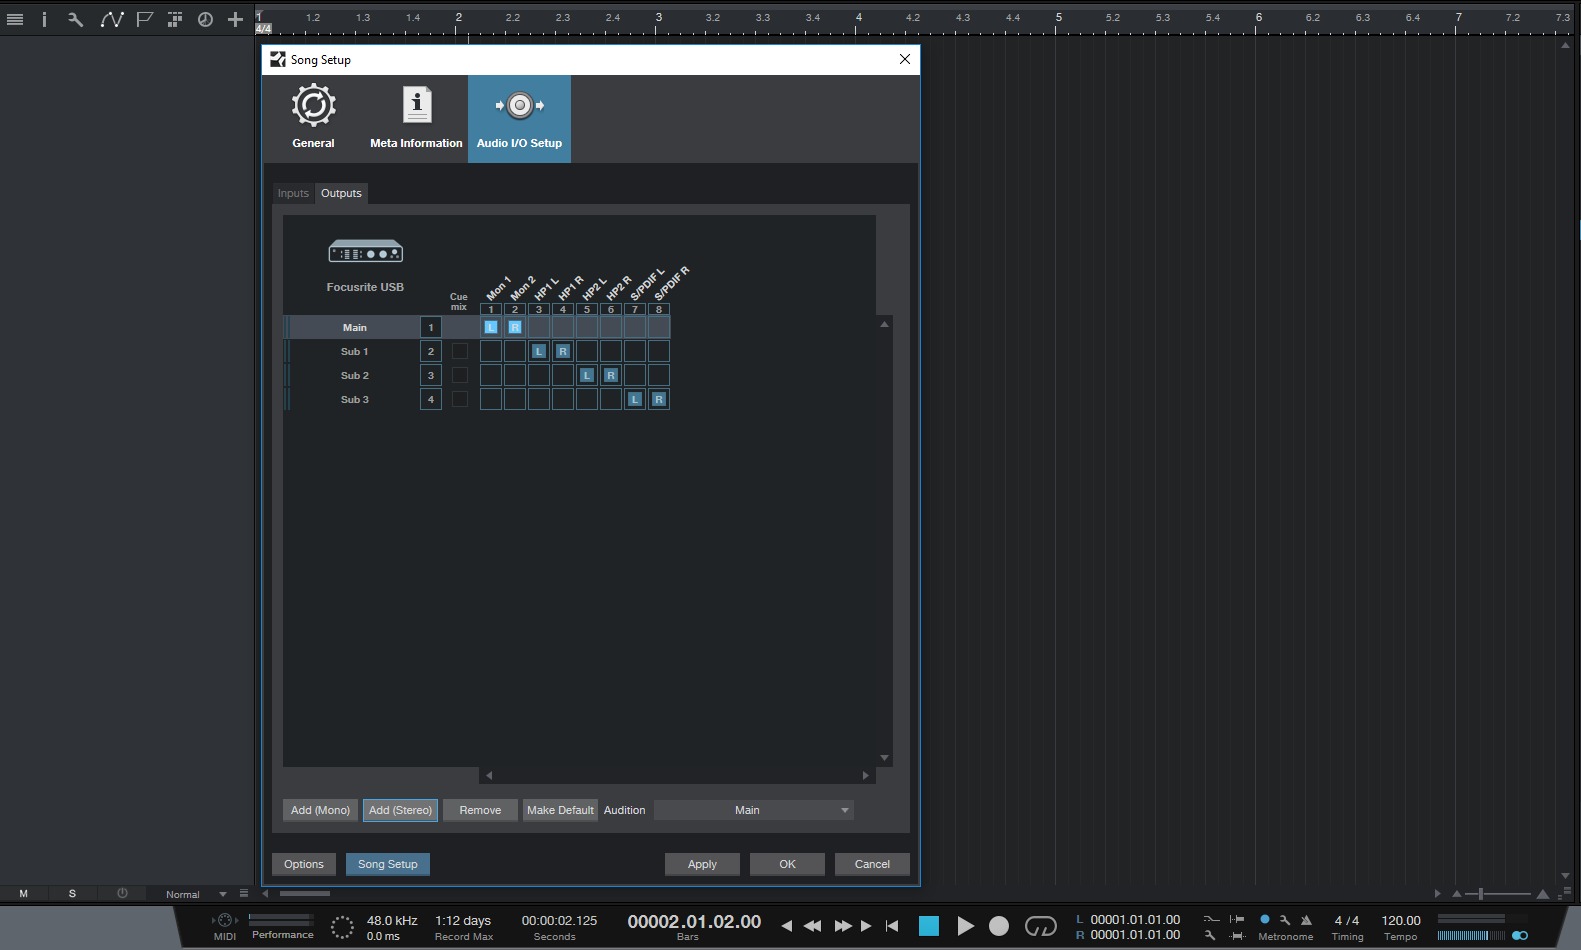
Step 2: Accessing the Metronome Settings
Once you have opened Studio One 4, the next step is to access the metronome settings. Follow these instructions to locate the metronome settings:
1. Locate the Control Bar: The Control Bar is located at the top of the Studio One 4 interface. It contains various controls and functions that are essential for music production. Look for the toolbar that includes buttons for transport control, tempo adjustment, metronome, and more.
2. Enable the Metronome: If the metronome is not already enabled, click on the metronome button in the Control Bar to activate it. The metronome button typically looks like a small speaker or a musical note. Once enabled, you will start hearing the metronome ticking at a default volume.
3. Access the Metronome Settings: To access the metronome settings, right-click on the metronome button in the Control Bar. A pop-up menu will appear with various options related to the metronome, including the metronome settings.
4. Select “Metronome Setup” or “Metronome Options”: In the pop-up menu, look for an option like “Metronome Setup” or “Metronome Options” and click on it. This will open a new window or dialog box specifically for configuring the metronome settings in Studio One 4.
5. Explore the Metronome Setup Window: The Metronome Setup window will provide you with a range of options to customize the metronome settings. Here, you can adjust the volume of the metronome, choose different sound options, set the time signature, and more. Take some time to explore the available settings and familiarize yourself with the options.
6. Adjust the Metronome Volume: Within the Metronome Setup window, you will find a slider or numerical value that allows you to adjust the metronome volume. Move the slider or enter a value to increase or decrease the volume level according to your preference. You can either set it to a fixed volume or use the master volume control to adjust it in real-time.
7. Confirm and Save the Changes: Once you have adjusted the metronome volume to your liking, click on the “OK” or “Apply” button within the Metronome Setup window to save the changes. The metronome will now play at the newly adjusted volume level whenever you activate it.
Now that you have successfully accessed the metronome settings in Studio One 4 and adjusted the volume, you are ready to move on to the next step: testing the metronome volume adjustment.
Step 3: Adjusting the Metronome Volume
Now that you have accessed the metronome settings in Studio One 4, it’s time to adjust the volume. Follow these instructions to adjust the metronome volume to your desired level:
1. Locate the Volume Control: Within the Metronome Setup or Metronome Options window, you will find a volume control or slider specifically for adjusting the metronome volume. Look for a slider labeled “Volume” or a numerical value representing the volume level.
2. Increase or Decrease the Volume: Depending on your preference, you can increase or decrease the metronome volume by moving the slider to the right or left. Moving the slider towards the right will increase the volume, while moving it towards the left will decrease the volume.
3. Test the Volume Level: As you adjust the metronome volume, it’s important to test it to ensure it’s at the desired level. Click on the metronome button in the Control Bar to activate the metronome and listen to the volume. If it’s too loud, lower the volume further. If it’s too quiet, increase the volume accordingly.
4. Fine-Tune the Volume: If you need more precise control over the metronome volume, some metronome settings may provide additional options, such as a numerical input or a fine-tune adjustment. Use these options to further refine the volume to your preferred level.
5. Save the Changes: Once you are satisfied with the adjusted metronome volume, click on the “OK” or “Apply” button within the Metronome Setup or Metronome Options window to save the changes. The metronome will now play at the newly adjusted volume level whenever it is activated.
Remember that finding the right balance between the metronome volume and other audio elements in your mix is crucial. Ensure that the metronome is audible enough to guide your performance without overpowering other instruments or tracks.
By adjusting the metronome volume in Studio One 4, you have taken control over this essential tool, allowing for a more personalized and enjoyable music production experience.
Continue to the next step to test the metronome volume adjustment and ensure that it aligns with your preferences.
Step 4: Testing the Metronome Volume Adjustment
After adjusting the metronome volume in Studio One 4, it’s important to test the changes to ensure that the volume level aligns with your preferences. Follow these steps to test the metronome volume adjustment:
1. Activate the Metronome: Click on the metronome button in the Control Bar to activate the metronome. You should now hear the metronome ticking according to the adjusted volume level.
2. Listen to the Metronome: Pay close attention to the metronome sound as you listen to it playing along with your music or during a practice session. Is the volume level too loud, overpowering other elements in your mix? Or is it too quiet, making it difficult to hear and follow? Take note of your initial impression.
3. Evaluate the Balancing: While the metronome is playing, listen to how it balances with other audio elements, such as instruments, vocals, or backing tracks. Is it audible enough to guide your performance without overwhelming other components? Does it blend well with the overall mix? Consider the overall balance and make adjustments if necessary.
4. Fine-Tune the Volume: If you feel that the metronome volume needs further adjustment, go back to the metronome settings and make any necessary changes. Use the volume control or slider to increase or decrease the volume incrementally until you achieve the desired balance in your mix.
5. Repeat the Testing: After making further adjustments, repeat the testing process by activating the metronome and listening to its volume and balancing within the mix. Continue to fine-tune the volume if needed until you are satisfied with the results.
6. Save the Changes: Once you are happy with the metronome volume and its balance in your mix, save the project to preserve the settings for future use. This way, the adjusted metronome volume will be retained for future recording or practice sessions.
By thoroughly testing the metronome volume adjustment, you can ensure that it enhances your music production and practice experience. A properly adjusted metronome volume will provide the necessary guidance and timing reference without overpowering or being too subtle in your mix, leading to more accurate and polished performances.
With the metronome volume now adjusted and tested, you can confidently proceed with your recording sessions, practice sessions, or any other musical endeavors in Studio One 4.
Conclusion
Adjusting the metronome volume in Studio One 4 is an essential step in the music production process. By following the steps outlined in this article, you can take control of the metronome and ensure that it fits seamlessly into your workflow.
We began by introducing Studio One 4, a powerful digital audio workstation known for its intuitive interface and extensive features. We then discussed the importance of adjusting the metronome volume, emphasizing how it contributes to timing, focus, balance in the mix, customization, recording accuracy, and dynamic playing.
Next, we provided a step-by-step guide on opening Studio One 4, accessing the metronome settings, adjusting the volume, and testing the changes. We highlighted the significance of finding the right balance between the metronome and other audio elements for an optimal music production experience.
By adjusting the metronome volume, you can enhance your timing and rhythm skills, maintain focus during recording or practice sessions, and create a comfortable and balanced mix. Additionally, Studio One 4’s customizable features allow you to tailor the metronome volume to your liking and achieve accurate and precise recordings.
In conclusion, understanding how to adjust the metronome volume in Studio One 4 is a valuable skill that can elevate your music production journey. By mastering this technique, you can optimize your timing, rhythm, and overall performance, leading to more polished and professional results.
So, take the time to explore Studio One 4, follow the steps provided in this article, and experiment with the metronome volume settings to find the perfect balance for your music. Embrace the power of the metronome and unlock your true musical potential in Studio One 4!