Home>Events & Info>Playback>How To Loop Playback Reaper

Playback
How To Loop Playback Reaper
Modified: January 22, 2024
Learn how to loop playback in Reaper with this comprehensive tutorial. Master the art of seamless playback control and enhance your music production workflow.
(Many of the links in this article redirect to a specific reviewed product. Your purchase of these products through affiliate links helps to generate commission for AudioLover.com, at no extra cost. Learn more)
Table of Contents
Introduction
Welcome to the world of Reaper, a powerful digital audio workstation (DAW) that offers a wide range of features for recording, editing, and mixing audio. One of the standout features of Reaper is its ability to loop playback, allowing you to repeat a section of audio seamlessly. Loop playback is particularly useful for practicing musical instruments, transcribing music, or creating repetitive musical patterns. In this article, we’ll explore how to loop playback in Reaper, step by step.
Whether you’re a beginner or an experienced user, learning how to loop playback in Reaper can greatly enhance your productivity and creativity. It allows you to focus on specific sections of your audio and make precise edits, saving you time and effort. Additionally, being able to hear a section of audio repeatedly can help you identify and fix any mistakes or inconsistencies in your recordings.
If you’re new to Reaper, don’t worry – we’ll guide you through the process and ensure you understand each step. By the end of this article, you’ll be able to confidently loop playback in Reaper and take advantage of this powerful feature.
Step 1: Opening Reaper
The first step to loop playback in Reaper is to open the software on your computer. If you haven’t already, you can download the latest version of Reaper from the official Cockos website and follow the installation instructions.
Once Reaper is installed, locate the application icon on your desktop or in your designated applications folder, and double-click to launch the program. Reaper will start up, and you’ll be greeted with its main interface.
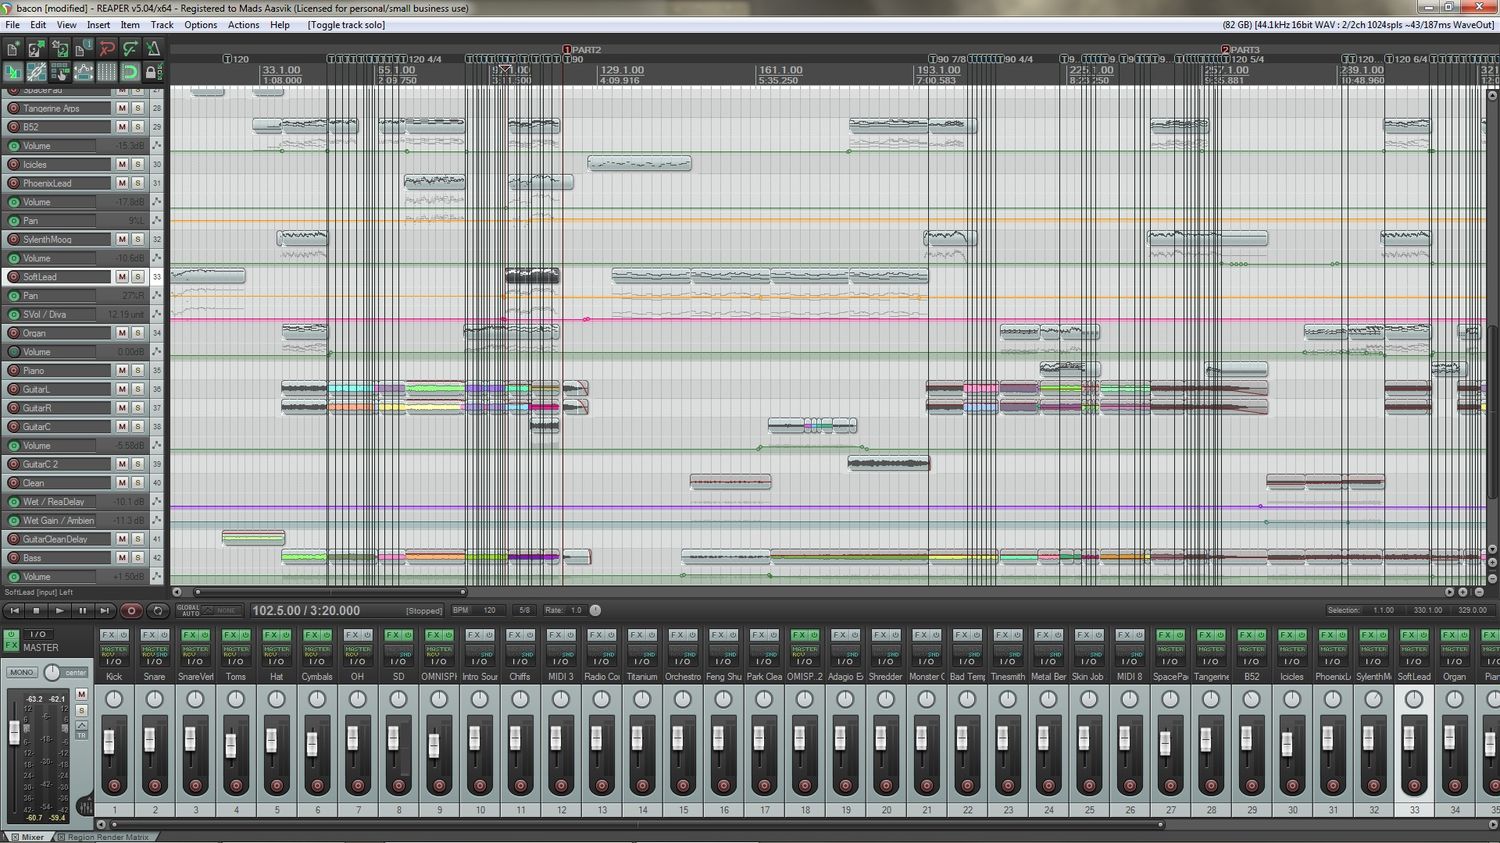
The Reaper interface is highly customizable, allowing you to arrange and resize various windows, panels, and tools according to your preference. By default, you’ll see the main arrangement view, where you can create and arrange tracks, add effects, and work with your audio.
Before we start looping playback, it’s important to have some audio files loaded into Reaper. If you already have audio files you want to work with, you can skip to step 2. If not, let’s quickly cover how to import audio files into Reaper.
To import audio files, go to the File menu at the top of the Reaper window and select “Import.” Alternatively, you can use the shortcut Ctrl+Shift+I (Windows) or Command+Shift+I (Mac). This will open the File Browser, where you can navigate to the location of your audio files.
Once you’ve located the audio files you want to import, select them and click the “Open” button. Reaper will import the audio files into your project, and you’ll see them appear as individual tracks in the arrangement view.
Now that you have Reaper open and your audio files imported, you’re ready to move on to the next step: setting up the loop region.
Step 2: Importing Audio Files
In order to loop playback in Reaper, you need to have audio files loaded into your project. If you already have audio files that you want to work with, you can skip to the next step. Otherwise, let’s learn how to import audio files into Reaper.
To import audio files, you can follow these simple steps:
- Click on the “File” menu at the top of the Reaper window.
- Select “Import” from the drop-down menu.
- A file browser window will open, allowing you to navigate to the location of your audio files.
- Select the audio files you want to import by clicking on them.
- Click the “Open” button to import the selected audio files into Reaper.
Once you have imported the audio files, you will see them appear as individual tracks in the Reaper interface. Each track represents a separate audio file, and you can arrange them in any order you desire.
Reaper supports a wide range of audio file formats, including WAV, AIFF, MP3, and more. This flexibility allows you to work with audio files from various sources and in different formats.
It is worth noting that Reaper also offers the option to record audio directly within the software. If you prefer to record your own audio instead of importing pre-existing files, you can do so by setting up your audio input devices and selecting the appropriate recording options within Reaper.
With your audio files imported or recorded, you are now ready to move on to the next step: setting up the loop region.
Step 3: Setting up the Loop Region
In order to loop playback in Reaper, you’ll need to define a loop region – a section of your audio that you want to repeat. The loop region can be as short as a few seconds or cover the entire length of your audio file.
To set up the loop region in Reaper, follow these steps:
- Select the track that contains the audio you want to loop by clicking on it. You can do this by clicking on the track label in the left-hand side of the Reaper interface.
- Locate the timeline or ruler at the top of the Reaper interface. This is where you’ll define the start and end points of your loop region.
- Click and drag on the timeline to select the area you want to loop. The selected area will be highlighted in a different color, indicating that it’s part of the loop region.
- Once you’ve selected the desired loop region, you can fine-tune its start and end points by clicking and dragging the edges of the selection. This allows you to precisely control the duration of the loop.
- Reaper also provides additional options to modify the loop region. For example, you can right-click within the loop region and choose options such as “Crop to Selection” to remove the audio outside of the loop region, or “Set Loop Points” to adjust the loop range.
By setting up the loop region, you are essentially defining the portion of the audio that Reaper will repeat during playback. This allows you to focus on specific sections, practice complex musical passages, or transcribe intricate melodies with ease.
Now that you have set up the loop region, you’re ready to move on to the next step: enabling loop playback in Reaper.
Step 4: Enabling Loop Playback
Once you have set up the loop region in Reaper, the next step is to enable loop playback. Enabling loop playback allows Reaper to continuously repeat the defined loop region during playback, allowing you to focus on practicing, editing, or fine-tuning the selected section.
To enable loop playback in Reaper, follow these simple steps:
- Locate the transport controls at the top of the Reaper interface. The transport controls include buttons such as play, stop, pause, and record.
- Click on the loop button, which is typically represented by two arrows forming a loop symbol. This button is used to toggle loop playback on and off.
- Once loop playback is enabled, you’ll notice that the loop region is highlighted and that Reaper automatically starts repeating the selected section as it plays back the audio.
Enabling loop playback is a crucial step in maximizing your productivity and efficiency when working with audio. It allows you to focus on specific sections of your audio file without the need for manual intervention or continuously rewinding and restarting the playback.
Furthermore, Reaper provides additional controls to customize the loop playback behavior. For instance, you can adjust the playback speed, choose to loop a specific number of times, or configure a pre-roll and post-roll time to give yourself a buffer before and after the looped section.
Now that loop playback is enabled, you can move on to the next step: adjusting the loop parameters to suit your needs.
Step 5: Adjusting Loop Parameters
Now that you have enabled loop playback in Reaper, you can further customize the loop parameters to enhance your workflow and achieve the desired playback experience. Reaper offers a range of options to adjust the loop parameters according to your preferences.
To adjust the loop parameters in Reaper, follow these steps:
- Locate the loop options or preferences panel within the Reaper interface. This panel contains settings related to loop behavior and playback.
- Explore the various options available to you. For example, you may find settings to adjust the loop count, which determines how many times the loop region is repeated before playback stops.
- Depending on your needs, you may also find options to adjust the playback speed of the loop, enabling you to slow down or speed up the looped section.
- Reaper may also provide options to enable pre-roll and post-roll times, allowing you to add a buffer before and after the looped section. This can be helpful for easing into or out of the loop smoothly.
- Take some time to experiment with the different loop parameters and find the settings that work best for your specific workflow and project requirements.
By adjusting the loop parameters, you can tailor the playback experience to suit your needs. This flexibility is particularly valuable when working with complex musical passages, transcriptions, or intricate editing tasks where precise control over the loop playback is essential.
Remember to save your preferred loop parameters as a preset or template if you find yourself frequently using the same settings. This will allow you to quickly apply them to future projects without the need for manual adjustments.
With the loop parameters adjusted to your liking, you’re now ready to start loop playback in Reaper. In the next step, we’ll explore how to start the loop and listen to the repeated section of your audio.
Step 6: Starting Loop Playback
With the loop region defined and loop playback enabled in Reaper, you’re now ready to start listening to the repeated section of your audio. Starting loop playback is a straightforward process and allows you to focus on practicing, editing, or making precise adjustments within the selected looped area.
To start loop playback in Reaper, follow these steps:
- Locate the transport controls at the top of the Reaper interface. These controls typically include buttons such as play, stop, pause, and record.
- Click on the play button to initiate playback. Reaper will start playing the audio from the beginning of the loop region.
- As the audio plays, you’ll notice that Reaper seamlessly repeats the looped section defined earlier, allowing you to hear the selected portion repeatedly.
- Listen carefully to the looped section and use this opportunity to practice, fine-tune, or make any necessary adjustments to the audio.
During loop playback, you can take advantage of Reaper’s powerful editing tools and real-time effects to make changes to the audio within the loop region. This includes tasks such as cutting, pasting, fading, adjusting volume, applying effects, and much more.
By repeatedly listening to the looped section, you can focus on specific elements, identify any errors or inconsistencies, and make precise edits to achieve the desired result. This level of control and precision is invaluable for musicians, composers, and audio engineers looking to perfect their recordings or compositions.
Now that loop playback has started in Reaper, you’re ready to move on to the next step: editing and fine-tuning the loop.
Step 7: Editing and Fine-tuning the Loop
Once you have started loop playback in Reaper and are listening to the repeated section of your audio, you can begin editing and fine-tuning the loop to achieve the desired result. This step allows you to make precise adjustments, corrections, and enhancements to the audio within the loop region.
Here are some tips for editing and fine-tuning the loop in Reaper:
- Play close attention to the audio within the loop region. Listen for any imperfections, timing issues, or unwanted artifacts that may require editing.
- Use Reaper’s editing tools to make adjustments within the looped section. This includes functions such as cutting, copying, pasting, trimming, and fading in or out.
- Experiment with different effects and plugins to enhance the sound within the looped section. This can include EQ, compression, reverb, delay, and other creative effects.
- Make use of automation to dynamically adjust parameters within the looped section. This can add movement, variation, and expression to your audio.
- If you’re transcribing music, use the looped section to focus on specific phrases or notes and accurately transcribe them.
- Pay attention to the timing and synchronization of the looped section with other tracks in your project. Make any necessary adjustments to ensure everything aligns properly.
Reaper provides a wide range of tools and features to help you edit and fine-tune the looped section with precision and efficiency. Take the time to explore these options and experiment with different techniques to achieve the desired results.
Remember to save your progress regularly to avoid losing any changes you’ve made. It’s also a good idea to create backups of your project files for added security.
With the loop edited and fine-tuned to your satisfaction, you’re now ready to export the looped audio in Reaper.
Step 8: Exporting the Looped Audio
Once you have finished editing and fine-tuning the looped section of your audio in Reaper, the final step is to export the looped audio. Exporting allows you to save the edited loop as a separate audio file that can be shared, used in other projects, or distributed to others.
To export the looped audio in Reaper, follow these steps:
- Ensure that you have stopped playback and are at the beginning of the looped section.
- Navigate to the “File” menu at the top of the Reaper interface and select “Render” or “Export.”
- A Render/Export dialog box will appear, allowing you to specify the export settings.
- Choose the desired format and file type for your exported audio. Reaper supports a wide variety of formats, including WAV, MP3, AIFF, and more.
- Select the destination folder where you want to save the exported file.
- Specify any additional options or settings, such as the sample rate, bit depth, and any desired effects or processing to apply during the export.
- Click the “Render” or “Export” button to begin the export process.
- Wait for Reaper to process and export the looped audio. The duration of the export will depend on the length of the loop and the chosen export settings.
- Once the export is complete, navigate to the destination folder you specified to locate the exported looped audio file.
It’s important to name and organize your exported files appropriately for easy identification and future reference. This will make it more convenient to locate and work with the exported looped audio in your projects.
With the looped audio successfully exported from Reaper, you can now use it in other software, share it with collaborators, or incorporate it into your final production.
Congratulations! You have now learned how to loop playback in Reaper, from setting up the loop region to editing, fine-tuning, and exporting the looped audio. This powerful feature opens up a world of possibilities for practicing, transcribing, and creating music. Remember to experiment and have fun exploring different looped sections to fuel your creativity.
Feel free to revisit this guide whenever you need a refresher, and continue exploring the vast capabilities of Reaper as you embark on your audio journey.
Conclusion
Loop playback in Reaper is a valuable tool that allows you to focus on specific sections of your audio, whether you’re practicing an instrument, transcribing music, or editing a composition. By following the step-by-step guide outlined in this article, you have learned how to effectively loop playback in Reaper and make the most out of this feature.
Opening Reaper, importing audio files, setting up the loop region, enabling loop playback, adjusting loop parameters, starting loop playback, editing and fine-tuning the loop, and finally exporting the looped audio are the key steps you’ve mastered along the way.
With Reaper’s customizable interface, editing tools, effects, and precise controls, you have the freedom to explore different creative possibilities within the looped section of your audio. Fine-tuning the loop to perfection ensures that your recordings, compositions, or transcriptions meet your specific requirements.
Remember to experiment and try out different approaches when working with loop playback in Reaper. This will help you unlock new musical ideas and enhance your productivity in your audio projects.
Now that you have a solid understanding of how to loop playback in Reaper, you can confidently leverage this powerful feature to take your audio production skills to the next level. Whether you’re a musician, composer, editor, or audio enthusiast, the ability to loop playback in Reaper opens up endless possibilities for creativity and professional workflows.
Keep practicing, experimenting, and refining your craft with Reaper, and continue to explore the many other features and functionalities it offers. The more you use Reaper, the more you’ll discover its vast potential to bring your audio creations to life.
So fire up Reaper, load your audio files, set up the loop region, and let the loop playback transport you to new musical heights. Happy looping!

