Home>Events & Info>Playback>How To Adjust Playback Speed On Itunes
Playback
How To Adjust Playback Speed On Itunes
Modified: January 22, 2024
Adjust the playback speed on iTunes with ease. Learn how to control the speed of your favorite songs and podcasts with just a few simple steps.
(Many of the links in this article redirect to a specific reviewed product. Your purchase of these products through affiliate links helps to generate commission for AudioLover.com, at no extra cost. Learn more)
Table of Contents
- Introduction
- Step 1: Opening iTunes
- Step 2: Selecting the desired audio or video file
- Step 3: Accessing the playback controls
- Step 4: Adjusting the playback speed
- Step 5: Choosing the desired playback speed
- Step 6: Testing the adjusted playback speed
- Step 7: Saving the adjusted playback speed as default
- Conclusion
Introduction
Whether you’re a music enthusiast, a podcast lover, or a fan of watching videos, being able to adjust playback speed can have numerous benefits. It can help you save time, provide a more immersive experience, and allow better comprehension of the content. If you’re an iTunes user, you’ll be pleased to know that adjusting the playback speed is a simple and straightforward process. In this article, we’ll guide you through the steps on how to adjust playback speed on iTunes, enabling you to customize your listening and viewing experience to your preference.
With iTunes, you have the flexibility to speed up or slow down the playback of your audio or video files, giving you the power to control the pace at which you consume your media. Whether you want to speed through a lengthy podcast, slow down a tutorial for better understanding, or simply experiment with different speeds, iTunes has you covered.
In the following sections, we will outline the step-by-step process to adjust the playback speed on iTunes. So, grab your headphones or sit back in front of your computer screen, and let’s dive into the world of personalized playback.
Step 1: Opening iTunes
The first step in adjusting the playback speed on iTunes is to open the application on your device. iTunes is available for both Mac and Windows computers, so make sure you have it installed before proceeding.
If you’re using a Mac, you can find iTunes in the Applications folder. Simply locate the Applications folder in Finder, then scroll down until you find iTunes. Double-click on the iTunes icon to launch the application.
For Windows users, you can open iTunes by clicking on the Start button and searching for “iTunes.” Once you see the iTunes application in the search results, click on it to open the program.
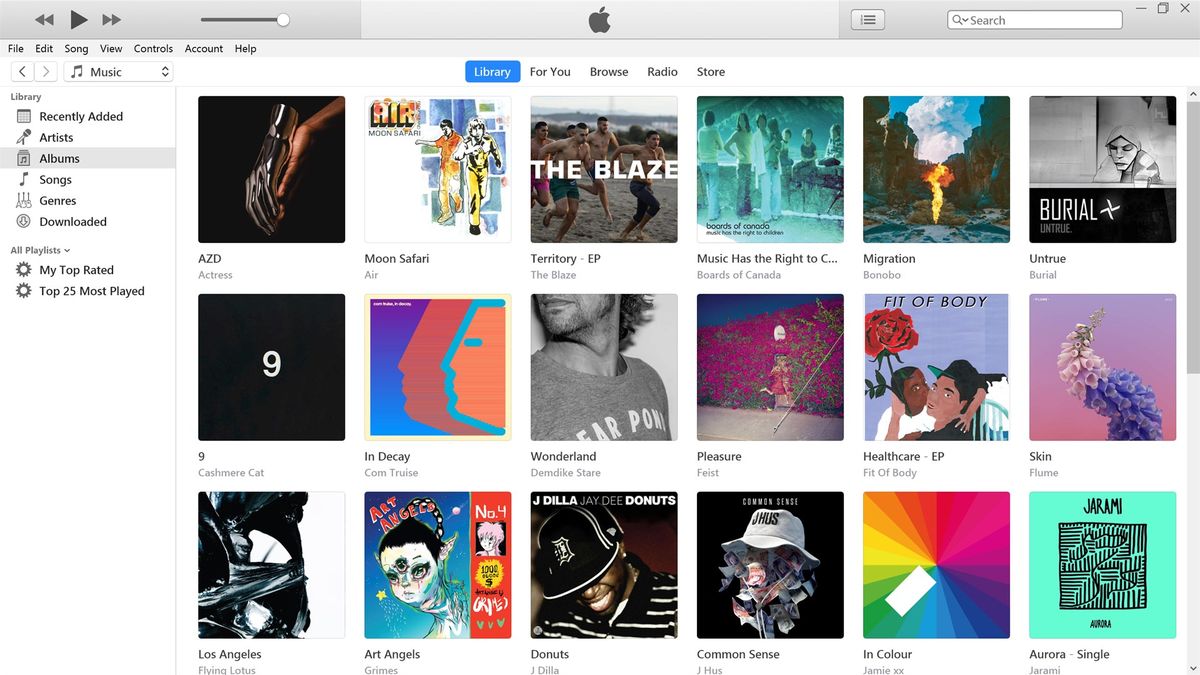
Once iTunes is opened, you will be greeted with a user-friendly interface that gives you access to your music library and other media content. With iTunes up and running, you’re ready to move on to the next step and select the audio or video file you want to adjust the playback speed for.
Step 2: Selecting the desired audio or video file
After opening iTunes, the next step is to select the audio or video file you want to adjust the playback speed for. Whether it’s a song, a podcast episode, or a video, iTunes allows you to customize the playback speed of various types of media.
To select the desired file, navigate to your iTunes library. Your library is organized into different categories, such as Music, Movies, TV Shows, Podcasts, and more. Click on the relevant category depending on the type of media you want to adjust the playback speed for.
Once you’re in the desired category, you’ll see a list of your available content. Scroll through the list and locate the specific file you want to adjust. You can use the search bar at the top-right corner of iTunes to quickly find a specific file by entering its name or relevant keywords.
When you’ve found the file you want to adjust, simply click on it to select it. The selected file will now be highlighted or displayed with a checkmark next to it, indicating that it’s ready for playback and further customization.
Now that you have selected the desired audio or video file in iTunes, it’s time to access the playback controls and adjust the playback speed to your liking. Proceed to the next step to learn how to do this.
Step 3: Accessing the playback controls
Once you have selected the audio or video file you want to adjust in iTunes, the next step is to access the playback controls. These controls allow you to play, pause, skip, and adjust various settings for your media playback, including the playback speed.
To access the playback controls, locate the bottom portion of the iTunes interface. You will see a toolbar that contains several buttons and options for controlling your media playback. The toolbar typically includes buttons for play, pause, skip forward, skip backward, and volume control.
If you don’t see the playback controls, make sure that the toolbar is visible. To enable the toolbar, go to the View menu and click on “Show Toolbar.” This will display the toolbar at the bottom of the iTunes window.
Once the playback controls are visible, you’re ready to move on to the next step and adjust the playback speed. The playback speed option is typically accessed through a submenu or a dropdown menu within the playback controls.
In the next step, we will explore how to adjust the playback speed and choose the desired speed for your audio or video file. Keep reading to learn more.
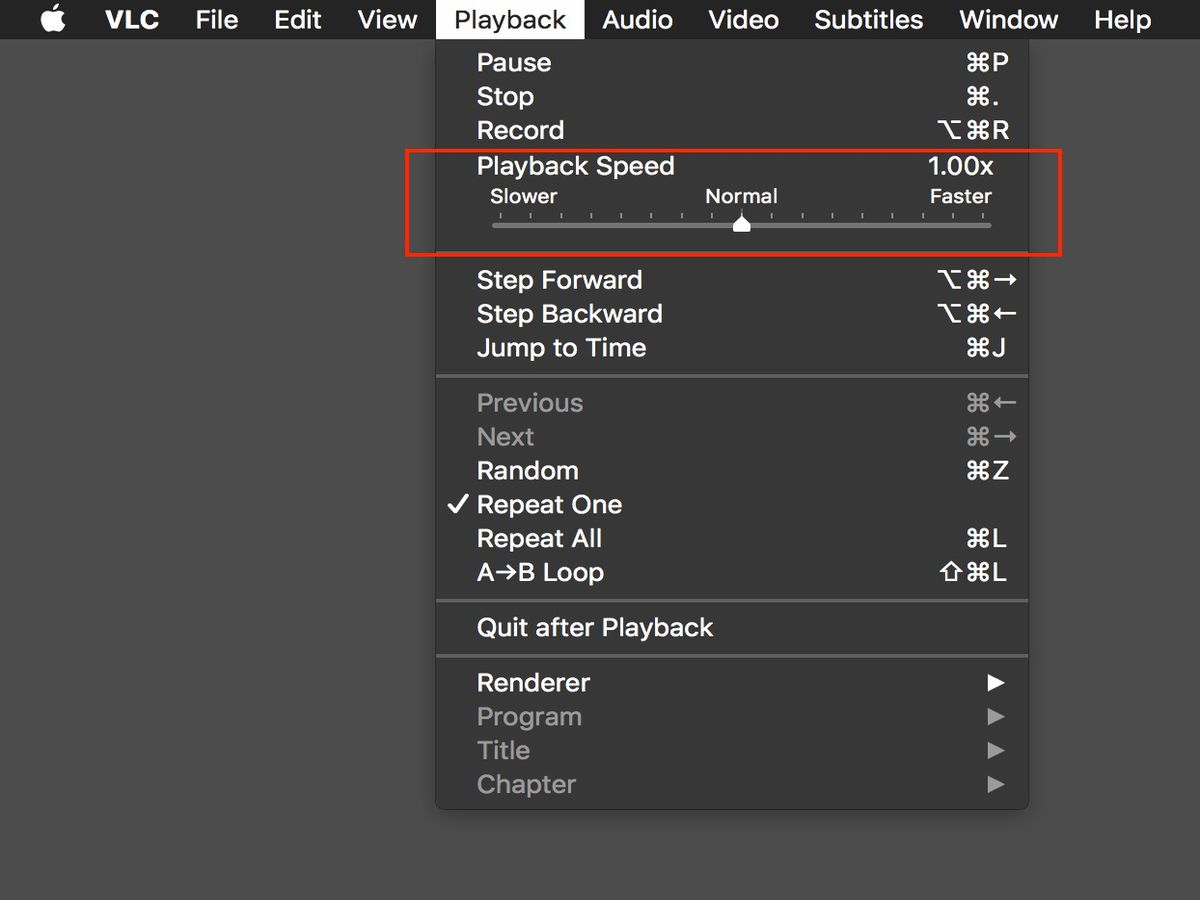
Step 4: Adjusting the playback speed
Adjusting the playback speed in iTunes allows you to control the pace at which your audio or video file plays. Whether you want to speed up the playback or slow it down, iTunes offers a range of options to suit your preferences.
To adjust the playback speed, locate the playback controls at the bottom of the iTunes interface. Look for a small button or icon that indicates the playback speed settings. This button is typically represented by a gear or a similar symbol.
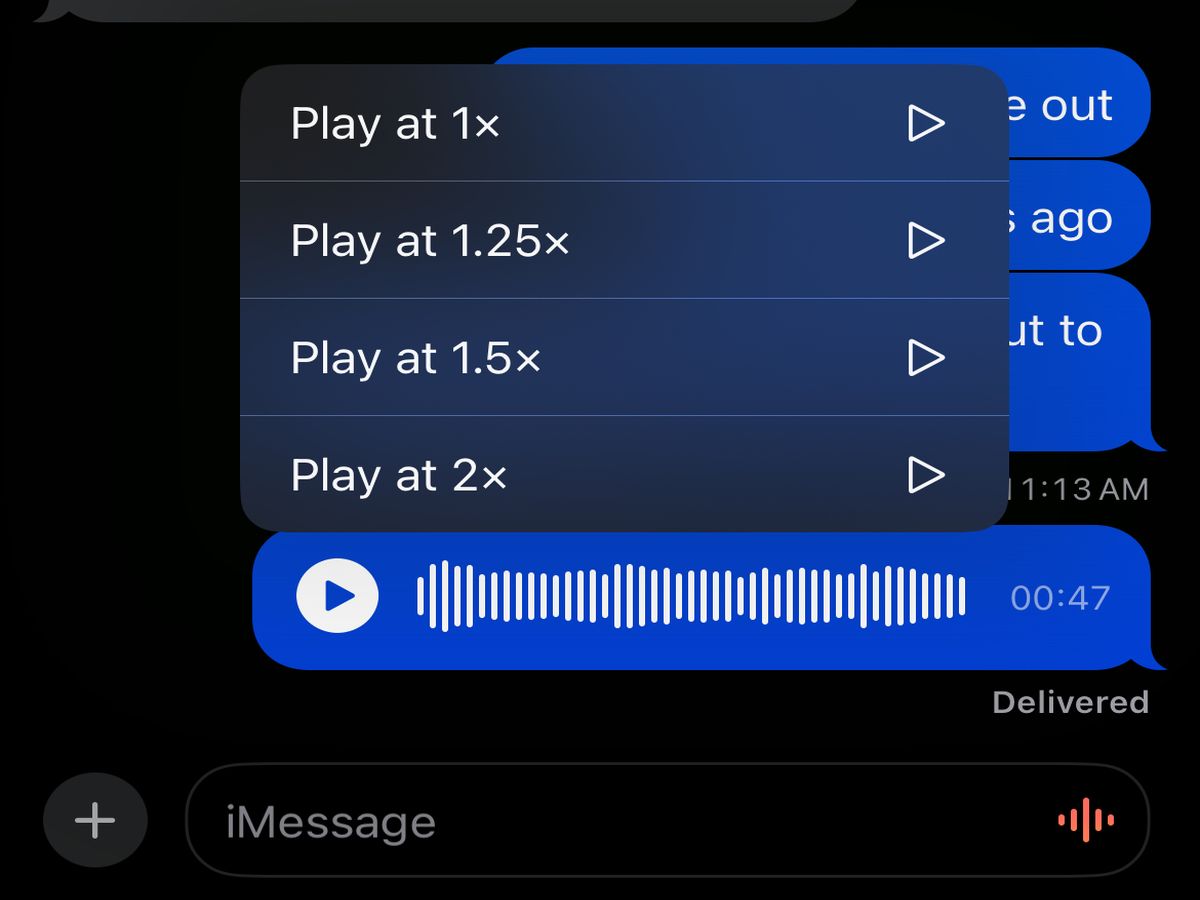
Click on the playback speed button to open the playback speed settings menu. Here, you’ll find a list of available playback speed options that you can choose from. The options may include percentages such as 0.5x, 1x (normal speed), 1.25x, 1.5x, and so on.
Clicking on a specific playback speed option will immediately adjust the playback speed of your selected audio or video file. You can experiment with different speeds to find the one that suits your needs best.
Keep in mind that increasing the playback speed will make the media play faster, while decreasing the playback speed will make it play slower. This can be useful for quickly going through a lengthy audio or video file or for better understanding of complex content.
Once you have selected the desired playback speed, proceed to the next step to test the adjusted playback speed and ensure it meets your requirements.
Step 5: Choosing the desired playback speed
After accessing the playback speed settings menu in iTunes, it’s time to choose the desired playback speed for your audio or video file. This step allows you to fine-tune the playback speed to best suit your preferences and needs.
When you open the playback speed settings menu, you’ll see a list of available options, typically represented as percentages or multiples of the normal speed. These options may include speeds such as 0.5x, 0.75x, 1x (normal speed), 1.25x, 1.5x, and more.
To choose your desired playback speed, simply click on the option that corresponds to your preferred speed. For example, if you want to play the media at 1.5 times the normal speed, click on the “1.5x” option. Remember that higher values indicate faster playback, while lower values indicate slower playback.
As you click on different playback speed options, iTunes will dynamically adjust the playback speed of your audio or video file accordingly. This allows you to immediately hear or see the changes in speed and assess if it’s suitable for your needs.
Feel free to experiment with different playback speeds to find the perfect balance between comprehension and efficiency. Whether you want to breeze through a podcast episode or savor the details of a video tutorial, choosing the right playback speed can greatly enhance your listening or viewing experience.
Once you have selected your desired playback speed, it’s time to move on to the next step and test the adjusted playback speed to ensure it meets your requirements.
Step 6: Testing the adjusted playback speed
After choosing your desired playback speed in iTunes, it’s important to test the adjusted speed to ensure that it meets your requirements. This step allows you to experience the playback at the selected speed and make any necessary adjustments if needed.
To test the adjusted playback speed, simply press the play button in the playback controls. The audio or video file will start playing at the selected speed, allowing you to listen or watch the content in the adjusted tempo.
As the media plays, pay attention to how the speed impacts your comprehension and enjoyment of the content. If the playback speed feels too fast or too slow, you can go back to the playback speed settings menu and choose a different option that better suits your preferences.
It’s worth noting that adjusting the playback speed may affect the audio quality, especially at higher speeds. Some audio files may sound distorted or less clear when played at faster speeds. Take this into consideration when testing the adjusted playback speed.
During the testing phase, take your time to get familiar with the new tempo and evaluate if it enhances your listening or viewing experience. If you find the adjusted playback speed to be satisfactory, you can proceed to the next step and save it as the default playback speed in iTunes.
However, if you’re not entirely satisfied with the adjusted speed, repeat step 5 and choose a different playback speed option that better aligns with your preferences. The goal is to find a speed that allows you to consume the content comfortably and efficiently.
Once you’re happy with the tested playback speed, it’s time to move on to the final step and save it as the default playback speed in iTunes.
Step 7: Saving the adjusted playback speed as default
After testing the adjusted playback speed in iTunes and ensuring it meets your requirements, the final step is to save it as the default playback speed. This allows iTunes to remember your preferred speed for future audio or video playback.
To save the adjusted playback speed as default, go back to the playback speed settings menu. Look for an option or checkbox that allows you to set the selected speed as the default for future playback.
Once you have located the option, click on it to enable or select it. This will save the adjusted playback speed as the default setting in iTunes.
By saving the adjusted speed as the default, you no longer need to manually select the playback speed every time you play a new audio or video file. iTunes will automatically use the saved speed as the default setting for all media playback.
However, if you ever want to change the playback speed for a specific file, you can still do so by following the steps outlined in this guide. The saved default speed will only apply to new files that you play in iTunes.
With the adjusted playback speed saved as the default, you can now enjoy a more personalized and efficient media playback experience on iTunes. Whether you’re powering through podcasts, listening to music, or watching videos, the playback speed can enhance your enjoyment and productivity.
As a final reminder, feel free to explore different playback speeds and experiment with various options until you find the perfect balance for your needs. Everyone’s preferences and requirements are unique, and iTunes offers the flexibility to customize your playback experience.
With these seven steps, you now know how to adjust the playback speed on iTunes and make it your own. So, sit back, relax, and enjoy your media on your own terms and at your chosen tempo.
Conclusion
Adjusting the playback speed on iTunes is a simple yet powerful feature that allows you to customize your listening and viewing experience. Whether you want to save time, improve comprehension, or simply experiment with different speeds, iTunes provides the tools to cater to your preferences.
In this article, we have walked you through the step-by-step process of adjusting the playback speed on iTunes. From opening the application to selecting the desired audio or video file, accessing the playback controls, and choosing the desired playback speed, each step is designed to make the process seamless and user-friendly.
By following these steps, you can effortlessly adjust the playback speed on iTunes and enjoy your media at your preferred tempo. From speeding through lengthy podcasts or audiobooks to slowing down tutorials for better understanding, the possibilities are endless.
Remember to test the adjusted playback speed and make any necessary adjustments to ensure optimal comprehension and enjoyment of the content. iTunes allows you to fine-tune the speed until it perfectly matches your needs.
Lastly, don’t forget to save the adjusted playback speed as the default setting in iTunes, so you can enjoy your personalized playback experience every time you use the application. This saves you the hassle of manually adjusting the speed for every new audio or video file you play.
Now that you have the knowledge and the tools, it’s time to dive into your iTunes library and start exploring the world of customized playback. Sit back, relax, and enjoy your media on your own terms and at the perfect speed for you.
Happy listening and viewing!