Home>Production & Technology>Metronome>How To Add Minutes To An Old Interactive Metronome Machine
Metronome
How To Add Minutes To An Old Interactive Metronome Machine
Modified: January 22, 2024
Learn how to add minutes to your old interactive metronome machine with our step-by-step guide. Improve your timing and precision with this metronome accessory.
(Many of the links in this article redirect to a specific reviewed product. Your purchase of these products through affiliate links helps to generate commission for AudioLover.com, at no extra cost. Learn more)
Table of Contents
- Introduction
- Step 1: Gather the necessary materials
- Step 2: Locate the battery compartment
- Step 3: Remove the old batteries
- Step 4: Insert the new batteries
- Step 5: Set the desired number of minutes
- Step 6: Test the metronome machine
- Step 7: Adjust the minutes if needed
- Step 8: Finalize the process
- Conclusion
Introduction
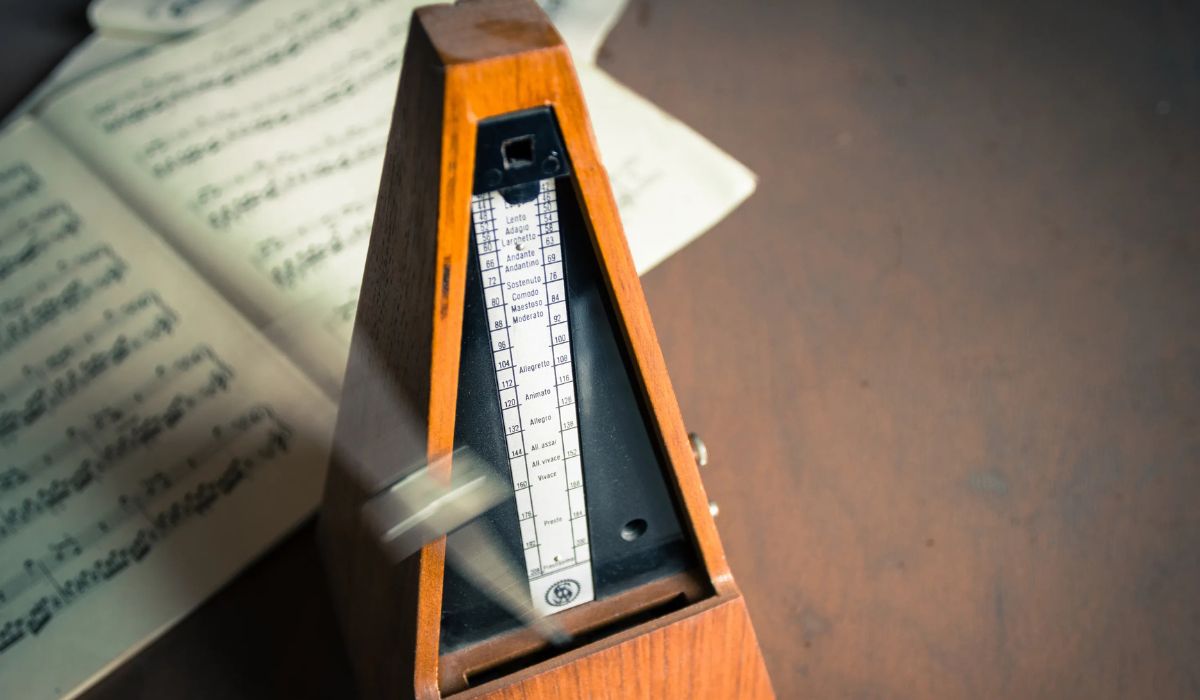
Welcome to this step-by-step guide on how to add minutes to an old interactive metronome machine. If you are a musician or music enthusiast, you probably understand the importance of a metronome in music practice and performance. A metronome is a device that helps musicians keep time by producing regular beats at different tempos.
Over time, the batteries in your metronome machine may drain, or you may need to adjust the number of minutes set on the device. In this article, we will walk you through the process of adding minutes to an old interactive metronome machine so that you can continue to benefit from its accurate timekeeping.
This guide assumes that you already have an old interactive metronome machine and that you are comfortable with basic DIY tasks. Adding minutes to your metronome machine is a simple process that anyone can do with just a few tools and a little bit of patience.
Step 1: Gather the necessary materials
Before you begin the process of adding minutes to your old interactive metronome machine, it’s important to gather all the necessary materials. Here’s what you’ll need:
- New batteries (check the user manual or the metronome itself to determine the required battery type)
- A small Phillips head screwdriver or the appropriate tool to open the battery compartment
- A clean cloth or tissue for any maintenance or cleaning tasks
Make sure you have all of these materials on hand before you proceed to the next steps.
It’s also a good idea to have a well-lit workspace and a comfortable surface to work on. This will ensure that you can easily see and access the battery compartment of the metronome machine and perform the necessary steps without any distractions or discomfort.
Once you have gathered all the required materials, you are ready to move on to the next step: locating the battery compartment.
Step 2: Locate the battery compartment
Locating the battery compartment is the next important step in adding minutes to your old interactive metronome machine. The battery compartment is where you will replace the old batteries with new ones and make any adjustments necessary to set the desired number of minutes.
The location of the battery compartment may vary depending on the make and model of your metronome machine. In most cases, you can find the battery compartment on the back or bottom of the device. Sometimes, it may be covered by a small panel or secured with screws.
Take a close look at your metronome machine and carefully examine its exterior. Look for any indications or markings that suggest the location of the battery compartment. These may include symbols such as a battery icon or the word “Battery”.
Once you have identified the battery compartment, you are ready to move on to the next step: removing the old batteries.
Step 3: Remove the old batteries
Now that you have located the battery compartment of your old interactive metronome machine, it’s time to remove the old batteries. This step is crucial in ensuring a smooth transition when adding minutes and maintaining the proper functioning of the device.
Before removing the batteries, it’s important to note the position and orientation of the old batteries. Take a moment to observe how the batteries are inserted, paying attention to any markings or indications on the battery compartment that guide the orientation.
Using a small Phillips head screwdriver or the appropriate tool, gently loosen and remove any screws securing the battery compartment cover. If your metronome machine doesn’t have screws, check for a latch or sliding mechanism to open the compartment.
Carefully lift the cover of the battery compartment, being mindful not to damage any delicate components or wiring. In some cases, you might need to apply slight pressure or wiggle the cover to release it.
With the battery compartment open, you can now access the old batteries. Depending on the design of your metronome machine, the batteries may be housed in individual compartments or placed side by side.
Take note of how the batteries are positioned and remove them one by one. If the batteries are held in place by a spring or clip, gently push or release the mechanism to free the battery.
Dispose of the old batteries properly according to your local regulations for battery recycling. It’s important to handle and dispose of batteries responsibly to minimize environmental impact.
Now that the old batteries are removed, you can proceed to the next step: inserting the new batteries.
Step 4: Insert the new batteries
With the old batteries removed from the battery compartment of your old interactive metronome machine, it’s time to insert the new batteries. This step is crucial in ensuring that your metronome functions properly and provides accurate timing for your musical practice and performances.
Before inserting the new batteries, make sure you have the correct type and size of batteries as specified by the manufacturer or indicated on the metronome. Using the wrong type of batteries can damage the device or result in inaccurate timing.
To insert the new batteries, carefully observe the correct orientation. Look for any markings or symbols inside the battery compartment that indicate which way the batteries should be positioned. Common indicators include plus (+) and minus (-) signs, as well as diagrams depicting the proper battery placement.
Take the first new battery and align it with the correct orientation indicated in the battery compartment. Insert the battery into its designated slot, applying gentle pressure until it fits securely. Repeat this process for the remaining batteries, ensuring each one is inserted correctly and snugly.
Once all the new batteries are inserted, double-check their alignment and orientation. Make sure they are all positioned properly and that there is no obstruction or misplacement.
If your battery compartment has screws or a cover, carefully close the compartment, aligning the cover with the screw holes or latch mechanism. If there are screws, use a Phillips head screwdriver (or the appropriate tool) to tighten them securely, but be careful not to overtighten and damage the screws or the cover.
With the new batteries securely in place, your metronome machine is now ready for the next step: setting the desired number of minutes.
Step 5: Set the desired number of minutes
With the new batteries inserted into your old interactive metronome machine, it’s time to set the desired number of minutes for your practice sessions or performances. This step is essential to customize the metronome’s timing to suit your specific needs.
Start by turning on your metronome if it has a power switch. Some metronome machines may automatically power on once the batteries are inserted.
Look for the controls or buttons that allow you to adjust the minutes on your metronome. These controls may be labeled “Minutes,” “Tempo,” or something similar.
Depending on the model of your metronome machine, you might have different methods to set the desired number of minutes. Common methods include using knobs, buttons, or a combination of both.
Follow the instructions provided in the user manual or look for any markings or symbols that indicate the functions of the controls. Adjust the minutes by turning the knob or pressing the appropriate buttons according to your preferred tempo.
Take note that some metronome machines allow you to set the number of beats per minute (BPM) instead of minutes. In this case, you can convert your desired minutes to BPM using a metronome tempo chart or an online BPM converter tool.
Set the minutes or BPM to your desired value, keeping in mind the tempo needed for your musical practice or performance.
Once you have set the desired number of minutes, test the metronome machine in the next step to ensure that the timing is accurate and meets your requirements.
Step 6: Test the metronome machine
After setting the desired number of minutes on your old interactive metronome machine, it’s important to test its functionality and accuracy. Testing the metronome will ensure that it is producing the desired beats at the correct tempo, allowing you to practice or perform with precision.
Start by turning on your metronome if it has a separate power switch. Some models automatically power on once the batteries are inserted and the desired number of minutes is set.
Tap or activate the metronome to start the beats. Pay close attention to the sound produced and the consistency of the beats. Listen for any irregularities or deviations from the set tempo.
Count the beats using an external timer or stopwatch to verify that the metronome is accurately producing the desired number of minutes or BPM. Compare the metronome beats with the external timer to ensure they are in sync.
If you notice any discrepancies or inconsistencies, double-check the minutes or BPM setting on your metronome and make any necessary adjustments. It’s possible that the initial setting was not precise, or there may be a technical issue with the metronome machine.
Repeat the testing process multiple times to ensure consistent and accurate timing. If the metronome consistently produces the desired beats at the correct tempo, you can proceed to the next step. However, if you continue to experience issues or find the metronome to be unreliable, consider consulting the user manual or contacting the manufacturer for further assistance or troubleshooting.
Step 7: Adjust the minutes if needed
During the testing phase of your old interactive metronome machine, you may find that the initially set number of minutes doesn’t align with your desired tempo or timing requirements. In this case, it is important to be able to make adjustments to ensure the metronome meets your specific needs.
If you find that the metronome is running too fast or too slow, you can easily make adjustments to the minutes setting to match your desired tempo. Refer to the user manual or look for specific instructions provided by the manufacturer for your particular metronome model.
Most metronome machines have controls or buttons that allow you to increase or decrease the minutes incrementally. Rotate a knob, press buttons, or use a combination of both to fine-tune the timing to your liking.
Make small adjustments, testing the metronome after each change to ensure the timing aligns with your desired tempo. You can use an external timer or metronome app to verify the accuracy of the metronome beats.
Repeat this adjustment process until the metronome produces the desired timing and tempo consistently. Take your time during this step, as achieving accurate and precise timing is crucial in music practice and performance.
Remember that different musical pieces or practice sessions may require different tempos, so be prepared to make adjustments as needed based on your specific musical requirements.
Once you are satisfied with the minute adjustments and the metronome is producing the desired beats at the correct tempo, you can move on to the final step of the process.
Step 8: Finalize the process
Congratulations! You’ve reached the final step of adding minutes to your old interactive metronome machine. Now it’s time to finalize the process and ensure everything is in order.
Double-check all the settings and adjustments you’ve made so far. Verify that the battery compartment is securely closed and the new batteries are properly inserted. Confirm that the minutes or BPM setting on your metronome is accurate and aligned with your desired timing.
Give your metronome one final test run to ensure it is functioning correctly. Listen closely to the beats produced, paying attention to the timing and consistency. Tap along or play your instrument to the metronome and see if it enhances your practice or performance.
If you encounter any issues or find that the metronome is still not meeting your expectations, review the previous steps and make any necessary adjustments. It’s important to have a reliable and accurate metronome for effective music practice.
Once you are satisfied with the functionality of your metronome and confident in its accurate timing, you can consider the process complete.
Remember to store your old interactive metronome machine in a safe and dry place when not in use. This will help prolong its lifespan and ensure it is ready for your next music session.
Adding minutes to your old interactive metronome machine is a simple yet significant task that allows you to continue using this valuable tool in your music practice and performance. By following these steps and taking the time to adjust the settings to your liking, you can enjoy the benefits of precise timing and improved musicality.
Now go ahead, set your desired number of minutes, and let the beats guide you to refined and rhythmic music!
Conclusion
Adding minutes to an old interactive metronome machine is a straightforward process that can greatly enhance your music practice and performance. By following the steps outlined in this guide, you can ensure that your metronome is accurately timed to your desired tempo, providing you with a reliable tool for keeping pace in your playing.
While the process may vary depending on the make and model of your metronome machine, the fundamental steps are generally the same. Gather the necessary materials, locate the battery compartment, remove the old batteries, insert new ones, set the desired number of minutes, test the metronome, make adjustments if needed, and finalize the process.
Remember that the metronome is a valuable tool that can greatly improve your timing, rhythm, and overall musicality. Take the time to adjust the metronome to your specific needs and preferences, ensuring that it reflects the tempo required for your music practice or performances.
Regular use of a metronome can help you develop better timing precision, build a strong sense of rhythm, and improve your overall playing skills. Whether you’re a beginner learning the basics or an experienced musician honing your craft, the metronome is an invaluable companion on your musical journey.
By adding minutes to your old interactive metronome machine, you are revitalizing a valuable tool and ensuring its continued usefulness for years to come. Enjoy the benefits of accurate timekeeping, enhanced rhythmic skills, and a newfound confidence in your musical abilities.
So, go ahead and follow the steps outlined in this guide. Take your time, make adjustments as needed, and optimize your metronome to suit your musical preferences. Embrace the precision and discipline that a well-functioning metronome brings, and let it guide you to become a more accomplished and confident musician.