Home>Production & Technology>MIDI>How Do I Keep Recording Over The Same MIDI Track In Ableton
MIDI
How Do I Keep Recording Over The Same MIDI Track In Ableton
Modified: February 22, 2024
Learn how to efficiently record over the same MIDI track in Ableton with our step-by-step guide. Master MIDI recording and editing for seamless music production.
(Many of the links in this article redirect to a specific reviewed product. Your purchase of these products through affiliate links helps to generate commission for AudioLover.com, at no extra cost. Learn more)
Table of Contents
Introduction
When it comes to music production, MIDI recording is a fundamental aspect of capturing the essence of a musical composition. Whether you are a seasoned producer or just starting your journey, understanding how to record over the same MIDI track in Ableton can significantly enhance your workflow and creativity. This article will guide you through the process of setting up MIDI recording in Ableton Live and enabling overdub mode, as well as providing valuable tips for efficient MIDI recording.
MIDI, which stands for Musical Instrument Digital Interface, revolutionized the way music is created and produced. It allows musicians and producers to communicate with electronic musical instruments, computers, and other devices to create, record, and manipulate musical performances. In the context of Ableton Live, MIDI recording enables you to capture the nuances of your musical ideas and performances with precision and flexibility.
In this article, we will delve into the essential steps for setting up MIDI recording in Ableton Live, including configuring MIDI input devices, selecting the appropriate recording settings, and preparing the MIDI track for recording. Additionally, we will explore the concept of overdub mode, a powerful feature that enables you to layer new MIDI data on top of existing recordings seamlessly.
As we journey through the intricacies of MIDI recording in Ableton Live, we will also uncover valuable tips and techniques to streamline your recording process and optimize your creative workflow. From leveraging MIDI controllers to utilizing quantization and recording in loop mode, these insights will empower you to harness the full potential of MIDI recording in your music production endeavors.
By the end of this article, you will have a comprehensive understanding of how to keep recording over the same MIDI track in Ableton Live, allowing you to capture inspired musical performances and refine your compositions with confidence and precision. Let's embark on this enlightening exploration of MIDI recording in Ableton Live and unlock the boundless possibilities it offers for your musical expression.
Setting up MIDI recording in Ableton
Setting up MIDI recording in Ableton Live is the foundational step that paves the way for capturing expressive musical performances and harnessing the creative potential of MIDI. Whether you are working with hardware MIDI controllers, virtual instruments, or external MIDI devices, configuring Ableton Live for MIDI recording is essential for seamless integration and efficient workflow.
Configuring MIDI Input Devices
Before diving into MIDI recording, it's crucial to ensure that your MIDI input devices are properly configured within Ableton Live. This involves identifying and selecting the MIDI controller or device you intend to use for recording MIDI data. In Ableton Live, you can access the MIDI preferences to assign input and output ports, as well as configure MIDI sync settings to synchronize external MIDI devices with the software.
Selecting Recording Settings
Ableton Live offers a range of recording settings that empower you to tailor the MIDI recording process to suit your specific needs. From setting the recording quantization to defining the MIDI input routing, these options enable you to customize the recording environment to optimize your workflow and ensure precise capture of MIDI data. Additionally, configuring the recording preferences, such as the count-in and metronome settings, enhances the overall recording experience and facilitates seamless performance capture.
Preparing the MIDI Track for Recording
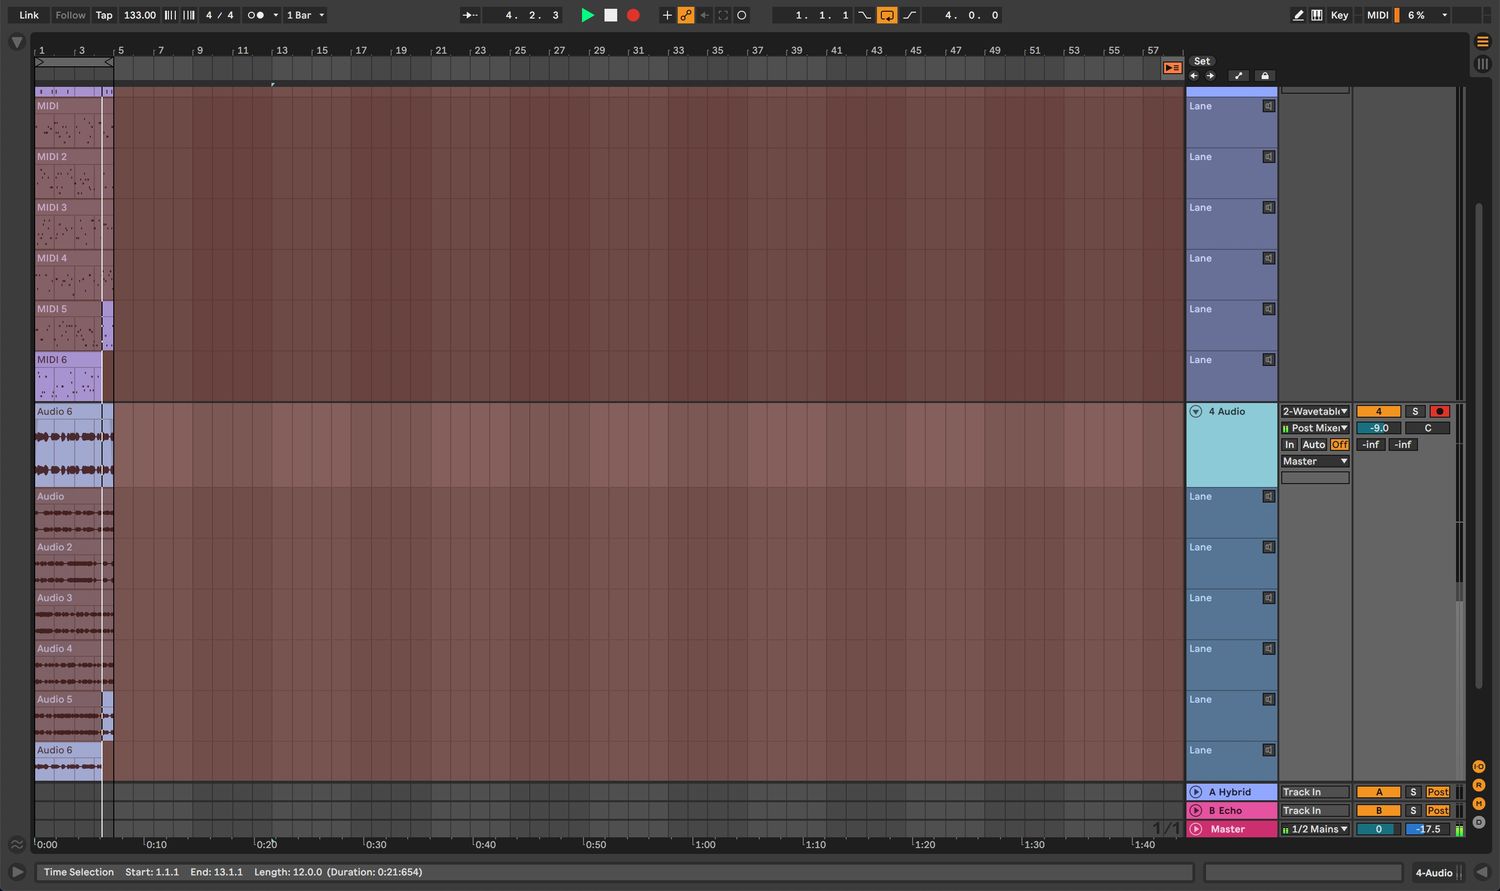
Once the MIDI input devices are configured and the recording settings are tailored to your requirements, it's time to prepare the MIDI track for recording. In Ableton Live, this involves selecting the appropriate MIDI track, arming it for recording, and setting the input routing to receive MIDI data from the designated input device. Furthermore, configuring the track's monitoring settings ensures that you can hear the input signal while recording, allowing for real-time feedback and performance evaluation.
By meticulously setting up MIDI recording in Ableton Live, you establish a conducive environment for capturing musical ideas and performances with precision and flexibility. The seamless integration of MIDI input devices, personalized recording settings, and track preparation lays the groundwork for a fluid and intuitive MIDI recording experience within the acclaimed music production software.
In the next section, we will explore the crucial concept of enabling overdub mode in Ableton Live, a feature that empowers you to layer new MIDI data over existing recordings, fostering a dynamic and iterative approach to music creation.
Enabling overdub mode
Enabling overdub mode in Ableton Live unlocks a wealth of creative possibilities by allowing you to seamlessly layer new MIDI data over existing recordings. This feature facilitates a dynamic and iterative approach to music creation, empowering you to build intricate musical arrangements and explore diverse sonic textures with unparalleled flexibility.
To enable overdub mode in Ableton Live, you can follow these straightforward steps:
-
Activate Session Record: Before engaging overdub mode, ensure that the Session Record button is activated in Ableton Live. This sets the stage for capturing MIDI performances and integrating them into your compositions in real time.
-
Enter MIDI Overdub Mode: Once the Session Record is active, simply click on the MIDI Overdub button located in the control bar at the top of the Ableton Live interface. This action activates overdub mode, signaling that any new MIDI data you input will be layered over the existing recordings on the MIDI track.
-
Engage Creative Exploration: With overdub mode enabled, you are now poised to embark on a journey of creative exploration. Whether it involves adding embellishments to existing melodies, introducing rhythmic variations, or experimenting with harmonic layers, overdub mode empowers you to sculpt your musical ideas with fluidity and spontaneity.
-
Refine Musical Expressions: The ability to record over the same MIDI track in Ableton Live while in overdub mode allows you to refine and embellish musical expressions with precision. Whether you are refining a melodic motif, enriching chord progressions, or infusing intricate rhythmic patterns, overdub mode serves as a canvas for honing your musical performances.
-
Iterative Composition: Overdub mode fosters an iterative approach to composition, enabling you to continuously build upon existing MIDI recordings and evolve your musical compositions organically. This iterative process encourages experimentation and empowers you to explore diverse musical directions, ultimately leading to the realization of inspired and nuanced musical arrangements.
By enabling overdub mode in Ableton Live, you embrace a fluid and expressive approach to MIDI recording, where each layer of MIDI data contributes to the evolving narrative of your musical composition. This feature transcends traditional recording methods, offering a dynamic and interactive platform for shaping musical ideas and capturing the essence of creative exploration.
In the subsequent section, we will delve into valuable tips for efficient MIDI recording, equipping you with insights to streamline your recording process and elevate the quality of your musical productions.
Tips for efficient MIDI recording
Efficient MIDI recording is not only about capturing musical performances but also about optimizing your workflow and enhancing the creative process. By incorporating the following tips, you can streamline your MIDI recording endeavors and elevate the quality of your musical productions.
1. Utilize MIDI Controllers
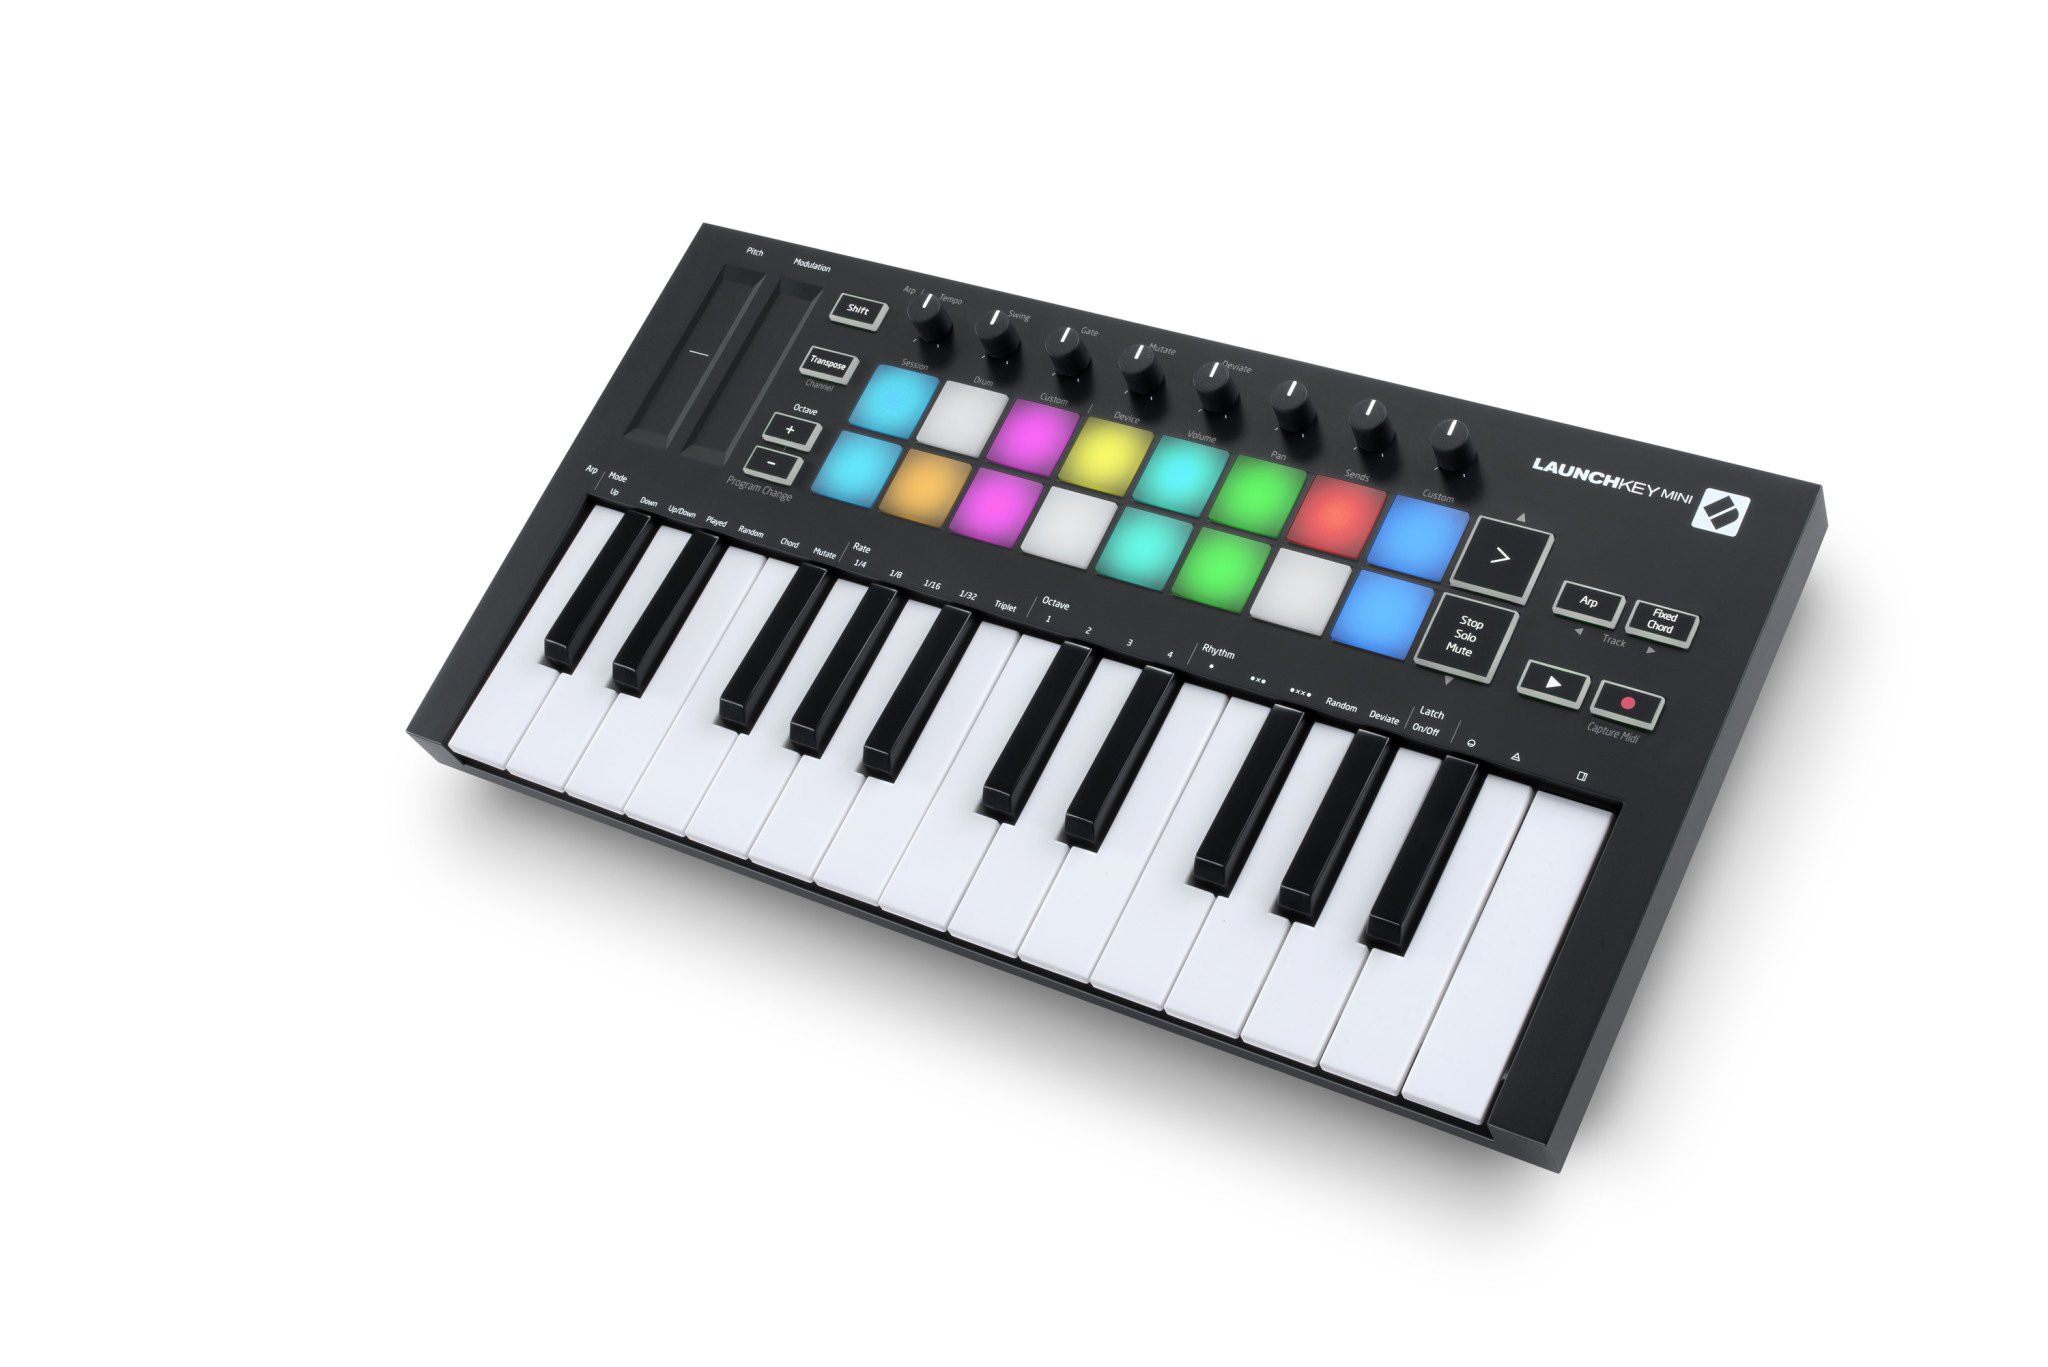
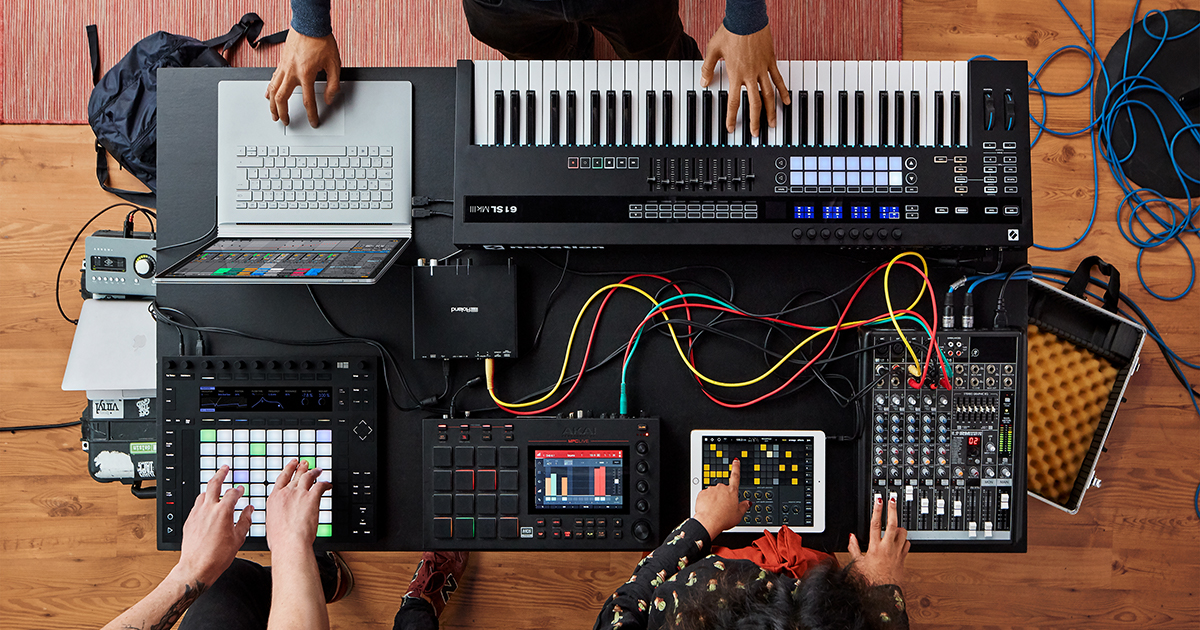
Integrating MIDI controllers into your recording setup can significantly enhance the expressiveness and spontaneity of your performances. Whether it's a keyboard controller, pad controller, or a versatile MIDI instrument, these devices offer tactile control over various musical parameters, allowing you to infuse your recordings with nuanced dynamics and emotive articulations.
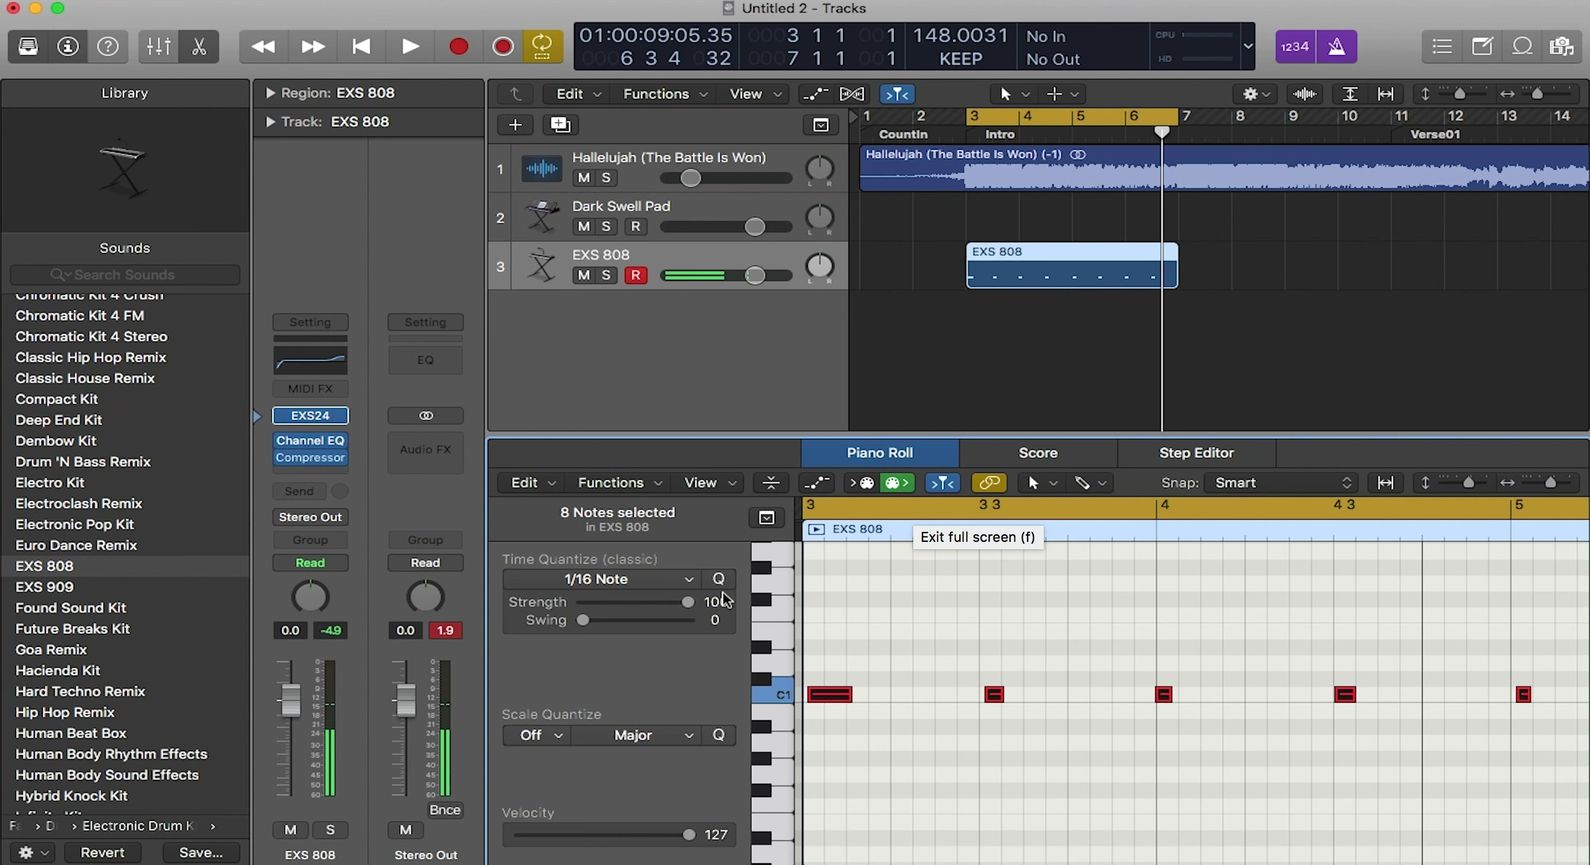
2. Leverage Quantization
While quantization can be a valuable tool for aligning MIDI notes to a grid, it's essential to use it judiciously. Applying moderate quantization settings can help tighten up rhythmic elements while preserving the natural feel of the performance. Experimenting with different quantization strengths and applying them selectively can yield polished yet organic-sounding recordings.
3. Embrace Loop Recording
Embracing the concept of loop recording can foster a fluid and iterative approach to capturing musical ideas. By defining loop points and recording in segments, you can focus on refining specific sections of your composition, allowing for meticulous attention to detail and the exploration of diverse musical variations within a structured framework.
4. Optimize Recording Settings
Fine-tuning the recording settings in Ableton Live, such as adjusting the input gain levels, setting appropriate count-in preferences, and configuring the metronome settings, can contribute to a smoother and more efficient recording process. These optimizations ensure that you are well-prepared to capture inspired performances without technical hindrances.
5. Experiment with Layering
Exploring the creative potential of layering MIDI recordings can yield rich and textured musical arrangements. Whether it involves layering multiple instrument parts, creating harmonized melodies, or integrating rhythmic counterpoints, the process of experimentation and layering can imbue your compositions with depth and complexity.
6. Real-Time Performance Monitoring
Enabling real-time monitoring of MIDI input signals allows you to hear your performances as you record, providing immediate feedback and facilitating adjustments on the fly. This real-time monitoring capability empowers you to evaluate and refine your performances in the moment, contributing to a more organic and responsive recording experience.
7. Harness MIDI Effects
Ableton Live offers a diverse array of MIDI effects that can augment and transform your recordings in real time. Experimenting with MIDI effects such as arpeggiators, chord generators, and creative modulation tools can inspire novel musical ideas and enhance the sonic palette of your compositions.
By integrating these tips into your MIDI recording process, you can optimize your workflow, foster creative exploration, and elevate the overall quality of your musical productions. Embracing efficient MIDI recording practices empowers you to capture inspired performances with precision and finesse, ultimately enriching your musical endeavors with expressive depth and artistic refinement.
Conclusion
In conclusion, the realm of MIDI recording in Ableton Live is a captivating landscape where musical ideas come to life with precision and creativity. By delving into the intricacies of setting up MIDI recording, enabling overdub mode, and embracing efficient recording practices, you embark on a transformative journey that amplifies the expressive potential of your musical compositions.
Through the meticulous configuration of MIDI input devices, personalized recording settings, and track preparation, you establish a seamless and intuitive environment for capturing musical performances. The integration of MIDI controllers, judicious use of quantization, and exploration of loop recording techniques enrich the recording process, fostering a dynamic and iterative approach to musical expression.
Enabling overdub mode in Ableton Live unveils a realm of endless possibilities, where each layer of MIDI data contributes to the evolving narrative of your musical composition. This feature transcends traditional recording methods, offering a dynamic and interactive platform for shaping musical ideas and capturing the essence of creative exploration.
Furthermore, the assimilation of efficient MIDI recording practices, such as leveraging MIDI controllers, embracing quantization, and optimizing recording settings, empowers you to streamline your workflow and elevate the quality of your musical productions. These insights not only enhance the technical aspects of MIDI recording but also foster a deeper connection with the creative process, enabling you to infuse your compositions with nuanced dynamics and emotive articulations.
As you traverse the terrain of MIDI recording in Ableton Live, remember that each recording session is an opportunity for artistic exploration and refinement. By embracing the fluidity of overdub mode, the precision of quantization, and the expressive potential of MIDI controllers, you embark on a journey of musical discovery, where each recording becomes a testament to your creative vision and artistic evolution.
In essence, the art of MIDI recording in Ableton Live transcends mere technical proficiency; it embodies the spirit of musical expression and creative ingenuity. Through the seamless integration of technology and artistry, you have the power to capture inspired performances, refine musical expressions, and sculpt intricate sonic landscapes that resonate with depth and emotion. Embrace the boundless possibilities of MIDI recording in Ableton Live, and let your musical journey unfold with passion and purpose.