Home>Production & Technology>MIDI>How To MIDI Map Ableton
MIDI
How To MIDI Map Ableton
Published: February 19, 2024
Learn how to MIDI map in Ableton and take control of your music production. Discover tips and tricks for efficient MIDI mapping to streamline your workflow.
(Many of the links in this article redirect to a specific reviewed product. Your purchase of these products through affiliate links helps to generate commission for AudioLover.com, at no extra cost. Learn more)
Table of Contents
Introduction
Welcome to the world of MIDI mapping in Ableton! If you're a music enthusiast, producer, or DJ, you've likely encountered the term "MIDI mapping" in your creative endeavors. Whether you're a novice or a seasoned pro, understanding how to effectively utilize MIDI mapping in Ableton Live can significantly enhance your workflow and unleash a whole new realm of creative possibilities.
MIDI mapping empowers you to take control of your music production process by assigning various parameters within Ableton Live to external MIDI controllers. This means you can manipulate a wide array of functions, from adjusting volume levels and tweaking effects to triggering clips and instruments, all with the tactile precision of physical knobs, sliders, and buttons.
In this comprehensive guide, we'll delve into the intricacies of MIDI mapping, exploring its fundamental principles and equipping you with the knowledge and skills to seamlessly integrate MIDI controllers into your Ableton Live setup. Whether you're looking to streamline your performance setup, elevate your studio production, or simply expand your creative toolkit, mastering MIDI mapping in Ableton Live is a game-changer.
So, buckle up and get ready to embark on a journey that will revolutionize the way you interact with your music. By the end of this guide, you'll be equipped with the expertise to harness the full potential of MIDI mapping, unlocking a world of expressive control and boundless sonic exploration within Ableton Live. Let's dive in and unravel the magic of MIDI mapping together!
Understanding MIDI Mapping
MIDI mapping is a fundamental aspect of modern music production and performance, serving as a bridge between the digital realm of software and the tactile realm of hardware controllers. At its core, MIDI mapping enables users to assign specific parameters and functions within a digital audio workstation (DAW) such as Ableton Live to external MIDI controllers, allowing for real-time manipulation and control.
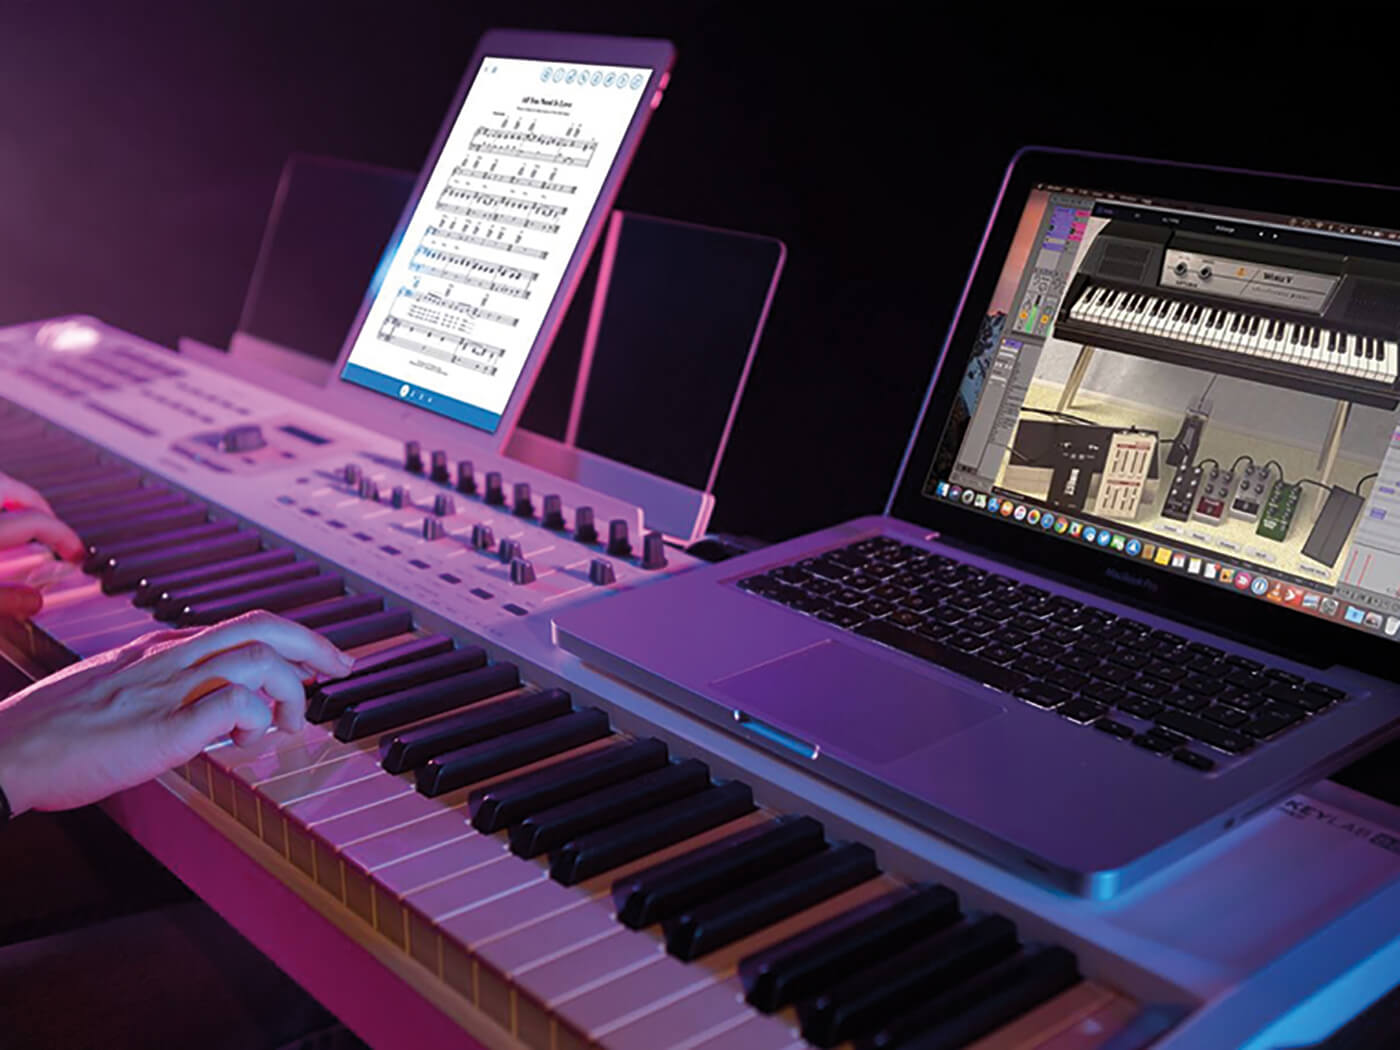
In essence, MIDI mapping facilitates a seamless connection between the physical interface of MIDI controllers – which can include keyboards, pad controllers, fader banks, and rotary encoders – and the virtual environment of Ableton Live. This integration empowers musicians, producers, and DJs to interact with their music in a more intuitive and expressive manner, transcending the limitations of mouse clicks and keyboard shortcuts.
The concept of MIDI mapping revolves around the MIDI (Musical Instrument Digital Interface) protocol, a standardized communication language that enables electronic musical instruments, computers, and other devices to communicate and synchronize with each other. Within the context of Ableton Live, MIDI mapping allows users to define relationships between specific MIDI messages (such as note on/off, control change, pitch bend, and program change) and various parameters within the software, including mixer controls, device parameters, and clip launching functions.
By understanding MIDI mapping, users gain the ability to customize their workflow, tailor their control surfaces to suit their unique preferences, and unleash a new level of creativity and performance dynamics. Whether it's assigning MIDI knobs to manipulate filter cutoff frequencies, mapping drum pads to trigger samples, or linking faders to control volume levels, the flexibility of MIDI mapping empowers users to craft personalized control schemes that align with their creative vision.
Furthermore, MIDI mapping fosters a deeper sense of connection and engagement with the music-making process, as performers can physically interact with their sounds, effects, and arrangements in real time, fostering a more organic and dynamic performance experience. This hands-on approach to music creation not only enhances the expressive capabilities of artists but also blurs the boundaries between the physical and digital realms, resulting in a more immersive and interactive music-making journey.
In essence, understanding MIDI mapping is akin to unlocking a gateway to a world of limitless creative possibilities, where the synergy between hardware and software transcends traditional paradigms, and the boundaries of musical expression are expanded. As we delve deeper into the realm of MIDI mapping in Ableton Live, we'll unravel the intricacies of this transformative process, equipping you with the knowledge and skills to harness the full potential of MIDI controllers and elevate your music production and performance endeavors.
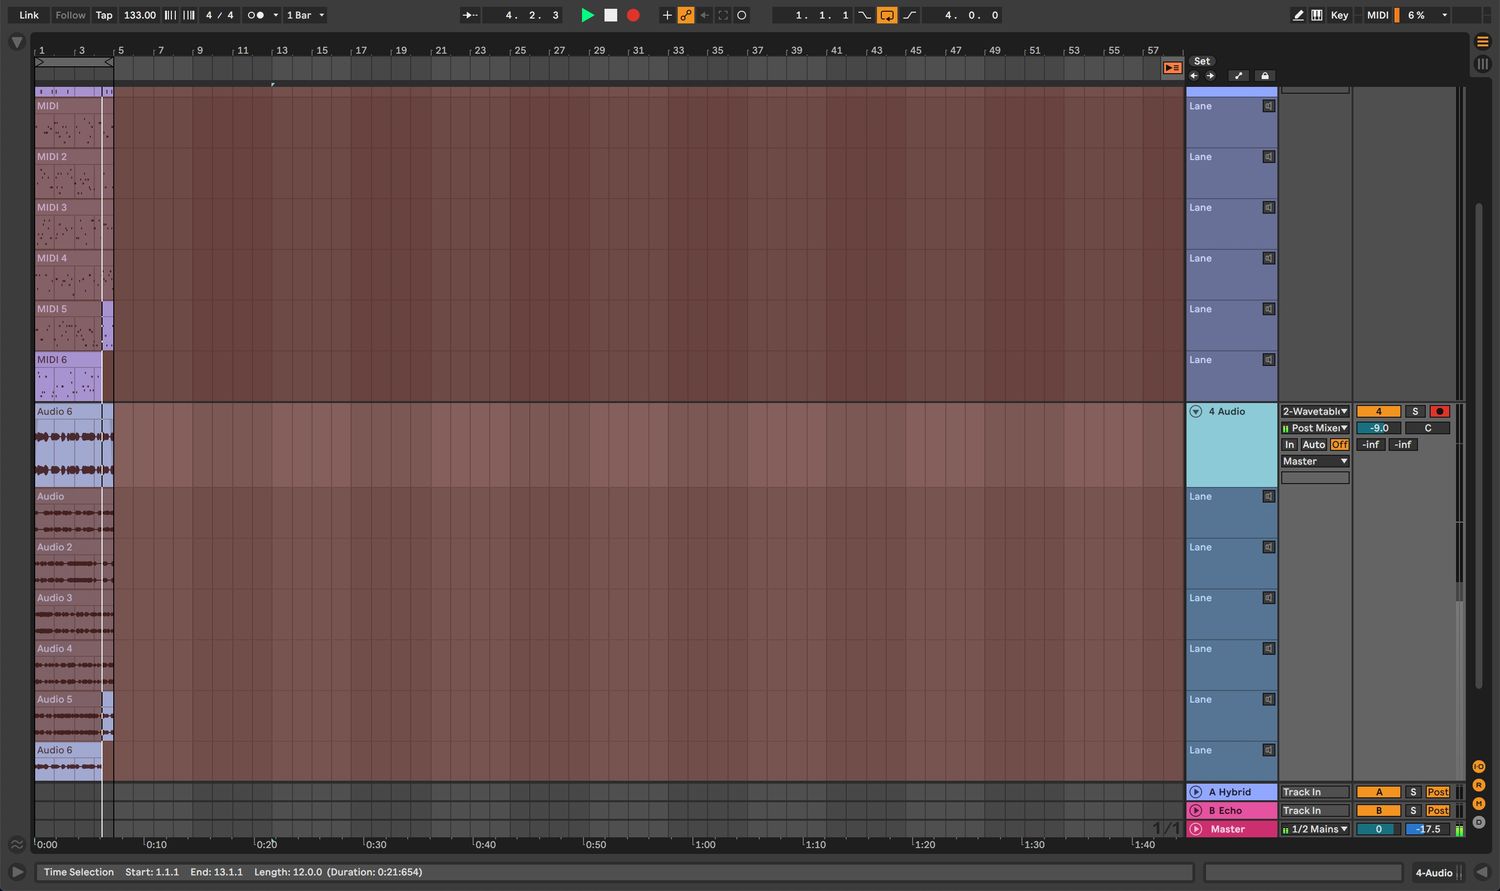
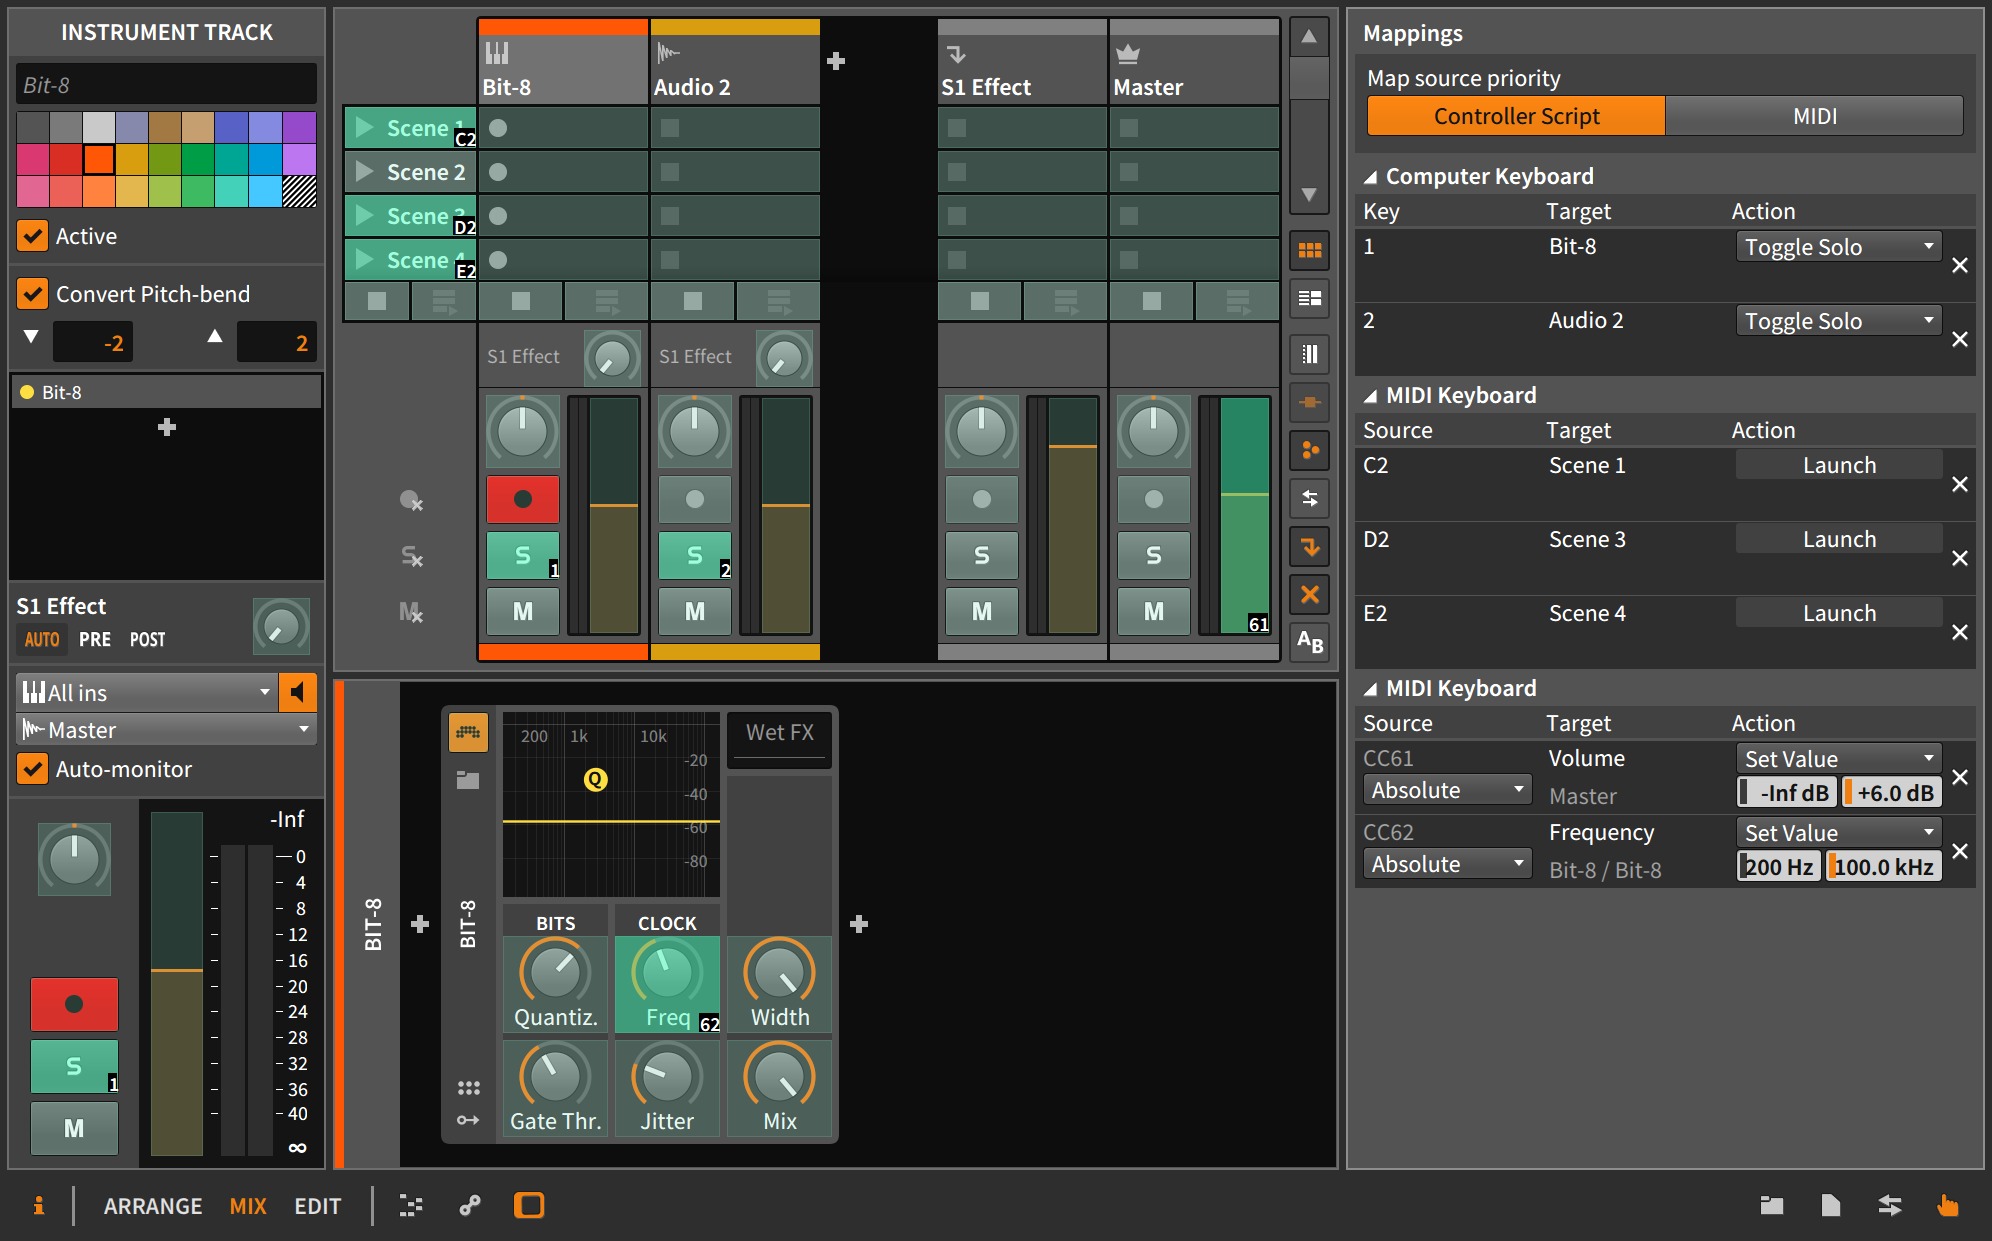
How to MIDI Map in Ableton
MIDI mapping in Ableton Live empowers users to seamlessly integrate external MIDI controllers and define custom control schemes tailored to their specific creative needs. Whether you're looking to manipulate device parameters, trigger clips, or fine-tune mixer controls, the process of MIDI mapping in Ableton Live is intuitive and versatile, offering a myriad of possibilities for enhancing your music production and performance setup.
To begin MIDI mapping in Ableton Live, follow these step-by-step instructions:
-
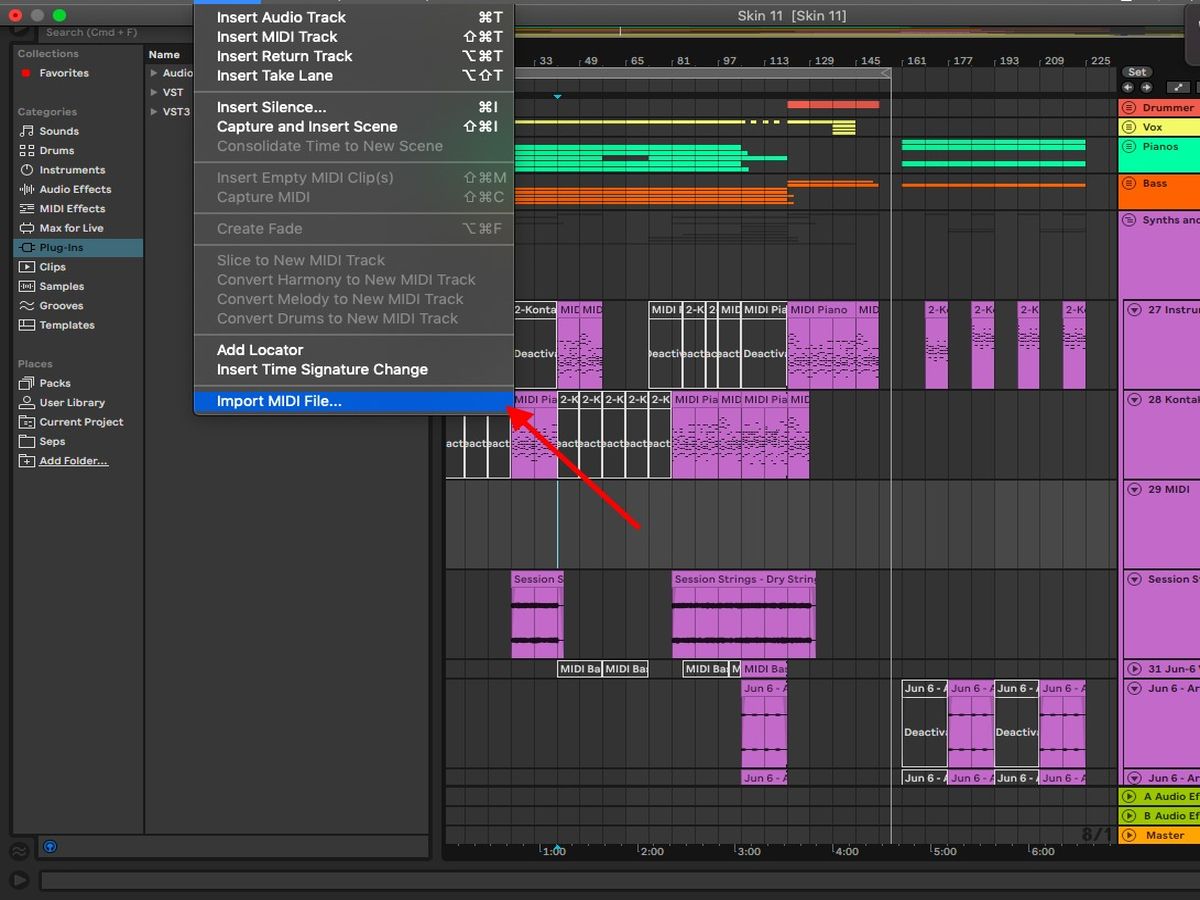
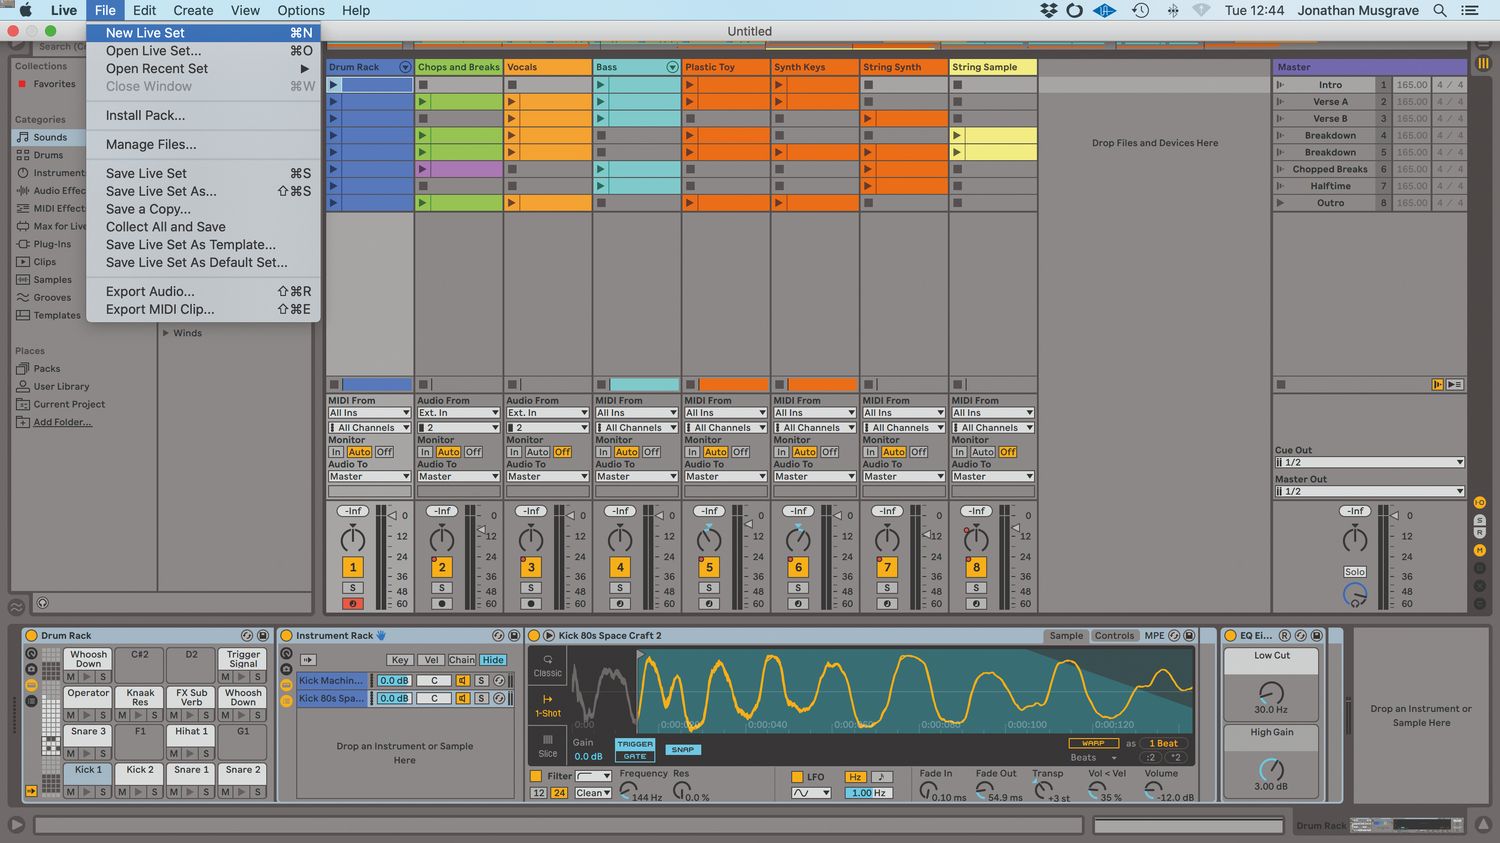
Enter MIDI Map Mode: In Ableton Live, navigate to the top right corner of the interface and click on the "MIDI" button, which resembles a small "MIDI" icon. This action activates MIDI Map Mode, signaling that the software is ready to receive MIDI input for mapping purposes.
-
Select the Parameter to Map: Once in MIDI Map Mode, click on the specific parameter within Ableton Live that you want to map to your MIDI controller. This could be a knob, fader, button, or any other assignable parameter within the software.
-
Move or Press the MIDI Controller: After selecting the parameter, physically interact with the corresponding control on your MIDI controller. For instance, if you want to map a knob to adjust the filter cutoff frequency, simply turn the knob on your MIDI controller. Similarly, if you wish to map a button to trigger a specific clip, press the button on your MIDI controller.
-
Confirmation and Testing: Once you've moved or pressed the MIDI controller, you'll notice that the parameter in Ableton Live is now linked to your MIDI controller. Test the mapping by manipulating the control on your MIDI controller and observing the real-time impact on the assigned parameter within the software.
-
Fine-Tune Mapping: With the initial mapping in place, you can further refine the MIDI mapping by adjusting the mapping range, scaling, and other parameters to suit your preferences. This level of customization allows for precise control over how your MIDI controller interacts with Ableton Live.
-
Save and Store Mapping: After finalizing the MIDI mapping setup, it's essential to save your mappings to ensure that they are retained for future use. Ableton Live allows users to save MIDI mappings as part of their project files or as custom presets for quick recall in subsequent sessions.
By following these straightforward steps, you can effectively MIDI map various parameters within Ableton Live, unlocking a world of tactile control and expressive possibilities. Whether you're performing live, producing in the studio, or experimenting with creative sound design, MIDI mapping in Ableton Live empowers you to craft a personalized and dynamic control environment that aligns with your artistic vision.
As we continue to explore the realm of MIDI mapping, we'll uncover advanced techniques, tips, and tricks to further elevate your MIDI mapping proficiency, enabling you to harness the full potential of your MIDI controllers and revolutionize your music-making experience within Ableton Live.
Tips and Tricks for MIDI Mapping
1. Organize Your Mapping Layout
When MIDI mapping multiple parameters across different devices or sections of your MIDI controller, it's beneficial to organize the layout in a logical and intuitive manner. Group similar functions together, such as assigning mixer controls to a specific section of your controller and mapping instrument parameters to another, to streamline your workflow and avoid confusion during performances or studio sessions.
2. Utilize MIDI Mapping Templates
Creating and utilizing MIDI mapping templates can significantly enhance your efficiency and consistency when working on different projects. By saving custom mapping templates for specific MIDI controllers or performance setups, you can expedite the process of configuring MIDI mappings for new tracks or live sets, ensuring a seamless transition between different creative contexts.
3. Explore Macro Controls
In Ableton Live, macro controls offer a powerful way to consolidate multiple parameters into a single, easily accessible control. When MIDI mapping, consider assigning macro controls to your MIDI controller, allowing you to manipulate several parameters simultaneously with a single knob or fader. This approach simplifies complex adjustments and facilitates dynamic performance gestures.
4. Embrace MIDI Mapping Modulation
Delve into the realm of MIDI mapping modulation to infuse your performances and productions with expressive nuances. By assigning MIDI controllers to modulate parameters such as filter cutoff, resonance, or LFO rates, you can introduce evolving textures and dynamic shifts in your music, adding depth and character to your sonic creations.
5. Experiment with MIDI Mapping Curves
Ableton Live offers the flexibility to adjust mapping curves, allowing you to tailor the response curve of your MIDI controllers to suit your playing style and performance preferences. Experiment with different curve shapes to achieve precise and nuanced control over parameters, whether it's creating smooth fades with faders or fine-tuning the sensitivity of rotary encoders.
6. Implement MIDI Mapping Layers
For advanced MIDI mapping scenarios, consider implementing mapping layers to expand the functionality of your MIDI controllers. By creating layers for different performance modes or switching between control assignments, you can maximize the versatility of your controllers, seamlessly transitioning between various control configurations within Ableton Live.
7. Fine-Tune MIDI Mapping Sensitivity
When mapping sensitive parameters such as filter sweeps or pitch modulation, adjusting the mapping sensitivity can refine the responsiveness of your MIDI controllers. By fine-tuning sensitivity settings, you can achieve precise and nuanced control over subtle sonic manipulations, enhancing the expressiveness of your performances and studio productions.
By incorporating these tips and tricks into your MIDI mapping endeavors, you can elevate your creative potential and streamline your interaction with Ableton Live, unlocking a world of dynamic control and expressive possibilities. Whether you're crafting intricate soundscapes, performing live sets, or producing chart-topping tracks, mastering the art of MIDI mapping empowers you to sculpt your sonic vision with precision and finesse.
Conclusion
In conclusion, mastering the art of MIDI mapping in Ableton Live opens a gateway to a realm of boundless creative expression and dynamic control. By understanding the fundamental principles of MIDI mapping and harnessing its potential within the context of Ableton Live, musicians, producers, and performers can revolutionize their music-making experience, transcending the constraints of traditional workflows and immersing themselves in a world of tactile interaction and expressive manipulation.
The journey through MIDI mapping in Ableton Live is a transformative odyssey, empowering users to bridge the gap between the physical and digital domains of music creation. From assigning MIDI knobs to sculpting intricate soundscapes to triggering clips with the tap of a pad controller, the versatility and flexibility of MIDI mapping facilitate a seamless fusion of hardware and software, fostering a deeper connection with the music-making process.
As we've explored the intricacies of MIDI mapping, from entering MIDI Map Mode to fine-tuning mapping sensitivity, it becomes evident that the potential for creative exploration knows no bounds. The ability to customize control surfaces, create mapping templates, and experiment with modulation and mapping curves empowers users to craft personalized workflows tailored to their unique artistic vision, enhancing both studio productions and live performances.
Furthermore, the dynamic nature of MIDI mapping in Ableton Live transcends mere technical functionality, offering a pathway to more immersive and expressive musical experiences. The tactile engagement with MIDI controllers, coupled with the real-time manipulation of parameters, fosters a sense of spontaneity and fluidity in musical expression, blurring the lines between performer and instrument, producer and composition.
In essence, MIDI mapping in Ableton Live is not merely a technical process but a catalyst for unlocking new dimensions of creativity and performance dynamics. It empowers artists to break free from the confines of static control interfaces, inviting them to sculpt, shape, and breathe life into their music with unprecedented precision and finesse.
As we bid adieu to this exploration of MIDI mapping in Ableton Live, it's clear that the journey has only just begun. Armed with the knowledge, skills, and insights gained from this guide, users are poised to embark on a voyage of sonic exploration, where the synergy of MIDI controllers and Ableton Live converges to propel creativity to new heights. So, go forth, dive into the realm of MIDI mapping, and let your musical visions unfold with the power of tactile control and expressive finesse.