Home>Production & Technology>MIDI>How To Turn MIDI Into Audio In Ableton

MIDI
How To Turn MIDI Into Audio In Ableton
Modified: February 22, 2024
Learn how to easily convert MIDI to audio in Ableton and enhance your music production. Follow our step-by-step guide for seamless MIDI conversion.
(Many of the links in this article redirect to a specific reviewed product. Your purchase of these products through affiliate links helps to generate commission for AudioLover.com, at no extra cost. Learn more)
Table of Contents
Introduction
MIDI, short for Musical Instrument Digital Interface, is a powerful tool that allows musicians and producers to create, edit, and control various aspects of music using electronic instruments and software. With MIDI, you can manipulate musical notes, control parameters of virtual instruments, and record performances with incredible precision and flexibility. In this article, we will explore the process of turning MIDI into audio using Ableton Live, a popular digital audio workstation (DAW) known for its robust MIDI capabilities.
Ableton Live provides a seamless environment for working with MIDI, offering a wide range of features and tools that empower users to unleash their creativity. Whether you're a seasoned producer or just starting your musical journey, understanding how to harness the potential of MIDI in Ableton Live is essential for crafting professional-quality music.
Throughout this guide, we'll delve into the fundamental steps of working with MIDI in Ableton Live, from setting up MIDI tracks and choosing instruments to recording MIDI performances and converting them into pristine audio files. By the end of this article, you'll have a comprehensive understanding of how to effectively transform your MIDI compositions into polished audio productions, ready for sharing with the world.
Now, let's embark on this exciting journey into the realm of MIDI and audio production in Ableton Live. Get ready to unlock the full potential of your musical ideas and bring them to life with the transformative power of MIDI and Ableton Live.
Setting up MIDI Tracks
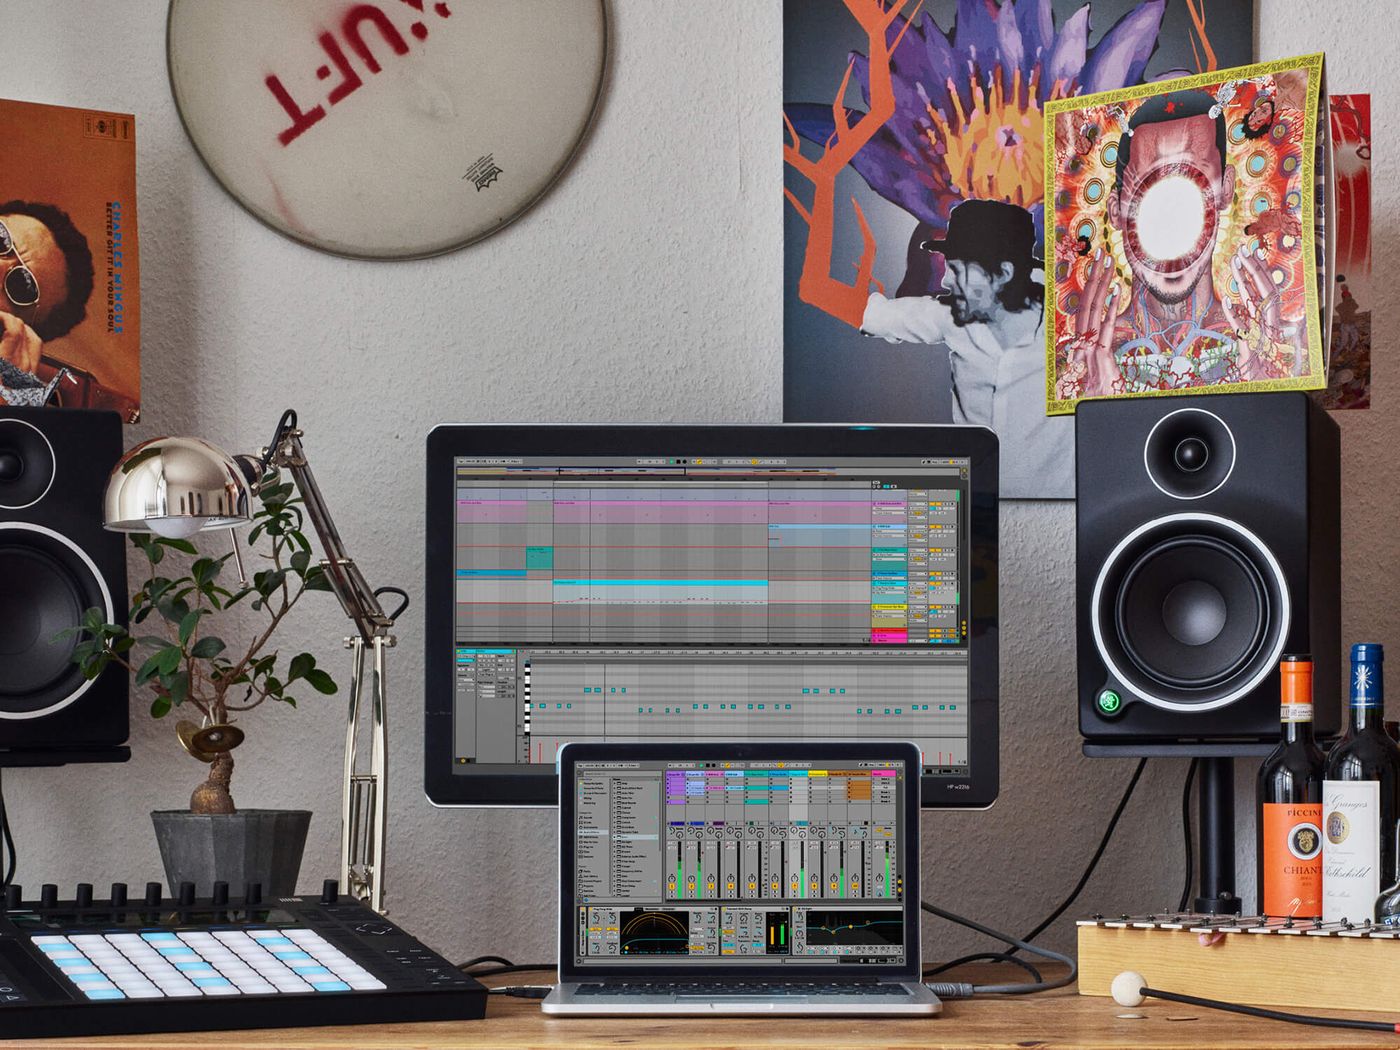
Setting up MIDI tracks in Ableton Live is the foundational step for harnessing the creative potential of MIDI. Whether you're starting a new project or adding MIDI tracks to an existing arrangement, Ableton Live offers a straightforward and intuitive process for creating and configuring MIDI tracks.
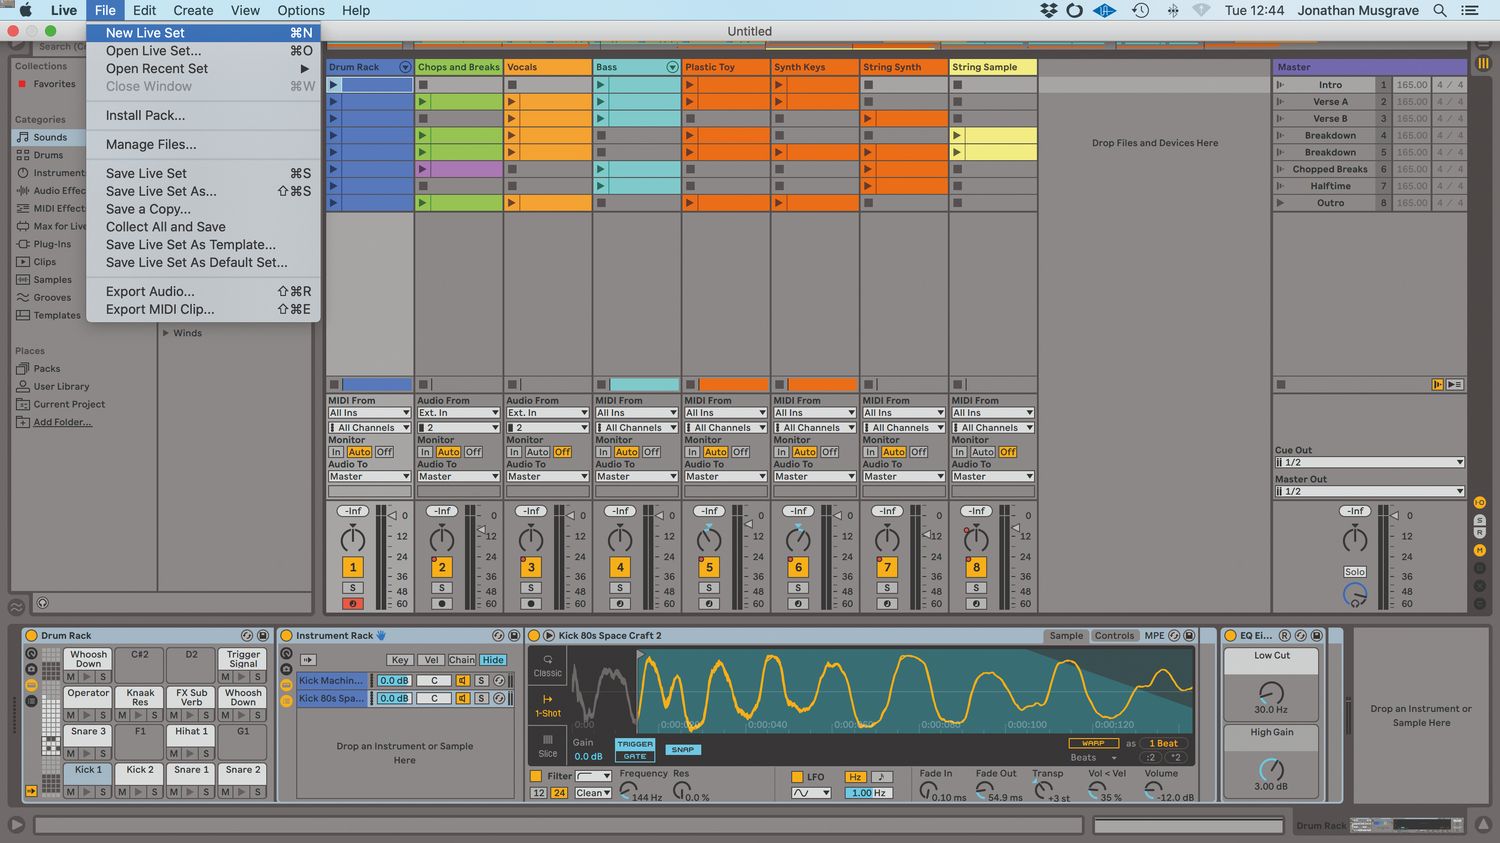
To begin, launch Ableton Live and open a new or existing project. Once in the session view, locate the area where you can add new tracks. In Ableton Live, this is typically found on the left-hand side of the interface. Click on the "Add Track" button, and from the dropdown menu, select "MIDI Track." This action creates a new MIDI track within your project, ready for you to start shaping your musical ideas.
With the MIDI track added, you can now customize its settings to suit your specific needs. This includes designating the MIDI input source, setting the track's monitoring options, and configuring any MIDI effects or instruments you wish to use.
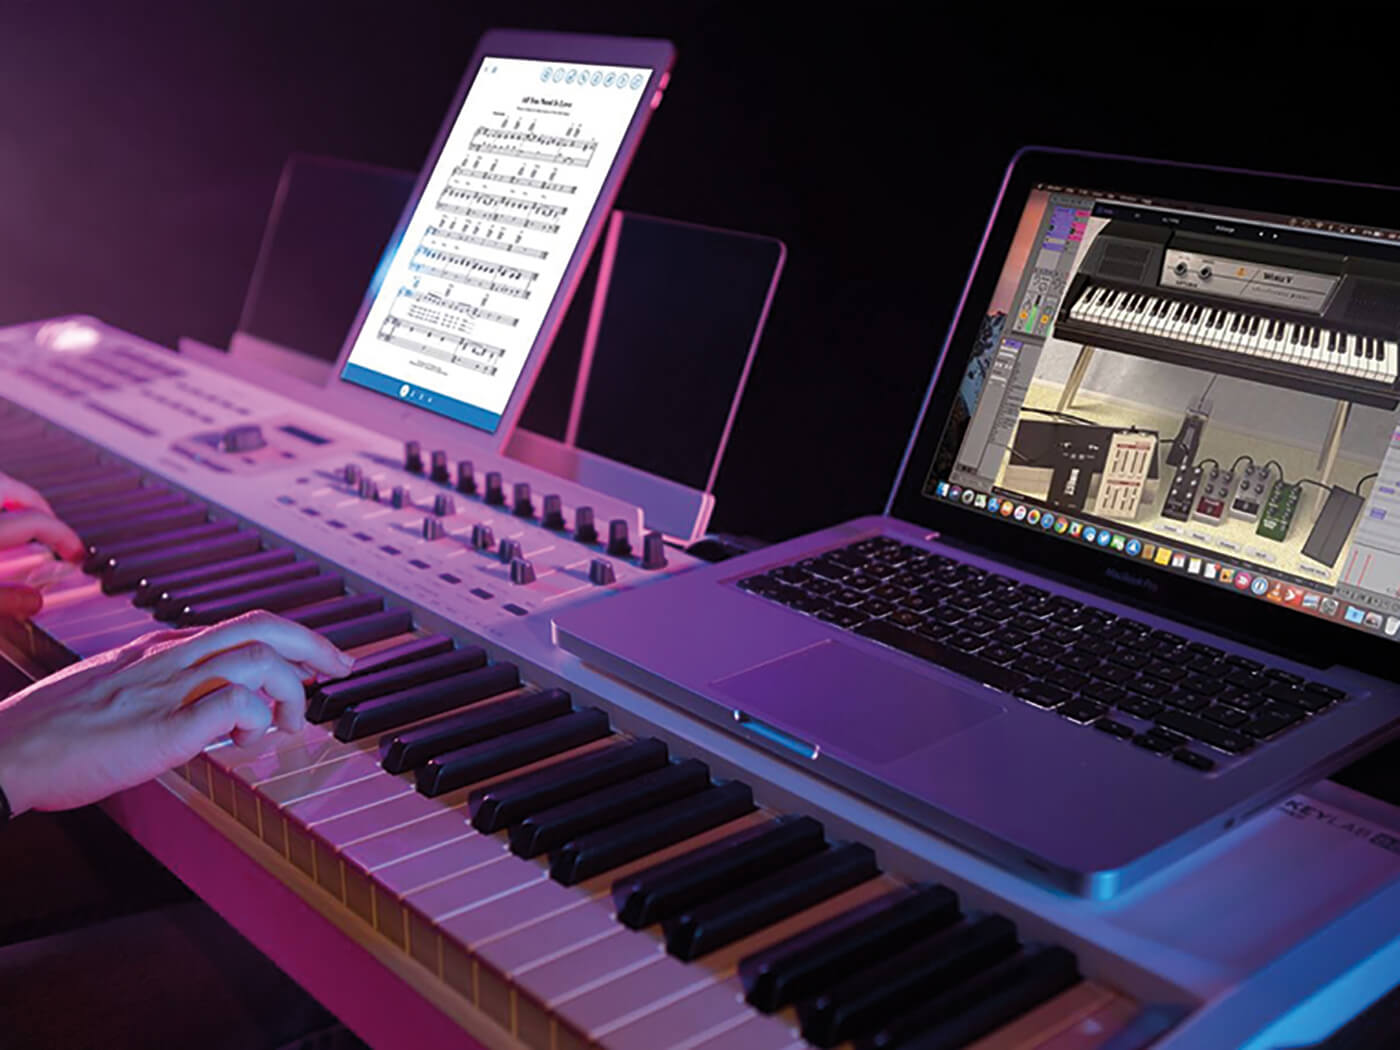
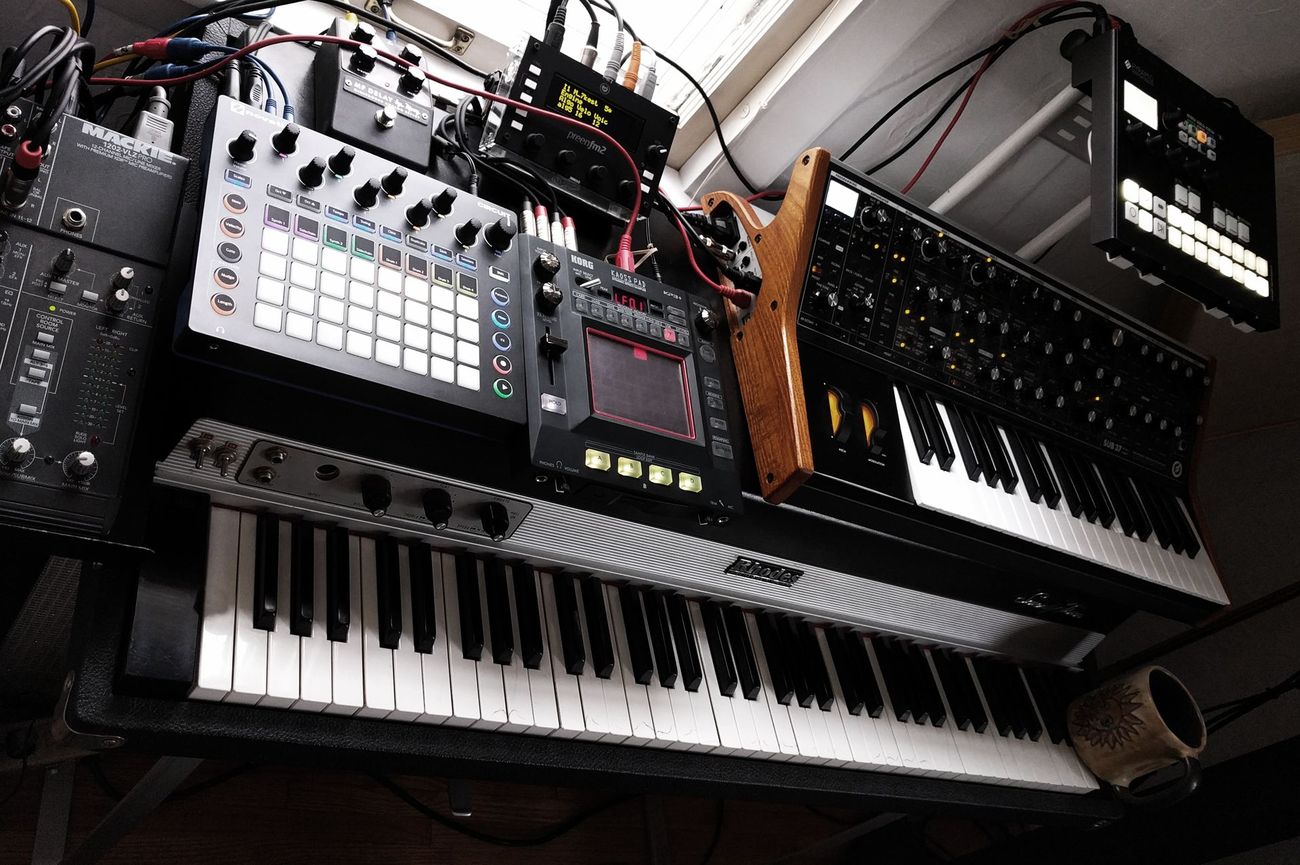
In Ableton Live, configuring the MIDI input source is essential for ensuring that the MIDI track receives signals from your preferred MIDI controller or device. To set the input source, click on the "MIDI From" dropdown menu on the MIDI track and select the desired MIDI input device. This could be a hardware MIDI controller, virtual MIDI instrument, or any other MIDI-enabled device connected to your computer.
Next, consider the monitoring options for the MIDI track. Ableton Live provides three monitoring modes: "Off," "In," and "Auto." The "Off" mode disables monitoring, while the "In" mode enables monitoring regardless of the track's record arm status. The "Auto" mode, on the other hand, enables monitoring only when the track is armed for recording. Choose the monitoring mode that aligns with your workflow and production preferences.
Furthermore, if you plan to use virtual instruments or MIDI effects within the MIDI track, you can add them directly from the Ableton Live browser. Simply drag and drop the desired instrument or effect onto the MIDI track to integrate it seamlessly into your production environment.
By following these steps, you can effectively set up MIDI tracks in Ableton Live, laying the groundwork for a dynamic and expressive music-making experience. With MIDI tracks ready to receive and manipulate musical data, you're poised to embark on a journey of sonic exploration and creativity within the realm of MIDI and Ableton Live.
Choosing and Loading Instruments
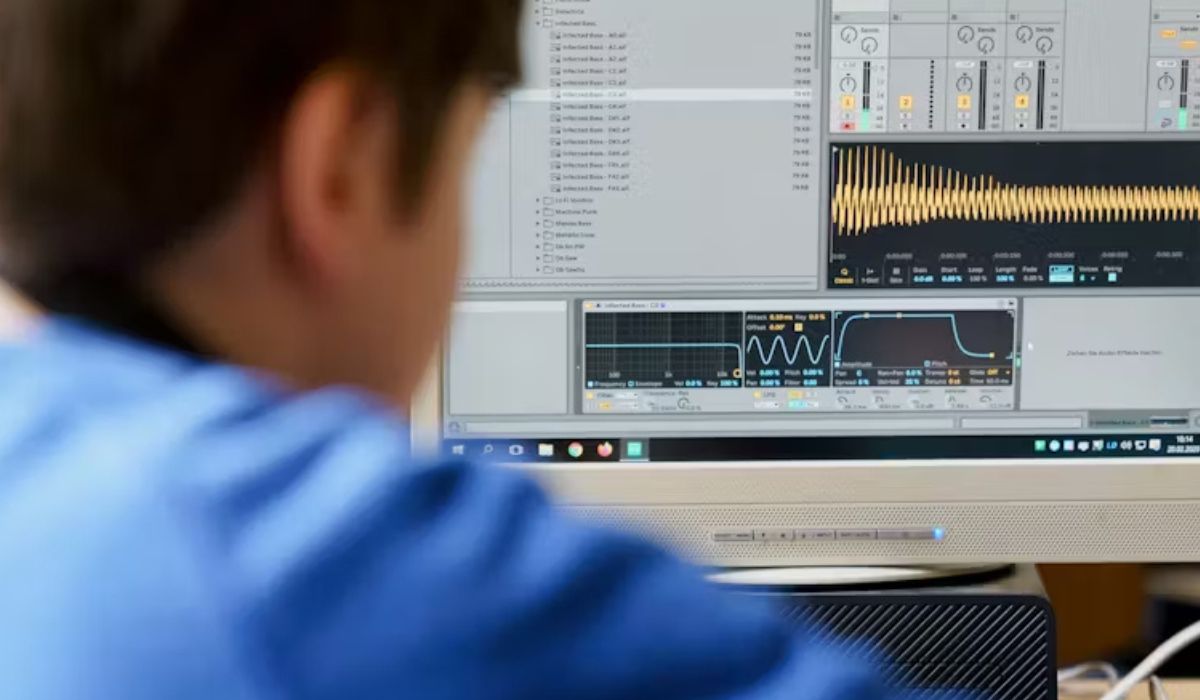
When it comes to turning MIDI into audio in Ableton Live, the choice and loading of instruments play a pivotal role in shaping the sonic landscape of your compositions. Ableton Live offers a diverse array of instruments, including synthesizers, samplers, and virtual instruments, each with its own unique sonic characteristics and expressive capabilities.
To begin, navigate to the Ableton Live browser, where you'll find an extensive collection of instruments waiting to be explored. Whether you're in search of warm analog tones, futuristic digital textures, or realistic acoustic emulations, Ableton Live's instrument library has you covered.
Once you've identified the instrument that resonates with your creative vision, simply drag and drop it onto a MIDI track in your project. This action instantly loads the instrument onto the track, ready to receive MIDI input and bring your musical ideas to life.
Furthermore, Ableton Live provides the option to layer multiple instruments within a single MIDI track, allowing you to craft complex and layered sounds with ease. This flexibility empowers you to experiment with different combinations of instruments, creating rich and immersive sonic tapestries that captivate the listener's imagination.
In addition to Ableton Live's built-in instruments, the software seamlessly integrates with third-party virtual instruments and plugins, expanding your sonic palette even further. Whether you have a collection of meticulously crafted virtual instruments or you're eager to explore new sonic territories through third-party offerings, Ableton Live welcomes and accommodates the integration of external instruments with open arms.
By carefully choosing and loading instruments in Ableton Live, you set the stage for a sonic journey filled with boundless creative possibilities. Whether you're sculpting ethereal soundscapes, crafting infectious melodies, or delving into experimental sonic territories, the instruments you select and load serve as the building blocks of your musical narrative, shaping the emotional impact and sonic character of your compositions.
As you embark on this musical odyssey, allow your intuition and artistic sensibilities to guide you in selecting instruments that resonate with your creative vision. Embrace the endless sonic horizons that unfold before you, and let the chosen instruments become the conduits through which your musical expressions flow, transcending boundaries and resonating with the hearts and minds of your audience.
Recording MIDI
Recording MIDI performances in Ableton Live is a transformative process that empowers musicians and producers to capture their musical expressions with unparalleled precision and flexibility. Whether you're crafting intricate melodies, sculpting rhythmic patterns, or exploring experimental sonic territories, the ability to record MIDI performances in Ableton Live opens the door to a world of creative possibilities.
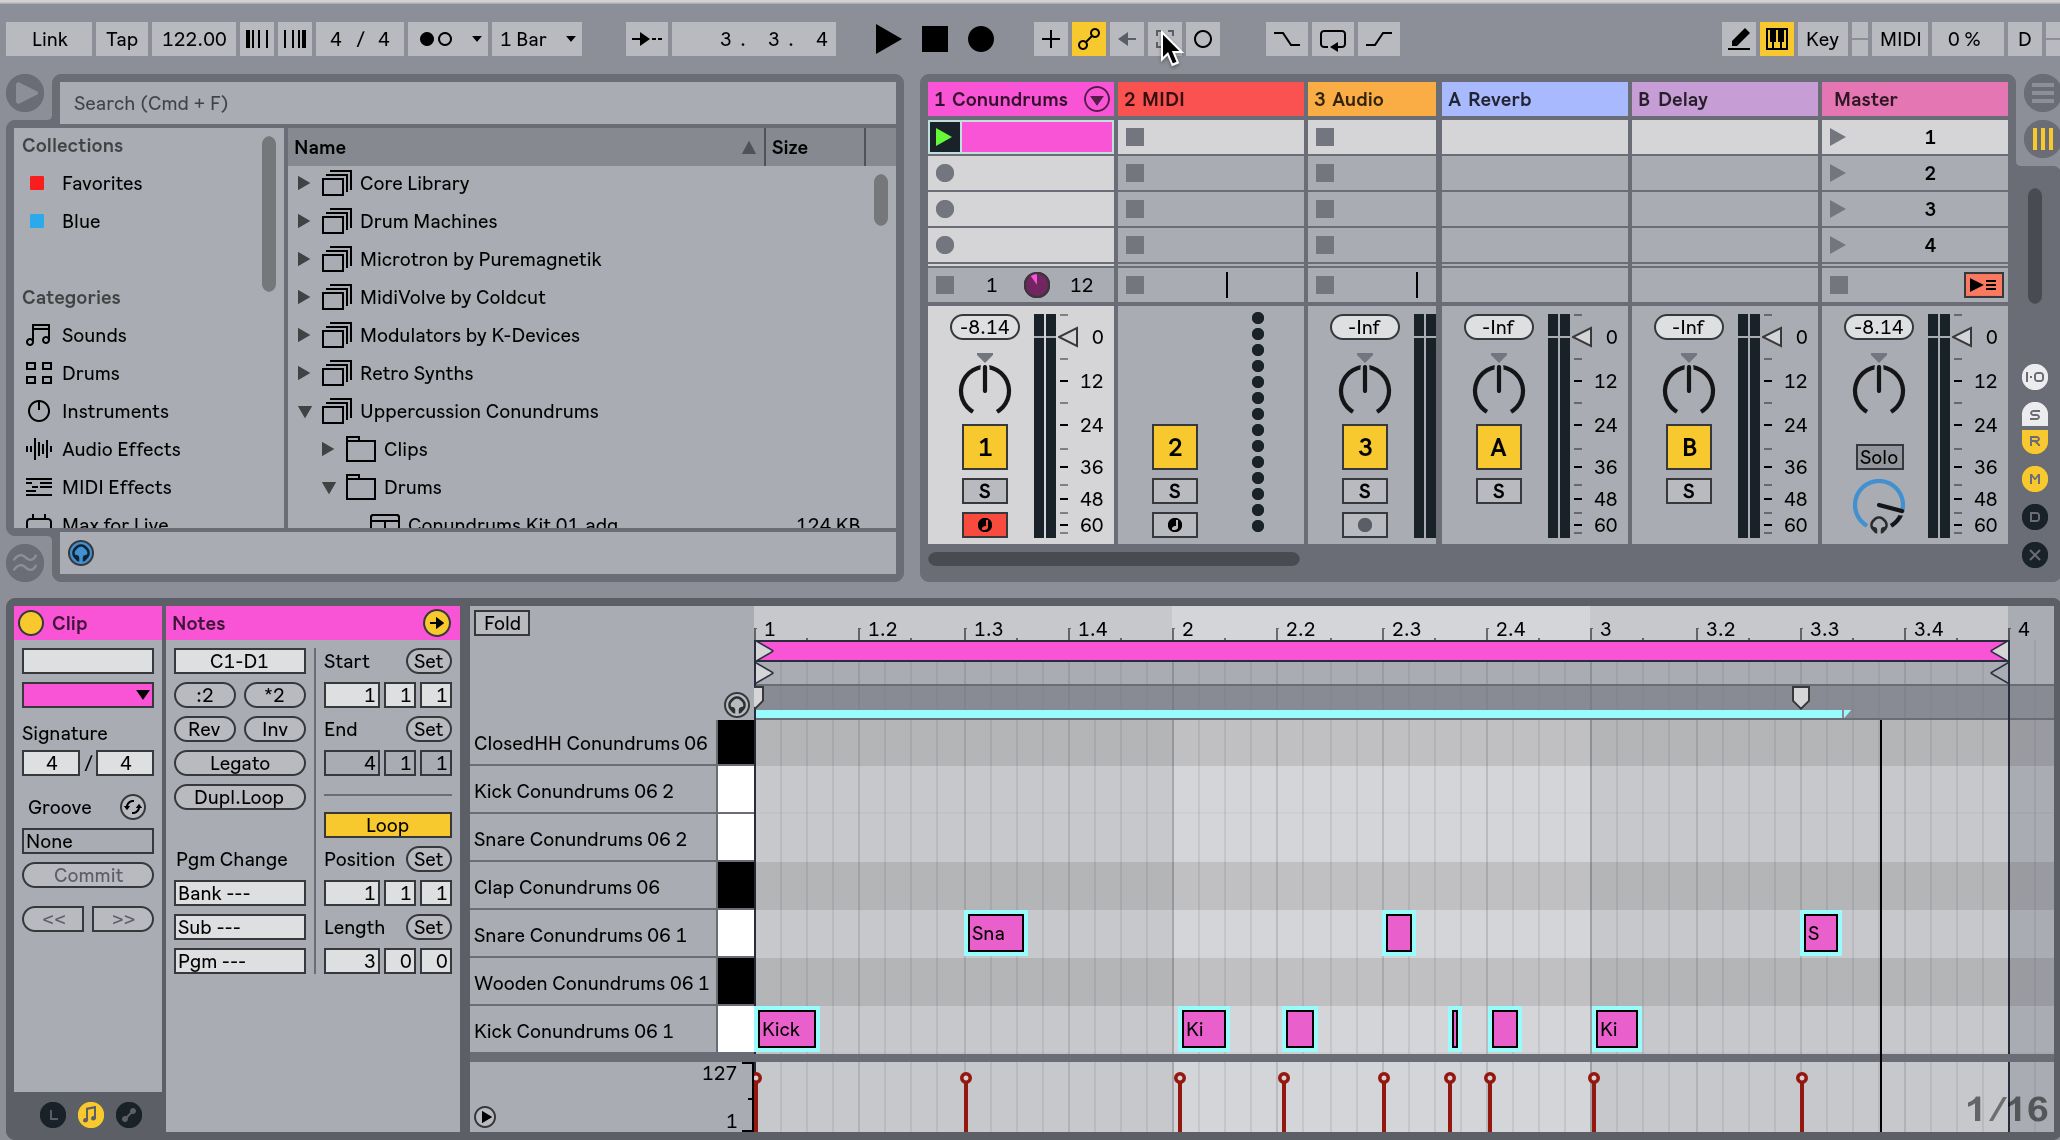
To begin recording MIDI in Ableton Live, ensure that your MIDI track is armed for recording. This can be done by clicking on the "Arm" button located on the MIDI track, signaling that the track is ready to receive and capture MIDI input. Once armed, any MIDI data generated from your MIDI controller or input device will be captured in real-time, preserving the nuances and dynamics of your performance.
As you unleash your musical ideas through your MIDI controller, Ableton Live faithfully captures every note, velocity variation, and modulation, preserving the essence of your performance with pristine accuracy. Whether you're playing a keyboard, tapping out rhythms on a pad controller, or manipulating parameters with a MIDI control surface, the recording process in Ableton Live seamlessly translates your gestures into tangible musical data.
Furthermore, Ableton Live offers comprehensive recording options that cater to a wide range of creative workflows. From capturing MIDI performances in a linear fashion to recording in a loop-based manner, Ableton Live adapts to your preferred approach, providing the flexibility to experiment, iterate, and refine your musical ideas with ease.
In addition to traditional real-time recording, Ableton Live features a unique "Capture" function, which automatically captures MIDI performances even when you forget to hit the record button. This ingenious feature ensures that no moment of inspiration is lost, allowing you to effortlessly retrieve and integrate spontaneous musical ideas into your compositions.
Moreover, the non-destructive nature of MIDI recording in Ableton Live empowers you to refine and edit your performances with precision and fluidity. Whether you're adjusting note timings, refining velocity levels, or experimenting with different musical variations, Ableton Live's MIDI editing capabilities provide a canvas for artistic exploration and refinement.
As you immerse yourself in the process of recording MIDI in Ableton Live, embrace the freedom to express yourself with authenticity and spontaneity. Let your musical ideas flow uninhibited, knowing that Ableton Live stands ready to capture, preserve, and elevate your creative expressions into the realm of sonic artistry.
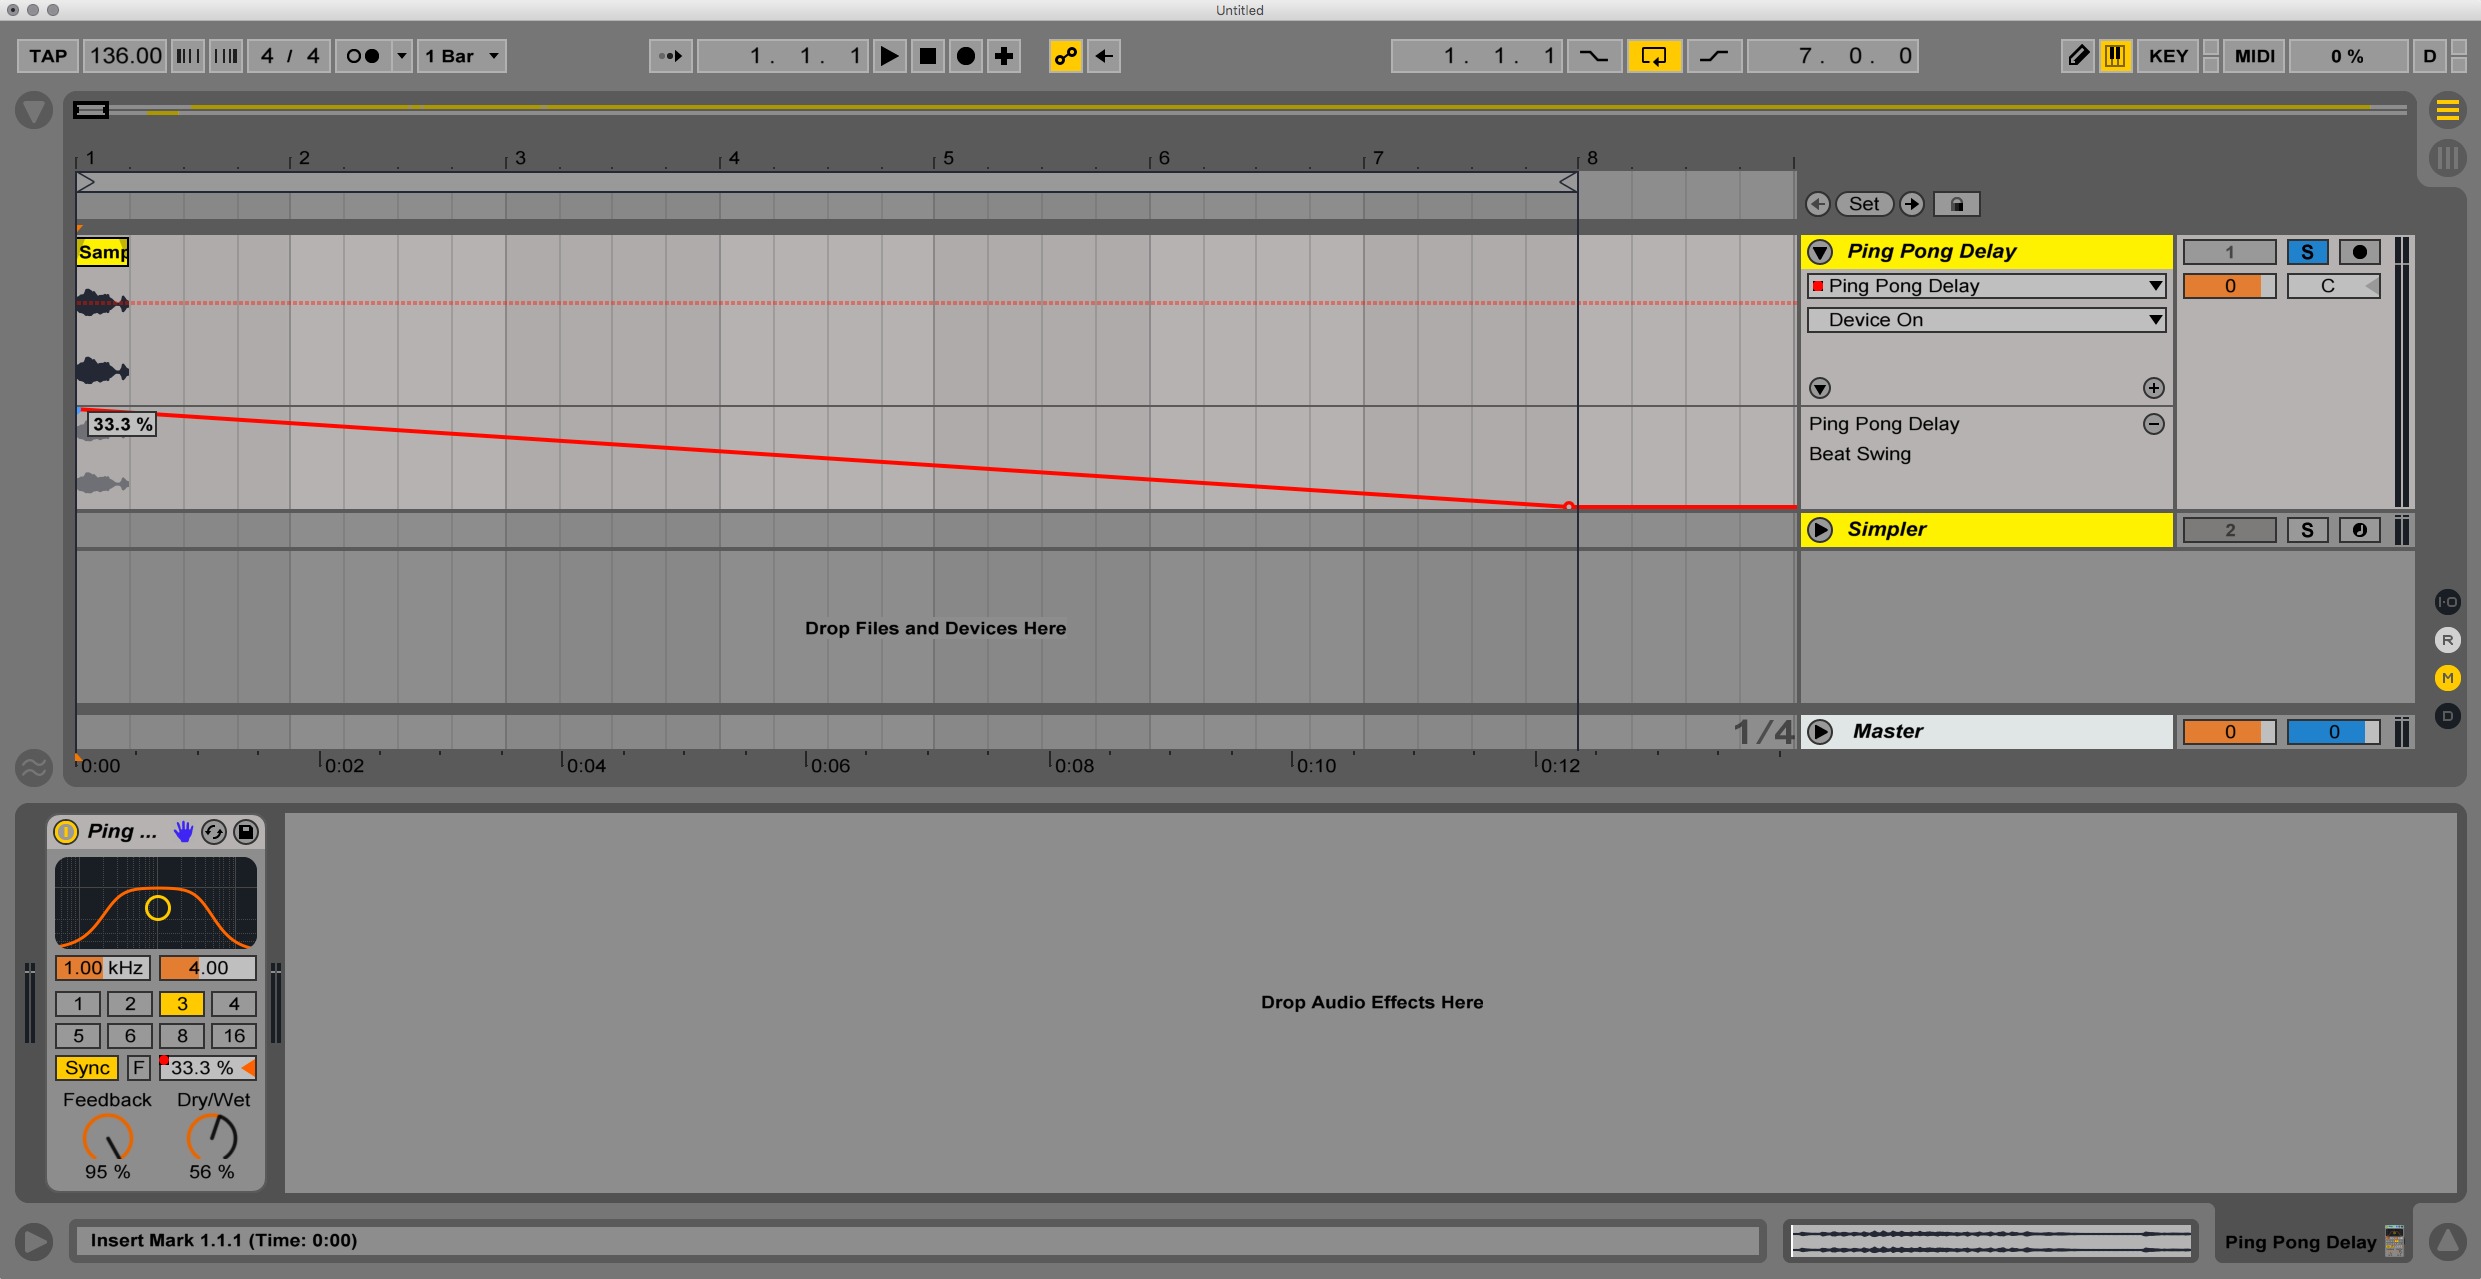
Converting MIDI to Audio
In the realm of music production, the transformation of MIDI compositions into pristine audio recordings marks a pivotal phase in the creative process. In Ableton Live, the seamless transition from MIDI to audio empowers musicians and producers to transcend the realm of digital musical notation and bring their compositions to life as tangible sonic experiences.
Upon completing the crafting and recording of MIDI performances, the next step involves converting these MIDI compositions into audio files within Ableton Live. This process not only preserves the essence of the MIDI performances but also unlocks new avenues for sonic exploration and refinement.
To initiate the conversion of MIDI to audio in Ableton Live, navigate to the MIDI track containing your recorded performances. Within the track, locate the instrument or virtual instrument rack responsible for generating the MIDI sounds. Once identified, you can proceed to convert the MIDI data into audio by utilizing Ableton Live's robust rendering capabilities.
Ableton Live offers a straightforward method for rendering MIDI tracks to audio. By simply right-clicking on the MIDI track and selecting the "Freeze Track" option, Ableton Live temporarily renders the MIDI data into audio, allowing you to audition and further manipulate the sonic characteristics of the performance. This temporary rendering process provides a preview of the MIDI composition in its audio form, offering insights into how the musical ideas translate into tangible sonic expressions.
Following the freezing of the MIDI track, you have the option to "Flatten" the track, which permanently renders the MIDI data into an audio waveform. This transformation solidifies the MIDI composition into an audio recording, ready for meticulous editing, processing, and arrangement within your project. By flattening the track, you create a definitive audio representation of the MIDI performance, paving the way for seamless integration into your production workflow.
Furthermore, Ableton Live's rendering capabilities extend beyond individual MIDI tracks, allowing you to render entire sections of your project or even the entire arrangement into audio files. This holistic rendering approach empowers you to capture the sonic essence of your compositions, preserving them as high-fidelity audio recordings that transcend the realm of MIDI notation.
As you immerse yourself in the process of converting MIDI to audio in Ableton Live, embrace the transformative power of this pivotal step. Witness your musical ideas transcend the boundaries of digital notation, blossoming into vibrant audio recordings that resonate with emotion and vitality. Through the seamless conversion of MIDI to audio, your compositions evolve into tangible sonic narratives, ready to captivate and inspire listeners with their expressive depth and sonic richness.
Exporting Audio Files
Once you have meticulously crafted and refined your musical compositions within Ableton Live, the final step in the journey from MIDI to audio involves exporting your creations as high-quality audio files. This pivotal process transforms your sonic tapestries into standalone recordings, ready to be shared, distributed, and experienced by audiences around the world.
In Ableton Live, exporting audio files is a streamlined and intuitive procedure, designed to provide you with the flexibility and control needed to ensure that your compositions are faithfully preserved in their sonic glory. To initiate the exporting process, navigate to the "Export Audio/Video" option, typically found in the File menu or accessible through a dedicated export button within the interface.
Upon selecting the "Export Audio/Video" option, a comprehensive export dialog emerges, presenting you with a myriad of customizable parameters to tailor the exported audio files to your exact specifications. Here, you can define the export range, selecting specific sections of your project or the entire arrangement for export. This granular control enables you to extract individual segments or the entirety of your musical opus with precision and finesse.
Furthermore, Ableton Live offers a wealth of audio file format options for exporting, catering to diverse delivery requirements and compatibility considerations. Whether you prefer the ubiquitous WAV format for pristine audio fidelity, the space-efficient MP3 format for online distribution, or the versatile FLAC format for archival purposes, Ableton Live empowers you to choose the ideal format that aligns with your intended use case.
In addition to format selection, the export dialog allows you to specify audio resolution, sample rate, and dithering options, ensuring that the exported audio files adhere to your desired technical specifications. Whether you seek the pristine clarity of high-resolution audio or the compatibility of standard sample rates, Ableton Live provides the tools to tailor the technical attributes of your exported audio files with precision and care.
Once you have defined the export parameters to your satisfaction, a simple click on the "Export" button sets the process in motion, culminating in the creation of pristine audio files that encapsulate the essence of your musical journey. These files stand as sonic testaments to your creativity and artistry, poised to traverse the digital landscape and resonate with audiences, evoking emotions and sparking inspiration.
As you embark on the final phase of exporting audio files in Ableton Live, revel in the realization that your musical visions have transcended the digital realm, finding expression as tangible audio recordings. Embrace the opportunity to share your sonic narratives with the world, knowing that each exported audio file carries the soul of your compositions, ready to captivate, uplift, and inspire listeners with its boundless creativity and expressive depth.