Home>Production & Technology>MIDI>How To Connect Ground Ghost Acoustic MIDI System
MIDI
How To Connect Ground Ghost Acoustic MIDI System
Modified: February 22, 2024
Learn how to connect and optimize your MIDI system with the Ground Ghost Acoustic MIDI system. Get expert tips and advice for seamless integration.
(Many of the links in this article redirect to a specific reviewed product. Your purchase of these products through affiliate links helps to generate commission for AudioLover.com, at no extra cost. Learn more)
Table of Contents
Introduction
Welcome to the world of MIDI, where music and technology converge to create a seamless and dynamic musical experience. In this comprehensive guide, we will delve into the intricacies of connecting the Ground Ghost Acoustic MIDI System, a revolutionary tool that bridges the gap between acoustic instruments and digital interfaces.
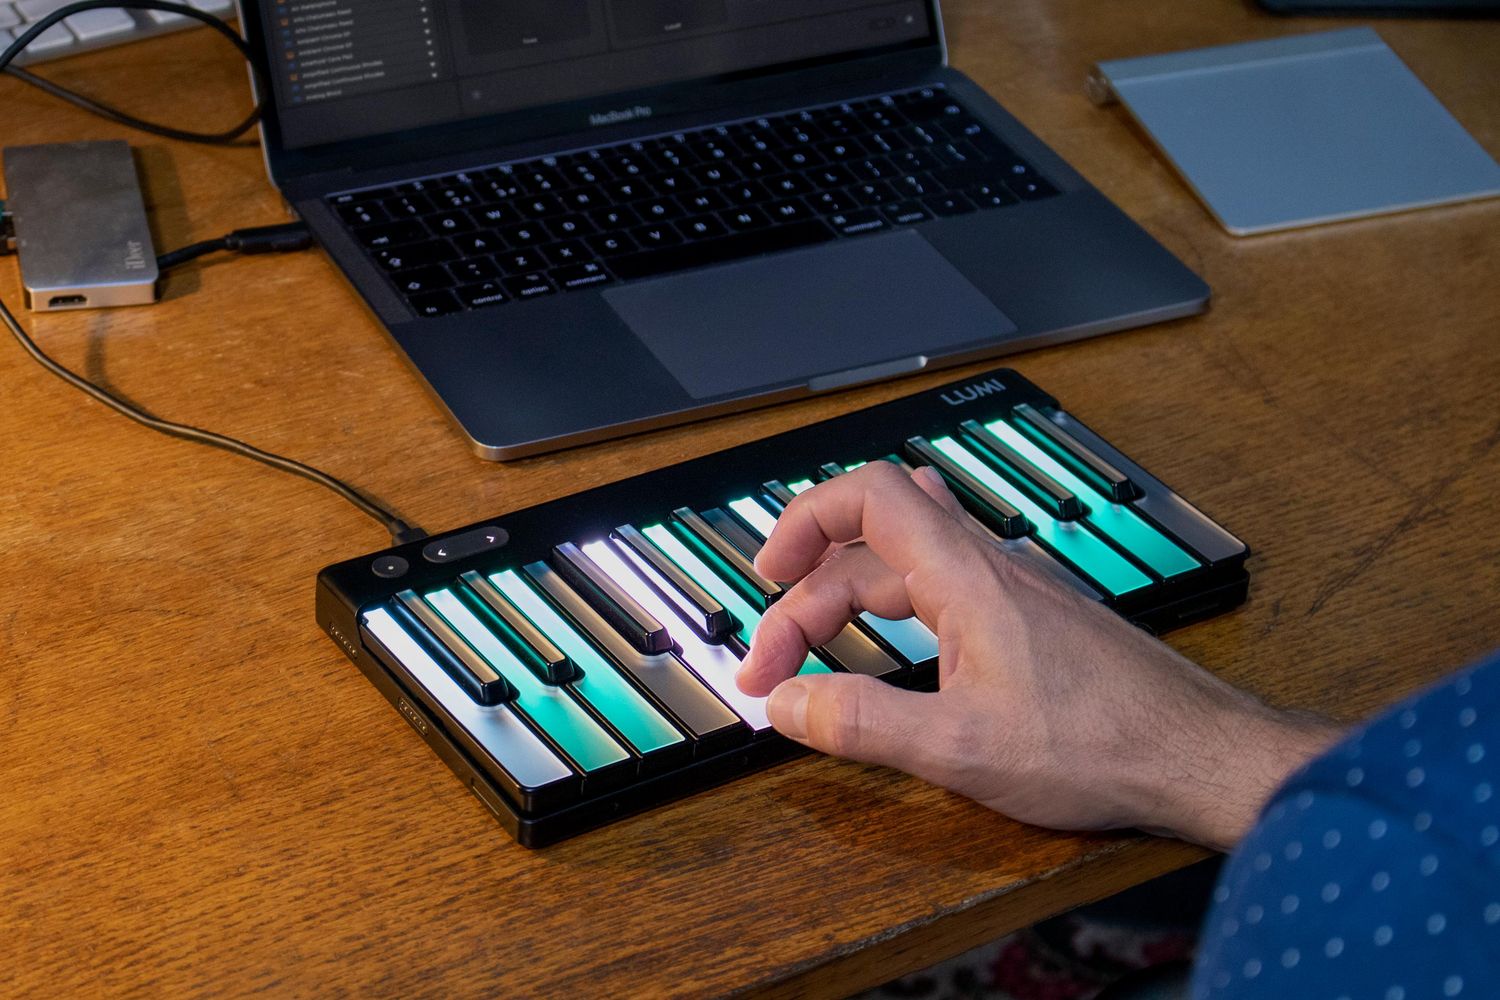
The Ground Ghost Acoustic MIDI System opens up a realm of possibilities for musicians, allowing them to harness the expressive nuances of acoustic instruments while leveraging the power of MIDI technology. Whether you're a seasoned musician or a budding enthusiast, this system offers a gateway to explore new sonic landscapes and unleash your creativity.
With the Ground Ghost Acoustic MIDI System, you can seamlessly integrate your acoustic instrument – be it a guitar, violin, or any other acoustic marvel – with MIDI-enabled devices such as synthesizers, samplers, and digital audio workstations (DAWs). This fusion of traditional craftsmanship and cutting-edge technology empowers musicians to craft intricate compositions, experiment with diverse sounds, and elevate their musical performances to unprecedented heights.
Throughout this guide, we will walk you through the process of setting up and connecting the Ground Ghost Acoustic MIDI System, demystifying the technical aspects and providing practical insights to ensure a smooth and rewarding experience. From configuring the MIDI settings to testing the connection, you will gain a comprehensive understanding of how to seamlessly integrate this innovative system into your musical workflow.
So, whether you're yearning to infuse your acoustic performances with electronic elements, expand your sonic palette, or simply embark on a journey of musical exploration, the Ground Ghost Acoustic MIDI System stands ready to accompany you on this exhilarating endeavor. Join us as we unravel the intricacies of this groundbreaking technology and unlock the boundless potential that awaits at the intersection of tradition and innovation.
Step 1: Setting up the Ground Ghost Acoustic MIDI System
Setting up the Ground Ghost Acoustic MIDI System is the foundational step that paves the way for a seamless integration of your acoustic instrument with MIDI technology. Whether you're a seasoned musician or a tech-savvy enthusiast, the process of setting up the Ground Ghost system is designed to be intuitive and accessible, ensuring that you can swiftly embark on your musical journey without technical hindrances.
-
Unboxing the Ground Ghost Acoustic MIDI System: Upon receiving your Ground Ghost Acoustic MIDI System, carefully unbox the components, taking note of the main interface unit, pickup sensors, and accompanying cables. The system is meticulously designed to be user-friendly, with clear labeling and intuitive design elements.
-
Mounting the Pickup Sensors: Begin by affixing the pickup sensors to your acoustic instrument, ensuring optimal placement for capturing the nuances of your playing. The sensors are designed to seamlessly adhere to the instrument's body, preserving its aesthetic while unlocking a world of MIDI possibilities.
-
Connecting the Main Interface Unit: Once the pickup sensors are in place, connect them to the main interface unit using the provided cables. The interface unit serves as the central hub, facilitating communication between your acoustic instrument and MIDI-enabled devices.
-
Powering Up the System: With the components connected, power up the Ground Ghost Acoustic MIDI System, verifying that all connections are secure and the interface unit is receiving power. The system's LED indicators provide visual feedback, ensuring that you can easily confirm the operational status at a glance.
-
Calibrating the System: To optimize performance, engage in the calibration process as per the system's instructions. This step ensures that the pickup sensors are finely tuned to capture the unique characteristics of your acoustic instrument, laying the groundwork for expressive MIDI control.
-
Verifying Signal Flow: Before proceeding, verify the signal flow from your acoustic instrument to the main interface unit. Strumming the strings or playing your instrument should elicit a response from the system, indicating that the pickup sensors are effectively translating your performance into MIDI data.
By meticulously following these steps, you can establish a robust foundation for integrating the Ground Ghost Acoustic MIDI System into your musical repertoire. With the setup complete, you are poised to unlock a realm of creative possibilities, seamlessly merging the timeless allure of acoustic instruments with the boundless potential of MIDI technology.
Step 2: Connecting the MIDI Interface
Connecting the MIDI interface is a pivotal phase in harnessing the full potential of the Ground Ghost Acoustic MIDI System. This step bridges the gap between your acoustic instrument and the digital realm, facilitating seamless communication and unlocking a myriad of creative possibilities. By adeptly linking the MIDI interface to your instrument and MIDI-enabled devices, you lay the groundwork for a harmonious fusion of traditional craftsmanship and cutting-edge technology.
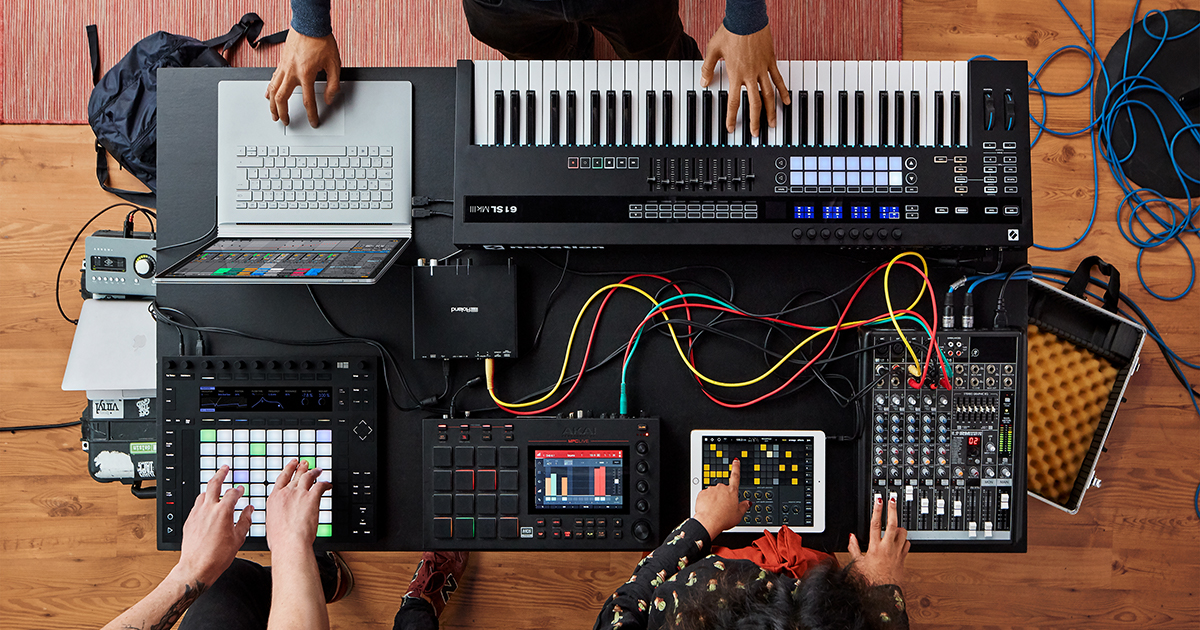
The MIDI interface serves as the central conduit, facilitating the transmission of MIDI data between your acoustic instrument and external devices such as synthesizers, samplers, and digital audio workstations (DAWs). This pivotal link empowers you to harness the expressive nuances of your acoustic instrument while leveraging the limitless sonic capabilities of MIDI technology.
Connecting the MIDI Interface: A Comprehensive Guide
-
Identifying Input and Output Ports: Begin by identifying the input and output ports on the MIDI interface. The input port receives MIDI data from your acoustic instrument, while the output port transmits MIDI data to external devices. Familiarizing yourself with these ports sets the stage for a seamless connection process.
-
Establishing Physical Connections: Using MIDI cables, connect the MIDI output port of the interface to the MIDI input port of your desired MIDI-enabled device. This physical linkage forms the backbone of the MIDI communication chain, enabling the transmission of MIDI data to external devices.
-
Powering Up the Interface: Ensure that the MIDI interface is powered on and operational. The interface serves as the linchpin in the MIDI communication process, necessitating a stable power supply to facilitate uninterrupted data transmission.
-
Verifying Signal Flow: With the physical connections in place, verify the signal flow by playing your acoustic instrument. The MIDI interface should effectively capture the nuances of your performance and transmit the MIDI data to the connected external devices, establishing a seamless bridge between the acoustic and digital realms.
-
Optimizing MIDI Settings: Depending on the specific requirements of your setup, delve into the MIDI settings of your connected devices to ensure optimal communication. This may involve configuring MIDI channels, addressing, and other parameters to align with your creative objectives.
By meticulously navigating through these steps, you can adeptly connect the MIDI interface, forging a robust link between your acoustic instrument and the expansive world of MIDI technology. This pivotal connection lays the groundwork for a harmonious fusion of traditional craftsmanship and digital innovation, empowering you to embark on a musical odyssey that transcends boundaries and unlocks boundless creative potential.
Step 3: Configuring the MIDI Settings
Configuring the MIDI settings is a critical phase that empowers you to tailor the communication parameters between your acoustic instrument and MIDI-enabled devices, ensuring seamless interoperability and optimal performance. This pivotal step delves into the intricacies of MIDI channels, addressing, and other parameters, offering a comprehensive toolkit to align the MIDI communication with your creative objectives.
Navigating the MIDI Settings Landscape
Upon embarking on the MIDI settings configuration, it is essential to acquaint yourself with the specific parameters that govern MIDI communication within your setup. This may encompass delving into the MIDI channels, which serve as distinct conduits for transmitting MIDI data, as well as addressing, which determines the unique identity of MIDI-enabled devices within the communication network.
Optimizing MIDI Channels
In the realm of MIDI, channels play a pivotal role in segregating and directing MIDI data to specific destinations. By configuring the MIDI channels within your setup, you can designate distinct pathways for transmitting MIDI information, enabling targeted communication with individual devices. This granular control over MIDI channels empowers you to orchestrate intricate musical arrangements, ensuring that MIDI data reaches its intended destinations with precision and efficiency.
Addressing MIDI Devices
Addressing forms the bedrock of MIDI communication, endowing each MIDI-enabled device with a unique identifier within the network. Configuring the addressing parameters within the MIDI settings allows you to assign distinct identities to your connected devices, facilitating seamless communication and preventing data conflicts. This meticulous allocation of addresses ensures that MIDI data is routed accurately, fostering a harmonious dialogue between your acoustic instrument and the array of MIDI-enabled devices at your disposal.
Fine-Tuning MIDI Parameters
Beyond the fundamental aspects of MIDI channels and addressing, delving into the MIDI settings presents an array of additional parameters that can be fine-tuned to align with your creative vision. From velocity curves and control mappings to system-exclusive (SysEx) configurations, this realm of MIDI customization offers a wealth of opportunities to tailor the communication dynamics, empowering you to sculpt a bespoke MIDI environment that resonates with your artistic aspirations.
Embracing Creative Possibilities
As you navigate the terrain of MIDI settings configuration, it is essential to approach this process as a gateway to boundless creative possibilities. By adeptly configuring the MIDI settings, you pave the way for a seamless and expressive dialogue between your acoustic instrument and the expansive realm of MIDI technology, unleashing a symphony of sonic innovation and artistic exploration.
By methodically configuring the MIDI settings, you fortify the communicative pathways between your acoustic instrument and MIDI-enabled devices, laying the groundwork for a harmonious fusion of traditional craftsmanship and digital innovation. This meticulous customization empowers you to sculpt a bespoke MIDI environment that resonates with your artistic aspirations, fostering a seamless and expressive dialogue that transcends boundaries and unlocks boundless creative potential.
Step 4: Testing the Connection
With the Ground Ghost Acoustic MIDI System meticulously set up and the MIDI interface seamlessly connected, the pivotal moment arrives to put the system to the test. Testing the connection serves as the litmus test, validating the seamless integration of your acoustic instrument with MIDI technology and affirming that the communicative pathways are robust and responsive.
Verifying Signal Transmission
The first step in testing the connection involves verifying the transmission of MIDI data from your acoustic instrument to the connected MIDI-enabled devices. As you play your instrument, observe the response from the MIDI interface and the external devices. The system should adeptly capture the nuances of your performance and translate them into MIDI data, ensuring that your expressive gestures are faithfully conveyed in the digital realm.
Assessing Latency and Responsiveness
Delving further, it is essential to assess the latency and responsiveness of the MIDI system. Play intricate passages and observe the real-time translation of your performances into MIDI data. The system's responsiveness should mirror the nuances of your playing, ensuring minimal latency and preserving the organic feel of your acoustic instrument within the digital domain. This seamless synchronization is paramount in preserving the integrity of your musical expression.
Exploring Dynamic Range and Articulation
As you delve deeper into testing the connection, explore the dynamic range and articulation afforded by the MIDI system. From delicate fingerpicking to bold strumming, the system should adeptly capture the full spectrum of your instrument's sonic capabilities, ensuring that every subtle nuance and expressive gesture is faithfully preserved in the MIDI data. This comprehensive representation of your instrument's dynamics empowers you to craft performances that resonate with depth and authenticity.
Validating Multi-Device Communication
For musicians leveraging multiple MIDI-enabled devices within their setup, validating multi-device communication is paramount. Test the seamless transmission of MIDI data to diverse devices, ensuring that each component of your musical arsenal receives the intended MIDI information. This cohesive communication network enables you to orchestrate intricate sonic landscapes, seamlessly integrating a myriad of MIDI-enabled devices into your creative workflow.
Embracing the Boundless Potential
By meticulously testing the connection, you affirm the seamless integration of the Ground Ghost Acoustic MIDI System into your musical repertoire. This pivotal phase serves as a testament to the system's robustness and responsiveness, validating its capacity to faithfully capture the nuances of your acoustic instrument and unleash a world of creative possibilities. With the connection validated, you are poised to embark on a musical odyssey that transcends boundaries, harnessing the boundless potential that awaits at the intersection of tradition and innovation.
Conclusion
In the realm of music, the Ground Ghost Acoustic MIDI System emerges as a transformative catalyst, seamlessly bridging the timeless allure of acoustic instruments with the boundless potential of MIDI technology. As we conclude this comprehensive guide, it is evident that the integration of the Ground Ghost system into your musical repertoire heralds a new era of sonic innovation and artistic exploration.
The journey of connecting the Ground Ghost Acoustic MIDI System has unveiled a tapestry of possibilities, empowering musicians to harness the expressive nuances of acoustic instruments while delving into the expansive realm of MIDI technology. From the meticulous setup process, where pickup sensors were affixed to instruments and the main interface unit became the central hub, to the seamless connection of the MIDI interface, every step has been a testament to the system's intuitive design and user-friendly approach.
By configuring the MIDI settings with precision and finesse, musicians can tailor the communicative pathways to align with their creative vision, ensuring seamless interoperability and optimal performance. This meticulous customization empowers artists to sculpt a bespoke MIDI environment that resonates with their artistic aspirations, fostering a seamless and expressive dialogue that transcends boundaries and unlocks boundless creative potential.
The pivotal moment of testing the connection has reaffirmed the robustness and responsiveness of the Ground Ghost system, validating its capacity to faithfully capture the nuances of acoustic instruments and unleash a world of creative possibilities. From verifying signal transmission to assessing latency and responsiveness, every facet of the system has been meticulously scrutinized, cementing its position as a transformative tool in the musical landscape.
As we stand at the intersection of tradition and innovation, the Ground Ghost Acoustic MIDI System beckons musicians to embark on a musical odyssey that transcends boundaries, harnessing the boundless potential that awaits. Whether you're yearning to infuse your acoustic performances with electronic elements, expand your sonic palette, or simply embark on a journey of musical exploration, the Ground Ghost system stands ready to accompany you on this exhilarating endeavor.
In closing, the integration of the Ground Ghost Acoustic MIDI System heralds a new chapter in musical creativity, where the expressive allure of acoustic instruments converges with the limitless possibilities of MIDI technology. It is a testament to the unyielding spirit of innovation and the enduring resonance of artistic expression, empowering musicians to craft compositions that resonate with depth, authenticity, and boundless creativity.