Home>Production & Technology>Acoustic>How To Connect Acoustic Guitar To Amp

Acoustic
How To Connect Acoustic Guitar To Amp
Published: March 12, 2024
Learn how to connect your acoustic guitar to an amp with our step-by-step guide. Get the best sound from your acoustic guitar with these tips and techniques.
(Many of the links in this article redirect to a specific reviewed product. Your purchase of these products through affiliate links helps to generate commission for AudioLover.com, at no extra cost. Learn more)
Table of Contents
Introduction
Connecting an acoustic guitar to an amplifier can significantly enhance its sound projection, making it ideal for live performances, recording sessions, or simply amplifying the music for a larger audience. Whether you're a seasoned musician or just starting out, understanding the process of connecting your acoustic guitar to an amp is essential for achieving the desired sound quality.
In this comprehensive guide, we will walk you through the step-by-step process of connecting your acoustic guitar to an amplifier. By following these instructions, you will be able to harness the full potential of your acoustic guitar and amplify its rich, resonant tones with confidence.
Acoustic guitars produce sound acoustically, relying on the hollow body to amplify the vibrations of the strings. However, when connected to an amplifier, the guitar's natural sound can be further amplified and shaped to suit different musical styles and performance settings. This versatility allows you to explore a wide range of tones and effects, expanding your creative possibilities as a musician.
Whether you're looking to perform on stage, record in a studio, or simply experiment with different sounds, understanding how to connect your acoustic guitar to an amp is a fundamental skill for any guitarist. With the right techniques and equipment, you can unlock the full potential of your instrument and create captivating music that resonates with your audience.
Now, let's dive into the step-by-step process of connecting your acoustic guitar to an amplifier, empowering you to unleash the full sonic potential of your instrument.
Step 1: Gather the necessary equipment
Before embarking on the process of connecting your acoustic guitar to an amplifier, it's essential to gather the necessary equipment to ensure a seamless and successful setup. Here's a comprehensive list of the items you will need:
-
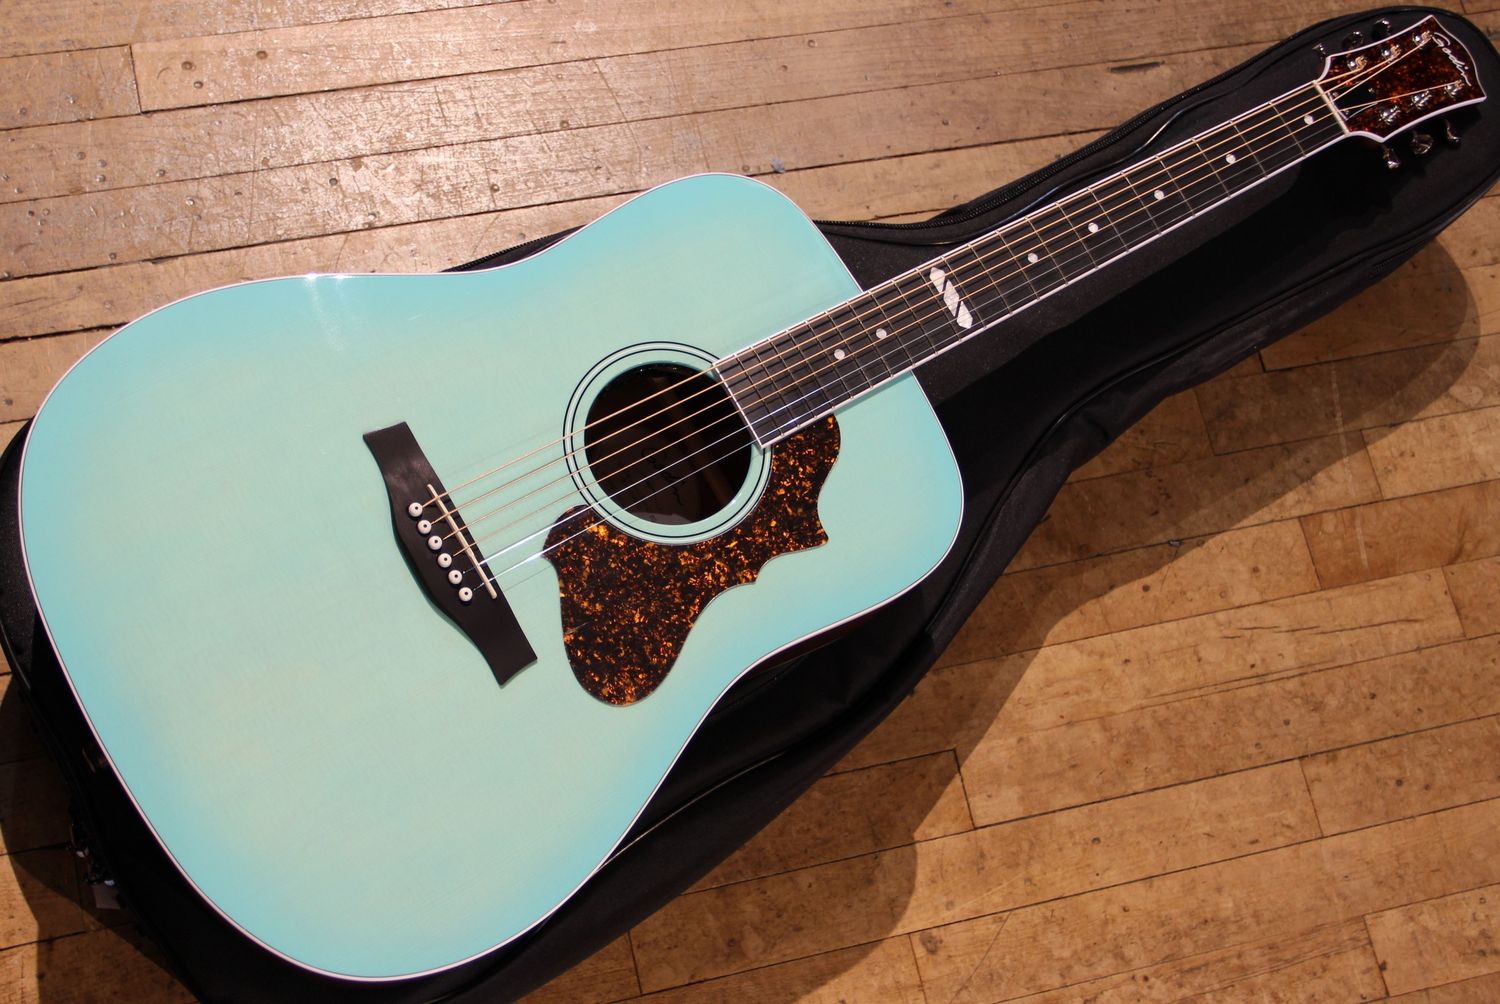
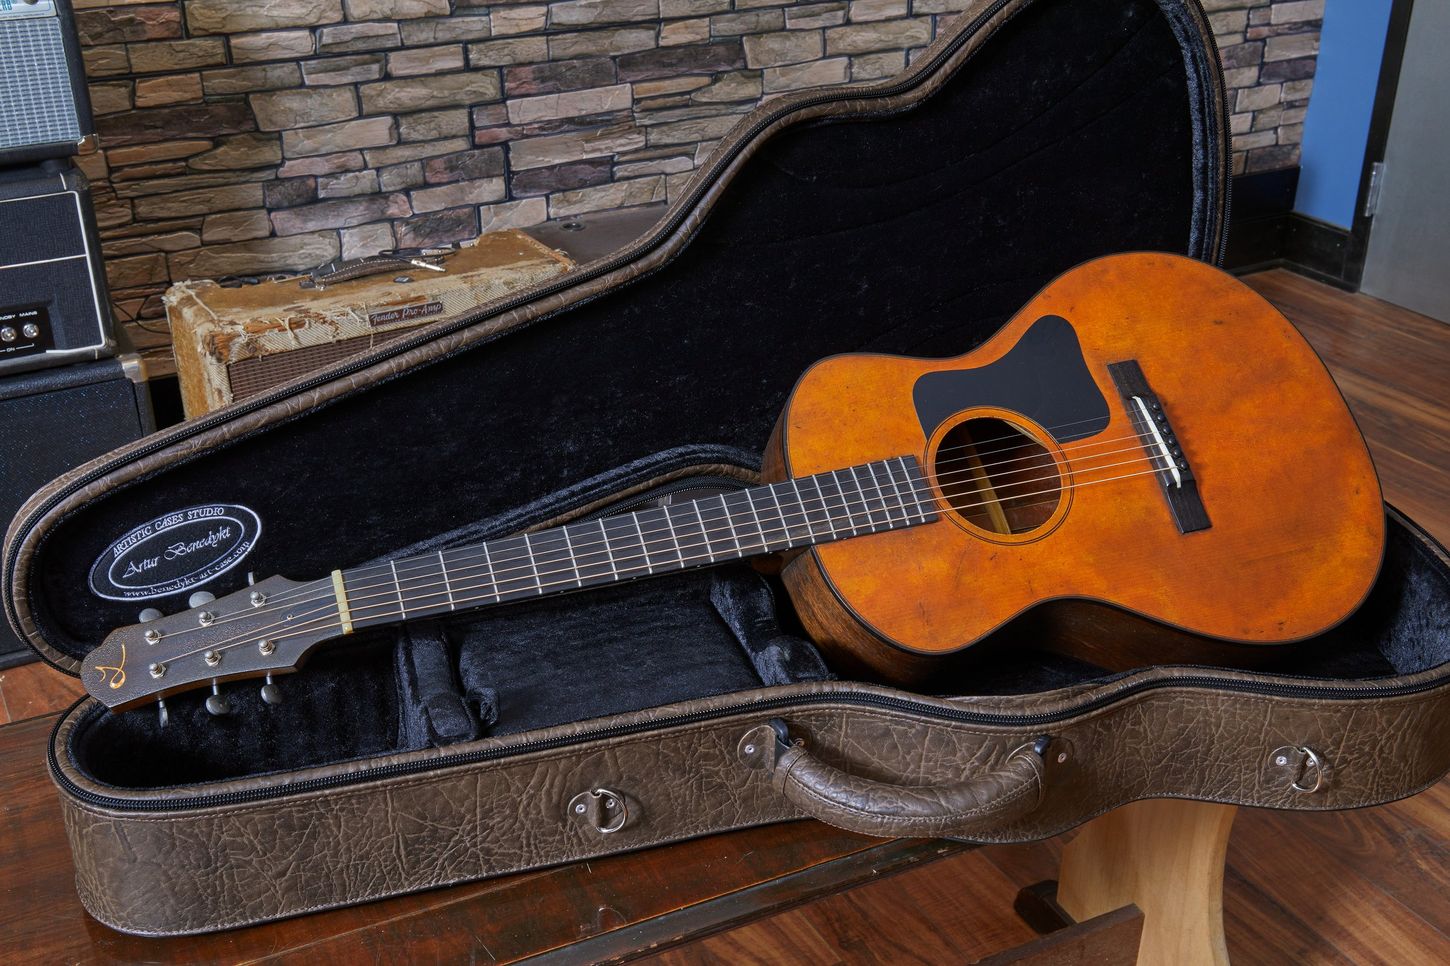
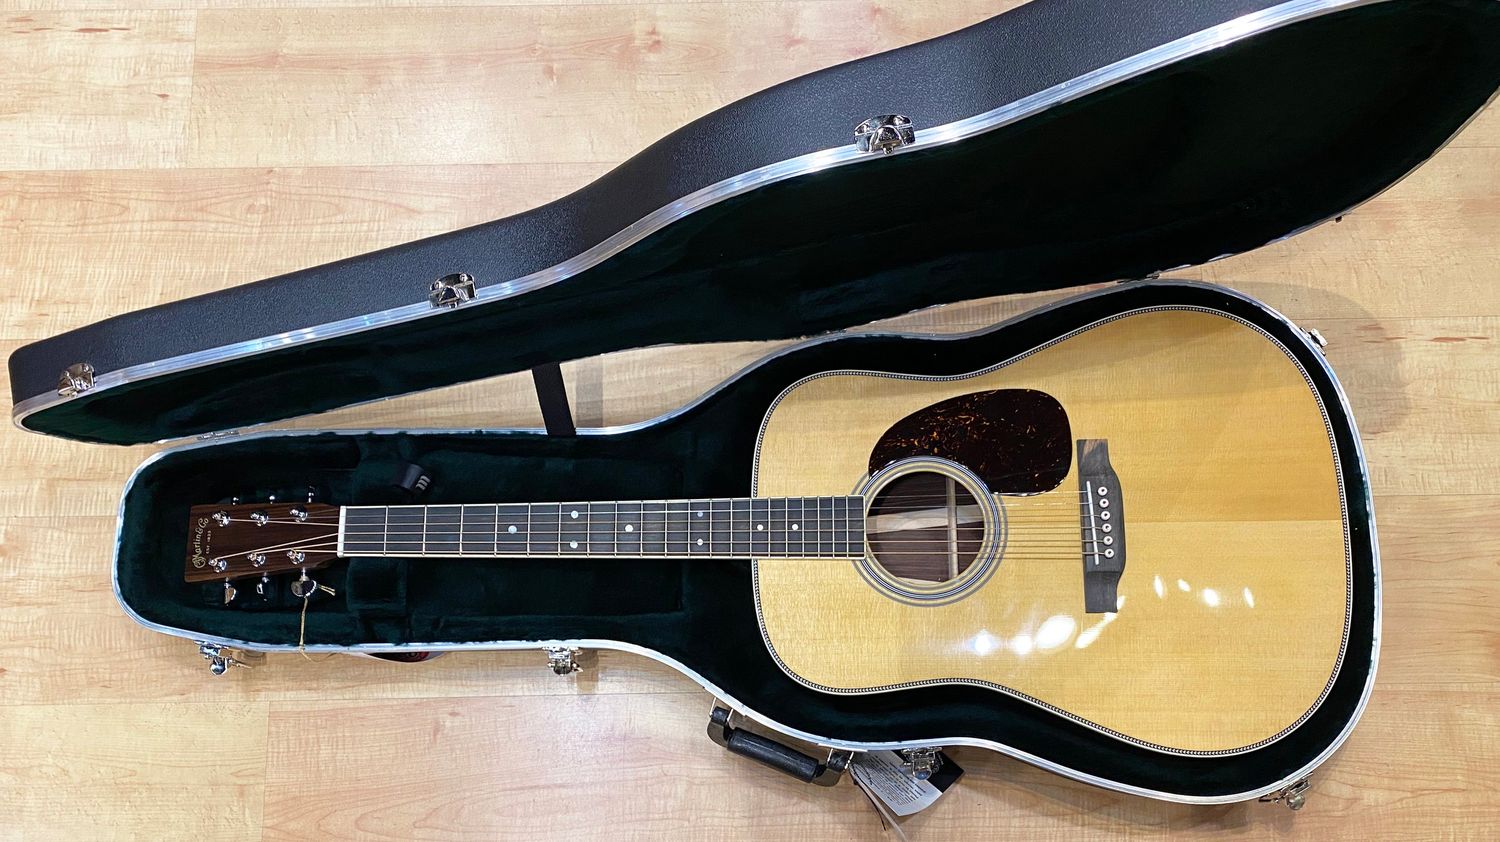
Acoustic Guitar: The heart of your musical expression, your acoustic guitar serves as the primary source of sound for this setup. Ensure that your guitar is in good condition, with fresh strings and a fully charged battery if it's an acoustic-electric model.
-
Amplifier: Select an amplifier that suits your performance needs and musical style. Whether you prefer a compact practice amp for home use or a powerful stage amp for live performances, choosing the right amplifier is crucial for achieving the desired sound quality.
-
Guitar Cable: A high-quality guitar cable is essential for connecting your acoustic guitar to the amplifier. Opt for a durable, shielded cable to minimize interference and ensure a reliable connection between your guitar and the amp.
-
Plectrum (Optional): If you prefer using a plectrum (also known as a pick) to strum your acoustic guitar, make sure to have one on hand. While fingerpicking is a popular technique for acoustic guitarists, some players may opt for a plectrum to achieve a different tonal quality.
-
Power Source: If your amplifier requires a power source, ensure that you have access to a reliable electrical outlet or sufficient battery power if you're performing in a location without easy access to electricity.
-
Optional Effects Pedals: Depending on your musical preferences, you may choose to incorporate effects pedals into your setup to modify the sound of your acoustic guitar. Effects pedals can add depth, texture, and ambiance to your performance, allowing you to explore a diverse range of sonic possibilities.
By gathering these essential items, you will be well-prepared to proceed with the process of connecting your acoustic guitar to an amplifier. With the right equipment at your disposal, you can embark on this musical journey with confidence, knowing that you have everything you need to achieve the perfect amplified sound for your acoustic guitar.
Step 2: Connect the guitar to the amp using a cable
Connecting your acoustic guitar to an amplifier using a cable is a straightforward process that forms the foundation of your amplified sound setup. Follow these steps to establish a secure and reliable connection between your guitar and the amplifier:
-
Prepare the Guitar and Amp: Before connecting the cable, ensure that both your acoustic guitar and the amplifier are powered off. This precautionary measure prevents any unwanted noise or interference during the setup process.
-
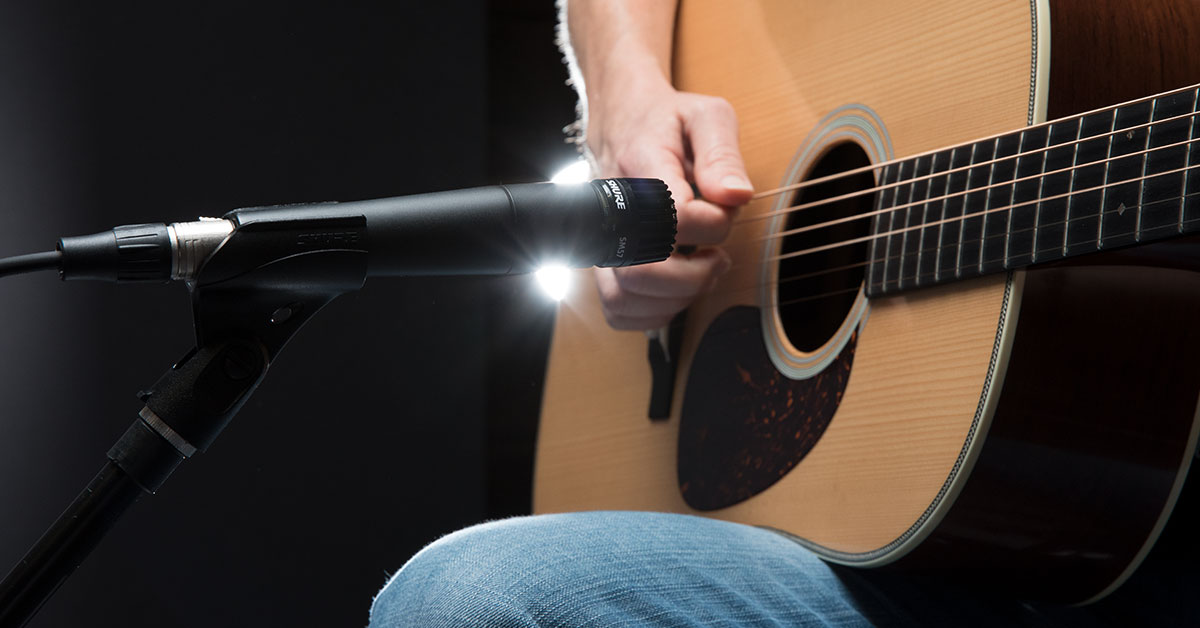
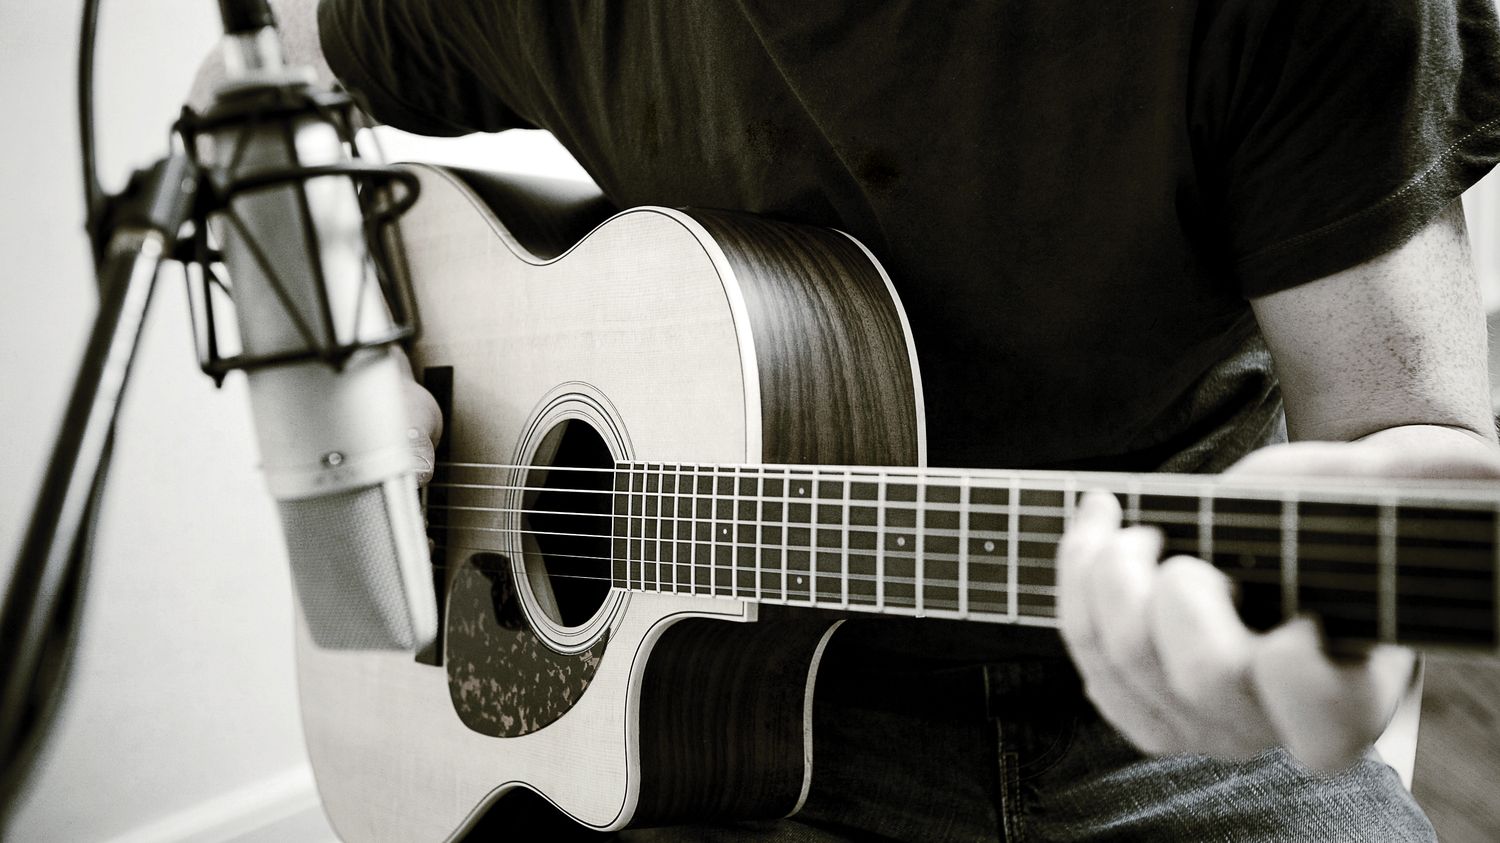
Locate the Input Jacks: Identify the input jack on your acoustic guitar, typically located at the lower bout of the instrument. The input jack serves as the point of connection for the guitar cable. Similarly, locate the input jack on your amplifier, which is where the other end of the cable will be plugged in.
-
Insert the Cable: Take one end of the guitar cable and insert it into the input jack of your acoustic guitar. Ensure a secure connection by gently pushing the cable plug into the jack until it is fully seated. A snug fit minimizes the risk of accidental disconnection during performance.
-
Connect to the Amplifier: With the cable securely plugged into your acoustic guitar, take the other end of the cable and insert it into the input jack of your amplifier. As with the guitar jack, ensure a firm connection to maintain signal integrity and prevent any signal loss or distortion.
-
Secure the Cable: Once both ends of the cable are connected, take a moment to secure any excess cable length to prevent tripping hazards or accidental tugs during your performance. Many guitar cables feature a built-in strain relief or cable management system to keep the connection tidy and secure.
-
Power On and Test: After the cable is securely connected between your acoustic guitar and the amplifier, power on both the guitar and the amp. With the connection established, you can now test the setup by strumming the guitar strings and adjusting the amplifier's volume and tone controls to hear the amplified sound.
By following these steps, you can confidently connect your acoustic guitar to an amplifier using a cable, laying the groundwork for a captivating and resonant amplified performance. With a secure and reliable connection in place, you are ready to explore the full sonic potential of your acoustic guitar, whether in a live setting, recording studio, or intimate practice space.
Step 3: Adjust the settings on the amp
Once your acoustic guitar is connected to the amplifier, it's essential to understand how to adjust the amp settings to achieve the desired sound quality. The amplifier's controls allow you to shape the tone, volume, and effects, providing you with the flexibility to tailor your sound to suit different musical styles and performance environments.
-
Volume Control: The volume control on the amplifier regulates the overall loudness of the sound produced. When adjusting the volume, start at a low setting to avoid sudden loud sounds, then gradually increase it to the desired level. Keep in mind that excessive volume levels can lead to distortion, so it's crucial to find the right balance for a clear and powerful sound.
-
Tone Controls: Most amplifiers feature tone controls, such as bass, midrange, and treble knobs, which allow you to adjust the frequency response of the amplified sound. Experiment with these controls to sculpt the tonal characteristics of your acoustic guitar, emphasizing the warmth of the low frequencies, the clarity of the midrange, and the sparkle of the high frequencies.
-
Reverb and Effects: Many amplifiers offer built-in reverb and effects settings to add depth and ambiance to your acoustic guitar's sound. The reverb control adjusts the amount of reverberation or echo effect, enhancing the spatial quality of the sound. Additionally, if your amplifier includes effects such as chorus, delay, or modulation, explore these options to add texture and dimension to your performance.
-
Feedback Suppression: In live performance settings, feedback can be a concern when amplifying an acoustic guitar. Some amplifiers feature feedback suppression controls or notch filters designed to mitigate feedback frequencies, allowing you to achieve higher volume levels without unwanted squealing or howling sounds.
-
Equalization (EQ): Advanced amplifiers may offer parametric or graphic equalization options, enabling precise control over specific frequency bands. Utilize the EQ settings to fine-tune the tonal balance of your acoustic guitar, addressing any frequency imbalances and tailoring the sound to complement your playing style and musical genre.
By understanding and adjusting the settings on the amplifier, you can optimize the amplified sound of your acoustic guitar, ensuring that it resonates with clarity, richness, and expressive dynamics. Experiment with different settings to discover the sonic possibilities offered by your amplifier, allowing you to craft a captivating and personalized sound that reflects your musical vision and creativity.
Step 4: Test the connection
After connecting your acoustic guitar to the amplifier and adjusting the amp settings, it's crucial to thoroughly test the connection to ensure that the amplified sound meets your expectations. Testing the connection allows you to evaluate the tonal characteristics, volume levels, and overall performance of your setup, providing valuable insights into the sound quality and any potential adjustments that may be needed.
To effectively test the connection, follow these steps:
-
Strumming and Picking: Begin by gently strumming the strings of your acoustic guitar and picking individual notes to assess the clarity and resonance of the amplified sound. Pay attention to the tonal balance, sustain, and articulation of the notes, ensuring that the amplified sound faithfully reproduces the nuances of your playing technique.
-
Dynamic Range: Explore the dynamic range of your amplified sound by varying your playing intensity, from soft, delicate passages to more assertive and powerful strumming. Evaluate how the amplifier responds to these dynamic shifts, noting any compression or distortion that may occur at higher volume levels.
-
Tonal Adjustments: While testing the connection, make incremental adjustments to the amp's tone controls, reverb settings, and any available effects to gauge their impact on the amplified sound. Listen for changes in the spatial depth, tonal coloration, and ambient qualities of the sound, allowing you to fine-tune the settings to achieve your desired sonic expression.
-
Feedback and Noise: Pay attention to any potential feedback or unwanted noise that may arise during testing, particularly at higher volume levels. Adjust the positioning of the guitar and the amplifier, as well as the orientation of the sound projection, to minimize the risk of feedback and ensure a clean and clear amplified sound.
-
Listening Environment: Consider the acoustics of the room or performance space where you are testing the connection. Take note of how the amplified sound interacts with the environment, including any reflections, reverberation, or ambient noise that may influence the overall listening experience.
By methodically testing the connection between your acoustic guitar and the amplifier, you can gain valuable insights into the amplified sound quality and performance characteristics. This process allows you to refine the settings, technique, and spatial considerations to optimize the connection and achieve a captivating and resonant amplified sound that elevates your musical expression.
Through attentive testing and thoughtful adjustments, you can harness the full potential of your acoustic guitar and amplifier setup, ensuring that your amplified performances are characterized by clarity, expressiveness, and sonic richness. With a well-tested connection in place, you are poised to deliver compelling and immersive musical experiences that resonate with your audience and reflect your artistic vision.
Conclusion
In conclusion, mastering the art of connecting your acoustic guitar to an amplifier opens up a world of sonic possibilities, allowing you to amplify the natural beauty of your instrument and tailor its sound to suit diverse musical contexts. By following the step-by-step process outlined in this guide, you have gained valuable insights into the essential techniques and considerations for achieving a seamless and effective connection between your acoustic guitar and an amplifier.
Through the process of gathering the necessary equipment, including your acoustic guitar, amplifier, high-quality guitar cable, and optional effects pedals, you have set the stage for a well-equipped and versatile setup. This preparation ensures that you are ready to amplify your acoustic guitar's rich tones and explore a myriad of sonic textures, whether in a practice session, recording studio, or live performance.
By understanding how to connect your acoustic guitar to an amplifier using a cable, you have established a reliable and secure connection, laying the foundation for a captivating amplified sound. The careful insertion of the cable into the input jacks of your guitar and amplifier, coupled with thoughtful cable management, ensures that your connection remains stable and free from interference, allowing your acoustic guitar's true voice to shine through.
Furthermore, the process of adjusting the settings on the amplifier empowers you to sculpt the amplified sound to your preferences, from volume control and tone adjustments to the exploration of reverb, effects, and feedback suppression. This level of control enables you to tailor the amplified sound to complement your playing style, musical genre, and performance environment, unlocking a world of expressive possibilities.
Finally, thorough testing of the connection provides valuable insights into the amplified sound's tonal characteristics, dynamic range, and performance nuances. By carefully evaluating the connection and making incremental adjustments, you can refine the amplified sound to achieve clarity, richness, and expressive dynamics, ensuring that your performances resonate with captivating sonic depth.
In essence, the process of connecting your acoustic guitar to an amplifier is not merely a technical endeavor but a journey of sonic exploration and artistic expression. By mastering this process, you have equipped yourself with the knowledge and skills to amplify your acoustic guitar's inherent beauty, creating immersive and resonant musical experiences that captivate your audience and reflect your unique musical identity. Embrace the power of amplified expression and let your acoustic guitar's voice soar with clarity, depth, and emotive resonance.