Home>Production & Technology>Stereo>How To Ground A Stereo Receiver
Stereo
How To Ground A Stereo Receiver
Modified: January 22, 2024
Learn how to properly ground a stereo receiver to ensure optimal performance and safety. Our step-by-step guide covers everything you need to know about grounding your stereo system.
(Many of the links in this article redirect to a specific reviewed product. Your purchase of these products through affiliate links helps to generate commission for AudioLover.com, at no extra cost. Learn more)
Table of Contents
- Introduction
- Understanding the Basics of Grounding
- Step 1: Determine the Ideal Grounding Option
- Step 2: Prepare the Necessary Tools and Materials
- Step 3: Locate a Suitable Grounding Point
- Step 4: Attach the Ground Wire to the Receiver
- Step 5: Ground the Receiver to a Metal Surface
- Step 6: Test the Ground Connection
- Conclusion
Introduction
Welcome to the world of stereo receivers! Whether you’re a seasoned audiophile or just starting to explore the world of high-quality audio, having a properly grounded stereo receiver is crucial for optimal performance and safety. Grounding helps to eliminate unwanted noise and interference, ensuring that you enjoy the best possible sound quality from your audio setup.
In this article, we will guide you through the process of grounding a stereo receiver. We’ll cover everything from understanding the basics of grounding to the step-by-step instructions on how to ground your receiver effectively. So, let’s dive in and get your stereo receiver grounded!
Grounding is the process of connecting an electrical device to the ground, which is a reference point of zero voltage. It serves to protect the device and its users from electrical shocks, while also reducing the risk of interference and noise in the audio signal. When a stereo receiver is properly grounded, it provides a stable and clean audio output, allowing you to enjoy your favorite music without any disturbances or distortions.
Now, you might be wondering why grounding is necessary for a stereo receiver. Well, electronic devices, including stereo receivers, generate and process electrical signals. These signals can cause electromagnetic interference (EMI) and radio frequency interference (RFI) if not properly managed. Grounding helps to mitigate these issues and ensure that your audio system operates at its best.
In addition to improving audio quality, proper grounding also plays a crucial role in ensuring electrical safety. It helps prevent electric shocks by providing a safe path for electrical currents to flow into the ground rather than through you. This is especially important when dealing with high-powered audio systems.
Now that we’ve covered the importance of grounding let’s move on to understanding the basics of grounding a stereo receiver.
Understanding the Basics of Grounding
Before we delve into the practical steps of grounding a stereo receiver, it’s important to have a basic understanding of how grounding works and why it is necessary. Grounding provides a reference point of zero voltage and serves as a safety measure to protect both the equipment and the users.
In an electrical system, the ground is a connection to the Earth’s conductive surface. It is typically represented by a wire or conductor that is physically connected to the ground. This allows any excess electrical current or static charges to safely dissipate into the ground rather than causing damage or harm.
When it comes to grounding a stereo receiver, there are a couple of key concepts to understand. The first concept is the difference between chassis ground and signal ground. Chassis ground refers to the metal enclosure of the receiver, which is typically connected to the ground wire. Signal ground, on the other hand, is the reference point for the audio signals within the receiver.
Proper grounding ensures that the chassis ground and signal ground are connected together, providing a common reference point for the electrical signals. This helps to eliminate potential ground loops, which can contribute to unwanted noise and interference in the audio signal.
Another important aspect of grounding a stereo receiver is the choice between a single-point ground and a distributed ground system. In a single-point ground system, all the ground connections are centralized at a single location. This approach can help minimize ground loop issues and simplify troubleshooting. In a distributed ground system, the ground connections are spread out across the equipment and connected to different points. This can be necessary in larger audio setups or installations where a single grounding point may not be feasible.
Lastly, it’s important to note that not all stereo receivers require grounding. Some newer models come with built-in grounding mechanisms or may not require grounding at all. However, if your receiver does not have built-in grounding or you’re experiencing noise issues, grounding might be necessary to improve performance.
Now that we have a basic understanding of grounding, let’s proceed to the practical steps of grounding a stereo receiver.
Step 1: Determine the Ideal Grounding Option
Before you can begin grounding your stereo receiver, it’s important to determine the ideal grounding option for your specific setup. There are a few different methods you can choose from, depending on the available resources and the characteristics of your audio system.
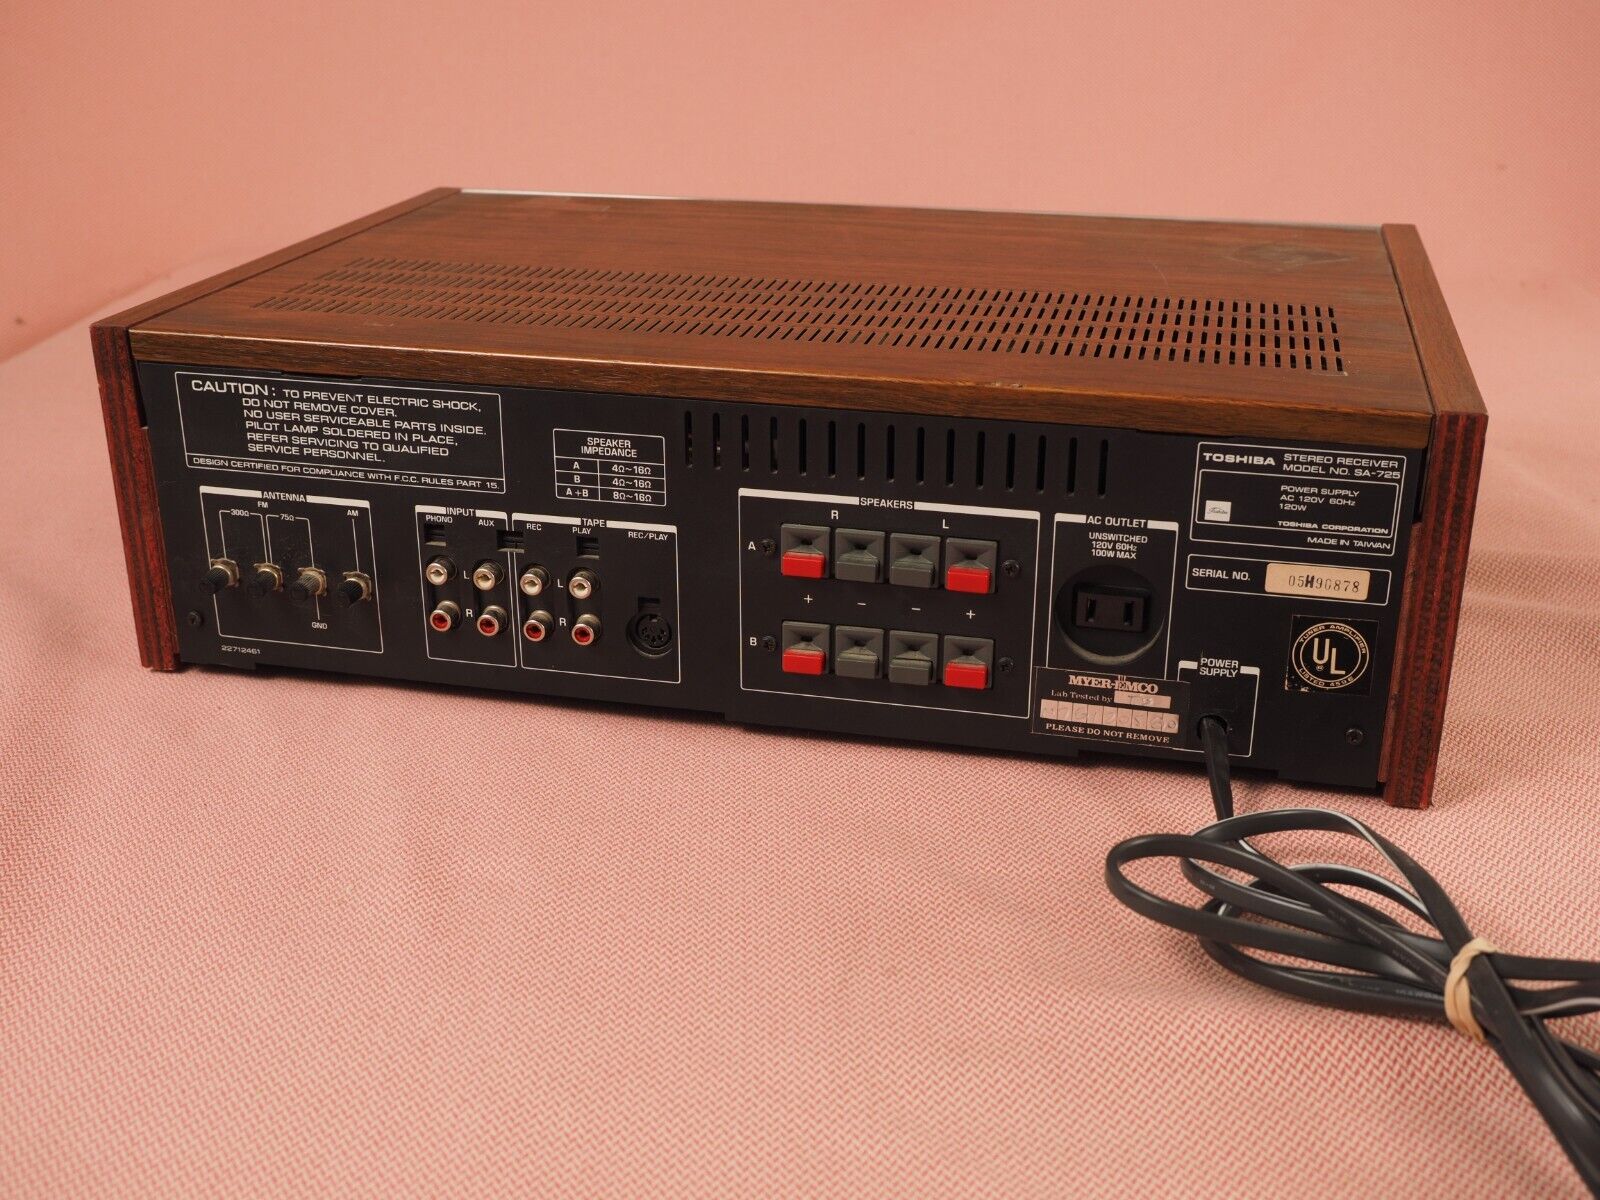
One common grounding option is to use the grounding lug or terminal on the back of your receiver. Many stereo receivers have a dedicated grounding point specifically designed for this purpose. This grounding lug is typically connected to the metal chassis of the receiver and serves as the primary grounding connection.
If your receiver doesn’t have a dedicated grounding lug, you can also consider using the grounding lug on another audio component, such as a turntable or amplifier, if it is connected to the same signal chain. This can help establish a common ground reference for all the components in your system.
In some cases, the ideal grounding option may involve connecting the receiver to a grounding rod or a ground wire connected to a water pipe. This method can be especially useful in older homes where the electrical outlets may not be properly grounded. However, it’s important to note that this option requires the assistance of a licensed electrician to ensure compliance with local electrical codes and safety standards.
When determining the grounding option, it’s essential to consider the proximity of the grounding point to your stereo receiver and the accessibility of the grounding source. Aim for a grounding option that is as close to your receiver as possible to minimize potential ground loop issues and interference.
Keep in mind that the ideal grounding option may vary depending on your specific setup. It’s always a good idea to consult the user manual or seek advice from audio professionals if you’re unsure about the best grounding approach for your receiver.
Once you have determined the ideal grounding option, you can proceed to gather the necessary tools and materials for the grounding process. In the next step, we will discuss the tools and materials needed to ground your stereo receiver effectively.
Step 2: Prepare the Necessary Tools and Materials
Before you begin grounding your stereo receiver, it’s important to gather the necessary tools and materials. Having everything prepared beforehand will make the grounding process smoother and more efficient. Here’s a list of the essential tools and materials you’ll need:
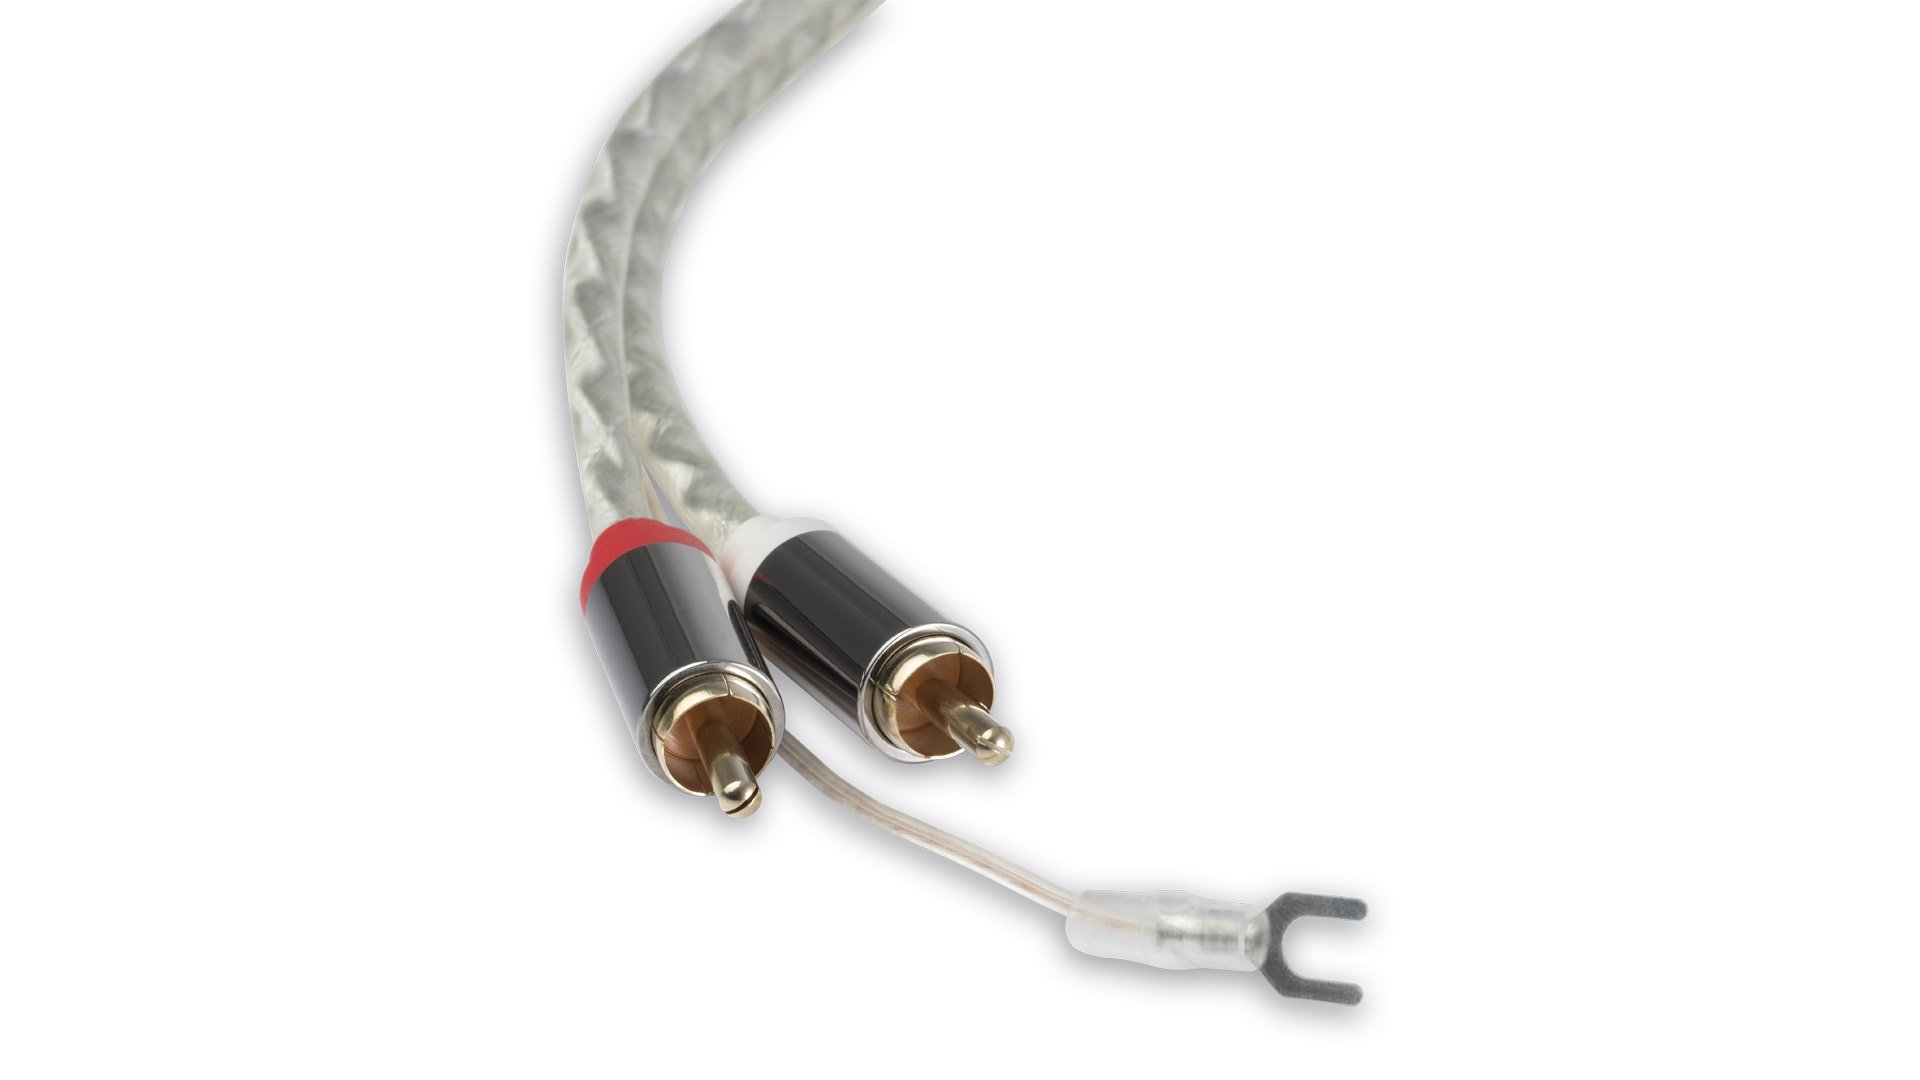
- A grounding wire: This wire should be made of copper or another conductive material and should be long enough to reach from your receiver to the chosen grounding point. Make sure the wire is thick enough to handle the current required by your equipment.
- Wire cutters/strippers: These tools are essential for cutting and stripping the insulation from the grounding wire.
- A screwdriver or wrench: Depending on your receiver’s design, you may need these tools to loosen and tighten screws or bolts.
- A multimeter: This tool is optional but recommended as it can be used to test the continuity and resistance of the grounding connection.
- Electrical tape or cable ties: These can be used to secure and organize the grounding wire along its path.
Once you have gathered all the necessary tools and materials, you’re ready to move on to the next step: locating a suitable grounding point for your stereo receiver.
It’s worth mentioning that if you’re unsure about any electrical or wiring aspects of the grounding process, it’s always a good idea to consult a licensed electrician for guidance and assistance.
Step 3: Locate a Suitable Grounding Point
Once you have your tools and materials ready, the next step in grounding your stereo receiver is to locate a suitable grounding point. This is where you will establish a connection between the receiver and the ground, ensuring a safe and effective grounding setup.
The ideal grounding point will depend on a few factors, such as the layout of your audio system and the available grounding options in your space. Here are a few common grounding points to consider:
- Grounding lug on the receiver: Many stereo receivers have a dedicated grounding lug or terminal on the back panel. This is the simplest and most convenient option if your receiver has it. Ensure that the grounding lug is securely connected to the metal chassis of the receiver.
- Grounding lug on another audio component: If your receiver doesn’t have a grounding lug, you can use the grounding lug on another audio component, such as a turntable or amplifier, that is connected to the same signal chain. Ensure that both the receiver and the other component have a reliable ground connection.
- Grounding rod or water pipe: In some cases, you may need to use an external grounding source, such as a grounding rod or a ground wire connected to a water pipe. This option is particularly useful if the electrical outlets in your space are not properly grounded. However, it’s important to consult a licensed electrician to ensure compliance with local electrical codes.
When choosing a grounding point, consider the proximity to your receiver and the accessibility of the grounding source. It’s best to choose a grounding point that is as close to your receiver as possible to minimize the risk of ground loop issues and interference.
Before proceeding to the next step, ensure that the grounding point is secure and reliable. A loose or unstable connection can lead to poor grounding performance.
Now that you have successfully located a suitable grounding point, it’s time to move on to the next step: attaching the ground wire to your stereo receiver.
Step 4: Attach the Ground Wire to the Receiver
With your chosen grounding point identified, it’s time to connect the ground wire to your stereo receiver. This step is crucial as it establishes the electrical connection between the receiver and the grounding point, ensuring proper grounding and minimizing the risk of interference.
Follow these steps to attach the ground wire to your receiver:
- Turn off your stereo receiver and unplug it from the power source. This ensures your safety during the grounding process.
- Locate the grounding lug or terminal on the back panel of your receiver. It is typically labeled as “GND” or “Ground”.
- Using wire cutters or strippers, trim the end of the ground wire to a suitable length, leaving enough excess to reach the grounding point.
- If the ground wire has insulation, strip off about half an inch of the insulation from the end of the wire.
- Insert the exposed end of the ground wire into the grounding lug or terminal on the receiver.
- Tighten the screw or fastening mechanism on the grounding lug to secure the connection. Ensure that the ground wire is tightly and firmly connected.
It’s important to note that the ground wire should only be connected to the designated grounding lug or terminal on the receiver. Avoid connecting it to any other terminals or components, as this can result in improper grounding and potential damage to the equipment or interference in the audio signal.
Once the ground wire is securely attached to the receiver, you can move on to the next step: grounding the receiver to a metal surface.
Remember to handle the receiver and the ground wire with care to prevent any accidental damage or injuries. If you’re unsure about the wiring or connection process, consult a professional or refer to the user manual of your specific receiver model.
Step 5: Ground the Receiver to a Metal Surface
Now that the ground wire is securely attached to the receiver, it’s time to ground the receiver to a metal surface. This step helps to further enhance the grounding effectiveness and ensures a reliable grounding connection for your stereo receiver.
Follow these steps to ground the receiver to a metal surface:
- Identify a suitable metal surface near your receiver that is accessible and securely grounded. This can be a metal chassis, a metal support frame, or any other metal component that is connected to the ground.
- Using a screwdriver or wrench, loosen a screw or bolt on the metal surface to create a secure attachment point for the receiver’s ground wire.
- If the chosen attachment point has any paint or coating, gently scrape away the paint or coating to ensure a clean metal-to-metal connection.
- Take the other end of the ground wire and securely attach it to the screw or bolt on the metal surface. Ensure that the connection is tight and firmly in place.
- Tighten the screw or bolt on the metal surface to ensure a solid and secure grounding connection. Double-check that the ground wire is properly fastened and not at risk of coming loose or disconnecting.
It’s important to choose a metal surface that is directly connected to the ground to ensure an effective grounding connection. Avoid attaching the ground wire to any painted, coated, or non-metallic surfaces, as these may hinder proper grounding.
Additionally, ensure that the metal surface you choose is stable and won’t be subject to movement or vibrations that could potentially loosen the grounding connection over time.
Once you have successfully grounded the receiver to a metal surface, you’re ready to move on to the final step: testing the ground connection.
Remember to handle the receiver and the ground wire with care to prevent any accidental damage or injuries. If you’re unsure about the grounding process or the choice of a suitable metal surface, it’s recommended to consult a professional or refer to the user manual of your specific receiver model.
Step 6: Test the Ground Connection
After grounding your stereo receiver, it’s important to test the ground connection to ensure that it is working effectively. Testing the ground connection will help confirm that the receiver is properly grounded and that there are no issues that could impact the performance or safety of your audio system.
Here’s how you can test the ground connection:
- Ensure that the receiver is still turned off and disconnected from the power source to avoid any electrical hazards.
- Set your multimeter to continuity or resistance mode, depending on the options available on your specific multimeter.
- Place one probe from the multimeter on the grounding lug or terminal of the receiver.
- Take the other probe and touch it to the metal surface where the receiver is grounded.
- Check the multimeter display for a reading. A reading close to zero indicates a good ground connection, confirming that the receiver is properly grounded.
If the multimeter shows no continuity or a high resistance reading, it could indicate a faulty or weak ground connection. In such cases, double-check all the connections, ensuring that the ground wire is securely attached both to the receiver and the metal surface. Also, verify that the metal surface is reliably grounded.
If you’re still experiencing grounding issues or are uncertain about the results of your multimeter test, it’s recommended to consult a professional electrician or audio technician for further assistance. They can provide expert guidance and evaluate the grounding setup to ensure optimal performance and safety.
Testing the ground connection is a crucial final step in the grounding process, helping to provide peace of mind and ensuring a robust grounding system for your stereo receiver.
With the ground connection successfully tested and confirmed, you can now power on your receiver and enjoy your audio setup with improved performance and reduced interference.
Conclusion
In conclusion, properly grounding your stereo receiver is essential for optimal performance and safety. It helps eliminate unwanted noise and interference, ensuring that you enjoy the best possible sound quality from your audio system.
Throughout this article, we have covered the basics of grounding, including the importance of grounding, the different grounding options, and the steps involved in grounding your receiver.
Understanding the basics of grounding is crucial to establish a solid connection between your receiver and the ground. Determining the ideal grounding option for your setup, preparing the necessary tools and materials, and locating a suitable grounding point are the initial steps to ensure a successful grounding process.
Attaching the ground wire to the receiver and grounding the receiver to a metal surface are critical steps in establishing a reliable electrical connection. These steps help eliminate potential ground loops and provide a robust ground reference for your receiver.
Finally, testing the ground connection with a multimeter ensures that your grounding setup is functioning effectively. This step gives you peace of mind and confirms that your receiver is safely and properly grounded.
Remember, if you’re unsure about any aspect of the grounding process, it’s always a good idea to consult a professional electrician or audio technician who can provide expert guidance and assistance.
By following these steps and taking the necessary precautions, you can achieve a properly grounded stereo receiver, leading to improved audio performance and a more enjoyable listening experience.
So, don’t wait any longer! Ground your stereo receiver and unlock the full potential of your audio system today.