Home>Production & Technology>MIDI>How To Connect A MIDI Keyboard To Audacity
MIDI
How To Connect A MIDI Keyboard To Audacity
Modified: February 22, 2024
Learn how to easily connect your MIDI keyboard to Audacity and start creating music. Follow our step-by-step guide for seamless integration.
(Many of the links in this article redirect to a specific reviewed product. Your purchase of these products through affiliate links helps to generate commission for AudioLover.com, at no extra cost. Learn more)
Table of Contents
Introduction
Connecting a MIDI keyboard to Audacity opens up a world of creative possibilities for music enthusiasts and professionals alike. The integration of a MIDI keyboard with Audacity, a popular open-source audio editing software, allows users to harness the power of digital musical instruments and leverage the extensive capabilities of Audacity for recording, editing, and producing music.
By establishing a seamless connection between a MIDI keyboard and Audacity, musicians can effortlessly translate their musical ideas into digital format, manipulate various sound parameters, and unleash their creativity through the dynamic interplay of hardware and software. Whether you're a budding musician or a seasoned producer, the ability to connect a MIDI keyboard to Audacity unlocks a realm of musical expression and production potential.
In the following steps, we will delve into the process of connecting a MIDI keyboard to Audacity, starting with the installation of necessary drivers and culminating in the testing of the connection. By following these steps, you will be well-equipped to integrate your MIDI keyboard with Audacity, paving the way for a harmonious fusion of musical input and digital editing prowess. Let's embark on this journey to seamlessly connect your MIDI keyboard to Audacity and unleash the full spectrum of musical creativity at your fingertips.
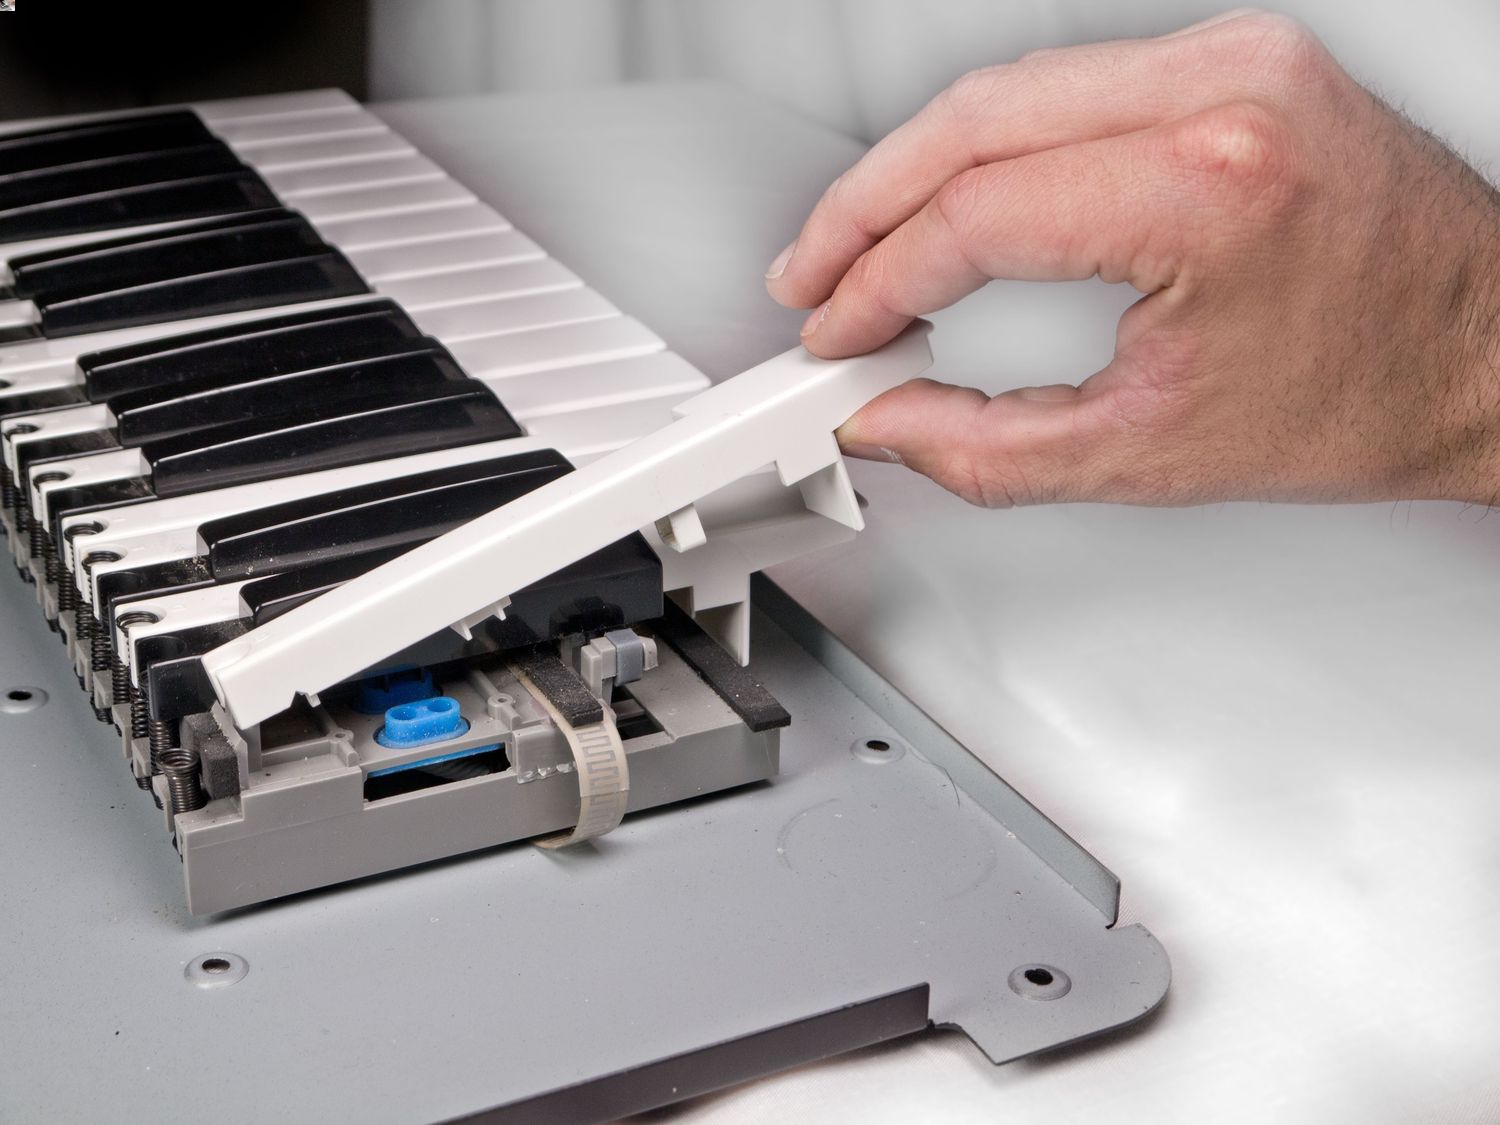
Step 1: Install the necessary drivers
Before embarking on the process of connecting your MIDI keyboard to Audacity, it is crucial to ensure that the requisite drivers are installed on your computer. The drivers serve as the communication bridge between the MIDI keyboard and your operating system, facilitating seamless interaction and data exchange. Here's a comprehensive guide to installing the necessary drivers for your MIDI keyboard:
-
Identify the Manufacturer: Determine the manufacturer of your MIDI keyboard and visit their official website. Manufacturers often provide dedicated support sections on their websites, offering a repository of drivers and software updates for their products.
-
Download the Drivers: Navigate to the support or downloads section of the manufacturer's website and locate the drivers corresponding to your MIDI keyboard model and operating system. It is imperative to select the appropriate drivers to ensure compatibility and optimal performance.
-
Install the Drivers: Once the drivers have been downloaded, proceed to install them on your computer. Double-click the driver file to initiate the installation process, and follow the on-screen prompts to complete the installation. In some cases, a restart of the computer may be required to finalize the driver installation.
-
Verify the Installation: After installing the drivers, it is advisable to verify their successful installation. Access the Device Manager on your computer and navigate to the section related to MIDI devices or sound controllers. Ensure that your MIDI keyboard is recognized and listed without any exclamation marks or error indicators, indicating that the drivers have been successfully installed.
By meticulously following these steps to install the necessary drivers, you establish a robust foundation for the seamless integration of your MIDI keyboard with Audacity. The installation of drivers lays the groundwork for fluid communication between the MIDI keyboard and your computer, setting the stage for a harmonious connection that empowers you to unleash your musical creativity within the realm of Audacity. With the drivers in place, you are poised to proceed to the subsequent steps in the process of connecting your MIDI keyboard to Audacity, seamlessly bridging the gap between hardware and software for a truly immersive musical experience.
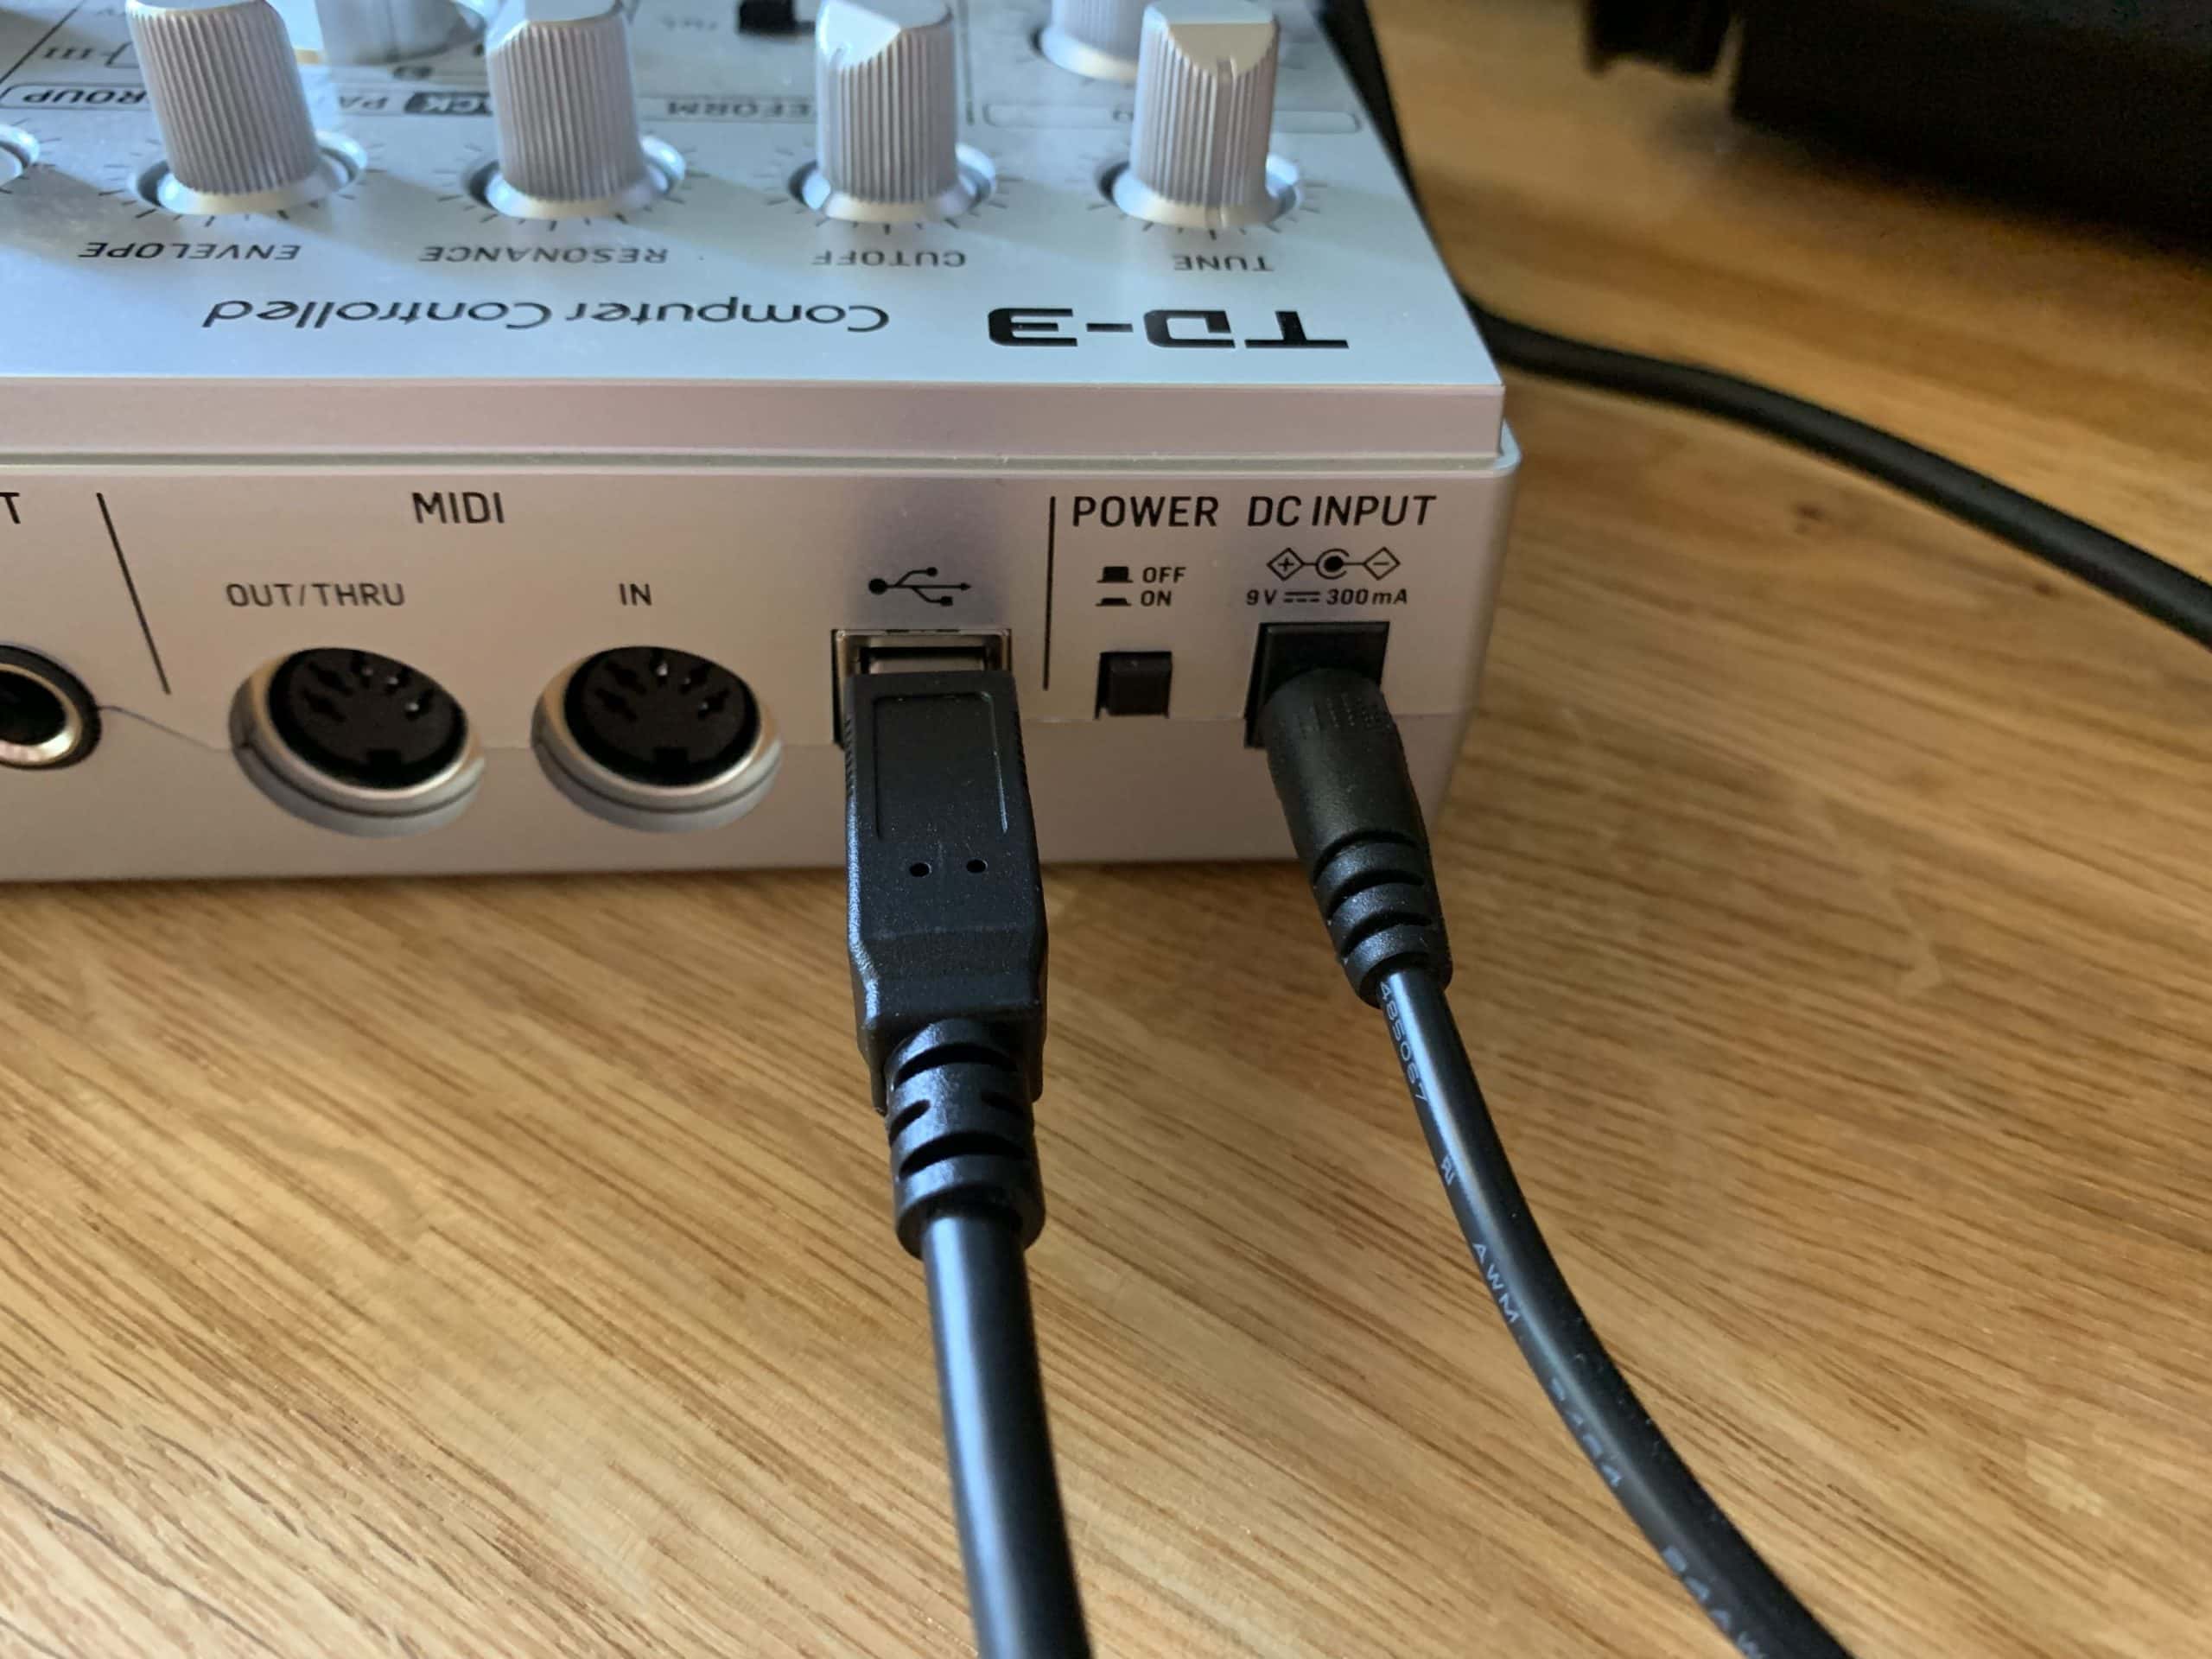
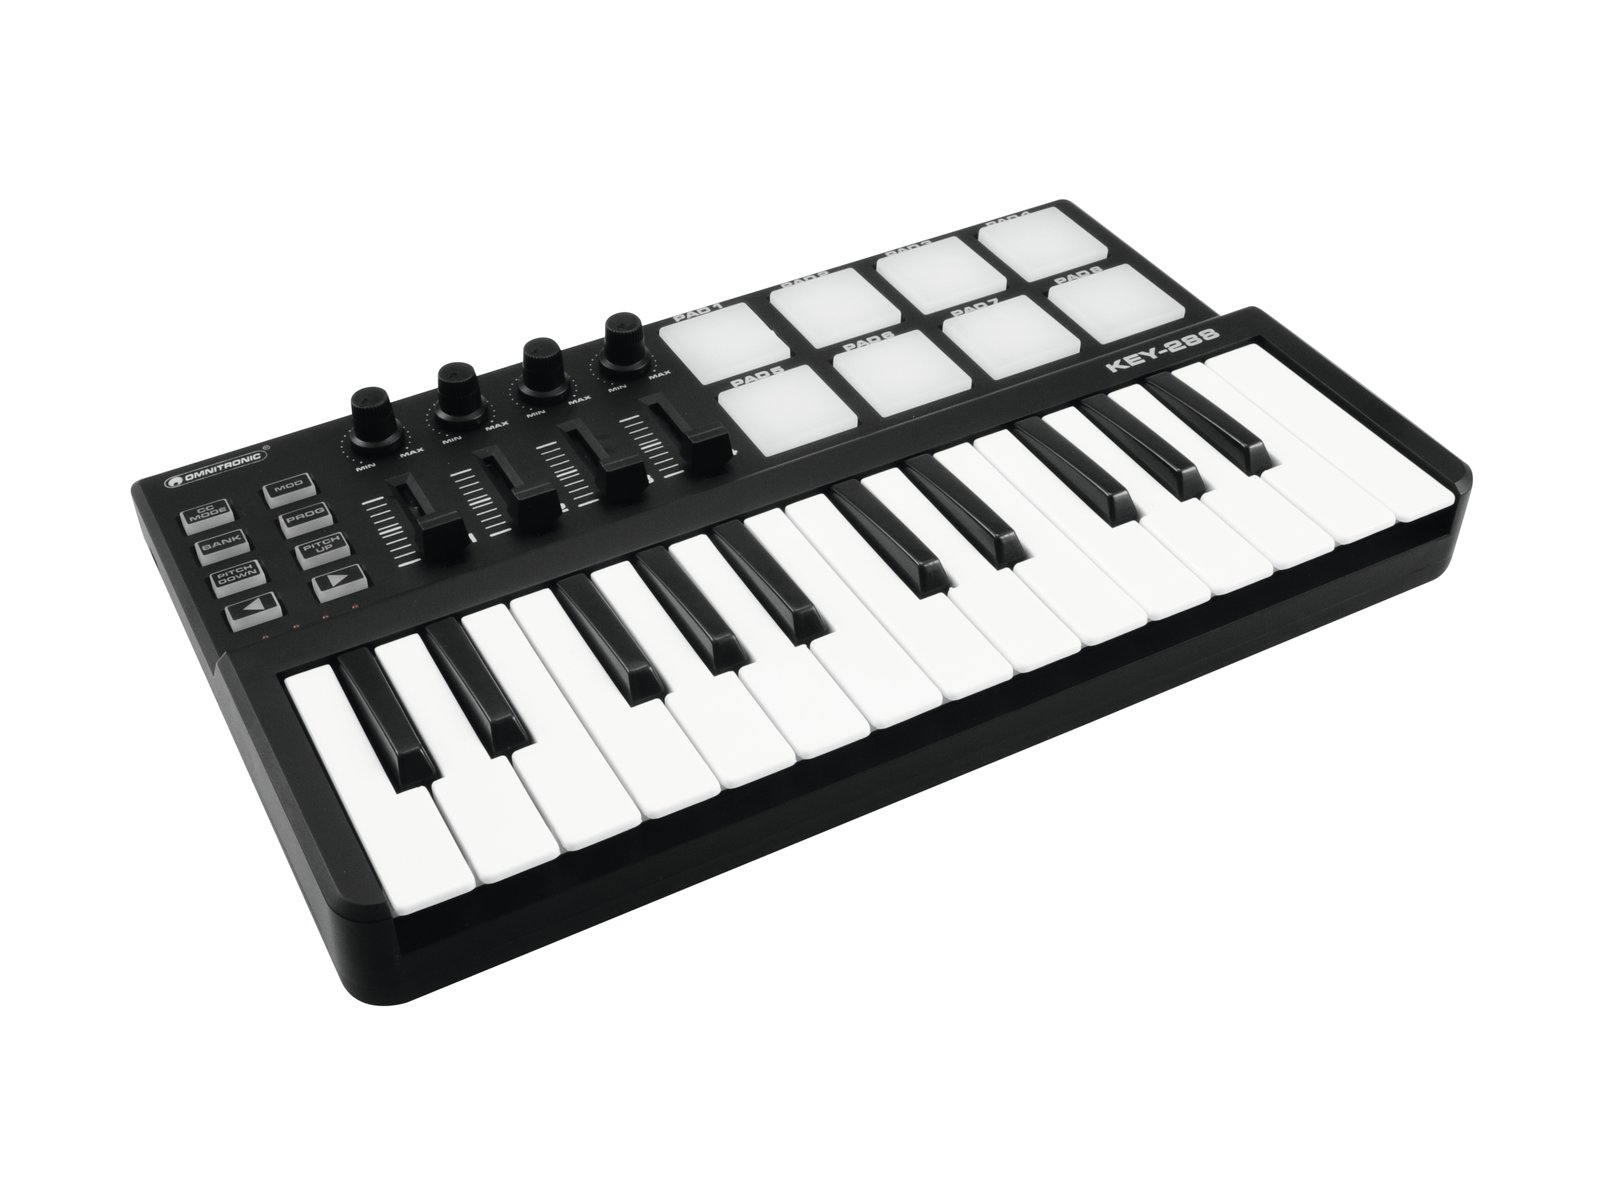
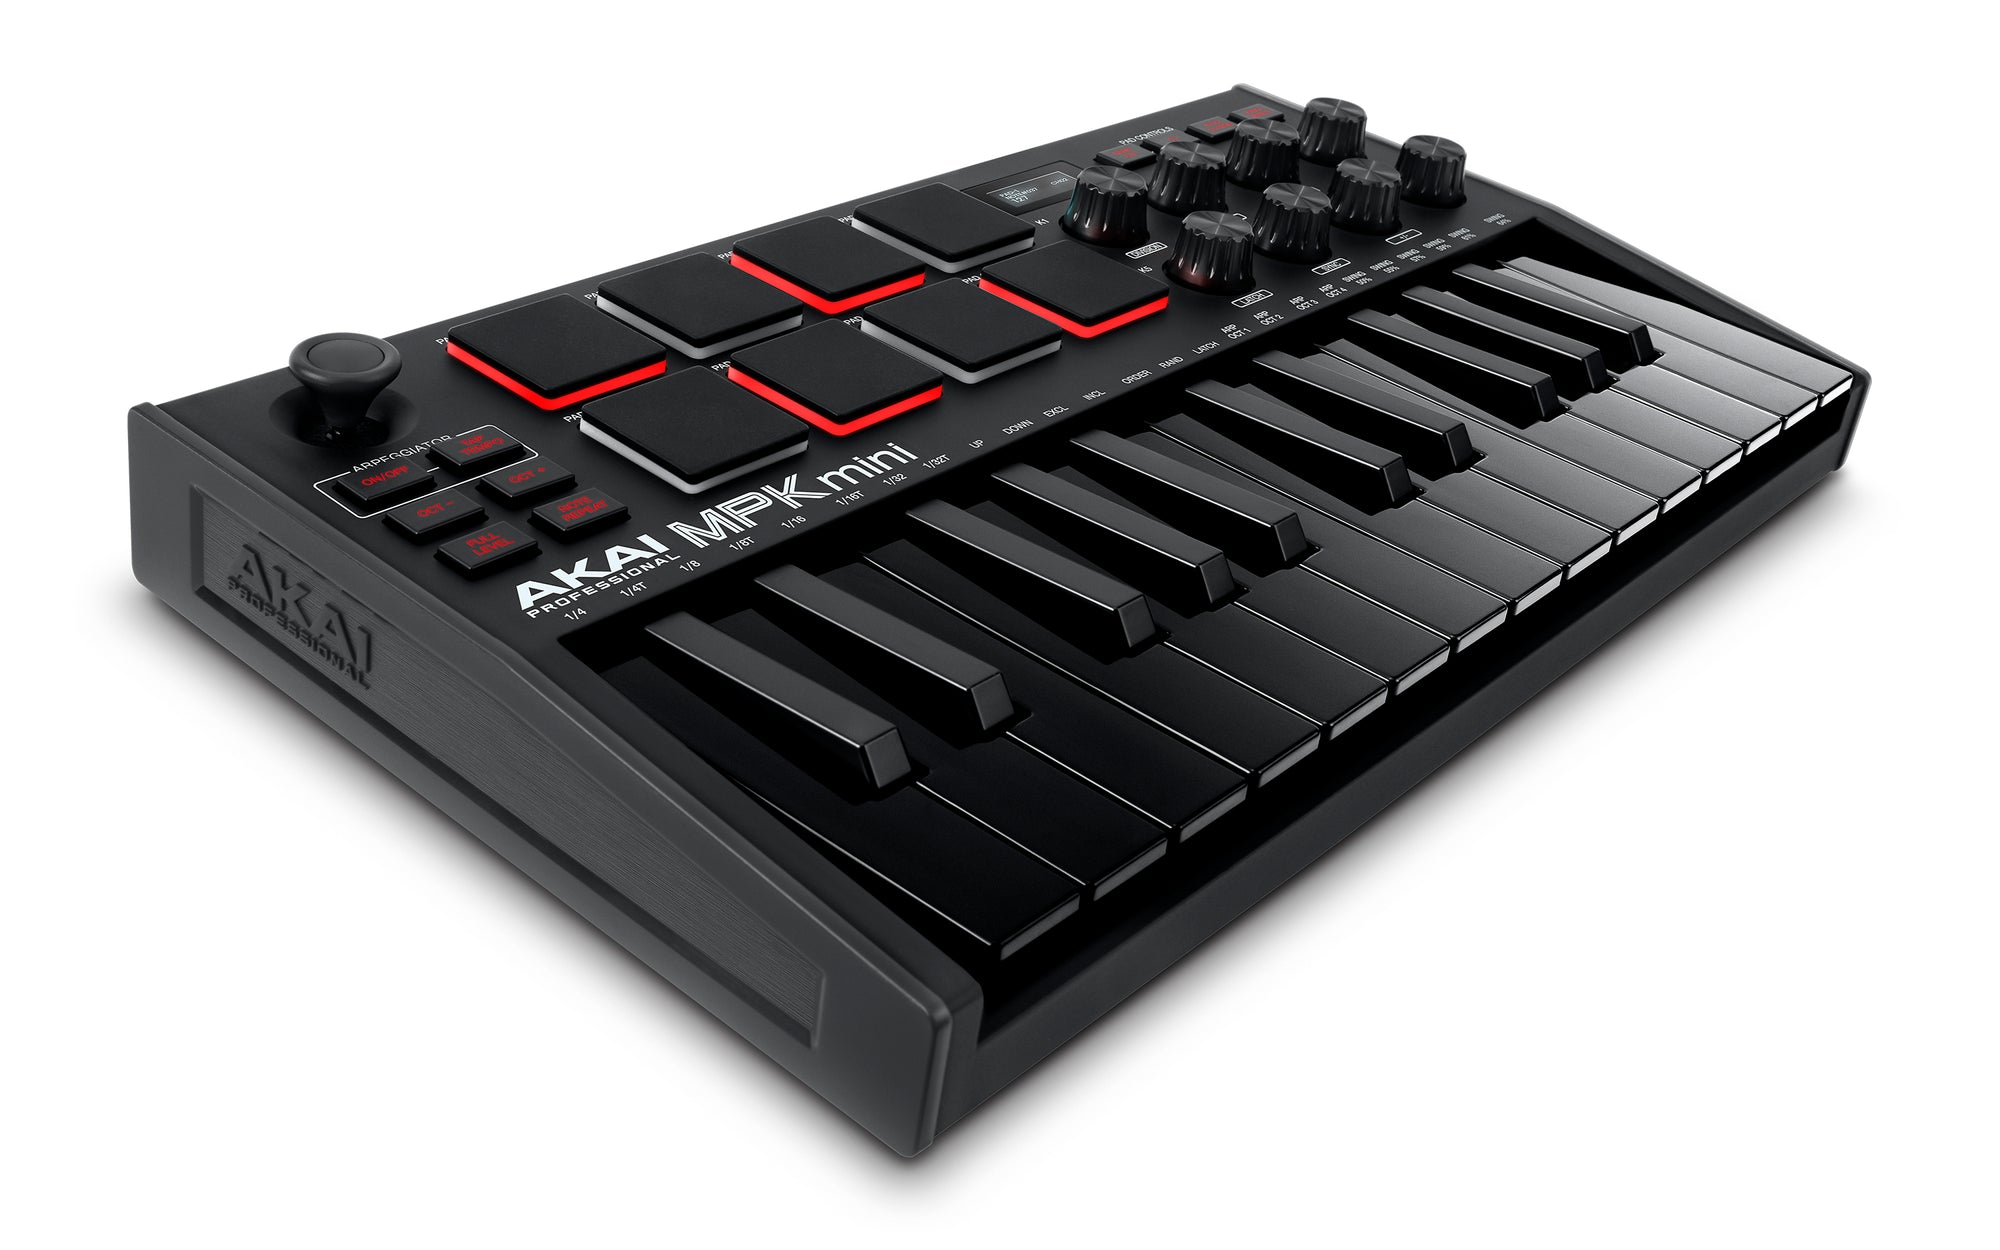
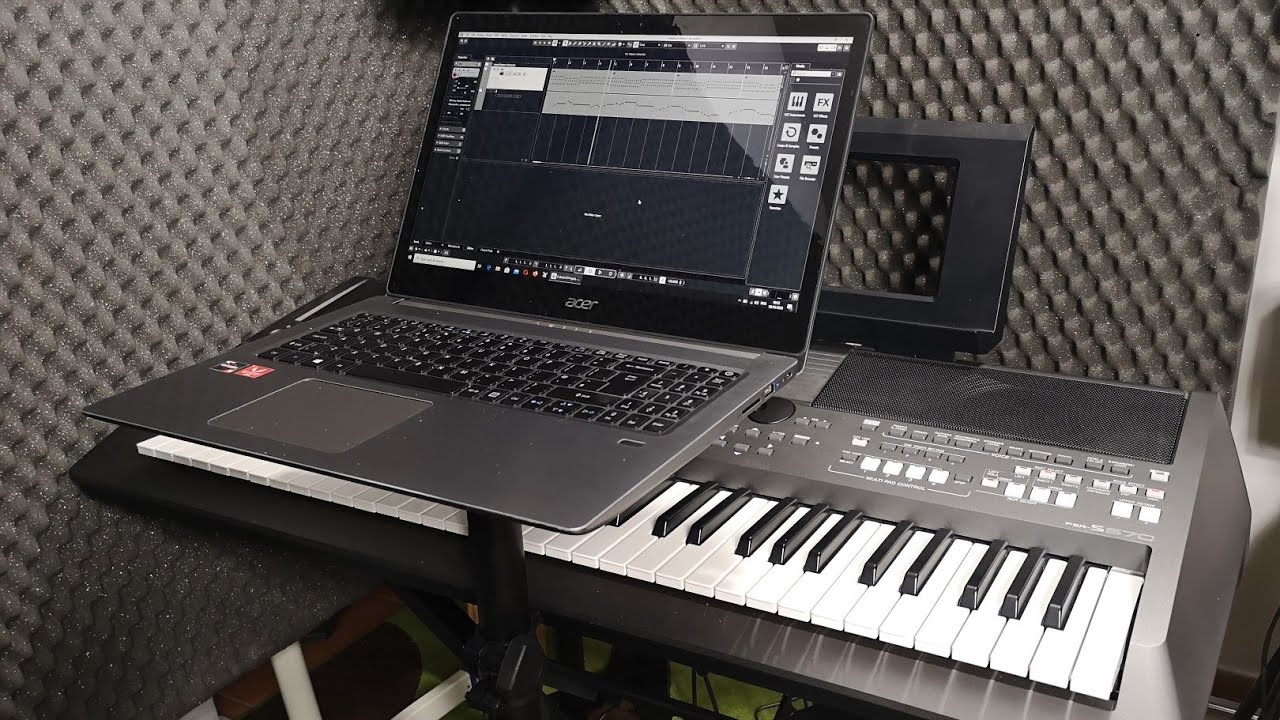
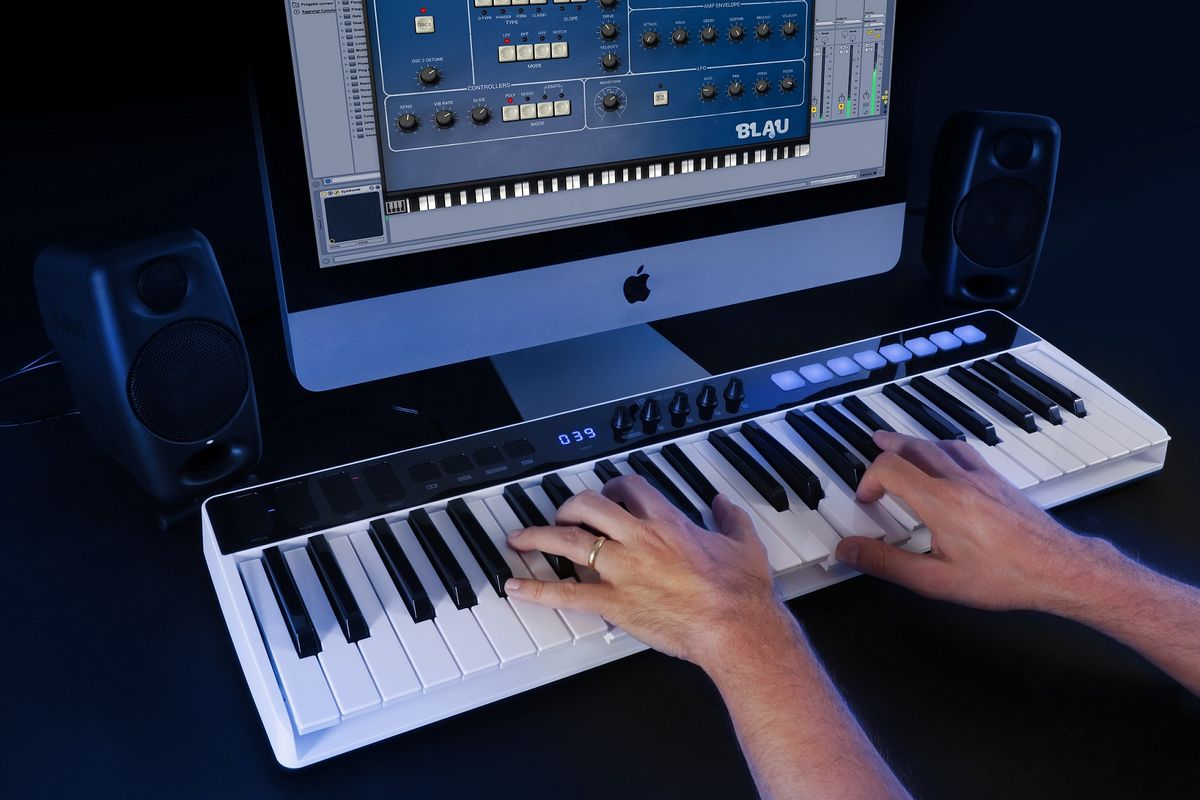
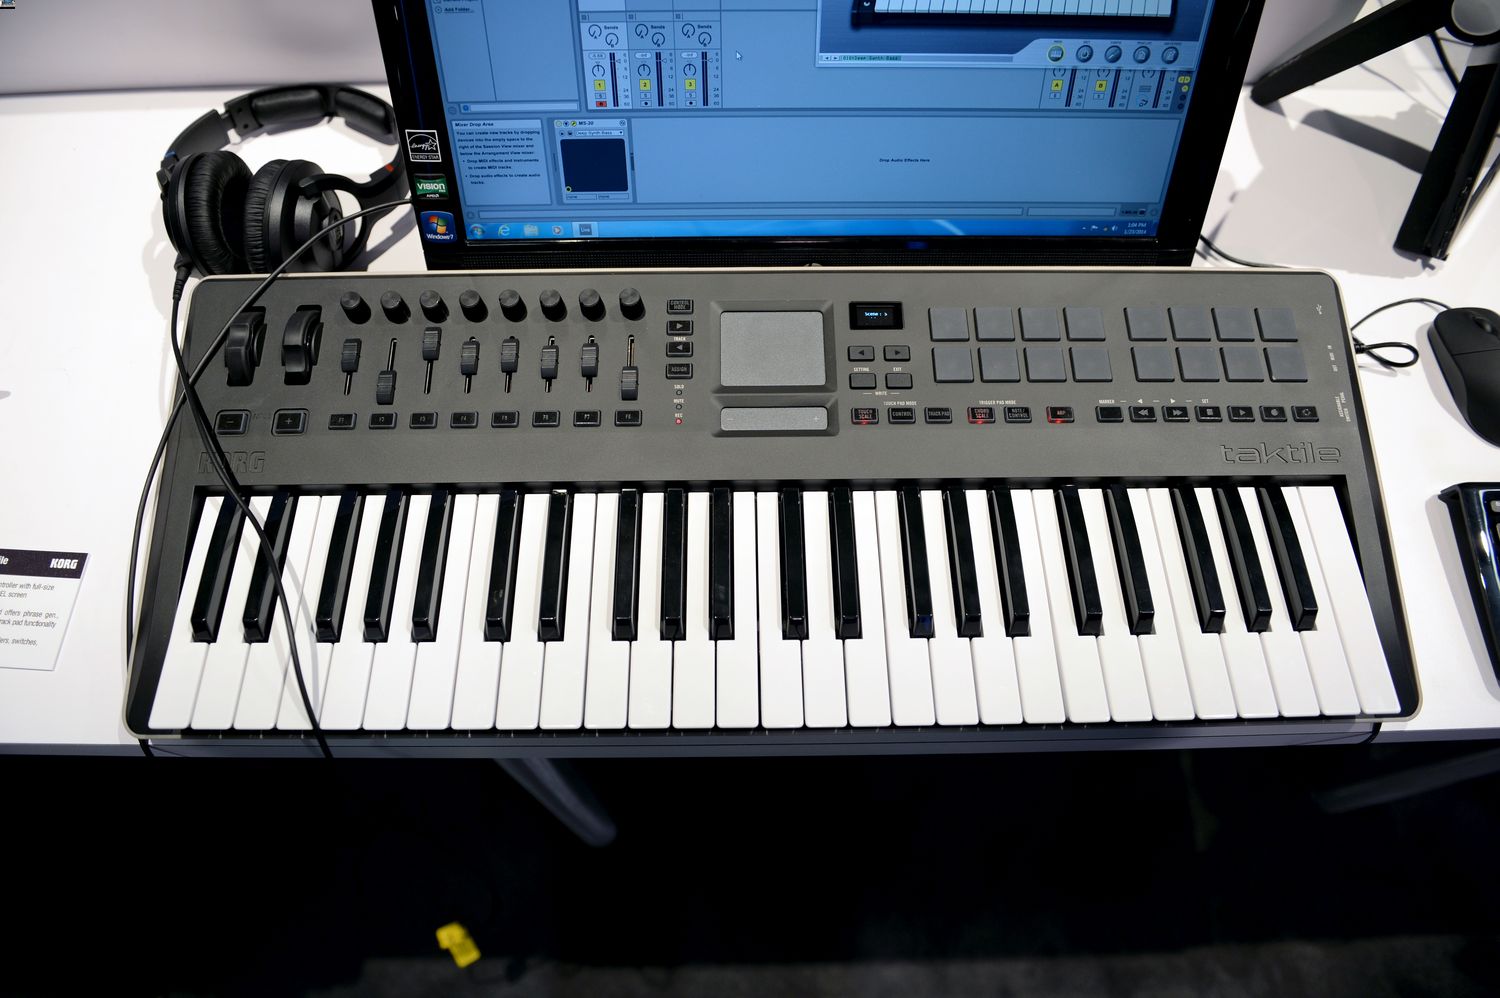
Step 2: Connect the MIDI keyboard to your computer
Now that the necessary drivers are installed, the next pivotal step in the process of integrating your MIDI keyboard with Audacity is to establish a physical connection between the MIDI keyboard and your computer. This step forms the tangible link that enables data transmission and interaction between the hardware (MIDI keyboard) and the software (Audacity). Here's a detailed guide on how to connect your MIDI keyboard to your computer:
-
Locate the MIDI Ports: Identify the MIDI ports on your MIDI keyboard and your computer. Most MIDI keyboards feature MIDI OUT and MIDI IN ports, while computers may require a MIDI-to-USB interface for connection. If your computer lacks built-in MIDI ports, a MIDI-to-USB adapter or interface can facilitate the connection.
-
Connect MIDI OUT to MIDI IN: Using standard MIDI cables, connect the MIDI OUT port on your MIDI keyboard to the MIDI IN port on the MIDI-to-USB interface. If your computer has built-in MIDI ports, connect the MIDI OUT port on the keyboard directly to the MIDI IN port on the computer using MIDI cables.
-
Connect the MIDI-to-USB Interface to Your Computer: If you are using a MIDI-to-USB interface, connect the USB end of the interface to an available USB port on your computer. This establishes the data link between the MIDI keyboard and your computer, enabling the transmission of MIDI data to Audacity.
-
Power On Your MIDI Keyboard: Ensure that your MIDI keyboard is powered on. Some MIDI keyboards may require an external power source, while others can be powered via USB. Refer to the user manual for specific instructions on powering your MIDI keyboard.
-
Verify the Connection: Once the physical connections are in place, it is essential to verify the connection between your MIDI keyboard and the computer. Check for any indicator lights on the MIDI keyboard or MIDI-to-USB interface to confirm that power and data transmission are active.
By meticulously following these steps to connect your MIDI keyboard to your computer, you establish the physical conduit through which musical input from the keyboard is channeled into Audacity for further manipulation and creative exploration. With the MIDI keyboard seamlessly linked to your computer, you are now poised to embark on the subsequent steps to configure Audacity and test the connection, ultimately unlocking a realm of musical expression and production potential within the digital domain.
Step 3: Configure Audacity to recognize the MIDI keyboard
Configuring Audacity to recognize and interface with your MIDI keyboard is a crucial step in the process of integrating the two entities for seamless music production and manipulation. By establishing this connection, you pave the way for harnessing the expressive capabilities of your MIDI keyboard within the versatile environment of Audacity. Here's a comprehensive guide on configuring Audacity to recognize your MIDI keyboard:
-
Launch Audacity: Begin by launching Audacity on your computer. Upon opening the software, navigate to the "Edit" menu and select "Preferences" to access the configuration settings.
-
Select MIDI Devices: Within the Preferences window, locate and click on the "MIDI Devices" tab. This section is pivotal for configuring Audacity to interface with your MIDI keyboard and enabling the exchange of MIDI data.
-
Choose the MIDI Input: Under the MIDI Devices tab, identify the section related to MIDI input devices. Here, you should see a list of available MIDI input sources, including your MIDI keyboard if it is successfully connected to your computer.
-
Enable MIDI Input: Check the box next to your MIDI keyboard's input source to enable it for MIDI input within Audacity. This action signifies that Audacity is configured to receive MIDI data from your keyboard, allowing for real-time input and recording.
-
Adjust Recording Settings (Optional): Depending on your specific recording preferences, you may choose to adjust the recording settings within Audacity to accommodate MIDI input. This can include setting the recording channels, sample rates, and other parameters to align with your creative vision.
-
Save and Confirm Settings: After selecting your MIDI input device and making any necessary adjustments, click "OK" or "Apply" within the Preferences window to save the settings. This action confirms the configuration changes and ensures that Audacity is primed to recognize and interact with your MIDI keyboard.
By meticulously following these steps to configure Audacity to recognize your MIDI keyboard, you establish a direct line of communication between the two entities, enabling the seamless exchange of MIDI data for recording, playback, and manipulation within Audacity. With the configuration in place, you are now ready to proceed to the next step and test the connection, solidifying the integration of your MIDI keyboard with Audacity for a harmonious musical journey.
Step 4: Test the connection
With the MIDI keyboard connected to your computer and Audacity configured to recognize it, the final step is to test the connection and ensure that the integration between the hardware and software is seamless. Testing the connection not only validates the successful setup but also allows you to experience the real-time interaction between your MIDI keyboard and Audacity, setting the stage for musical creativity to flourish. Here's a detailed guide on how to test the connection between your MIDI keyboard and Audacity:
-
Open a New Project: Launch Audacity and create a new project or open an existing one where you intend to incorporate MIDI input from your keyboard. Ensure that the project settings align with your creative vision, including the audio format, sample rate, and other relevant parameters.
-
Select the MIDI Input Source: Within Audacity, navigate to the input source selection options. Choose the MIDI input source corresponding to your connected MIDI keyboard. This action designates the MIDI keyboard as the primary input device for capturing musical data within Audacity.
-
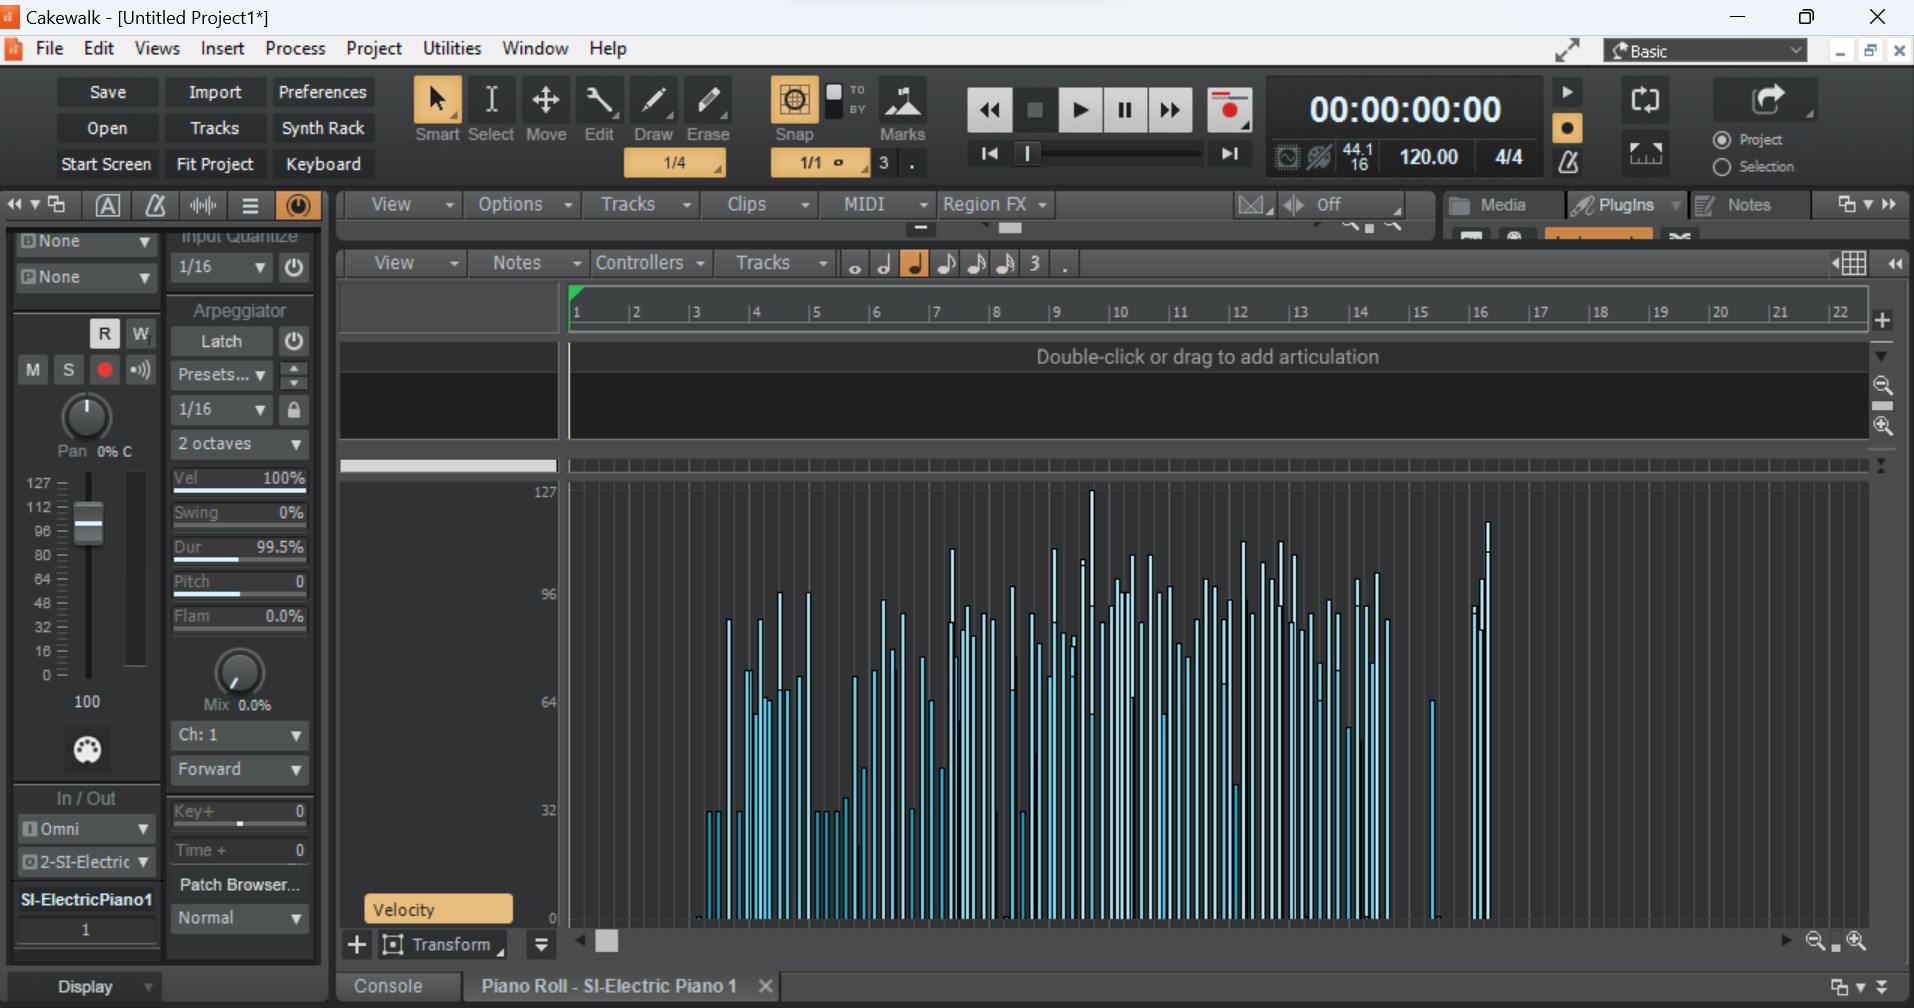
Monitor Input Activity: As you play notes or chords on your MIDI keyboard, monitor the input activity within Audacity. This can be visualized through the input level meters or indicators, showcasing the real-time MIDI data being received by Audacity.
-
Record MIDI Input: Initiate a recording within Audacity and play the MIDI keyboard to capture the musical input. As you play, the MIDI data is recorded in real time, visually represented within the software. This step allows you to verify that the MIDI input from your keyboard is being accurately captured and recorded by Audacity.
-
Playback and Review: After recording MIDI input, playback the recorded segment to review the captured performance. Listen to the playback to ensure that the MIDI data from your keyboard is accurately reproduced within Audacity, reflecting the nuances and dynamics of your musical input.
-
Experiment with Effects and Editing: Once the MIDI input is successfully captured and reproduced within Audacity, experiment with applying effects, editing the MIDI data, and exploring creative possibilities. This step allows you to leverage Audacity's robust editing and processing capabilities to further refine and enhance the MIDI input from your keyboard.
By meticulously following these steps to test the connection between your MIDI keyboard and Audacity, you validate the successful integration of the two entities and lay the groundwork for a seamless musical workflow. The testing phase not only affirms the functionality of the connection but also empowers you to harness the expressive potential of your MIDI keyboard within the dynamic realm of Audacity, fostering a synergistic relationship between hardware and software for musical innovation. With the connection tested and validated, you are now poised to embark on a boundless creative journey, leveraging the fusion of your MIDI keyboard and Audacity to bring your musical visions to life.
Conclusion
In conclusion, the process of connecting a MIDI keyboard to Audacity encompasses a harmonious fusion of hardware and software, culminating in a seamless integration that empowers musicians and producers to unleash their creative potential within the digital realm. By meticulously following the steps outlined in this guide, individuals can navigate through the intricacies of installing drivers, establishing physical connections, configuring Audacity, and testing the connection, ultimately paving the way for a transformative musical experience.
The journey commences with the installation of necessary drivers, a pivotal foundation that ensures the smooth communication between the MIDI keyboard and the computer's operating system. By identifying the manufacturer, downloading the appropriate drivers, and verifying their successful installation, users lay the groundwork for a robust connection that forms the backbone of the subsequent integration process.
The physical connection between the MIDI keyboard and the computer serves as the tangible bridge through which musical input is channeled into Audacity. By locating the MIDI ports, connecting the appropriate cables, and ensuring the power and data transmission, individuals establish a direct conduit that facilitates the exchange of MIDI data, setting the stage for real-time interaction and creative exploration.
Configuring Audacity to recognize the MIDI keyboard marks a pivotal milestone in the integration process, enabling the software to interface seamlessly with the hardware for MIDI input and recording. By navigating through the configuration settings, selecting the MIDI input device, and adjusting recording parameters, users prime Audacity to harness the expressive capabilities of the MIDI keyboard, fostering a dynamic synergy between musical input and digital manipulation.
The final step, testing the connection, serves as the ultimate validation of the seamless integration between the MIDI keyboard and Audacity. By capturing and reproducing MIDI input in real time, individuals not only affirm the successful setup but also embark on a journey of musical exploration, leveraging Audacity's editing and processing capabilities to refine and enhance their creative output.
In essence, the process of connecting a MIDI keyboard to Audacity transcends mere technical integration; it represents a transformative journey that empowers individuals to channel their musical visions into the digital domain, leveraging the expressive potential of the MIDI keyboard within the versatile landscape of Audacity. With the connection tested and validated, users are poised to embark on a boundless creative odyssey, harnessing the fusion of hardware and software to bring their musical aspirations to life.