Home>Instruments>Synthesizer>How To Insert Reaper Synth Into Synthesizer
Synthesizer
How To Insert Reaper Synth Into Synthesizer
Modified: February 22, 2024
Learn how to insert Reaper Synth into your synthesizer and enhance your music production. Discover new possibilities with this step-by-step guide.
(Many of the links in this article redirect to a specific reviewed product. Your purchase of these products through affiliate links helps to generate commission for AudioLover.com, at no extra cost. Learn more)
Table of Contents
Introduction:
Welcome to the world of synthesizers, where music production meets technological innovation. In this article, we will be exploring how to seamlessly integrate Reaper Synth into your synthesizer setup. Whether you’re a seasoned musician or a budding producer, understanding how to combine these powerful tools can elevate your sound to new heights.
Reaper Synth is a versatile software synthesizer that offers a wide range of sounds and effects. With its intuitive interface and extensive editing capabilities, it has become a popular choice among musicians and producers alike. By combining the creative possibilities of Reaper Synth with the advanced features of a physical synthesizer, you can unlock a whole new realm of sonic exploration.
Before we delve into the intricacies of connecting Reaper Synth to your synthesizer, it’s important to have a basic understanding of how Reaper Synth works. Like most software synthesizers, it generates audio signals using mathematical algorithms to create various sound waves. These waves can then be manipulated and shaped to produce different tones and textures.
One of the key advantages of Reaper Synth is its flexibility and customization options. It offers a wide range of oscillators, filters, modulation options, and effects, allowing you to sculpt your sound in unique and creative ways. With Reaper Synth, you can recreate iconic vintage synth sounds, experiment with futuristic textures, or create entirely original tones.
Now that we have a foundation for understanding Reaper Synth, let’s dive into the process of choosing the right synthesizer to complement its capabilities. Each synthesizer has its own unique sound character, interface, and features, so finding the perfect match for Reaper Synth is essential to achieve the desired sonic results.
Understanding Reaper Synth:
Before we dive into the integration process, it’s crucial to have a solid understanding of how Reaper Synth operates. Reaper Synth is a powerful virtual synthesizer that offers a wide array of sound design possibilities. Whether you’re a beginner or an experienced producer, knowing the ins and outs of this software will help you unlock its full potential.
At its core, Reaper Synth is built upon the principles of subtractive synthesis. It starts with a raw waveform generated by one or more oscillators. These oscillators produce waveforms such as sine, triangle, square, and sawtooth, forming the building blocks of sound. By manipulating the parameters of these oscillators, you can shape the character and tone of the sound.
In addition to oscillators, Reaper Synth also features various modulation tools. Modulation adds movement and dynamics to your sound by altering specific parameters over time. Reaper Synth includes modulation sources such as LFOs (Low-Frequency Oscillators) and Envelopes, which can be assigned to parameters like pitch, filter cutoff, and amplitude. This allows for dynamic and evolving sounds that breathe life into your music.
Filters play a crucial role in shaping the overall timbre of a sound. Reaper Synth comes equipped with a wide range of filter types, including low-pass, high-pass, band-pass, and more. By adjusting the filter parameters, you can control the frequency response and resonance of the sound, creating a sense of brightness, warmth, or darkness.
When it comes to sound design, effects can add the final touch of polish to your sound. Reaper Synth offers a variety of built-in effects such as reverb, delay, chorus, and distortion. These effects can be used to add depth, space, and character to your synthesized sounds, making them more unique and interesting.
As you delve deeper into the capabilities of Reaper Synth, you’ll discover advanced features such as wavetable synthesis, granular synthesis, and FM synthesis. These techniques allow for even more complex and textured sounds, giving you endless possibilities for sonic experimentation.
With a solid grasp of Reaper Synth’s basic components and features, you’re ready to explore the next step: choosing the right synthesizer to complement and enhance your Reaper Synth setup.
Choosing the Right Synthesizer:
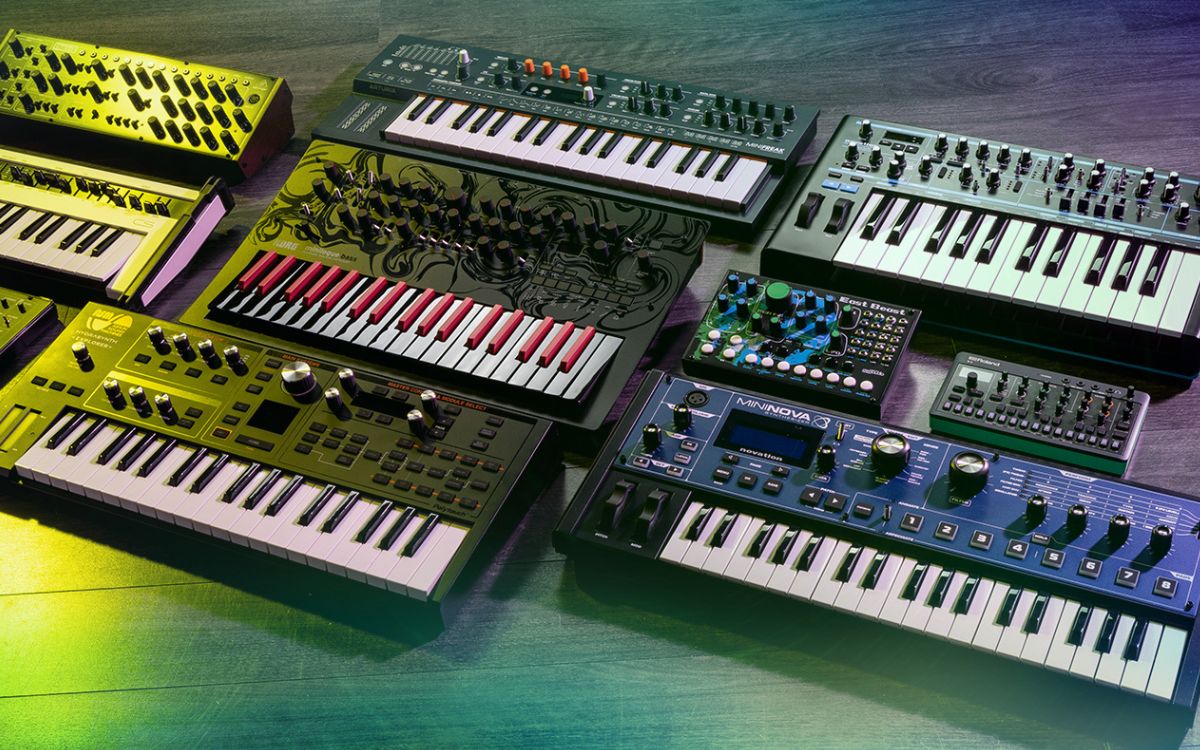
Now that you understand the fundamentals of Reaper Synth, it’s time to find the perfect physical synthesizer to accompany and amplify its capabilities. With numerous options available on the market, choosing the right synthesizer can seem daunting, but with careful consideration, you can select one that aligns with your preferences and musical goals.
The first factor to consider is the synthesis method. Synthesizers come in various types, such as analog, digital, and hybrid. Analog synthesizers produce warm and rich tones through voltage-controlled oscillators and filters. On the other hand, digital synthesizers offer a wide range of sounds and effects, thanks to their advanced digital processing capabilities. Hybrid synthesizers combine the best of both worlds, blending analog and digital components for versatility and flexibility.
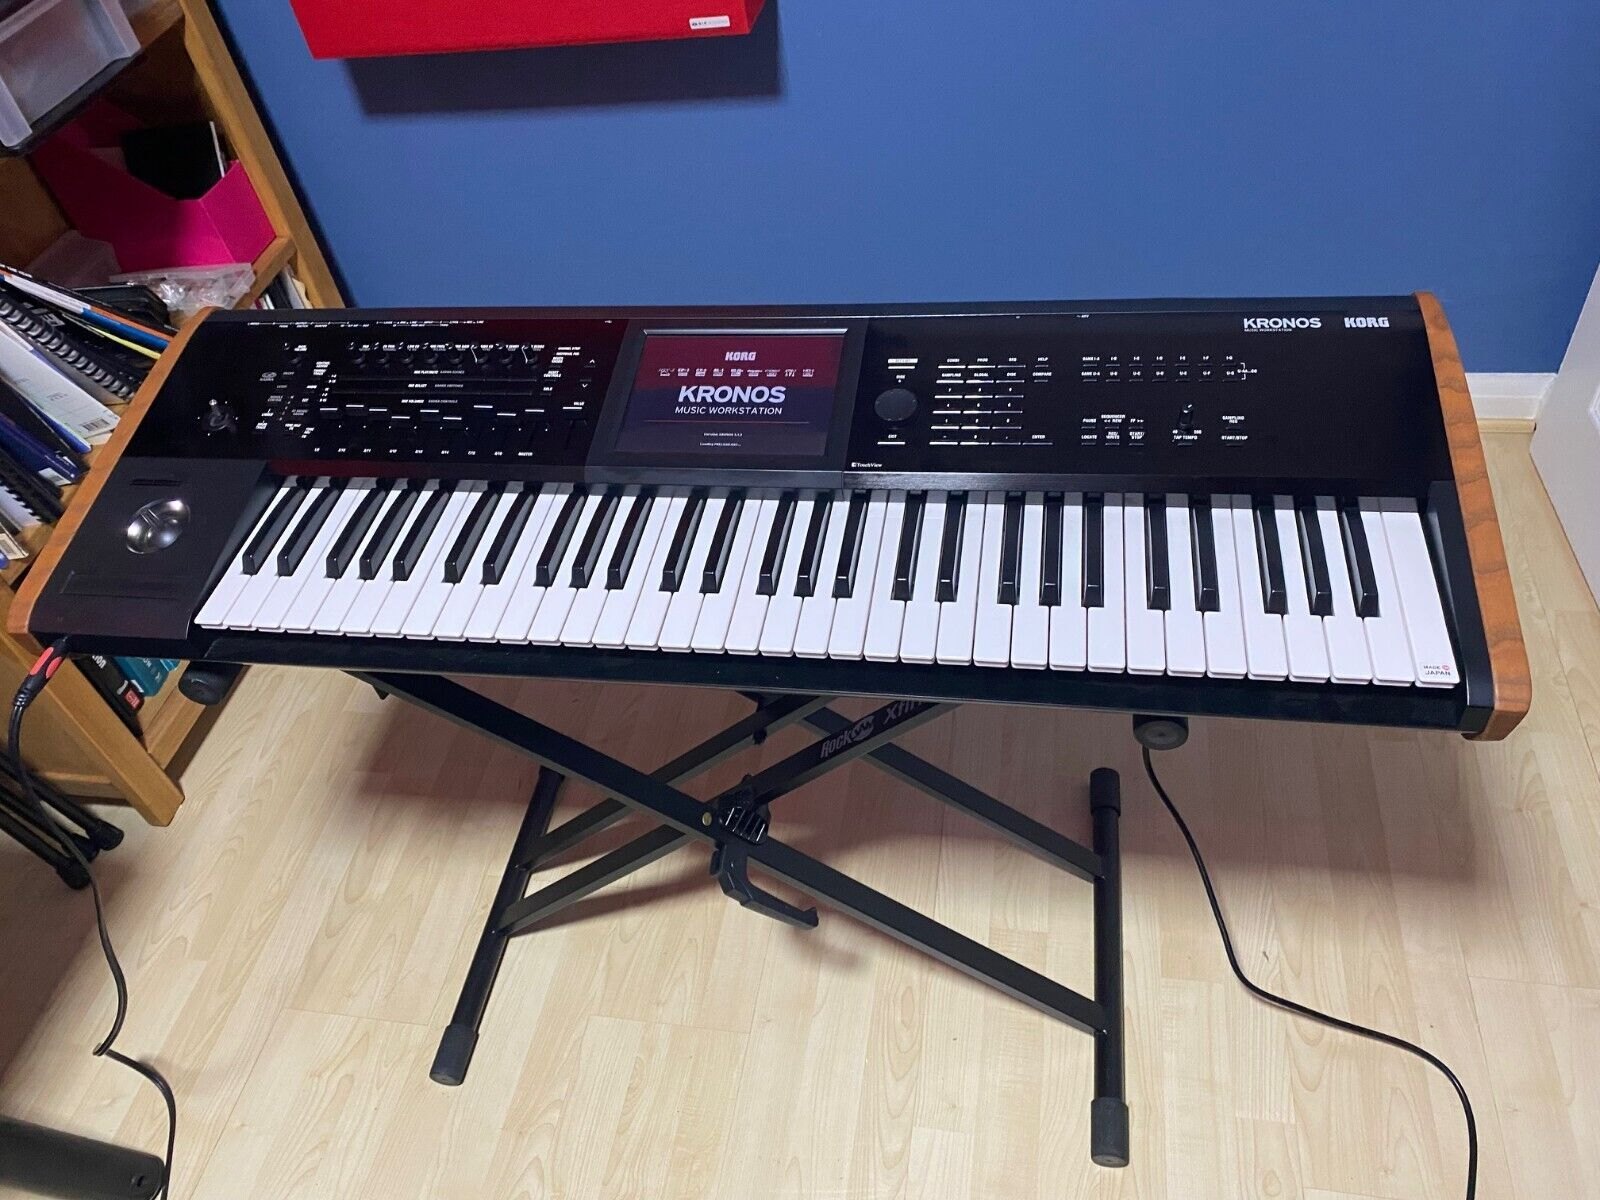
Another important aspect to assess is the interface and usability. Some synthesizers feature a hands-on, knob-per-function design that allows for intuitive control and immediate sonic exploration. Others may have a more menu-driven interface with deeper editing capabilities. Consider your own workflow and preference for tactile interaction when choosing the synthesizer that suits you best.
Additionally, pay attention to the sound architecture and versatility of the synthesizer. The number of oscillators, filters, and modulation options can greatly impact the sound palette you can create. Look for synthesizers that offer a range of waveforms, filter types, and modulation sources to have more sonic possibilities at your disposal.
Budget is another crucial factor to consider. Synthesizers vary widely in price range, from affordable entry-level options to high-end professional instruments. Determine your budget and find a synthesizer that strikes a balance between affordability and the features you need.
It’s also worth considering whether you need a portable or studio-oriented synthesizer. Portable synthesizers are compact, lightweight, and often battery-powered, making them ideal for on-the-go music production. Studio-oriented synthesizers, on the other hand, typically have larger keyboards and more extensive connectivity options, making them a great choice for studio setups.
Lastly, do your research by reading reviews, watching demonstrations, and trying out synthesizers if possible. These firsthand experiences will give you a better understanding of the sound, build quality, and overall feel of the synthesizer you’re considering.
By taking the time to evaluate these factors, you can find a synthesizer that complements Reaper Synth and enhances your creative capabilities. Once you’ve made your choice, it’s time to connect Reaper Synth to your synthesizer and start exploring the exciting possibilities that lie ahead.
Connecting Reaper Synth to the Synthesizer:
Now that you have chosen the right synthesizer, it’s time to connect Reaper Synth to your hardware setup. The process may vary depending on the specific synthesizer and audio interface you are using, but here are the general steps to get you started:
- Audio Interface: Ensure that you have an audio interface connected to your computer. The audio interface acts as the bridge between your hardware synthesizer and Reaper Synth, allowing for seamless audio communication.
- MIDI Connection: The most common method to connect a synthesizer to Reaper Synth is via MIDI (Musical Instrument Digital Interface). Connect the MIDI OUT port of your hardware synthesizer to the MIDI IN port of your audio interface using standard MIDI cables.
- Audio Connection: Connect the audio output of your hardware synthesizer to the audio input of your audio interface. This can be done using standard audio cables, such as 1/4″ TRS or XLR cables, depending on the available inputs on both your synthesizer and audio interface.
- Software Configuration: Launch Reaper and open the preferences/settings menu. Navigate to the “Audio” or “MIDI” section and make sure that your audio interface is selected as the input and output device. Enable the MIDI input for your hardware synthesizer in the MIDI device setup section.
- MIDI Channel Assignment: In Reaper, assign a MIDI channel for your hardware synthesizer. This will determine which channel Reaper will send MIDI data to when controlling your synthesizer. Consult your hardware synthesizer’s manual to set the corresponding MIDI channel.
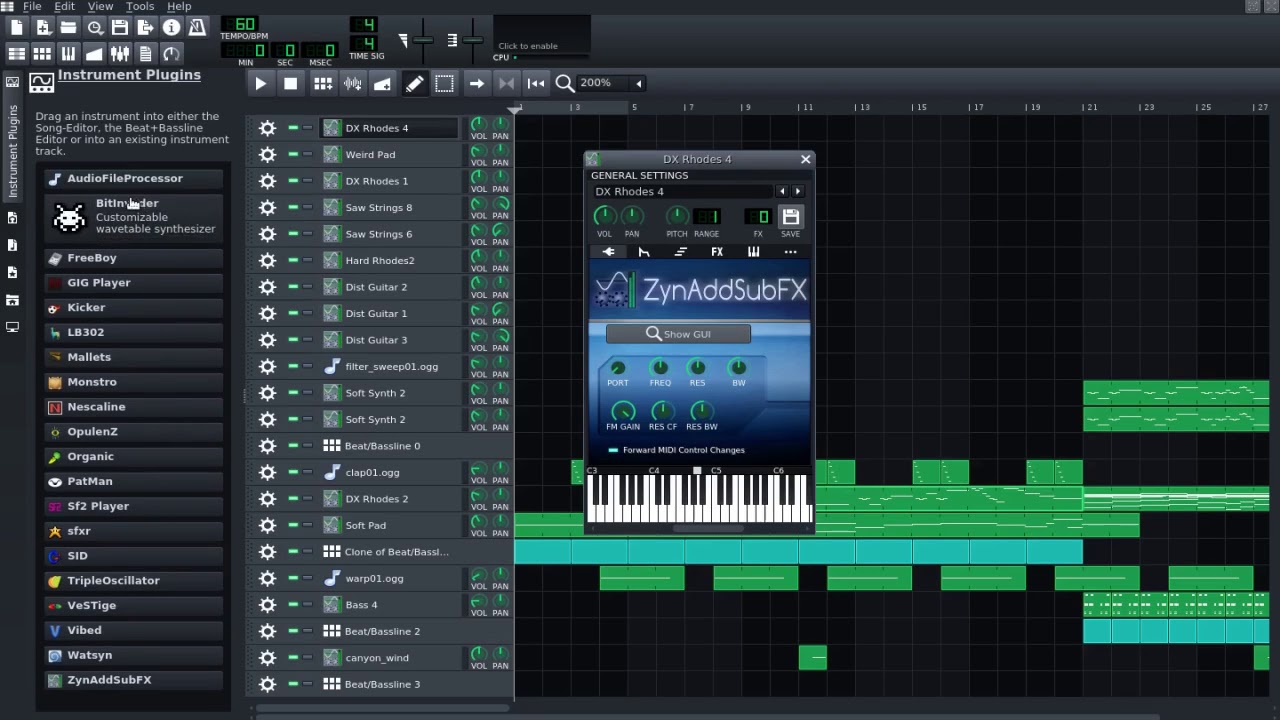
- MIDI Routing: Create a new track in Reaper and insert an instance of Reaper Synth as a virtual instrument. In the track’s settings, set the MIDI input to the MIDI channel assigned to your synthesizer. This ensures that the MIDI data sent from Reaper will trigger the synthesizer’s sound generation.
- Audio Routing: Configure the audio routing so that the audio output from Reaper Synth is sent to your audio interface’s outputs. This allows you to monitor the sound produced by your synthesizer through your external speakers or headphones.
Once these steps are completed, Reaper Synth should be successfully connected to your synthesizer, and you can start playing and controlling your hardware synthesizer from within Reaper. It’s time to explore the creative possibilities and create unique sounds by combining the power of Reaper Synth with the physicality of your synthesizer.
Adjusting the Settings on the Synthesizer:
Now that Reaper Synth is connected to your synthesizer, it’s essential to understand how to adjust the settings on your hardware synthesizer to optimize the integration and achieve the desired sound. While specific settings may vary depending on your synthesizer model, here are some general tips to help you get started:
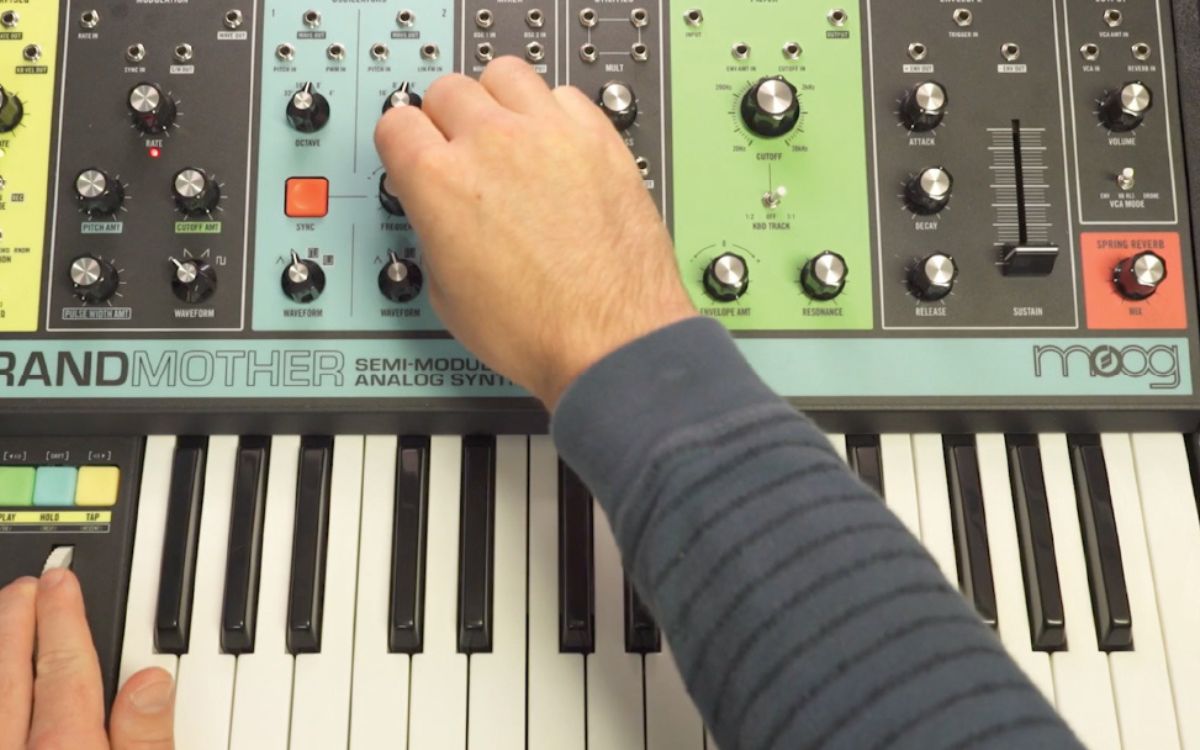
- Oscillator Settings: Experiment with different waveforms and octave settings on your hardware synthesizer’s oscillators. This will help you find the desired character and tonality of your sound. Adjust parameters such as pitch, fine-tuning, and waveform mix to create a wide range of timbres.
- Filter Parameters: Explore the filter settings on your synthesizer to shape the frequency content of the sound. Adjust the cutoff frequency, resonance, and filter type to control the brightness or warmth of your sound. Experiment with different filter slopes, such as 12dB per octave or 24dB per octave, to tailor the sound to your liking.
- Modulation Options: Many synthesizers offer various modulation sources and destinations. Assign an envelope, LFO, or other modulation sources to control parameters such as pitch, filter cutoff, or amplitude. This will add movement and depth to your sound, allowing for dynamic and evolving textures.
- Effects Integration: If your synthesizer has built-in effects, such as reverb, delay, or chorus, experiment with different effect settings to enhance your sound. These effects can add depth, space, and character to your sound, creating a more immersive and polished result.
- External Control: Some synthesizers allow for external control via MIDI. Take advantage of this feature by mapping specific MIDI controllers, such as knobs, sliders, or foot pedals, to control parameters on your hardware synthesizer. This adds an extra layer of expressiveness and hands-on control to your sound design.
- Save Presets: If your synthesizer allows for saving presets or patches, take the time to save your favorite settings. This will allow you to recall your preferred sound configurations easily and efficiently, making it easier to work on multiple projects or switch between sounds during live performances.
- Combine with Reaper Synth: Remember that Reaper Synth can be used simultaneously with your hardware synthesizer. Consider layering sounds between Reaper Synth and your hardware for added complexity and depth. Reaper Synth can also serve as a supplementary sound source alongside your hardware synthesizer, expanding your sonic palette even further.
By adjusting these settings on your hardware synthesizer, you can sculpt and refine your sound, tailoring it to your creative vision. The combination of Reaper Synth and your synthesizer will open up endless possibilities for sonic exploration and experimentation.
Using Reaper Synth with the Synthesizer:
Now that you have seamlessly integrated Reaper Synth with your hardware synthesizer, it’s time to explore the creative potential of this powerful combination. By combining the versatility of Reaper Synth with the unique sound characteristics of your synthesizer, you can create rich, textured, and expressive sounds. Here are some ways to make the most out of using Reaper Synth with your synthesizer:
- Layering Sounds: Experiment with layering sounds from Reaper Synth and your hardware synthesizer. Reaper Synth offers an extensive library of presets and sound design possibilities, while your synthesizer brings its own sonic character. Blend the two together to create lush, complex textures and unique timbres.
- Real-Time Control: Use MIDI controllers to adjust parameters on both Reaper Synth and your hardware synthesizer simultaneously. This real-time control allows for dynamic and expressive performances, as you can modulate and shape the sound in real-time. Consider assigning parameters like filter cutoff, resonance, or modulation depth to knobs or sliders on your MIDI controller.
- Automation: Explore the automation capabilities in Reaper to add movement and variation to your sounds. Record and edit automation envelopes for parameters on both Reaper Synth and your hardware synthesizer. This can be used to create evolving pads, rhythmic textures, or dynamic filter sweeps.
- Combining Sequences: If your hardware synthesizer has a built-in sequencer or arpeggiator, take advantage of it in conjunction with Reaper. Create sequences or patterns on your hardware synthesizer and record them into a track in Reaper. Then, use Reaper’s sequencing capabilities to further develop and expand upon those sequences, adding additional layers and effects.
- Exploring Effects: Reaper Synth provides a wide range of built-in effects that can be used in combination with your hardware synthesizer. Experiment with adding reverb, delay, modulation, or distortion effects to your synthesized sounds. This can add depth, space, and character to your sound, further enhancing the sonic possibilities.
- Live Performance: If you’re using your hardware synthesizer and Reaper Synth for live performances, consider setting up different scenes or presets within Reaper. This allows you to easily switch between different sounds and setups during your performance, ensuring a seamless and dynamic live experience.
Remember, using Reaper Synth with your synthesizer opens up a world of creative possibilities. Embrace experimentation, try new combinations of sounds and effects, and let your imagination run wild. The combination of Reaper Synth and your hardware synthesizer empowers you to create unique, captivating, and expressive music. Enjoy the journey of sonic exploration!
Tips and Tricks for Optimizing Reaper Synth Integration:
As you continue to explore the integration of Reaper Synth with your hardware synthesizer, here are some tips and tricks to optimize your workflow and enhance your sound:
- Save Presets: Create and save presets within Reaper Synth to easily recall your favorite sounds. This will save you time and effort when working on multiple projects or when you want to revisit a specific sound in the future.
- Experiment with Signal Routing: Reaper offers flexible routing options for audio and MIDI. Don’t be afraid to experiment with different signal routing configurations to achieve the desired sound. Explore sending MIDI from Reaper Synth to control specific parameters on your hardware synthesizer, or route the audio output from your hardware synthesizer through Reaper’s effects for further processing.
- Utilize MIDI Learn: Many hardware synthesizers have MIDI Learn functionality, which allows you to assign parameters to MIDI controllers quickly. Take advantage of this feature to easily control various parameters on your hardware synthesizer using your MIDI controller or automation within Reaper.
- Explore External Control: If your hardware synthesizer supports external control via CV/Gate or other control voltage methods, explore integrating it with Reaper. This opens up possibilities for modulating and controlling your hardware synthesizer using the automation features within Reaper.
- Experiment with Layering: Layering sounds from Reaper Synth with your hardware synthesizer can create unique and complex textures. Explore blending different sounds from both sources to create rich and dynamic sonic landscapes.
- Customize MIDI Mapping: Reaper allows for flexible MIDI mapping. Take the time to customize the MIDI mapping to match your preferred workflow. Assign frequently used functions or parameters to specific MIDI controllers for quick and easy access.
- Utilize Reaper’s Automation: Reaper’s extensive automation capabilities allow you to create dynamic and evolving sounds. Experiment with automating parameters on both Reaper Synth and your hardware synthesizer to add movement and variation to your music.
- Combine Reaper’s Effects with your Hardware Synthesizer: Reaper offers a wide range of high-quality effects. Try combining these effects with the intrinsic sound of your hardware synthesizer. Experiment with different signal chains and processing techniques to achieve unique and professional-sounding results.
- Stay Organized: As your project grows, it’s essential to stay organized. Use naming conventions for your tracks and folders within Reaper. This will make it easier to locate and manage the specific elements of your integrated setup.
- Continued Learning: Keep exploring resources, tutorials, and forums related to Reaper Synth and your hardware synthesizer. There are often hidden features and techniques that can further enhance your integration and sound design capabilities.
By implementing these tips and tricks, you’ll have a more efficient workflow and unlock the full potential of Reaper Synth and your hardware synthesizer integration. Embrace experimentation, trust your ears, and let your creativity guide you as you create unique and captivating music.
Troubleshooting Common Issues:
While integrating Reaper Synth with your hardware synthesizer can be an exciting endeavor, it’s not uncommon to encounter some technical challenges along the way. Here are some common issues you might come across and some troubleshooting tips to help you overcome them:
- No Sound Output: If you’re not hearing any sound from your hardware synthesizer in Reaper Synth, double-check your audio routing. Ensure that the audio output of your hardware synthesizer is connected to the audio input of your audio interface. Verify that the audio interface is properly configured in Reaper’s audio settings.
- MIDI Communication Issues: If your hardware synthesizer is not receiving MIDI data from Reaper, confirm that the MIDI cables are connected correctly between your synthesizer, audio interface, and computer. Check the MIDI channel settings in both Reaper and your hardware synthesizer to ensure they are in sync.
- Latency: Latency can be a common issue when working with software instruments and external hardware. Adjust the audio buffer size in Reaper’s audio settings to minimize latency. Additionally, ensure that your audio interface drivers are up to date and optimized for low-latency performance.
- MIDI Mapping Problems: If the MIDI controllers are not responding as expected or not mapping correctly, check that the MIDI controller is properly connected and recognized by your computer. You may need to adjust the MIDI input settings in Reaper or your hardware synthesizer’s MIDI settings.
- Conflicting MIDI Channels: If you’re experiencing issues where multiple hardware synthesizers are triggering unexpected sounds, it could be a MIDI channel conflict. Make sure each hardware synthesizer is set to a different MIDI channel, and ensure that Reaper is sending the correct MIDI data to each synthesizer.
- Software Compatibility: Ensure that both Reaper Synth and your hardware synthesizer are running on compatible software versions. Check the software’s documentation or manufacturer’s website for any known compatibility issues or software updates.
- Power and Connectivity Issues: If your hardware synthesizer is not powering on or is intermittently disconnecting, check the power supply and connections. Make sure all cables are securely plugged in and that power sources are stable.
- Driver and Firmware Updates: Keep your audio interface drivers and firmware for your hardware synthesizer up to date. Manufacturers often release updates to address compatibility issues or improve performance.
- Refer to Manuals and Forums: If you encounter issues specific to your particular hardware synthesizer or Reaper Synth, consult the user manuals, manufacturer websites, and online forums. These resources can provide valuable troubleshooting advice or solutions from the user community.
Remember, troubleshooting can sometimes be a process of trial and error. Patience is key, and don’t hesitate to reach out for assistance from manufacturer support teams or online communities. With some patience and persistence, you’ll be able to overcome any technical hurdles and enjoy a seamless integration between Reaper Synth and your hardware synthesizer.
Conclusion:
Congratulations on successfully integrating Reaper Synth into your synthesizer setup! By combining the power of Reaper Synth’s versatile software capabilities with the unique sonic characteristics of your hardware synthesizer, you have unlocked a world of creative possibilities.
Throughout this article, we have explored the process of understanding Reaper Synth, choosing the right synthesizer, connecting Reaper Synth to your hardware synthesizer, adjusting the settings, and utilizing this powerful combination. We have also shared tips and tricks for optimizing the integration and troubleshooting common issues that may arise.
Remember to experiment, explore, and let your creativity guide you as you craft unique and captivating sounds. Blend the rich synthesis capabilities of Reaper Synth with the tactile experience of your hardware synthesizer to create textures, timbres, and atmospheres that are truly your own.
Continued learning and exploration will be key to further refining your skills and expanding your sonic palette. Dive deeper into Reaper Synth’s features, explore tutorials, and engage with online communities to learn from others and share your own experiences.
Whether you’re a musician, producer, or avid sound designer, the integration of Reaper Synth and your hardware synthesizer opens up endless possibilities for musical expression. Harness the power of technology, trust your intuition, and let your creative spirit soar.
Now, go forth and create sounds that will inspire and captivate listeners. Enjoy the journey of integrating Reaper Synth into your synthesizer, and may your musical endeavors be filled with innovation and sonic exploration!