Home>Events & Info>Playback>How To Hear Playback In Headphones Reaper

Playback
How To Hear Playback In Headphones Reaper
Published: November 7, 2023
Learn how to hear playback in headphones using Reaper, the popular digital audio workstation (DAW). Master the essential techniques to optimize your audio editing and mixing experience.
(Many of the links in this article redirect to a specific reviewed product. Your purchase of these products through affiliate links helps to generate commission for AudioLover.com, at no extra cost. Learn more)
Table of Contents
Introduction
When it comes to audio production, having the ability to hear playback in headphones is crucial. Whether you’re a musician, a podcaster, or a sound engineer, being able to monitor your audio in real-time through headphones allows for a more precise and immersive experience. In this article, we will explore how to set up playback in headphones in Reaper, a popular digital audio workstation (DAW).
Reaper is known for its versatility and powerful features, making it a top choice for professionals and beginners alike. By configuring the audio settings in Reaper correctly, you can ensure that your headphone playback is optimized for an accurate representation of your audio.
In this guide, we will walk you through the process of setting up playback in headphones in Reaper, including selecting the headphone output, adjusting the volume, and troubleshooting common issues that may arise. But before we dive into the details, make sure you have your headphones and Reaper installed and ready to go.
Now, let’s get started and discover how you can achieve the best playback experience in your headphones using Reaper!
Setting up Reaper
Before you can start hearing playback in your headphones in Reaper, you need to set up the software correctly. Here are the steps to get Reaper ready for headphone playback:
- Launch Reaper: Open the Reaper software on your computer.
- Create a New Project: Click on “File” in the menu bar, then select “New Project” to create a new project in Reaper.
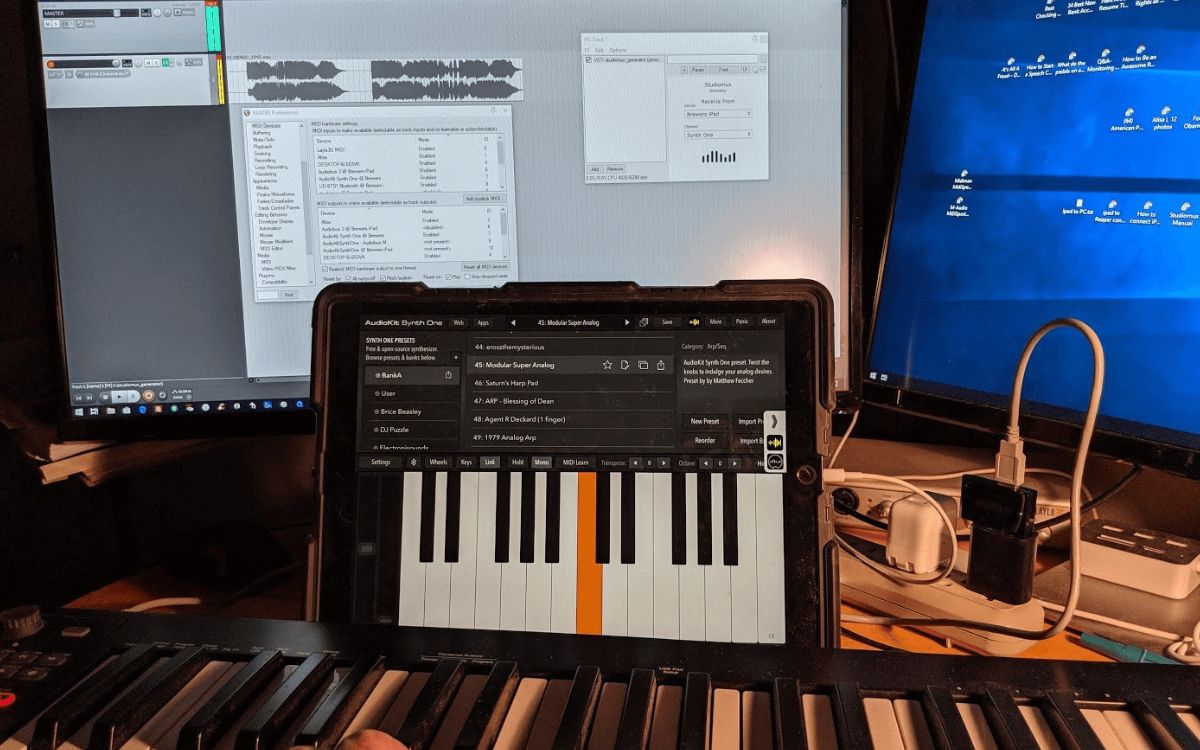
- Set Project Sample Rate and Bit Depth: In the project settings, you need to specify the sample rate and bit depth for your project. Generally, a sample rate of 44.1kHz and a bit depth of 24 bits are standard. You can adjust these values based on your specific needs by going to “Options” in the menu bar, selecting “Preferences,” and then choosing the “Audio” tab.
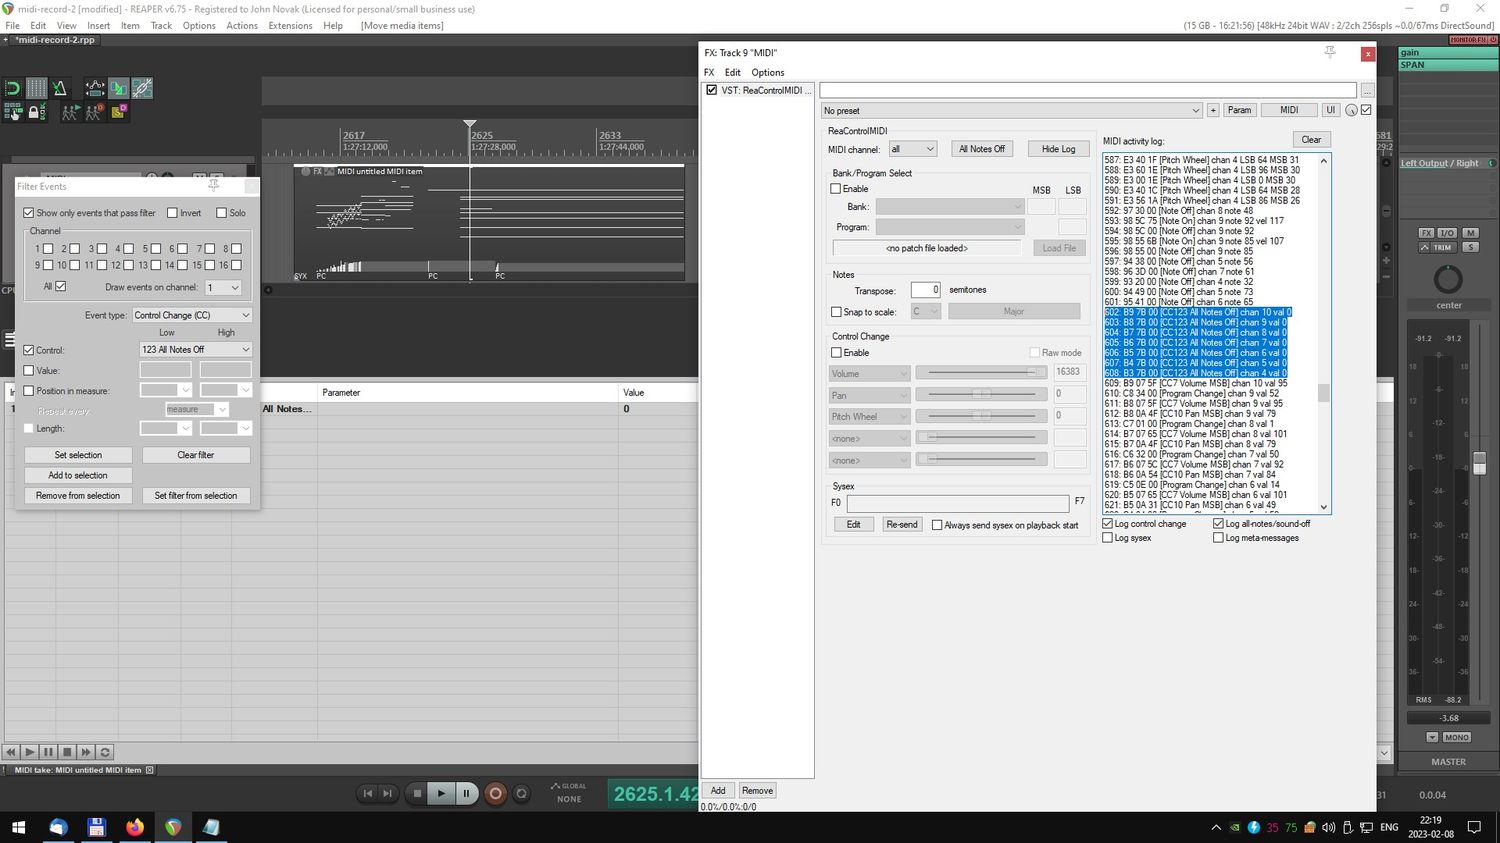
- Configure Audio Device: In the same “Audio” tab of the preferences menu, you will find the “Audio System” dropdown. Select your preferred audio interface from the list. If you’re using an external audio interface, make sure it’s properly connected to your computer before selecting it here.
- Select Input and Output: After selecting your audio system, choose the appropriate input and output devices from the dropdown menus. For headphone playback, you will need to select your headphones as the output device.
- Set Buffer Size: The buffer size determines the amount of audio data processed in one go and affects the latency. Adjust the buffer size according to your system’s capabilities and your desired latency. Smaller buffer sizes result in lower latency but can put more strain on your computer’s CPU. To change the buffer size, go to the “Audio” tab in the preferences menu and adjust the “Buffering” settings.
Once you have completed these steps, Reaper is now set up and ready to handle playback through your headphones. In the next sections, we will explore how to configure audio playback and adjust headphone volume to ensure optimal monitoring in Reaper.
Configuring Audio Playback
Once you have set up Reaper and selected your audio interface and headphones as the output device, you need to configure the audio playback settings to ensure the best possible monitoring experience. Here’s how you can do that:
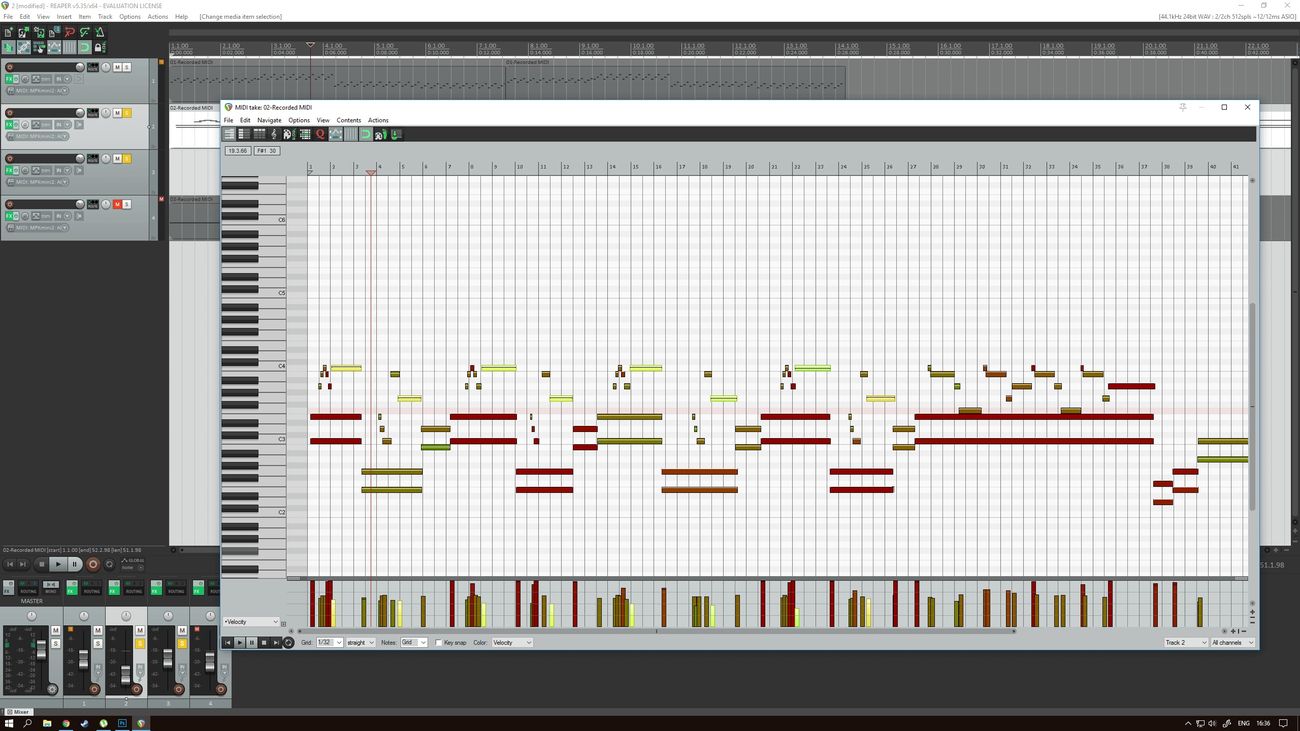
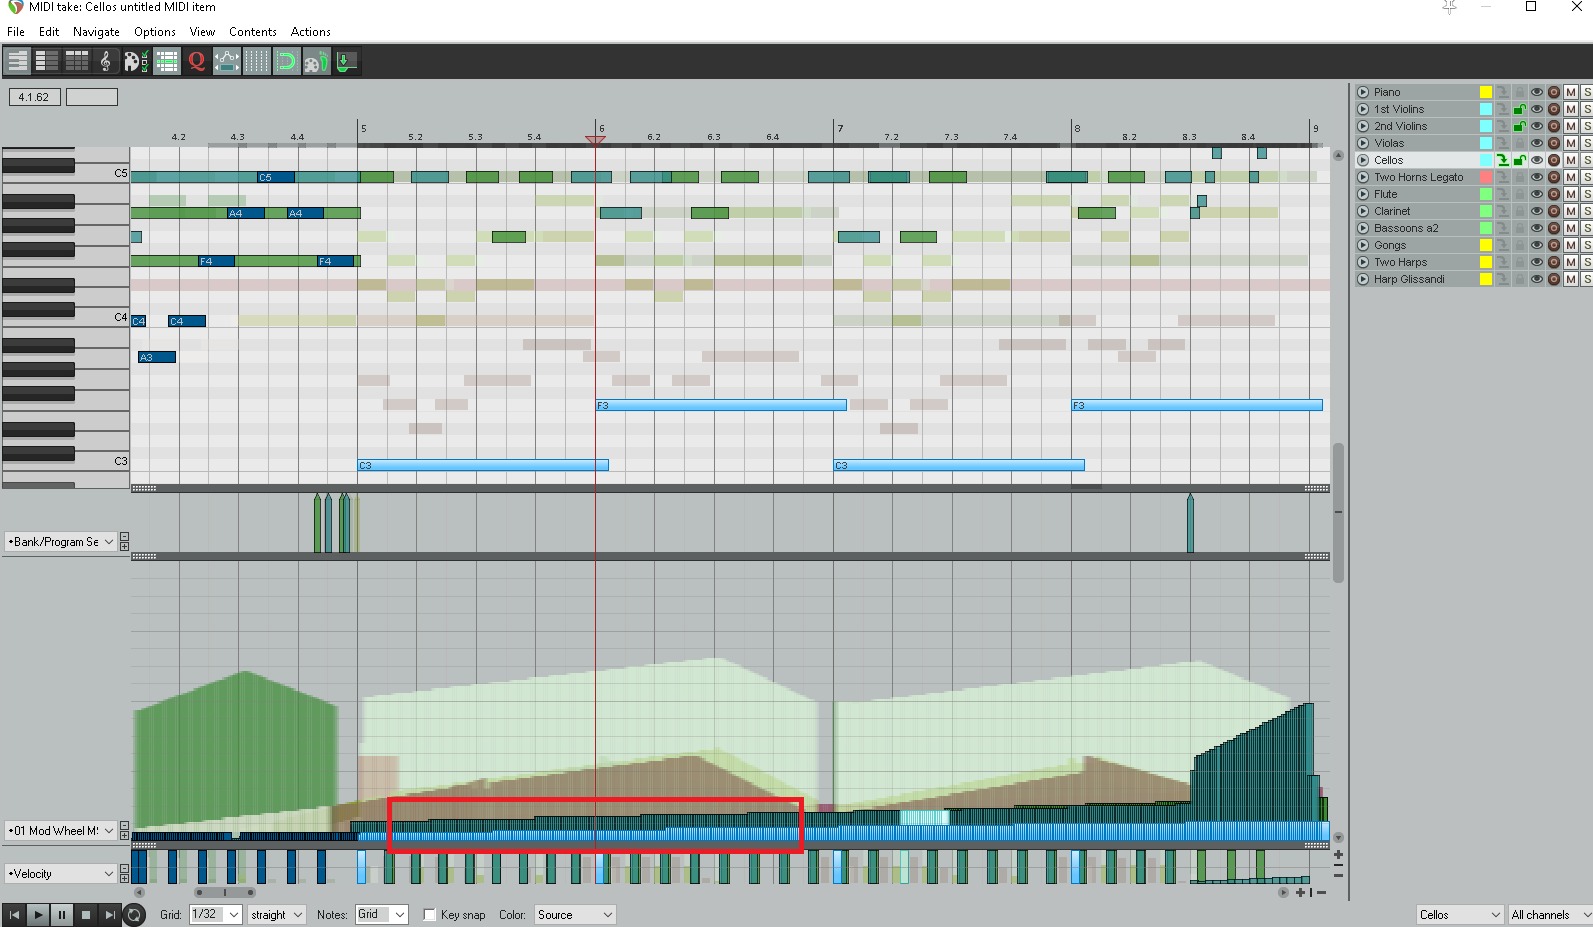
- Select the Track: If you’re working with a multi-track project, make sure to select the track you want to monitor through your headphones. Click on the track to highlight it in the Reaper timeline.
- Enable Monitoring: To enable monitoring for the selected track, make sure the “Record Monitoring” button at the top of the Reaper window is enabled. This allows you to hear the incoming audio of the selected track in real-time through your headphones.
- Adjust Panning: If you’re working with stereo tracks, you may want to adjust the panning to ensure the audio is evenly distributed between the left and right channels in your headphones. This can be done by adjusting the panning slider on the track.
- Apply Effects (if needed): If you have added any effects or plugins to the track, make sure they are properly configured for headphone monitoring. Some effects may have specific settings for headphone playback, such as virtual surround sound or headphone room simulation.
By following these steps, you can configure the audio playback settings in Reaper to ensure that you hear the selected track clearly and accurately through your headphones. In the next section, we will learn how to select the headphone output within Reaper.
Selecting the Headphone Output
After setting up Reaper and configuring the audio playback settings, the next step is to select the headphone output within the software. This will ensure that the audio is routed to the correct output channel for your headphones. Here’s how you can do it:
- Open the Routing Window: In Reaper, navigate to the track you want to monitor through your headphones.
- Access the Routing Options: Right-click on the track and select “Track Routing” from the context menu that appears.
- Select the Headphone Output: In the routing window, you will see a list of available output options for the selected track. Choose the headphone output or the specific output channel that corresponds to your headphones, ensuring that the audio is routed directly to your headphones and bypasses any other speakers or devices.
Once you have selected the headphone output, Reaper will now send the audio signal directly to your headphones, allowing you to hear the playback with clarity and precision. In the next section, we will explore how to adjust the headphone volume to achieve the desired monitoring level.
Adjusting Headphone Volume
Having the ability to adjust the headphone volume is essential for achieving the optimal monitoring level while working in Reaper. Here are a few methods you can use to adjust the headphone volume:
- Hardware Controls: Most headphones have built-in volume controls that allow you to adjust the volume directly on the headphones. Use the volume control buttons or knobs on your headphones to increase or decrease the volume to your desired level.
- Reaper Master Track: Adjusting the master track volume in Reaper can also affect the headphone volume. Click on the master track in the Reaper timeline and use the volume slider to control the overall volume of the project. This will indirectly impact the volume in your headphones.
- Track Volume: Each individual track in Reaper has its own volume control. By adjusting the volume slider for each track, you can fine-tune the balance and overall volume of specific elements in your project. This can be particularly useful when you want to focus on specific parts of your audio while monitoring through your headphones.
Experiment with different volume levels to find the balance that works best for you. It’s important to ensure that the headphone volume is loud enough for you to hear the details in your audio but not so loud that it becomes uncomfortable or damaging to your ears.
Remember, proper mixing and monitoring practices recommend avoiding excessively high volume levels for extended periods to protect your hearing. Take breaks and listen at a comfortable volume to maintain a healthy listening environment.
With these methods, you can easily adjust the headphone volume in Reaper to achieve the ideal monitoring level while working on your audio projects. In the next section, we will discuss some common troubleshooting tips for any issues you may encounter during the headphone playback process.
Troubleshooting Common Issues
While setting up and configuring playback in headphones in Reaper is usually a straightforward process, you may occasionally encounter some common issues. Here are a few troubleshooting tips to help you resolve them:
- No Sound in Headphones: If you’re not hearing any sound in your headphones, first check your headphone connections to ensure they are properly plugged in. Next, verify that the headphone output is selected correctly in Reaper’s routing settings. Additionally, double-check your computer’s system audio settings to ensure that the headphones are set as the default output device.
- Uneven Balance between Left and Right Channels: If you notice an imbalance in the stereo balance while monitoring through your headphones, check the panning settings for the track. Adjust the panning slider to ensure an equal distribution of audio between the left and right channels. You can also try swapping your headphones to make sure the issue is not with the headphones themselves.
- Audio Latency: Latency refers to the delay between when you play or record audio and when you hear it through your headphones. If you’re experiencing high latency, you can try adjusting the buffer size in Reaper’s audio settings to reduce it. It’s important to strike a balance between low latency and stable playback performance based on your computer’s capabilities.
- Crackling or Distorted Audio: If you encounter crackling or distorted audio in your headphones, it could be due to buffer underruns or an issue with the audio driver. Try increasing the buffer size in Reaper’s preferences to reduce the strain on your computer’s CPU. Additionally, ensure that you’re using the latest version of your audio interface driver to eliminate any compatibility issues.
If you continue to experience issues with headphone playback in Reaper despite troubleshooting, it may be helpful to consult the Reaper documentation or seek assistance from the Reaper community or support forums. These resources can provide more specific guidance tailored to your situation.
Remember, troubleshooting is a normal part of the audio production process, and with patience and perseverance, you can overcome any issues and continue crafting your audio with confidence.
Now that we have explored the troubleshooting tips, let’s wrap up this guide on hearing playback in headphones in Reaper.
Conclusion
Congratulations! You now have the knowledge to set up and hear playback in headphones in Reaper like a pro. By following the steps outlined in this guide, you can ensure that your monitoring experience is optimized for accurate and immersive audio playback.
We began by discussing the importance of being able to hear playback through headphones in audio production. We then delved into the process of setting up Reaper, configuring audio playback, selecting the headphone output, adjusting the headphone volume, and troubleshooting common issues.
Remember that proper setup and configuration are crucial for achieving the best results. Take the time to familiarize yourself with Reaper’s settings and options, experiment with different headphone volume levels, and troubleshoot any issues that may arise along the way.
As you continue to work on your audio projects in Reaper, pay attention to detail, trust your ears, and make adjustments as necessary. The ability to hear playback in headphones not only allows for precise monitoring but also enhances your creativity and overall audio production experience.
Now, armed with the knowledge and tools shared in this guide, you can confidently dive into your next audio project, knowing that you have the ability to hear playback in headphones and fine-tune your creations to perfection.
Happy music-making, podcasting, or audio engineering in Reaper!