Home>Production & Technology>MIDI>How To Record MIDI Keyboard

MIDI
How To Record MIDI Keyboard
Modified: February 22, 2024
Learn how to record MIDI keyboard with ease. Discover the best techniques and tools for capturing your MIDI performances. Master MIDI recording now!
(Many of the links in this article redirect to a specific reviewed product. Your purchase of these products through affiliate links helps to generate commission for AudioLover.com, at no extra cost. Learn more)
Table of Contents
Introduction
Recording MIDI (Musical Instrument Digital Interface) keyboard is a fascinating process that allows musicians and producers to capture their musical ideas with precision and flexibility. Whether you're a seasoned musician or just starting your musical journey, understanding how to record MIDI keyboard can significantly enhance your creative potential.
In this comprehensive guide, we will delve into the essential steps for recording MIDI keyboard, from setting up your equipment to fine-tuning your recordings. By the end of this article, you will have a clear understanding of the process and be well-equipped to bring your musical compositions to life.
Let's embark on this exciting journey of MIDI keyboard recording, where we will explore the intricacies of setting up your MIDI keyboard, connecting it to your computer, selecting the right software, capturing MIDI data, and refining your recordings to perfection. Whether you're aiming to lay down captivating melodies, craft intricate harmonies, or experiment with diverse musical styles, recording MIDI keyboard opens up a world of possibilities for musical expression and creativity.
So, grab your MIDI keyboard, prepare your creative mindset, and let's dive into the captivating realm of MIDI keyboard recording.
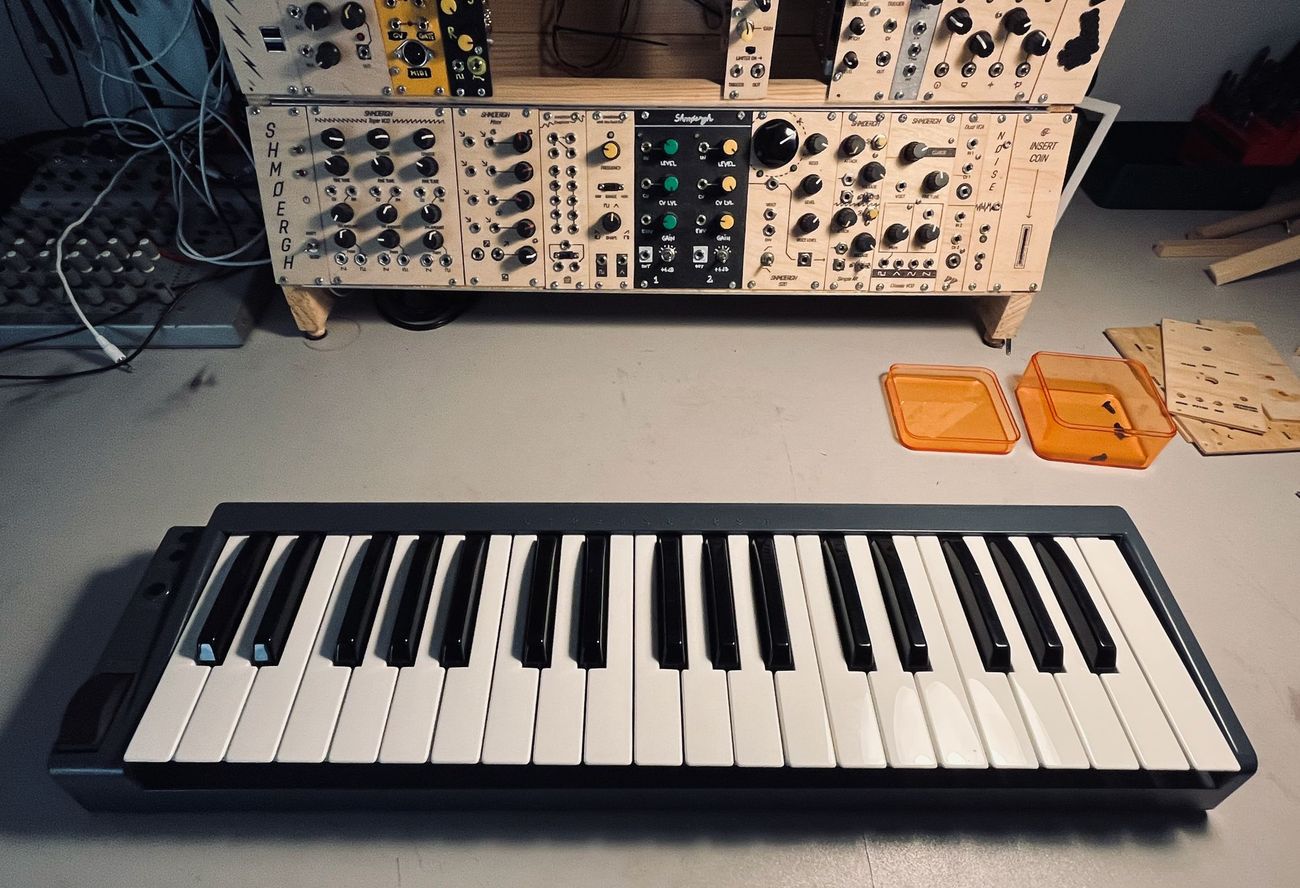
Step 1: Setting Up Your MIDI Keyboard
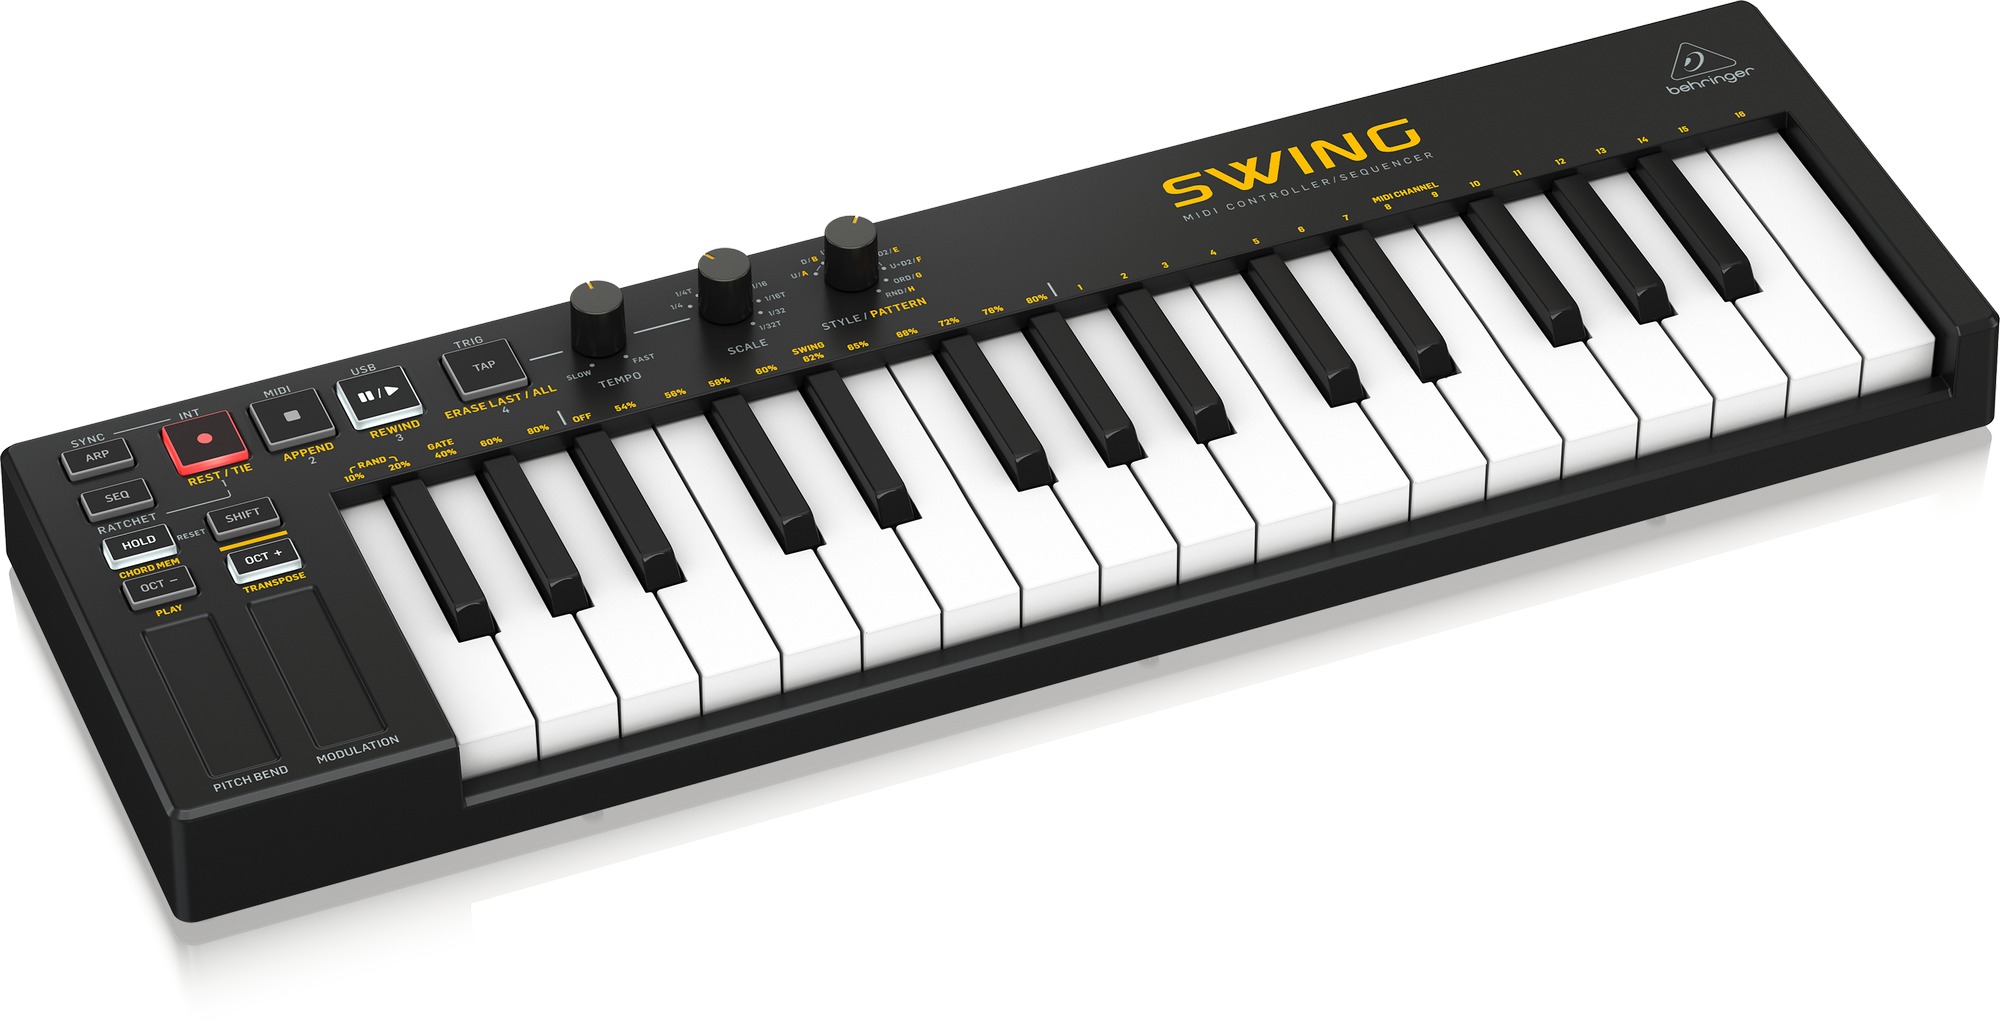
Setting up your MIDI keyboard is the crucial first step in the process of recording MIDI data. Whether you have a compact MIDI controller or a full-sized keyboard, ensuring the proper setup will pave the way for a seamless recording experience. Here's a detailed guide to help you set up your MIDI keyboard effectively:
-
Positioning Your MIDI Keyboard: Find a suitable location for your MIDI keyboard within your workspace. Ensure that it is placed on a stable surface at a comfortable height for playing. This will not only enhance your playing experience but also contribute to a conducive recording environment.
-
Powering Up the MIDI Keyboard: Connect the power source to your MIDI keyboard, if required. Some MIDI keyboards can be powered via USB, while others may need an external power adapter. Ensure that the power supply is stable to avoid any interruptions during your recording session.
-
Connecting the MIDI Keyboard to a Stand: If you have a full-sized MIDI keyboard, consider placing it on a sturdy keyboard stand for optimal ergonomics. This will also free up space on your desk and allow for better organization of your recording setup.
-
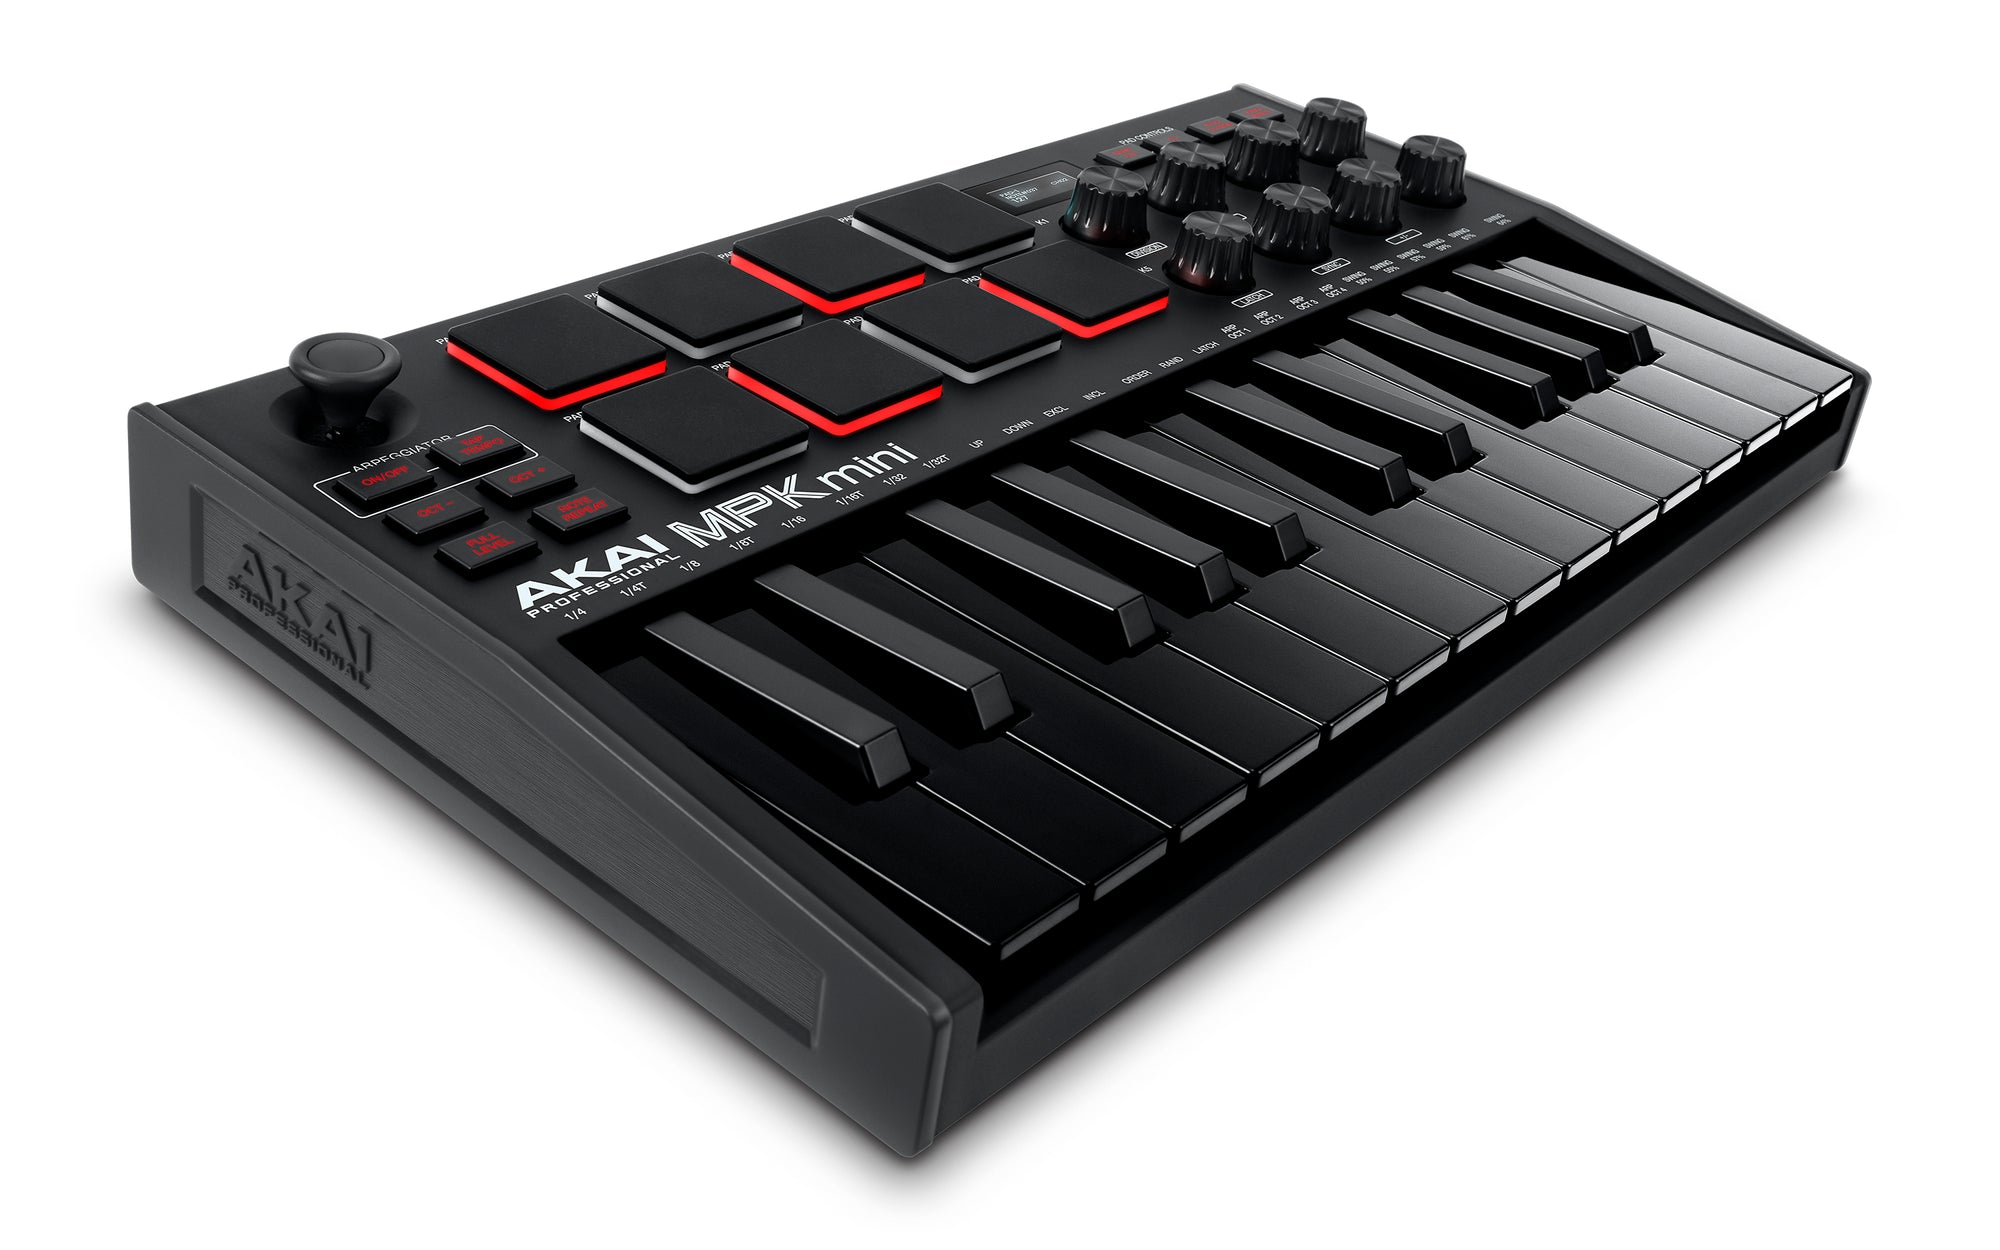
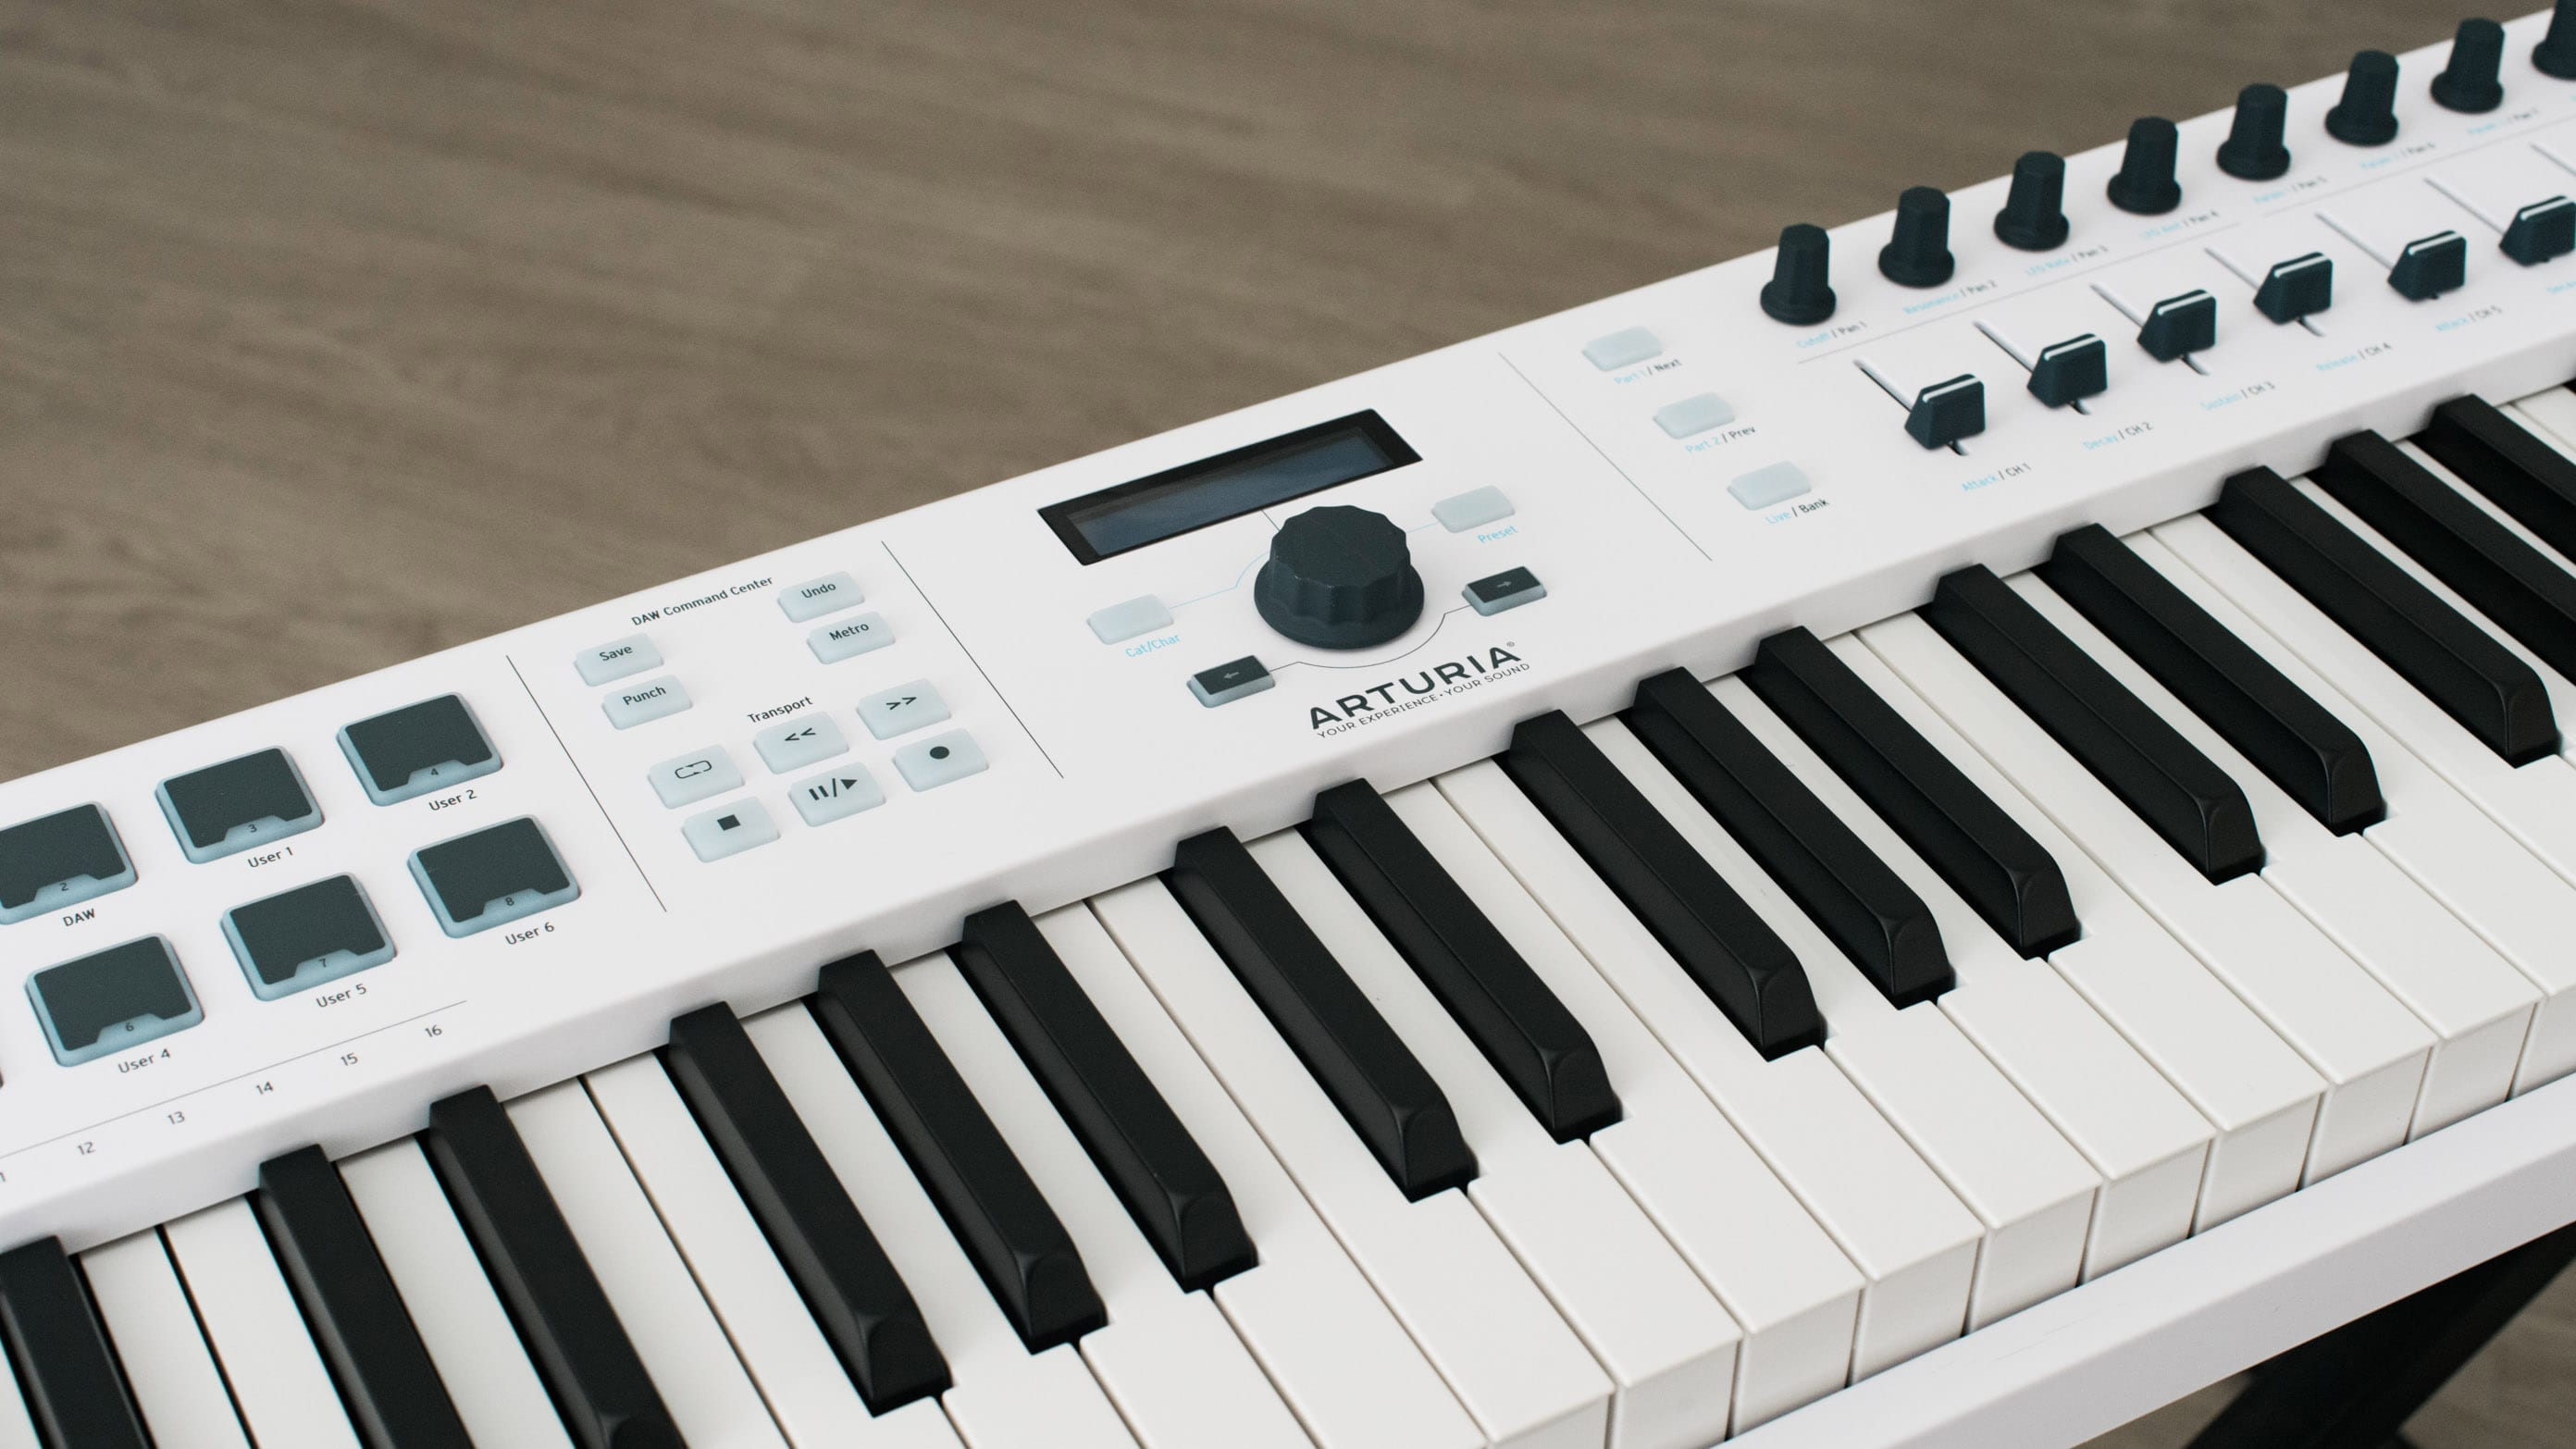
Adjusting Keyboard Settings: Familiarize yourself with the settings on your MIDI keyboard. This may include adjusting the velocity sensitivity, octave range, and any additional parameters specific to your keyboard model. Understanding and customizing these settings according to your preferences can greatly enhance your playing experience and the quality of your recordings.
-
Connecting Pedals and Accessories: If your MIDI keyboard supports pedals or other accessories, such as sustain pedals or expression pedals, connect them according to the manufacturer's instructions. These accessories can add expressive nuances to your playing and are valuable tools for capturing dynamic MIDI performances.
By following these steps, you can ensure that your MIDI keyboard is set up optimally for recording MIDI data. With your keyboard ready to go, you are now prepared to move on to the next crucial step: connecting your MIDI keyboard to your computer.
Next, we will explore the process of connecting your MIDI keyboard to your computer, laying the groundwork for capturing and manipulating MIDI data within a digital audio workstation (DAW).
Step 2: Connecting Your MIDI Keyboard to Your Computer
Connecting your MIDI keyboard to your computer is a pivotal step in the process of recording MIDI data. This essential link enables the seamless transfer of musical input from your keyboard to a digital platform, where you can capture, edit, and manipulate your performances with precision. Here's a detailed guide to help you establish a reliable connection between your MIDI keyboard and computer:
-
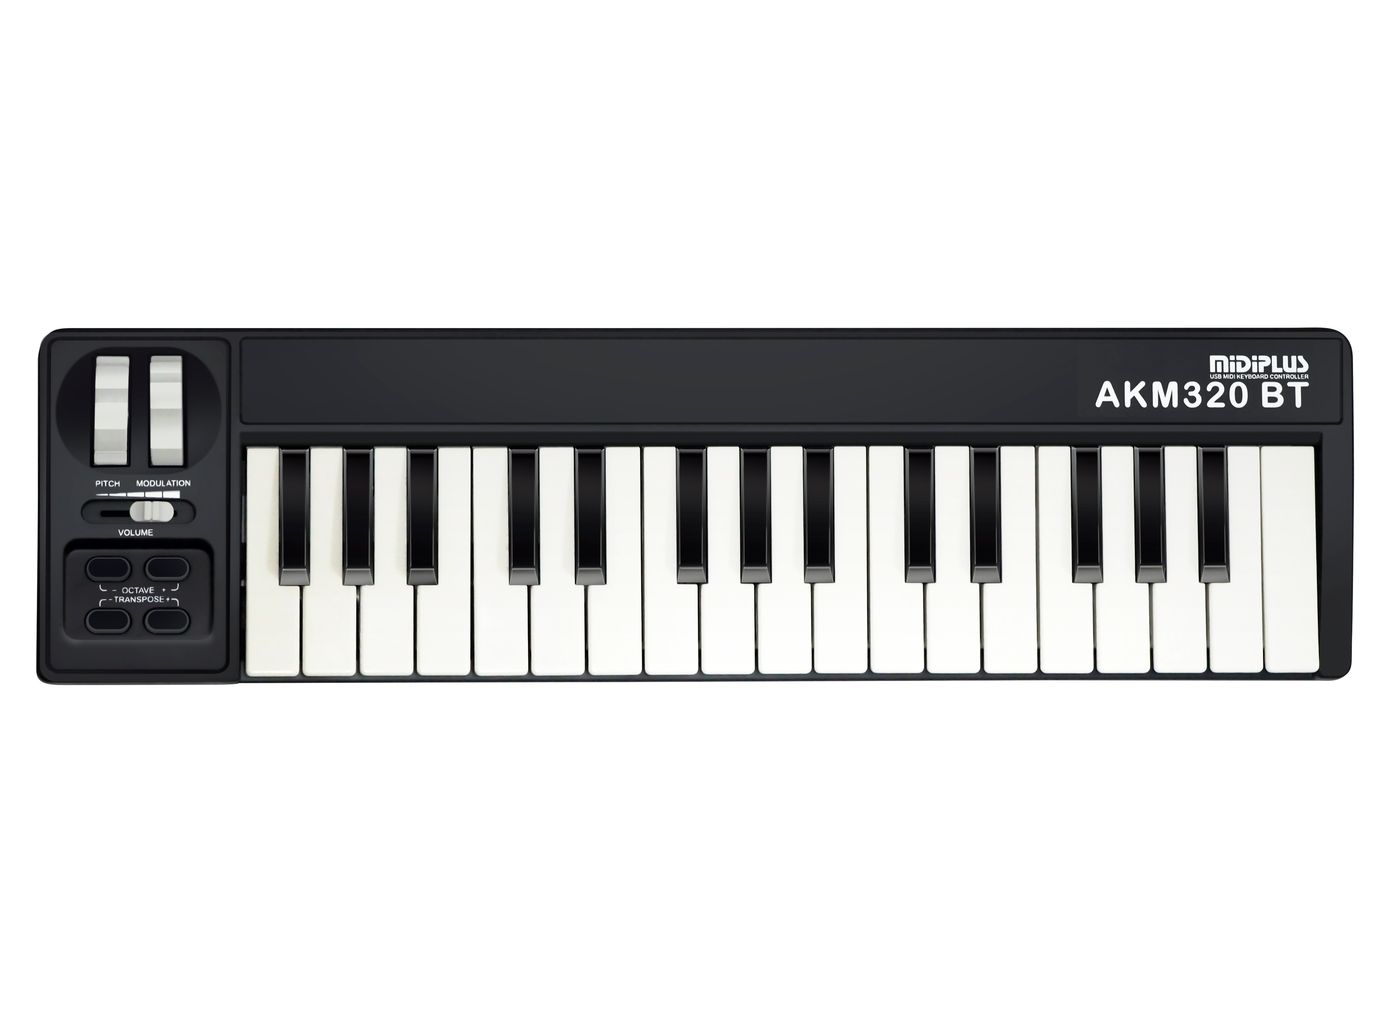
Identify Available Ports: Begin by identifying the available ports on your MIDI keyboard and computer. Most MIDI keyboards feature MIDI OUT, MIDI IN, and USB ports, while computers typically have USB ports. Understanding the available connectivity options will guide you in selecting the appropriate method for establishing the connection.
-
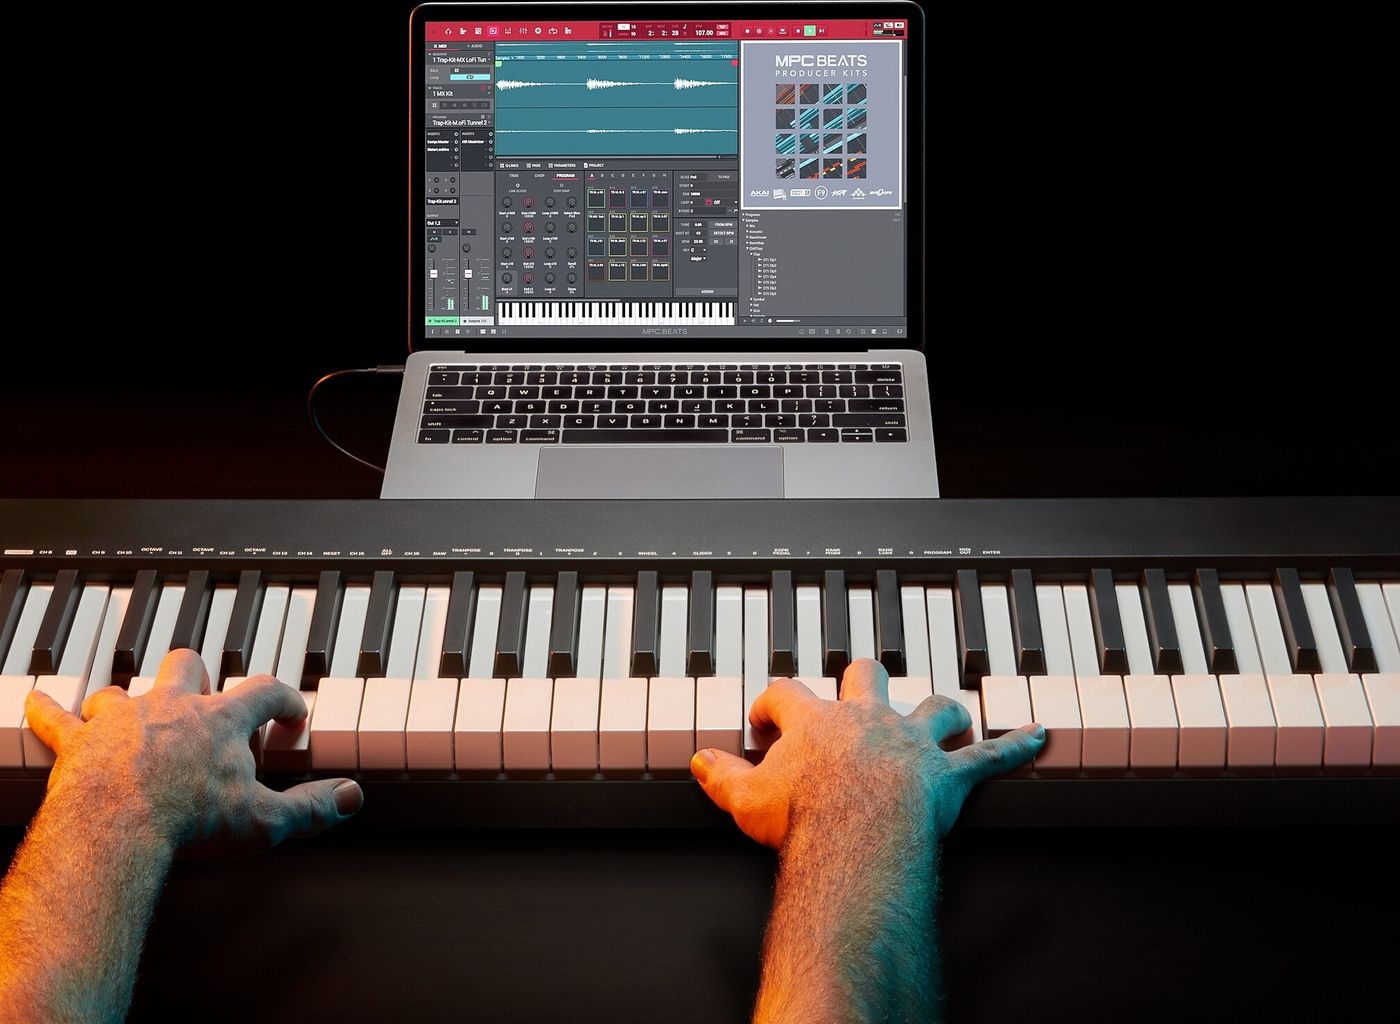
USB Connection: If your MIDI keyboard has a USB port, connecting it to your computer is straightforward. Simply use a USB cable to link the USB port on your keyboard to a USB port on your computer. Once connected, your computer should recognize the MIDI keyboard as a MIDI input device, allowing you to start using it with compatible software.
-
MIDI Connection: In the absence of a USB port on your MIDI keyboard, you can use MIDI cables to establish a connection. Connect the MIDI OUT port on your keyboard to the MIDI IN port on a MIDI interface using a standard MIDI cable. Then, connect the MIDI interface to a USB port on your computer using a USB cable. This setup enables the transfer of MIDI data between your keyboard and computer.
-
Driver Installation: In some cases, your computer may require specific drivers to recognize and communicate with your MIDI keyboard effectively. Check the manufacturer's website for the latest drivers and installation instructions. Installing the appropriate drivers ensures seamless communication between your MIDI keyboard and computer, minimizing potential compatibility issues.
-
Testing the Connection: Once the physical connection is established, it's essential to test the MIDI keyboard's functionality within your computer environment. Open a MIDI-compatible software or digital audio workstation (DAW) and verify that the MIDI keyboard is recognized as a MIDI input device. Test the keyboard's responsiveness by playing notes and observing the MIDI input indicators within the software.
By following these steps, you can establish a robust connection between your MIDI keyboard and computer, laying the foundation for capturing and utilizing MIDI data within a digital environment. With the connection in place, you are now ready to explore the next crucial step: selecting a suitable digital audio workstation (DAW) for recording and editing MIDI data.
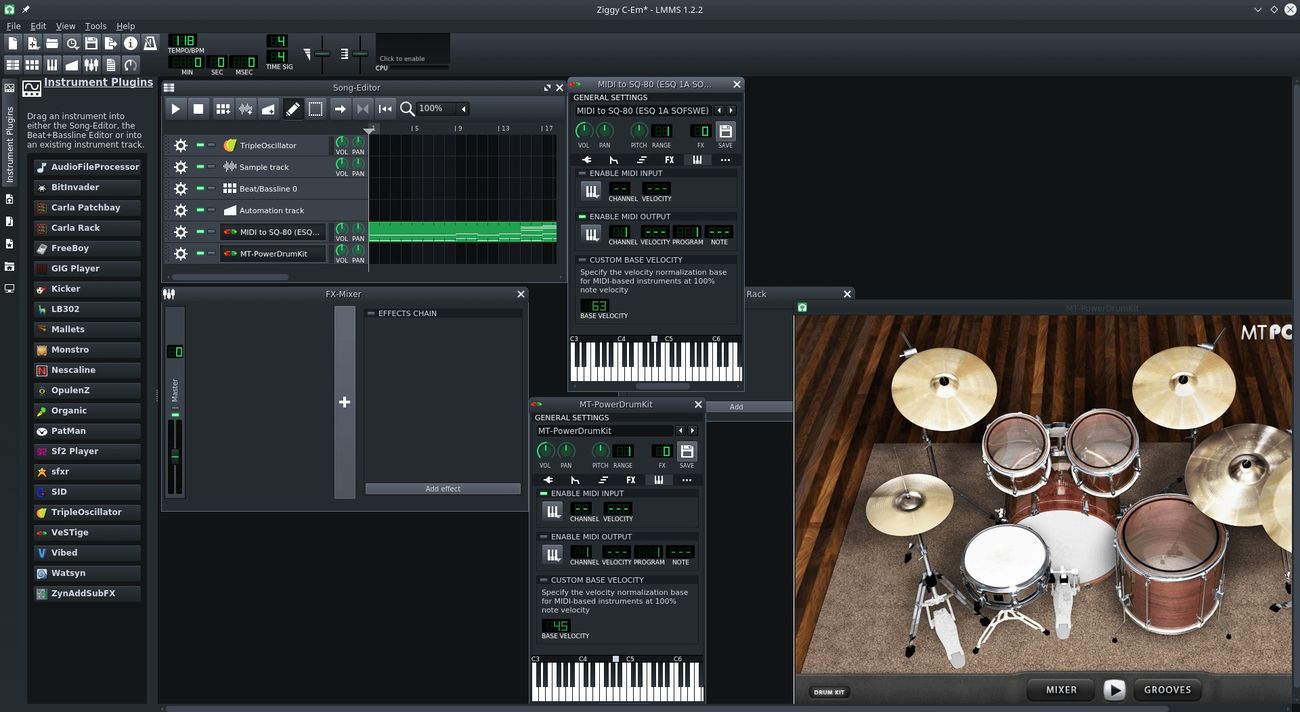
Step 3: Choosing a DAW (Digital Audio Workstation)
Selecting the right Digital Audio Workstation (DAW) is a pivotal decision in the process of recording MIDI keyboard. A DAW serves as the central hub for capturing, editing, and arranging MIDI data, offering a range of tools and features to enhance your creative workflow. With numerous DAW options available, each with its unique capabilities and interface, it's essential to consider your specific requirements and preferences when choosing a DAW for recording MIDI keyboard.
Here are the key factors to consider when selecting a DAW:
-
Workflow and Interface: The workflow and interface of a DAW play a significant role in shaping your recording experience. Some DAWs feature a streamlined and intuitive interface, ideal for quick idea capture and spontaneous creativity, while others offer extensive customization and in-depth editing capabilities. Consider the type of workflow that aligns with your creative process and the ease of navigation within the DAW.
-
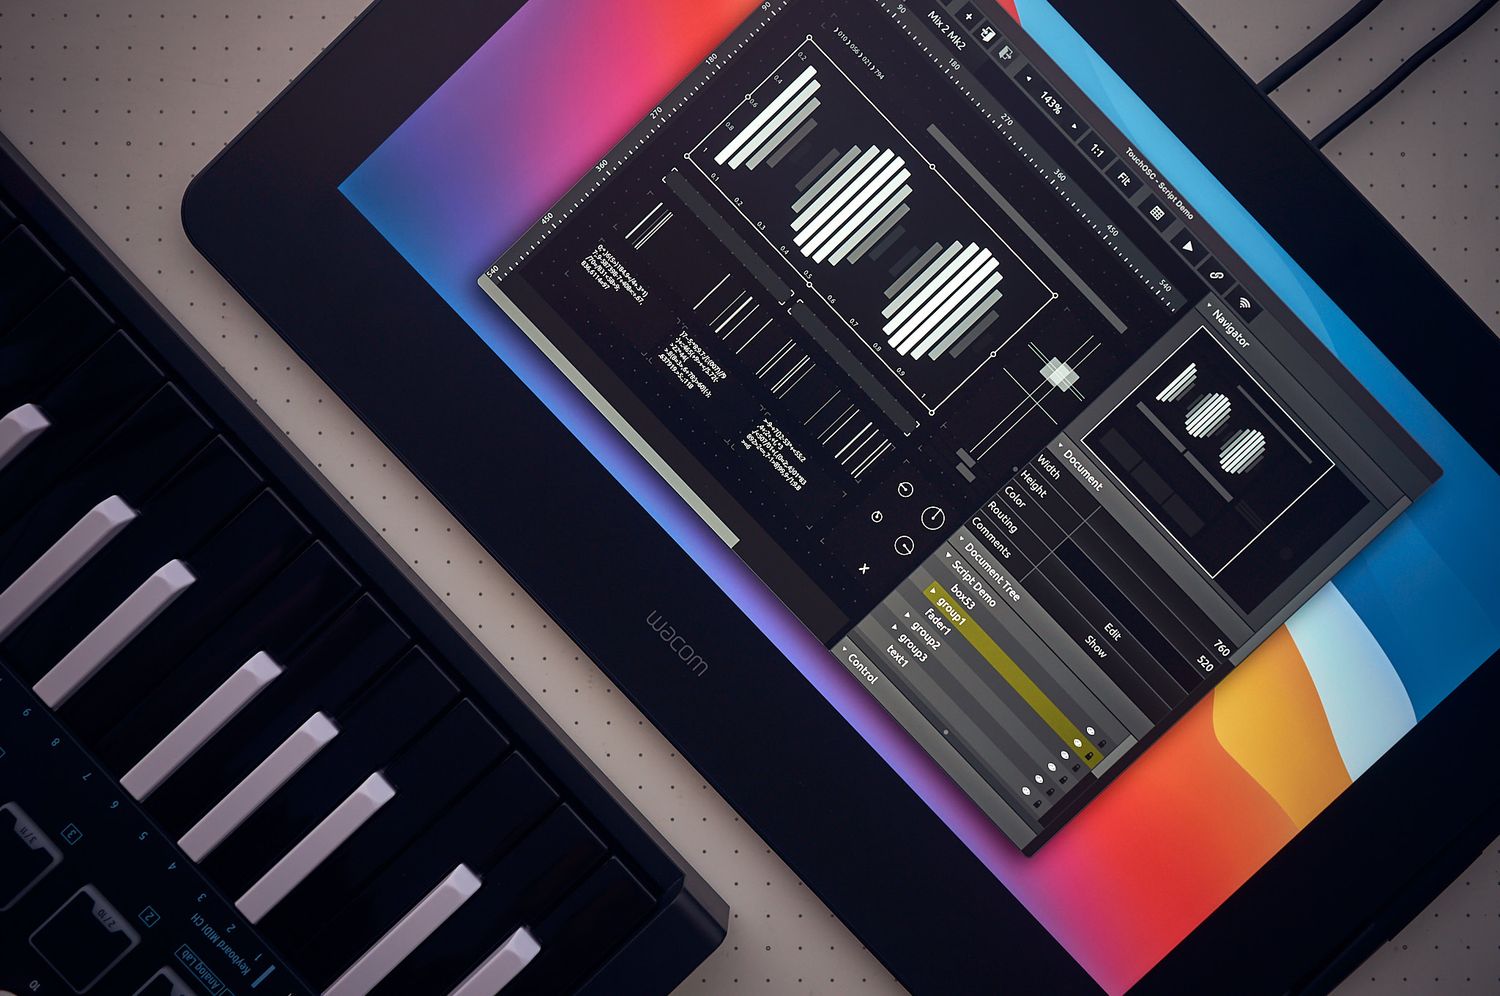
MIDI Editing Capabilities: Assess the MIDI editing features offered by the DAW. Look for functionalities such as piano roll editing, quantization, MIDI note manipulation, and flexible MIDI routing. A robust set of MIDI editing tools empowers you to refine and customize your MIDI recordings with precision, allowing for expressive performances and intricate musical arrangements.
-
Virtual Instruments and Sound Libraries: Many DAWs come bundled with a diverse array of virtual instruments and sound libraries. These instruments range from realistic emulations of acoustic instruments to cutting-edge synthesizers and sample-based libraries. Evaluate the quality and variety of virtual instruments included with the DAW, as well as the compatibility with third-party plugins and sound libraries to expand your sonic palette.
-
Compatibility and Integration: Consider the compatibility of the DAW with your MIDI keyboard and audio interface. Ensure that the DAW supports the MIDI protocols used by your keyboard and seamlessly integrates with your audio interface for low-latency performance. Additionally, assess the DAW's compatibility with external hardware controllers and MIDI mapping capabilities for enhanced tactile control.
-
Recording and Mixing Features: Evaluate the recording and mixing capabilities of the DAW, including multi-track recording, flexible routing options, comprehensive mixing console, and audio effects. A well-equipped DAW provides a conducive environment for capturing pristine audio recordings, applying dynamic processing, and crafting a polished mix alongside MIDI data.
-
Community and Support: Explore the user community and support resources associated with the DAW. Active user forums, tutorials, and responsive customer support can significantly aid in overcoming technical challenges, learning new techniques, and staying updated with the latest developments related to MIDI recording and production within the chosen DAW.
By carefully considering these factors, you can make an informed decision when selecting a DAW for recording MIDI keyboard. Each DAW offers a distinct set of features and capabilities, catering to diverse musical styles and production requirements. Whether you prioritize intuitive workflow, extensive MIDI editing tools, or a comprehensive suite of virtual instruments, choosing a DAW that resonates with your creative vision is essential for a fulfilling and productive recording experience.
Step 4: Recording MIDI Data
Recording MIDI data is a fundamental aspect of capturing musical performances with precision and flexibility. Whether you're laying down melodic phrases, crafting intricate chord progressions, or experimenting with rhythmic patterns, the process of recording MIDI data empowers you to preserve your musical ideas in a digital format. Here's a detailed exploration of the essential steps involved in recording MIDI data, guiding you through the process of capturing your performances with clarity and efficiency.
1. Arm the MIDI Track:
Within your chosen Digital Audio Workstation (DAW), create a new MIDI track dedicated to recording your MIDI keyboard performance. Ensure that the MIDI track is armed for recording, allowing it to receive MIDI input from your keyboard. This preparatory step sets the stage for capturing your musical expressions seamlessly.
2. Set the Input Source:
Specify the input source for the MIDI track as your MIDI keyboard. This establishes the connection between your keyboard and the recording track, enabling the DAW to receive MIDI data transmitted by your performances. By selecting the appropriate input source, you direct the MIDI track to capture the incoming musical information from your keyboard accurately.
3. Monitor MIDI Input:
Activate the MIDI input monitoring function within the DAW to monitor the MIDI data being received from your keyboard in real-time. This feature allows you to hear the sound generated by your MIDI performances as you play, providing immediate feedback and ensuring that the recorded MIDI data aligns with your intended musical expressions.
4. Record MIDI Performances:
Commence the recording process by pressing the record button within the DAW. As you play your MIDI keyboard, the DAW captures the incoming MIDI data, translating your keystrokes and controller movements into a digital representation of your performance. Whether you're improvising freely or following a composed arrangement, the DAW faithfully records your MIDI input, preserving the nuances of your playing style.
5. Capture Expressive Techniques:
Leverage the capabilities of your MIDI keyboard to incorporate expressive techniques into your performances. Utilize velocity-sensitive keys, modulation wheels, pitch bend, and other controller parameters to infuse your MIDI recordings with dynamic variations and emotive articulations. This attention to expressive detail enriches the recorded MIDI data, adding depth and realism to your musical phrases.
6. Review and Edit MIDI Data:
After recording your MIDI performances, review the captured MIDI data within the DAW's piano roll or MIDI editor. Fine-tune note timings, adjust velocities, and refine the musical articulations to enhance the overall musicality of the recorded MIDI data. This editing phase allows you to sculpt your performances with precision, ensuring that the MIDI data reflects your artistic intentions accurately.
By following these steps, you can effectively record MIDI data from your keyboard, preserving your musical expressions in a digital format within your chosen DAW. The process of recording MIDI data empowers you to capture your performances authentically, providing a versatile foundation for further creative exploration and production.
Step 5: Editing and Fine-Tuning Your MIDI Recording
Once you have recorded your MIDI performances, the process of editing and fine-tuning the MIDI data is essential for refining the musical nuances and ensuring that the recorded performances align with your creative vision. This phase of post-production allows you to sculpt and enhance the recorded MIDI data, addressing timing intricacies, velocity variations, and expressive articulations to elevate the overall musicality of your compositions. Here's a detailed exploration of the key steps involved in editing and fine-tuning your MIDI recordings within your chosen Digital Audio Workstation (DAW).
1. Quantization and Timing Adjustments:
Begin by evaluating the timing accuracy of your recorded MIDI data. Utilize the quantization feature within the DAW to align note timings to a specified rhythmic grid. This process ensures that the musical phrases maintain a consistent rhythmic feel, enhancing the overall cohesion of the performance. Adjust the quantization strength based on the desired level of rhythmic precision while preserving the natural groove of the music.
2. Velocity and Dynamics Refinement:
Refine the velocity levels of individual MIDI notes to accentuate the dynamic variations within your performances. Adjusting the velocity values allows you to emphasize certain notes, create subtle crescendos and decrescendos, and imbue the music with expressive dynamics. By fine-tuning the velocity layers, you can evoke a sense of depth and emotion in your MIDI recordings, adding a human touch to the digital performances.
3. Articulation and Controller Editing:
Explore the intricacies of articulation and controller data within the MIDI recordings. Adjust modulation, pitch bend, and other controller parameters to introduce nuanced articulations and embellishments to your musical phrases. By manipulating controller data, you can infuse your MIDI performances with expressive gestures, such as vibrato, pitch slides, and dynamic swells, enhancing the musical narrative with emotive details.
4. Note Length and Sustain Control:
Review the sustain and release characteristics of sustained notes within your MIDI recordings. Fine-tune the note lengths and sustain pedal data to ensure a seamless and natural decay of sustained notes. This attention to detail contributes to the realism of the MIDI performances, creating a cohesive and organic musical flow that resonates with the listener.
5. Harmonic and Melodic Adjustments:
Delve into the harmonic and melodic aspects of your MIDI recordings, refining chord voicings, melodic phrasing, and harmonic progressions. Experiment with inversion, voicing, and chord substitutions to enrich the harmonic palette of your compositions. Additionally, refine melodic contours and note relationships to craft compelling and evocative melodies within the MIDI data.
6. Layering and Arrangement Exploration:
Consider the potential for layering additional MIDI tracks to complement and enhance the existing recordings. Experiment with layering virtual instruments, synthesizer textures, and atmospheric elements to expand the sonic landscape of your MIDI compositions. Furthermore, explore arrangement possibilities, reordering musical sections, and exploring variations to elevate the overall structure and narrative flow of the MIDI recordings.
By meticulously addressing these aspects of editing and fine-tuning, you can elevate the quality and expressiveness of your MIDI recordings, transforming them into compelling musical expressions that resonate with depth and authenticity. The process of editing and refining MIDI data is an integral part of the creative journey, allowing you to imbue your musical compositions with nuance, emotion, and artistic refinement.
Conclusion
In conclusion, the process of recording MIDI keyboard opens up a world of creative possibilities, allowing musicians and producers to capture their musical ideas with precision and flexibility. From setting up the MIDI keyboard to fine-tuning the recorded performances, each step in the journey contributes to the seamless translation of musical expressions into digital form. As we reflect on the comprehensive guide to recording MIDI keyboard, it's evident that this process not only empowers artists to preserve their musical inspirations but also provides a platform for exploration, refinement, and artistic expression.
By setting up the MIDI keyboard effectively, musicians create a conducive environment for their creative endeavors, ensuring that the technical aspects of the recording process are optimized for a seamless workflow. The meticulous attention to positioning, power, and keyboard settings sets the stage for a comfortable and inspiring recording experience, laying the foundation for musical exploration.
The crucial step of connecting the MIDI keyboard to the computer establishes a vital link between the physical instrument and the digital realm, enabling the seamless transfer of musical input to a digital audio workstation (DAW). This connection paves the way for capturing and manipulating MIDI data with precision, offering a versatile platform for musical expression and production.
Selecting a suitable digital audio workstation (DAW) emerges as a pivotal decision, shaping the creative workflow and providing a comprehensive set of tools for recording, editing, and arranging MIDI data. The considerations of workflow, MIDI editing capabilities, virtual instruments, and community support guide musicians in choosing a DAW that resonates with their creative vision, enhancing the recording experience and facilitating artistic exploration.
The process of recording MIDI data itself is a captivating journey, where musicians translate their musical intentions into a digital format, preserving the nuances of their performances with expressive detail. Leveraging the capabilities of the MIDI keyboard and the features of the chosen DAW, artists capture their musical expressions authentically, laying the groundwork for further creative exploration and refinement.
The subsequent phases of editing and fine-tuning the MIDI recordings provide an opportunity to sculpt and enhance the musical nuances, ensuring that the recorded performances align with the artist's creative vision. Through quantization, velocity refinement, expressive articulations, and harmonic exploration, musicians refine their MIDI data, infusing their compositions with depth, emotion, and artistic refinement.
In essence, the journey of recording MIDI keyboard transcends the technical process, evolving into a realm of artistic exploration and musical storytelling. Each step, from setup to fine-tuning, contributes to the preservation and enhancement of musical expressions, empowering artists to bring their creative visions to life in the digital domain. As musicians embark on this captivating journey, they embrace the boundless potential of MIDI recording, where every keystroke and controller gesture becomes a part of a rich and expressive musical narrative.