Home>Production & Technology>MIDI>How To Set MIDI Controller In Logic

MIDI
How To Set MIDI Controller In Logic
Modified: February 22, 2024
Learn how to set up your MIDI controller in Logic with our step-by-step guide. Get started with MIDI and enhance your music production workflow today!
(Many of the links in this article redirect to a specific reviewed product. Your purchase of these products through affiliate links helps to generate commission for AudioLover.com, at no extra cost. Learn more)
Table of Contents
Introduction
MIDI, which stands for Musical Instrument Digital Interface, has revolutionized the way musicians create, record, and manipulate music. This universal communication protocol allows electronic musical instruments, computers, and other devices to connect and communicate with each other. One of the most popular uses of MIDI is in digital audio workstations (DAWs) such as Logic Pro, where it serves as a bridge between hardware controllers and software instruments and effects.
In this article, we will delve into the intricacies of setting up a MIDI controller in Logic Pro, Apple's powerful DAW known for its intuitive interface and robust feature set. Whether you're a seasoned music producer or a budding enthusiast, understanding how to seamlessly integrate your MIDI controller with Logic Pro can significantly enhance your creative workflow and musical expression.
By the end of this guide, you will have a comprehensive understanding of how to connect your MIDI controller to Logic Pro and effectively configure it to control various parameters within the software. So, grab your MIDI controller, fire up Logic Pro, and let's embark on this journey to unlock the full potential of your musical creativity.
Connecting MIDI Controller to Logic
Connecting your MIDI controller to Logic Pro is the crucial first step in integrating hardware control with your music production process. Whether you're using a keyboard, pad controller, or other MIDI-enabled device, Logic Pro provides seamless compatibility to streamline the connection process.
-
Physical Connection: Begin by ensuring that your MIDI controller is powered on and connected to your computer. Most MIDI controllers use a USB connection, allowing for straightforward plug-and-play functionality. Simply connect the USB cable from your controller to an available USB port on your computer.
-
Software Recognition: Upon connecting the MIDI controller, Logic Pro should automatically recognize the device. In some cases, you may need to install specific drivers provided by the manufacturer to ensure full compatibility with your operating system. However, Logic Pro is designed to efficiently detect and integrate MIDI controllers without the need for additional software installations in most instances.
-
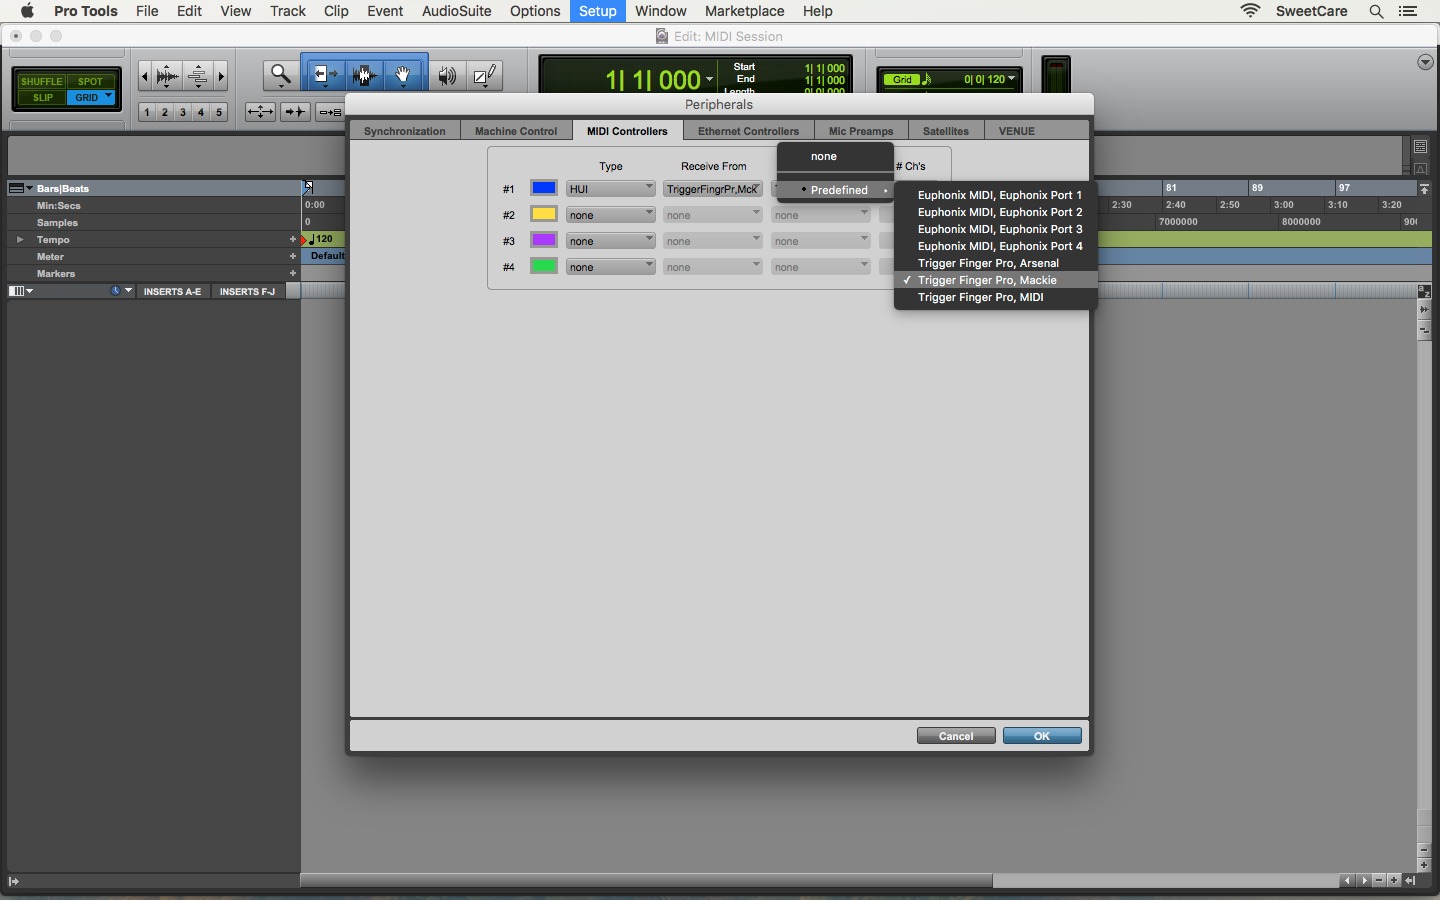
MIDI Settings: Once the physical connection is established, navigate to Logic Pro's preferences and select the MIDI tab. Here, you can verify that your MIDI controller is identified and listed among the input devices. Logic Pro's MIDI settings provide a comprehensive overview of connected devices and allow for customization of MIDI input and output configurations.
-
Testing the Connection: To confirm that your MIDI controller is successfully connected to Logic Pro, press the keys or trigger the pads on your controller. You should see corresponding MIDI input signals registering within Logic Pro's interface. This real-time feedback indicates that your MIDI controller is communicating with the software, laying the foundation for further customization and control mapping.
By following these steps, you can ensure a seamless and reliable connection between your MIDI controller and Logic Pro, setting the stage for immersive music production and creative exploration. With the physical and software integration complete, you are ready to delve into the next phase of configuring your MIDI controller within Logic Pro's environment.
Setting up MIDI Controller in Logic
Once your MIDI controller is successfully connected to Logic Pro, the next pivotal phase involves setting up the controller within the software environment. This process entails configuring the MIDI controller to effectively communicate with Logic Pro, ensuring that its various controls and parameters are seamlessly integrated for intuitive manipulation and musical expression.
MIDI Controller Configuration
Logic Pro simplifies the process of setting up a MIDI controller through its intuitive interface and comprehensive MIDI configuration options. To begin this setup, follow these essential steps:
-
Accessing Control Surfaces: Navigate to Logic Pro's preferences and select the "Control Surfaces" tab. Here, you can add and configure your MIDI controller as a control surface, enabling it to interact with Logic Pro's interface and functions seamlessly.
-
Adding New Control Surface: Click on the "New" button within the Control Surfaces preferences. This action prompts a menu where you can select your MIDI controller from the available options. Once selected, Logic Pro automatically identifies the MIDI controller and establishes it as a control surface within the software.
-
Assigning MIDI Ports: After adding the MIDI controller as a control surface, you can assign specific MIDI input and output ports to facilitate bidirectional communication between the controller and Logic Pro. This step ensures that MIDI data is transmitted accurately between the hardware controller and the software, enabling real-time control and feedback.
Control Mapping and Customization
With the MIDI controller configured as a control surface, the next phase involves mapping its various controls to specific functions and parameters within Logic Pro. This customization process empowers you to tailor the MIDI controller's knobs, faders, pads, and other elements to control instruments, effects, mixer parameters, and more. Here's how to accomplish this:
-
Control Assignment: Access Logic Pro's control mapping interface, where you can assign MIDI controller elements to desired software parameters. This can include mapping knobs to adjust plugin parameters, assigning pads to trigger samples, or linking faders to control mixer levels.
-
MIDI Learn Functionality: Logic Pro offers a MIDI Learn function, allowing you to dynamically assign MIDI controller elements to on-screen parameters by simply selecting the desired parameter and manipulating the corresponding control on your MIDI device. This intuitive process streamlines the control mapping workflow, fostering a seamless connection between the physical controller and the digital workspace.
-
Saving Custom Control Maps: Once you have meticulously mapped and customized your MIDI controller's functionality within Logic Pro, you can save these configurations as presets for future use. This feature enables quick recall of personalized control mappings, streamlining your workflow and enhancing efficiency during music production sessions.
Seamless Integration and Creative Control
By thoroughly setting up your MIDI controller within Logic Pro's environment, you establish a cohesive integration that empowers you to harness the full potential of your hardware controller for creative expression and musical exploration. Whether you're manipulating virtual instruments, shaping audio effects, or controlling mixer parameters, the seamless interaction between your MIDI controller and Logic Pro amplifies your ability to craft compelling musical compositions with precision and artistry.
As you embark on this journey of MIDI controller setup and customization in Logic Pro, embrace the creative possibilities that arise from blending tactile hardware control with the boundless capabilities of a sophisticated digital audio workstation. This harmonious fusion of technology and creativity paves the way for immersive music production experiences, enabling you to unleash your artistic vision with finesse and fluidity.
Assigning MIDI Controller to Parameters
Assigning a MIDI controller to parameters within Logic Pro is a pivotal aspect of optimizing your music production workflow. This process empowers you to establish direct and intuitive control over a myriad of software elements, including instrument parameters, effect settings, mixer controls, and more. By seamlessly linking your MIDI controller to specific parameters, you unlock a realm of tactile manipulation and real-time expression, enhancing your ability to shape and sculpt musical compositions with precision and creativity.
Mapping Instrument Parameters
When assigning your MIDI controller to instrument parameters in Logic Pro, you can delve into the intricacies of shaping sound and performance dynamics. For instance, you can map the modulation wheel on your MIDI keyboard to control the vibrato intensity of a virtual instrument, adding expressive nuances to your melodies. Additionally, assigning rotary knobs to adjust filter cutoff frequencies or envelope parameters enables dynamic sound sculpting, infusing your compositions with evolving textures and timbres.
Controlling Audio Effects
The ability to assign your MIDI controller to audio effect parameters opens a gateway to immersive sonic manipulation. Whether it's adjusting the wet/dry mix of a reverb effect, modulating delay feedback levels, or tweaking the resonance of a filter effect, the seamless integration of your MIDI controller empowers you to infuse your music with captivating sonic transformations. This hands-on approach to effect control fosters a deeper connection with your music, allowing you to craft evolving soundscapes and captivating sonic narratives.
Manipulating Mixer Parameters
Assigning your MIDI controller to mixer parameters within Logic Pro introduces a new dimension of tactile control over the mixing process. By mapping faders and knobs to control track volumes, panning positions, and send levels, you gain the ability to dynamically balance and spatialize your mix elements in real time. This hands-on mixing approach facilitates intuitive adjustments, enabling you to sculpt the sonic landscape with precision and finesse, ultimately shaping a cohesive and impactful auditory experience.
Dynamic Performance Control
In addition to instrument and effect parameters, assigning your MIDI controller to performance controls within Logic Pro enhances your ability to deliver expressive and dynamic musical performances. Mapping velocity-sensitive pads to trigger drum samples or assigning aftertouch to modulate synth parameters empowers you to infuse your music with nuanced articulations and emotive gestures. This dynamic control mapping fosters a seamless connection between your musical ideas and their sonic realization, amplifying the depth and emotive impact of your compositions.
By intricately assigning your MIDI controller to a diverse array of parameters within Logic Pro, you elevate your music production process to a realm of tactile creativity and expressive control. This seamless integration of hardware and software empowers you to craft music with finesse, imbuing your compositions with a profound sense of artistry and sonic depth. As you navigate the intricate landscape of MIDI controller parameter assignments, embrace the boundless creative possibilities that emerge, and let your musical vision flourish with unparalleled control and expression.
Testing MIDI Controller in Logic
Once you have connected and configured your MIDI controller within Logic Pro, it's essential to conduct thorough testing to ensure that the hardware seamlessly integrates with the software, allowing for intuitive control and expressive musical exploration. The testing phase serves as a pivotal checkpoint to validate the functionality of the MIDI controller within Logic Pro's environment, affirming its responsiveness and accuracy in manipulating various parameters and musical elements.
Real-Time Response Validation
To initiate the testing process, engage with the MIDI controller's interface and interact with the software instruments, effects, and mixer controls within Logic Pro. As you manipulate the physical controls on your MIDI device, such as pressing keys, triggering pads, or adjusting knobs and faders, observe the real-time response within Logic Pro's interface. The immediate feedback and responsiveness of the software to your physical input validate the seamless communication between the MIDI controller and Logic Pro, affirming that your actions translate into tangible changes within the digital workspace.
Parameter Control Verification
During the testing phase, focus on verifying the accuracy and precision of parameter control facilitated by the MIDI controller. For instance, when adjusting the cutoff frequency of a synthesizer using the MIDI controller's rotary knob, observe the smooth and accurate modulation of the parameter value within Logic Pro. Similarly, when triggering drum samples via the MIDI controller's pads, ensure that the response is instantaneous and aligned with your performance dynamics. This meticulous parameter control verification solidifies the foundation for leveraging the MIDI controller as a versatile and reliable tool for shaping and sculpting musical elements within Logic Pro.
Dynamic Performance Evaluation
Incorporate dynamic performance elements into your testing regimen to assess the MIDI controller's ability to capture and convey expressive nuances. Experiment with velocity-sensitive keys to gauge the controller's responsiveness to varying touch intensities, reflecting the subtleties of your musical expression. Additionally, explore the utilization of modulation and pitch bend wheels to infuse your performances with emotive gestures and dynamic pitch variations. This dynamic performance evaluation underscores the MIDI controller's capacity to translate your musical intentions into captivating and emotive sonic renditions within the digital realm of Logic Pro.
Mapping Accuracy Assessment
Verify the accuracy of control mapping by ensuring that the assigned MIDI controller elements correspond precisely to their designated software parameters. As you navigate through different sections of Logic Pro, from instrument plugins to mixer channels and automation controls, confirm that the mapped controls on your MIDI device align seamlessly with the targeted functions and settings. This meticulous assessment guarantees that the MIDI controller's control mapping remains consistent and reliable across various aspects of your music production workflow, fostering a cohesive and intuitive control experience.
Seamless Integration Validation
Ultimately, the testing phase serves as an opportunity to validate the seamless integration of your MIDI controller within Logic Pro's ecosystem. By engaging in comprehensive testing across diverse musical contexts and production scenarios, you ascertain the cohesive interaction between the physical hardware and the digital software, affirming that the MIDI controller serves as a natural extension of your creative intentions. This validation of seamless integration underscores the pivotal role of the MIDI controller in amplifying your music production capabilities and fostering a fluid and expressive creative process within Logic Pro.
In essence, the testing phase encapsulates the culmination of your efforts in setting up and configuring the MIDI controller within Logic Pro, affirming its reliability, responsiveness, and transformative impact on your music production endeavors. As you navigate through the testing process, embrace the immersive experience of seamlessly controlling and shaping musical elements within Logic Pro, propelled by the tactile and expressive capabilities of your MIDI controller.