Home>Production & Technology>MIDI>How To Assign Samples To MIDI Keyboard In Logic

MIDI
How To Assign Samples To MIDI Keyboard In Logic
Modified: February 22, 2024
Learn how to assign samples to your MIDI keyboard in Logic with our step-by-step guide. Master MIDI control and enhance your music production skills today!
(Many of the links in this article redirect to a specific reviewed product. Your purchase of these products through affiliate links helps to generate commission for AudioLover.com, at no extra cost. Learn more)
Table of Contents
Introduction
Welcome to the world of MIDI and Logic! If you're a music enthusiast, producer, or composer, you've likely encountered the powerful duo of MIDI keyboards and Logic Pro. MIDI, short for Musical Instrument Digital Interface, revolutionized the way music is created, allowing for seamless communication between musical devices. Logic Pro, on the other hand, stands as a formidable digital audio workstation, offering a plethora of tools for music production, recording, and editing.
In this article, we'll delve into the fascinating realm of assigning samples to your MIDI keyboard within Logic Pro. This process opens up a world of possibilities, enabling you to trigger various sounds, instruments, and effects directly from your MIDI controller. Whether you're aiming to craft intricate melodies, layer captivating textures, or experiment with innovative soundscapes, understanding how to assign samples to your MIDI keyboard is a fundamental skill that can elevate your music production endeavors to new heights.
As we embark on this journey, we'll explore the step-by-step process of setting up your MIDI keyboard in Logic, ensuring that it's seamlessly integrated into your production environment. From there, we'll venture into the art of assigning samples to your MIDI keyboard, empowering you to unleash a symphony of sonic creativity at your fingertips. Additionally, we'll discuss the importance of testing and fine-tuning your assignments, guaranteeing that your MIDI keyboard becomes a natural extension of your musical vision.
So, whether you're a seasoned music producer seeking to refine your workflow or an aspiring musician eager to explore the possibilities of MIDI and Logic Pro, this guide is tailored to equip you with the knowledge and skills to harness the full potential of your MIDI keyboard. Let's embark on this exhilarating journey and unlock the boundless sonic horizons that await within Logic Pro.
Setting Up Your MIDI Keyboard in Logic
Setting up your MIDI keyboard in Logic Pro is the crucial first step towards integrating it seamlessly into your music production workflow. This process ensures that your MIDI controller becomes a versatile and expressive tool, ready to unleash a myriad of sounds and musical possibilities within Logic Pro's creative environment.
1. Connecting Your MIDI Keyboard
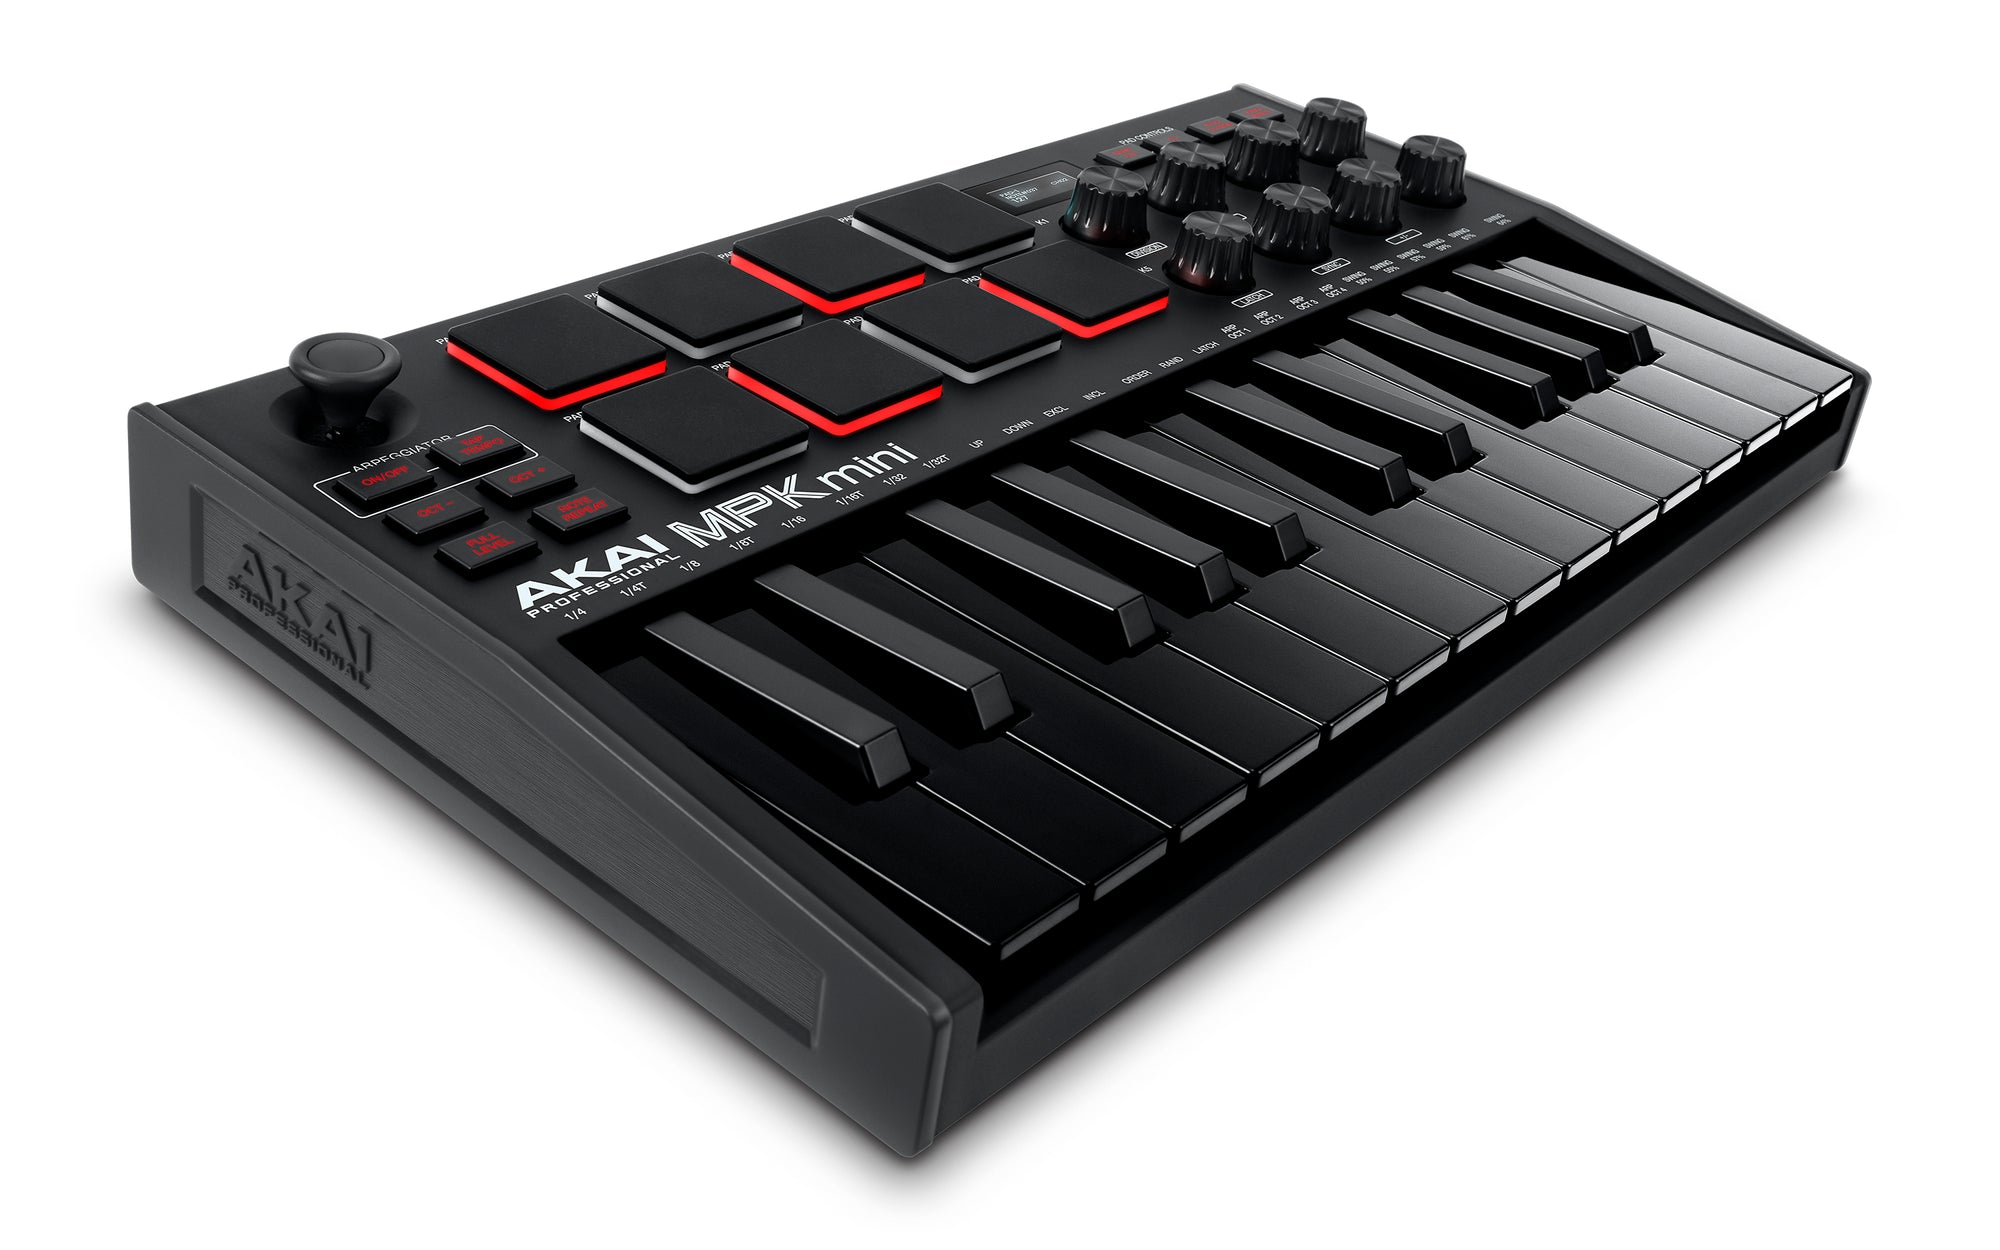
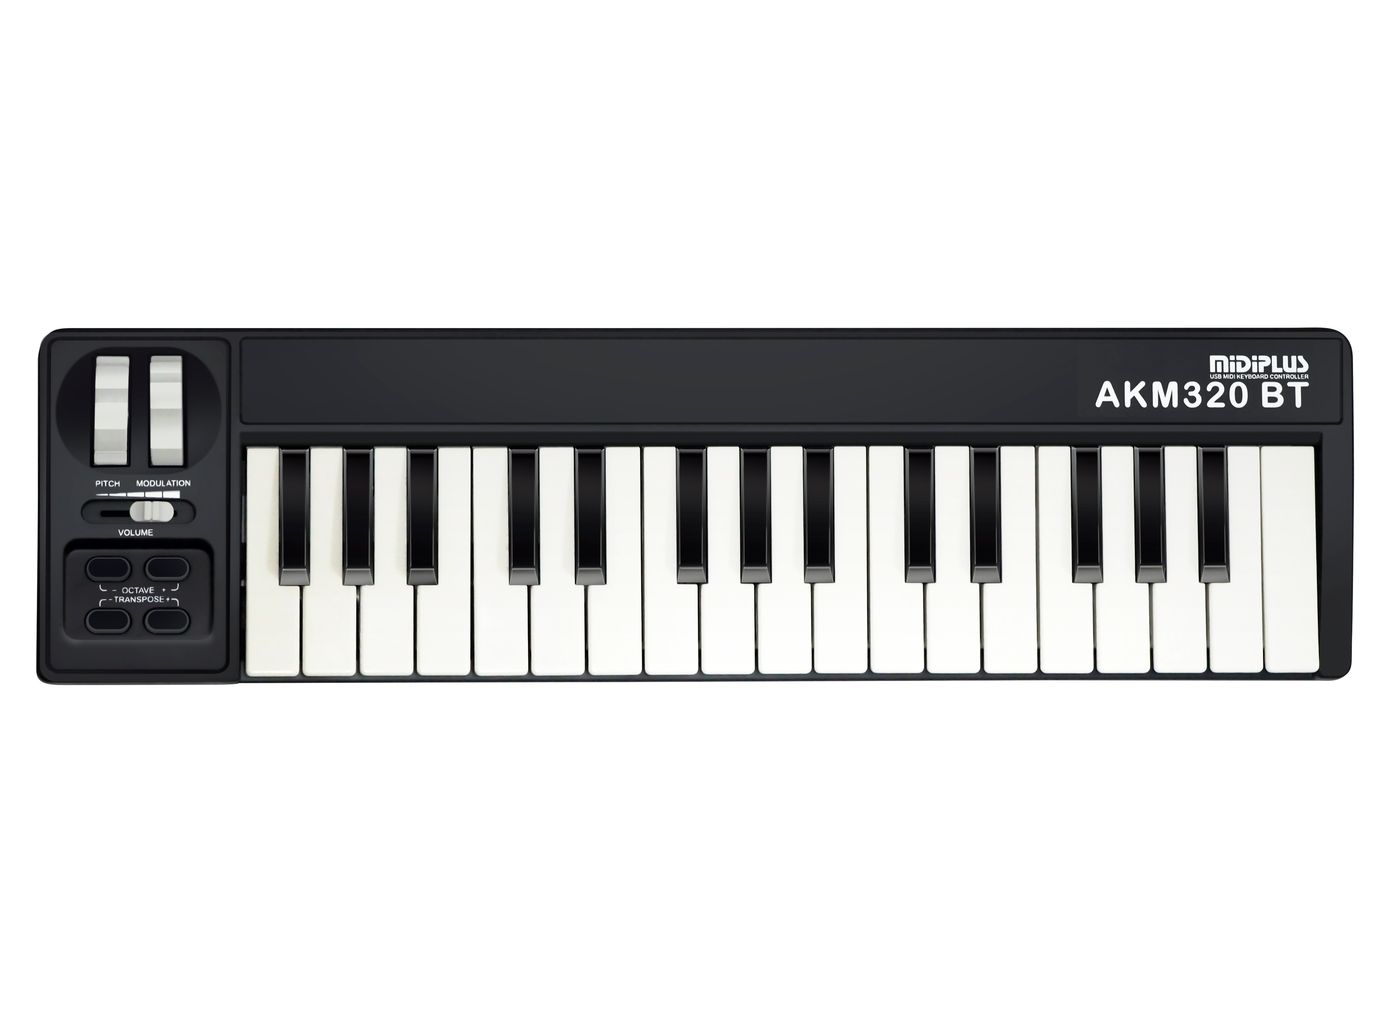
The initial phase involves physically connecting your MIDI keyboard to your computer. Most MIDI keyboards utilize a USB connection, simplifying the setup process. By plugging the USB cable into your computer's USB port and the MIDI keyboard, you establish the vital link between the two devices. Once connected, your MIDI keyboard should be recognized by your computer and Logic Pro.
2. Configuring MIDI Settings in Logic Pro
After establishing the physical connection, it's essential to configure the MIDI settings within Logic Pro to ensure seamless communication between your MIDI keyboard and the software. Navigate to Logic Pro's preferences and select the MIDI tab. Here, you can verify that your MIDI keyboard is detected and properly configured. Additionally, you can customize MIDI input settings to align with your preferred workflow, such as enabling specific MIDI channels or adjusting velocity sensitivity.
3. Assigning MIDI Channels
Logic Pro offers the flexibility to assign MIDI channels to your keyboard, allowing for efficient control over multiple instruments and tracks. By assigning distinct MIDI channels to different instruments or tracks, you can effortlessly switch between them using your MIDI keyboard, enhancing your creative workflow and performance capabilities.
4. Mapping MIDI Controls
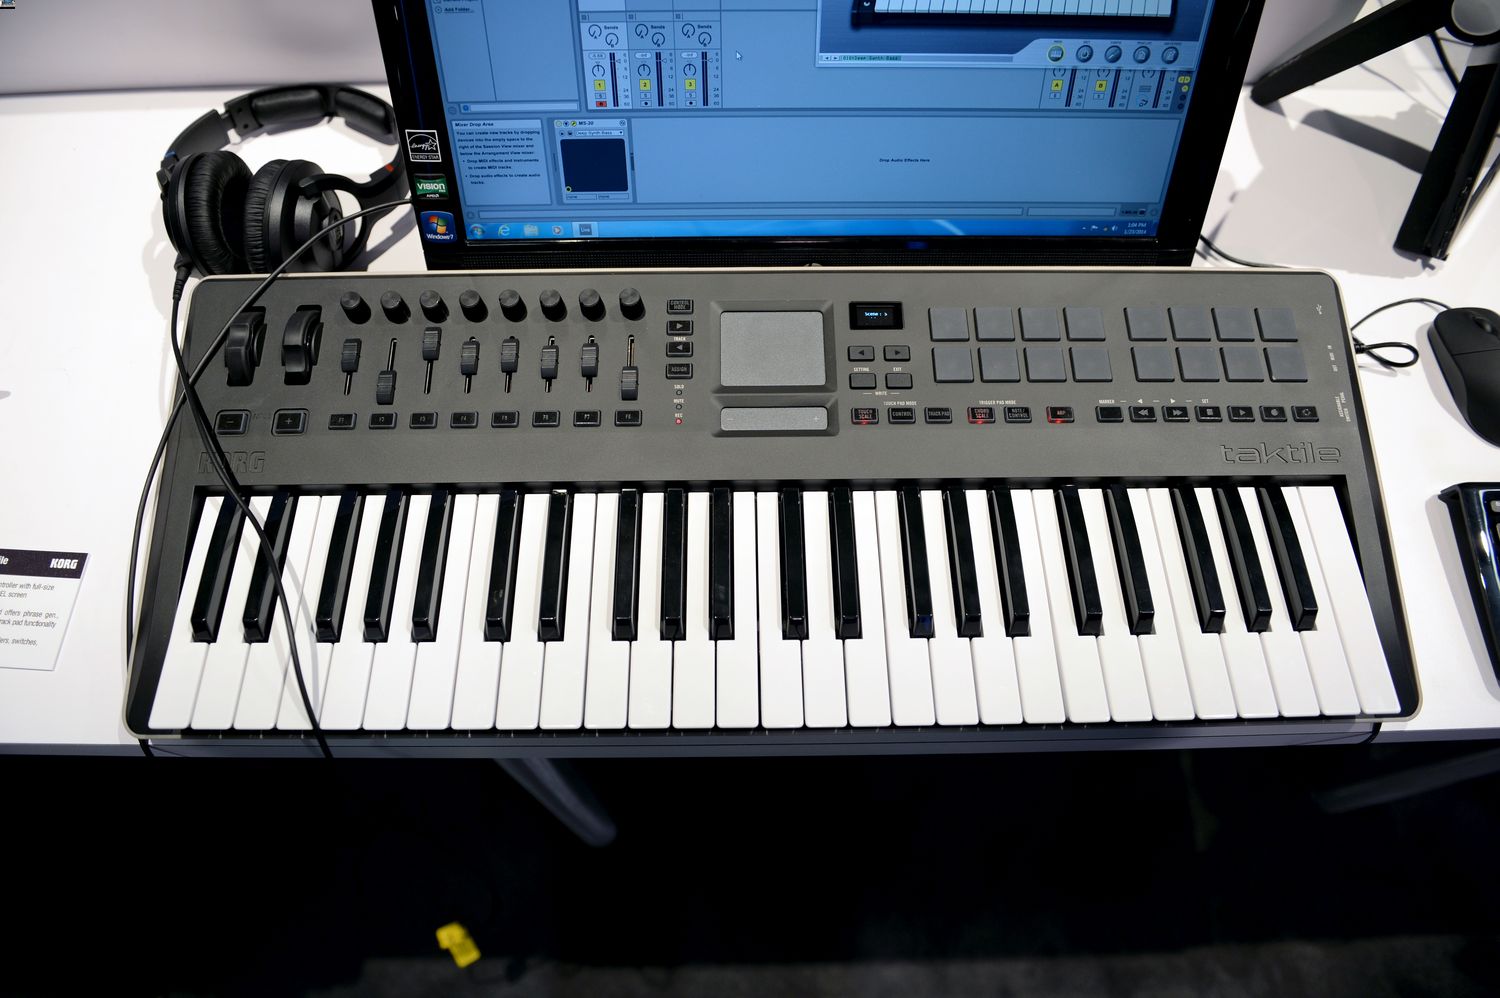
Furthermore, you can map various MIDI controls, such as knobs, faders, and buttons on your MIDI keyboard, to specific parameters within Logic Pro. This customization empowers you to manipulate software instruments, effects, and mixing parameters directly from your MIDI controller, fostering a tactile and intuitive music production experience.
5. Verifying MIDI Input
Before delving into assigning samples to your MIDI keyboard, it's crucial to verify that MIDI input is functioning as expected within Logic Pro. Test the responsiveness of your MIDI keyboard by playing notes and observing the corresponding MIDI input indicators within Logic Pro. This ensures that your MIDI keyboard is accurately transmitting data to Logic Pro, laying the groundwork for seamless sample assignments and musical exploration.
By meticulously setting up your MIDI keyboard in Logic Pro, you establish a robust foundation for harnessing its full potential within your music production endeavors. With the technical aspects seamlessly configured, you're poised to embark on the captivating journey of assigning samples to your MIDI keyboard, unlocking a world of sonic creativity and musical expression within Logic Pro's dynamic ecosystem.
Assigning Samples to Your MIDI Keyboard
With your MIDI keyboard seamlessly integrated into Logic Pro, the stage is set to embark on the captivating process of assigning samples to your MIDI keyboard. This transformative endeavor empowers you to map a diverse array of sounds, instruments, and effects to specific keys on your MIDI controller, effectively transforming it into a versatile and expressive musical instrument within Logic Pro's immersive environment.
1. Selecting and Importing Samples
The first step in assigning samples to your MIDI keyboard involves selecting and importing the desired audio samples into Logic Pro. Whether you're drawn to the rich timbres of acoustic instruments, the electronic allure of synthesizers, or the evocative textures of atmospheric soundscapes, Logic Pro offers a vast library of built-in samples to explore. Additionally, you have the flexibility to import custom samples, granting you boundless creative freedom to curate a personalized sonic palette.
2. Creating Sampler Instruments
Logic Pro's Sampler and Quick Sampler instruments serve as powerful tools for transforming individual audio samples into playable instruments. By creating sampler instruments, you can manipulate the characteristics of your samples, such as pitch, envelope, and modulation, to craft dynamic and expressive playable entities. This process lays the groundwork for seamlessly integrating your selected samples with your MIDI keyboard, enabling you to trigger and perform them with precision and nuance.
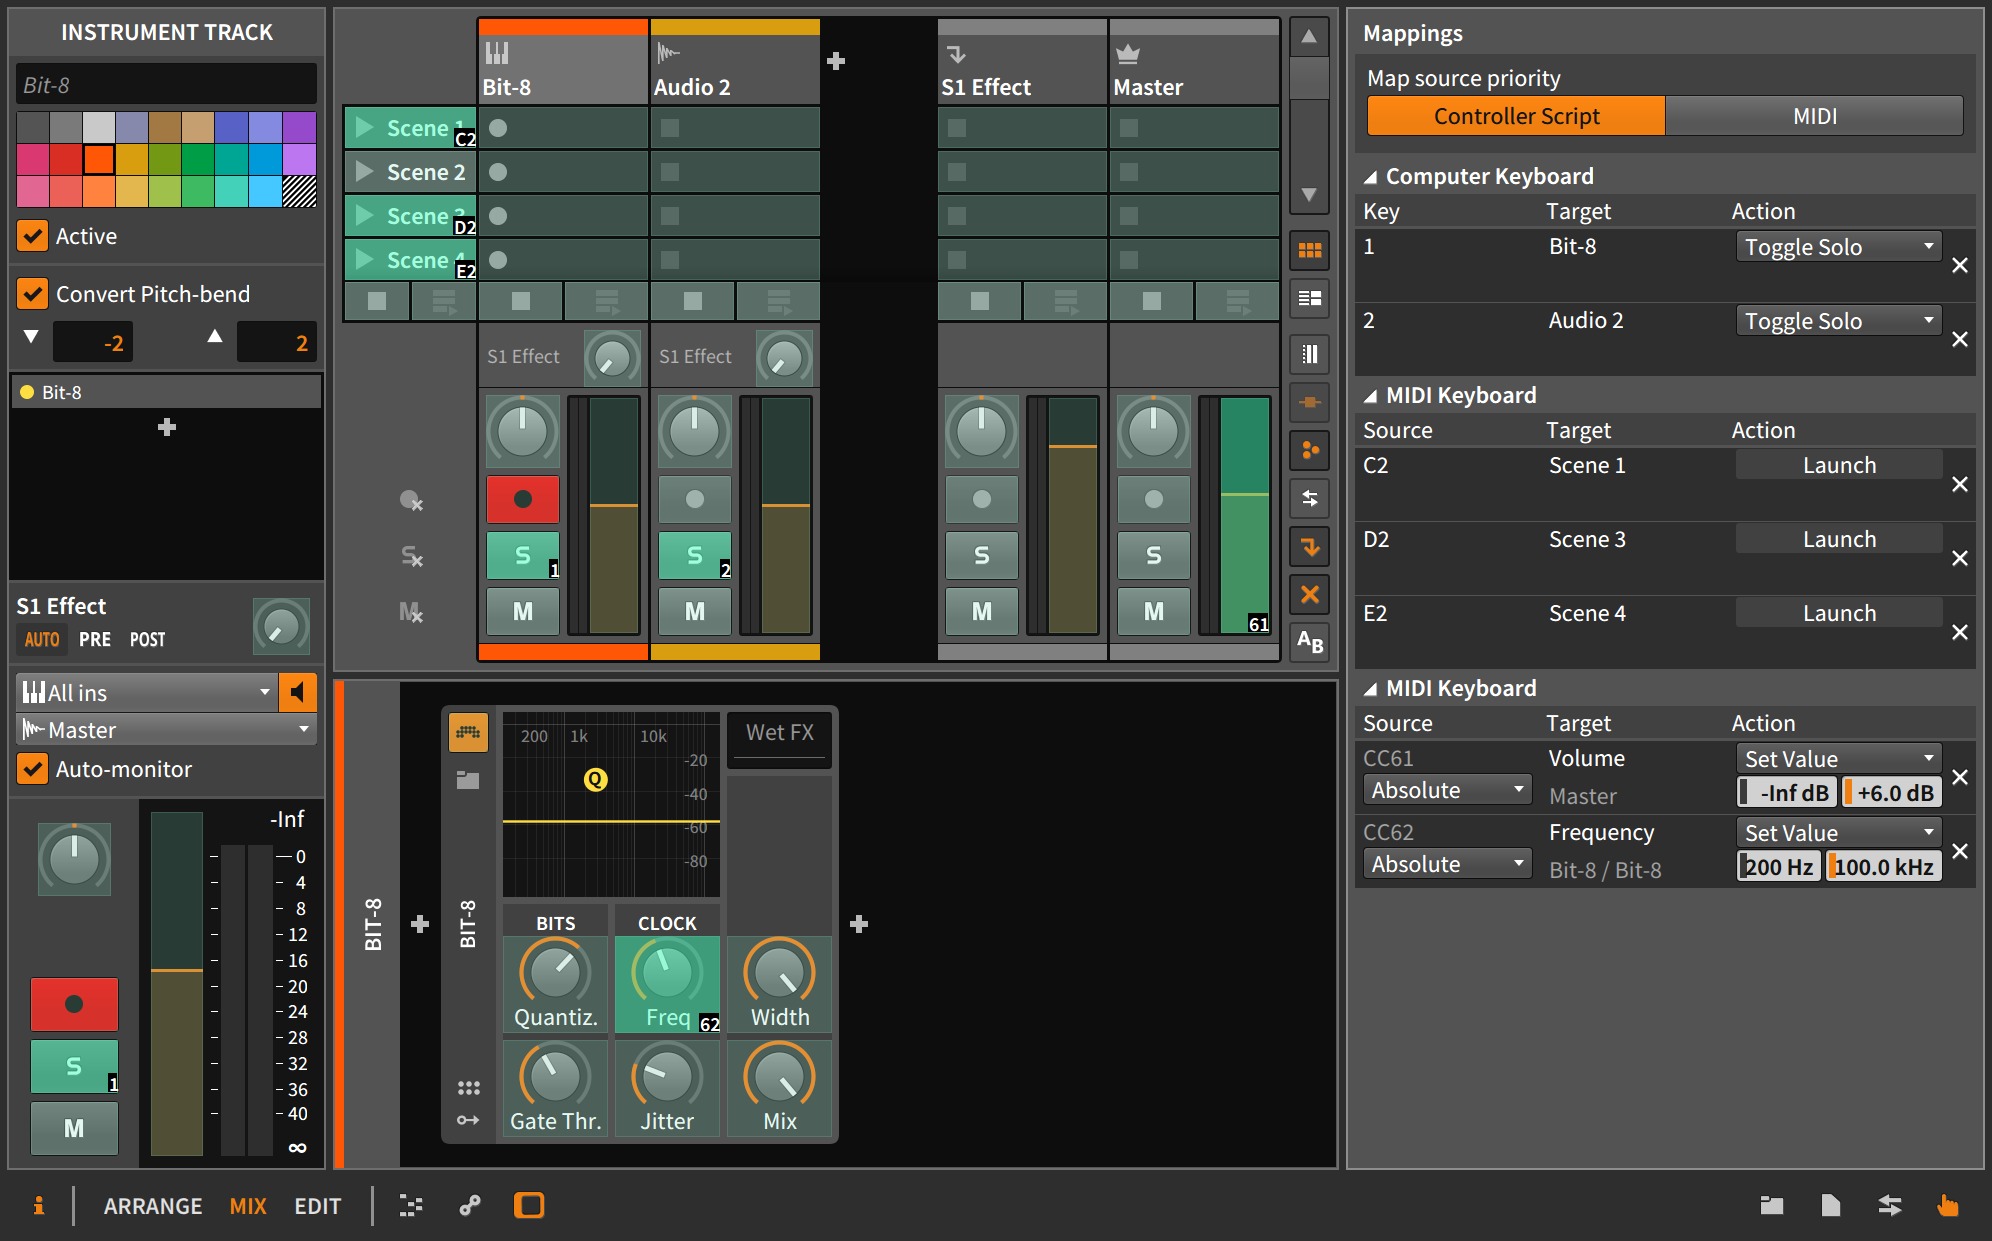
3. Mapping Samples to MIDI Keys
Once your sampler instruments are crafted, the enthralling task of mapping them to specific keys on your MIDI keyboard unfolds. Logic Pro's intuitive interface facilitates the seamless assignment of samples to MIDI keys, allowing you to designate each key to trigger a distinct sound or instrument. This meticulous mapping process empowers you to orchestrate a symphony of sonic possibilities, from melodic leads and rhythmic percussions to ethereal pads and evocative sound effects, all at your fingertips.
4. Exploring Articulations and Expressive Techniques
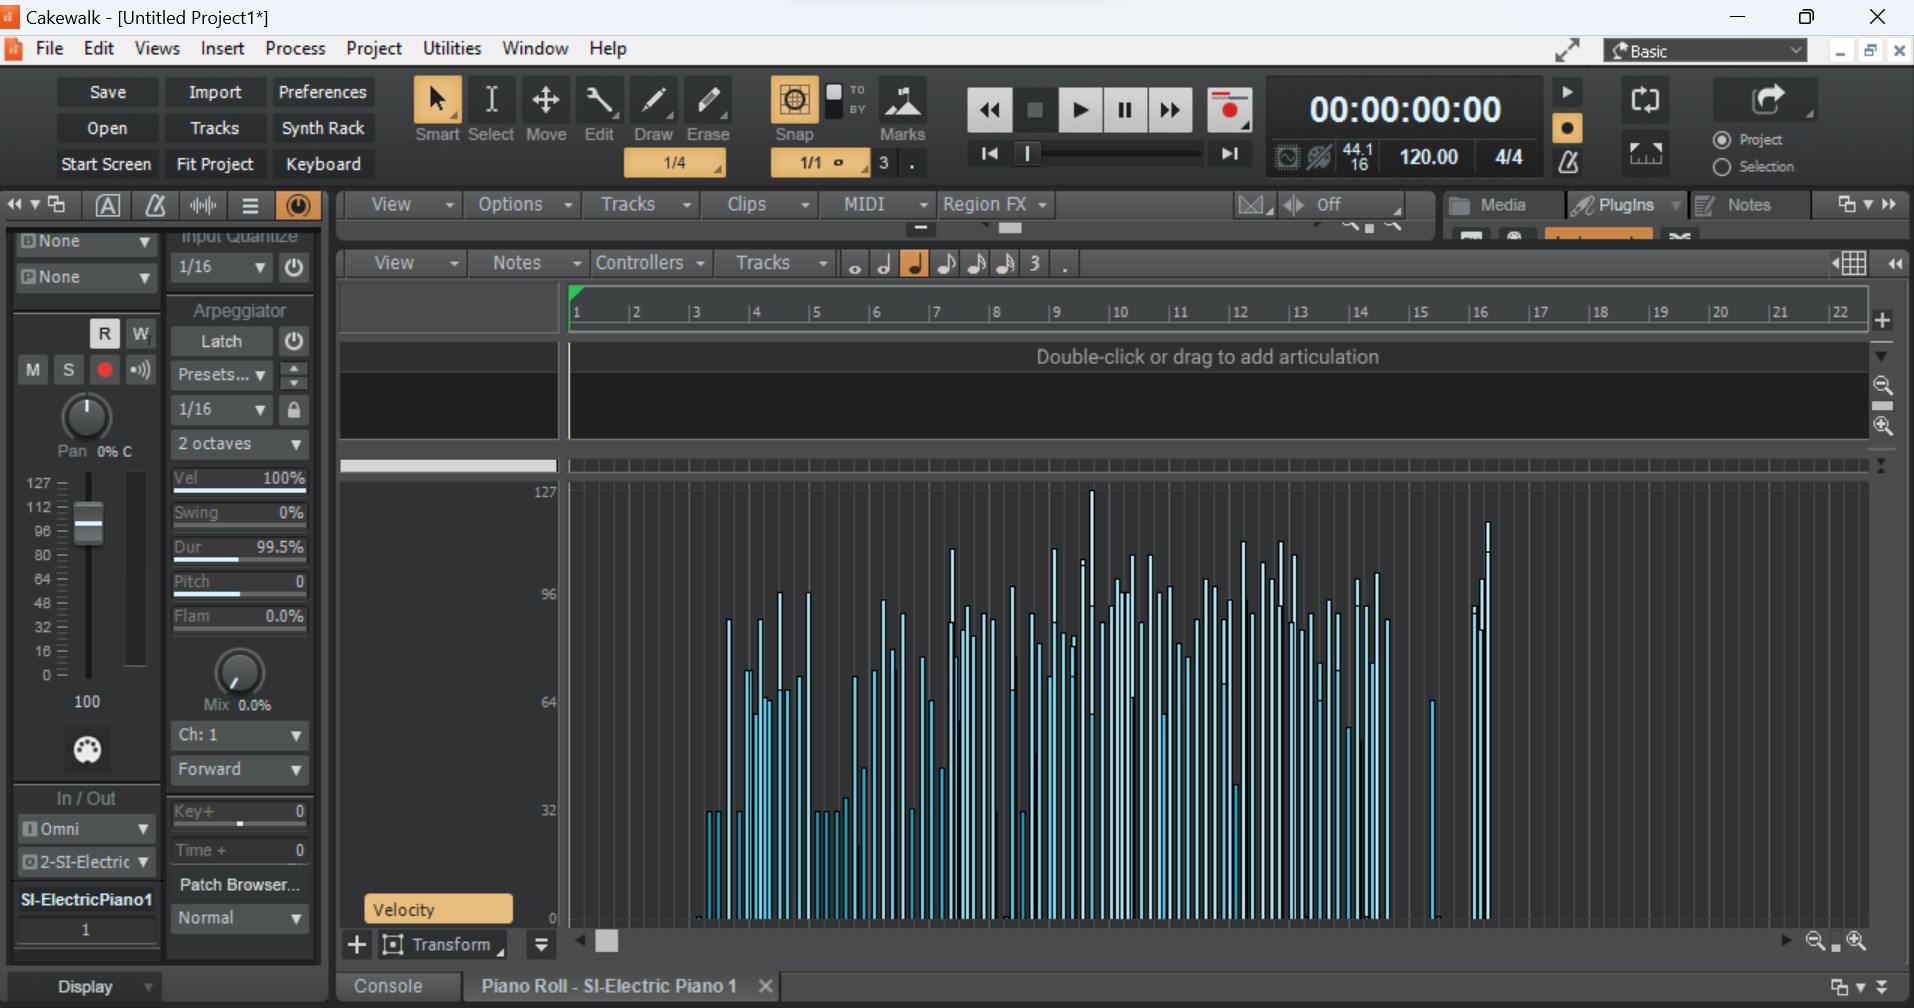
Beyond the fundamental mapping of samples to MIDI keys, Logic Pro provides a wealth of expressive techniques and articulations to elevate your performances. From velocity-sensitive dynamics to nuanced pitch modulation, these expressive capabilities imbue your assigned samples with a lifelike and emotive quality, enabling you to infuse your musical compositions with depth and character.
5. Experimenting and Iterating
As you delve into the process of assigning samples to your MIDI keyboard, embrace the spirit of experimentation and iteration. Explore different combinations of samples, refine the mapping of MIDI keys, and unleash your creativity through improvisation and exploration. This iterative approach fosters a deep connection with your assigned samples, allowing you to uncover unique sonic textures and musical expressions that resonate with your artistic vision.
By immersing yourself in the art of assigning samples to your MIDI keyboard, you unlock a world of sonic exploration and musical expression within Logic Pro. This transformative process transcends the technical realm, inviting you to sculpt captivating soundscapes, perform expressive melodies, and breathe life into your musical creations through the seamless integration of your MIDI keyboard and assigned samples. As you harness the boundless potential of this creative synergy, your musical journey within Logic Pro unfolds with limitless possibilities, fueled by the harmonious fusion of technology and artistic expression.
Testing and Fine-Tuning Your Assignments
After the exhilarating process of assigning samples to your MIDI keyboard, the pivotal phase of testing and fine-tuning your assignments emerges as a crucial step towards refining the expressive capabilities and seamless functionality of your MIDI controller within Logic Pro. This iterative stage empowers you to meticulously evaluate the responsiveness, articulation, and sonic nuances of your assigned samples, ensuring that they resonate harmoniously with your musical vision.
1. Performance Evaluation
The initial facet of testing your assignments involves engaging in immersive performances with your MIDI keyboard. By playing and exploring the mapped samples across different keys and articulations, you gain valuable insights into their responsiveness and expressive range. This hands-on approach allows you to assess the fluidity of transitions between samples, the effectiveness of velocity-sensitive dynamics, and the overall playability of your assigned instruments.
2. Dynamic Adjustments
As you delve into performance evaluations, you may find opportunities to fine-tune the dynamics and responsiveness of your assigned samples. Logic Pro offers a wealth of tools and parameters to refine the velocity curves, dynamics, and response characteristics of your samples, empowering you to tailor their behavior to align seamlessly with your playing style and musical nuances. By adjusting velocity sensitivity, envelope parameters, and modulation controls, you can imbue your assigned samples with a heightened level of expressiveness and dynamic range.
3. Articulation Refinement
Furthermore, the process of fine-tuning your assignments encompasses refining the articulations and performance nuances of your mapped samples. Explore the subtle variations in playing techniques, such as staccato, legato, and vibrato, to ensure that your assigned samples authentically respond to nuanced playing styles. Logic Pro's articulation mapping capabilities enable you to intricately define how your assigned samples react to different playing techniques, enriching your performances with lifelike expressiveness and musicality.
4. Iterative Exploration
Embrace the spirit of iterative exploration as you fine-tune your assignments, continually revisiting and refining the mapping and performance characteristics of your assigned samples. Through iterative experimentation, you uncover nuanced sonic textures, uncover hidden expressive potentials, and refine the symbiotic relationship between your MIDI keyboard and assigned samples. This iterative approach serves as a testament to the dynamic nature of music production, inviting you to sculpt and refine your sonic palette with unwavering precision and artistry.
5. Real-Time Feedback
Throughout the testing and fine-tuning process, leverage real-time feedback from your performances to inform and guide your adjustments. Pay keen attention to how your assigned samples interact with your playing dynamics, respond to expressive nuances, and blend harmoniously within your musical compositions. This real-time feedback loop empowers you to make informed refinements, ensuring that your assigned samples seamlessly integrate into your creative workflow and elevate your musical expressions with unparalleled authenticity.
In essence, the phase of testing and fine-tuning your assignments serves as a transformative journey of sonic refinement and expressive exploration. By meticulously evaluating and refining the responsiveness, dynamics, and articulations of your assigned samples, you pave the way for seamless integration and captivating performances with your MIDI keyboard within Logic Pro's immersive environment. This iterative process embodies the artistry and precision inherent in music production, empowering you to sculpt and refine your sonic canvas with unparalleled depth and expressive richness.