Home>Production & Technology>MIDI>How To Set Up MIDI Keyboard In Cubase
MIDI
How To Set Up MIDI Keyboard In Cubase
Modified: February 22, 2024
Learn how to easily set up your MIDI keyboard in Cubase for seamless music production. Follow our step-by-step guide to configure MIDI and start creating music effortlessly.
(Many of the links in this article redirect to a specific reviewed product. Your purchase of these products through affiliate links helps to generate commission for AudioLover.com, at no extra cost. Learn more)
Table of Contents
Introduction
Setting up a MIDI keyboard in Cubase opens up a world of musical possibilities, allowing you to harness the power of virtual instruments and take your creativity to new heights. Whether you're a seasoned music producer or just starting out, understanding how to integrate a MIDI keyboard with Cubase is a fundamental skill that can significantly enhance your music production workflow.
In this comprehensive guide, we will walk through the step-by-step process of setting up your MIDI keyboard in Cubase, from connecting the hardware to configuring the software. By the end of this tutorial, you'll be ready to seamlessly integrate your MIDI keyboard into your Cubase projects, unleashing its full potential as a versatile musical tool.
Let's dive into the intricacies of MIDI technology and explore the seamless integration of hardware and software to create a synergistic musical environment. Whether you're a composer, producer, or performer, the ability to effectively set up and utilize a MIDI keyboard in Cubase is a valuable skill that can amplify your musical expression and workflow efficiency.
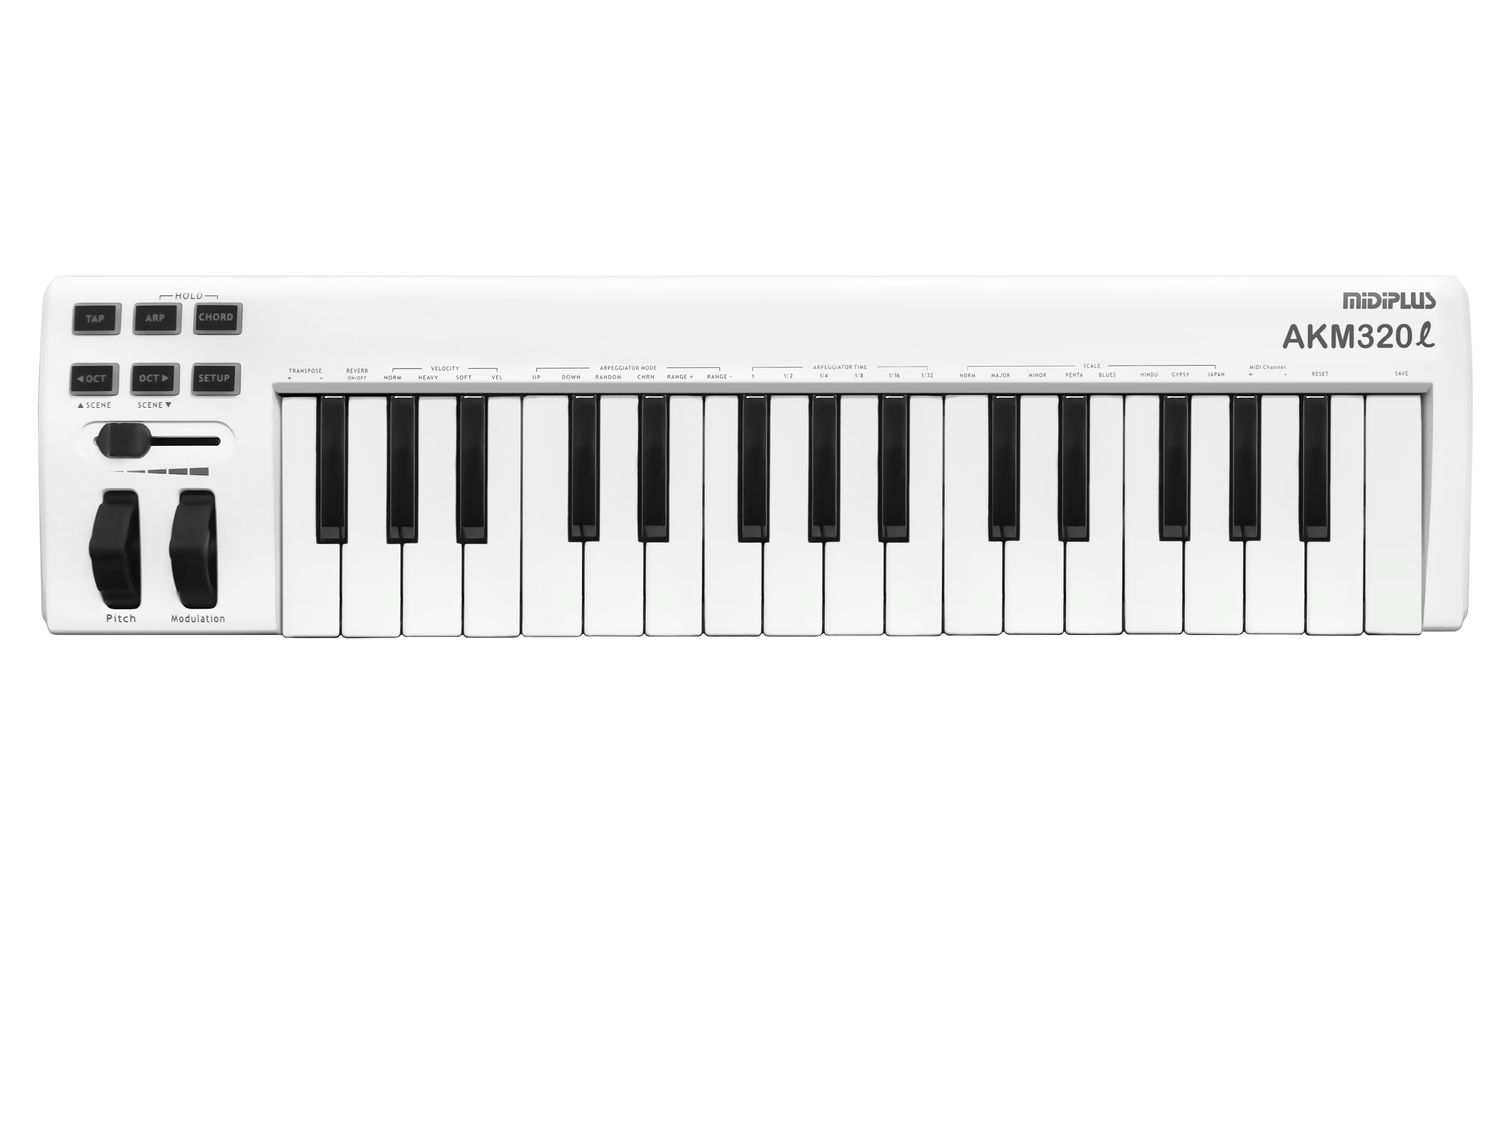
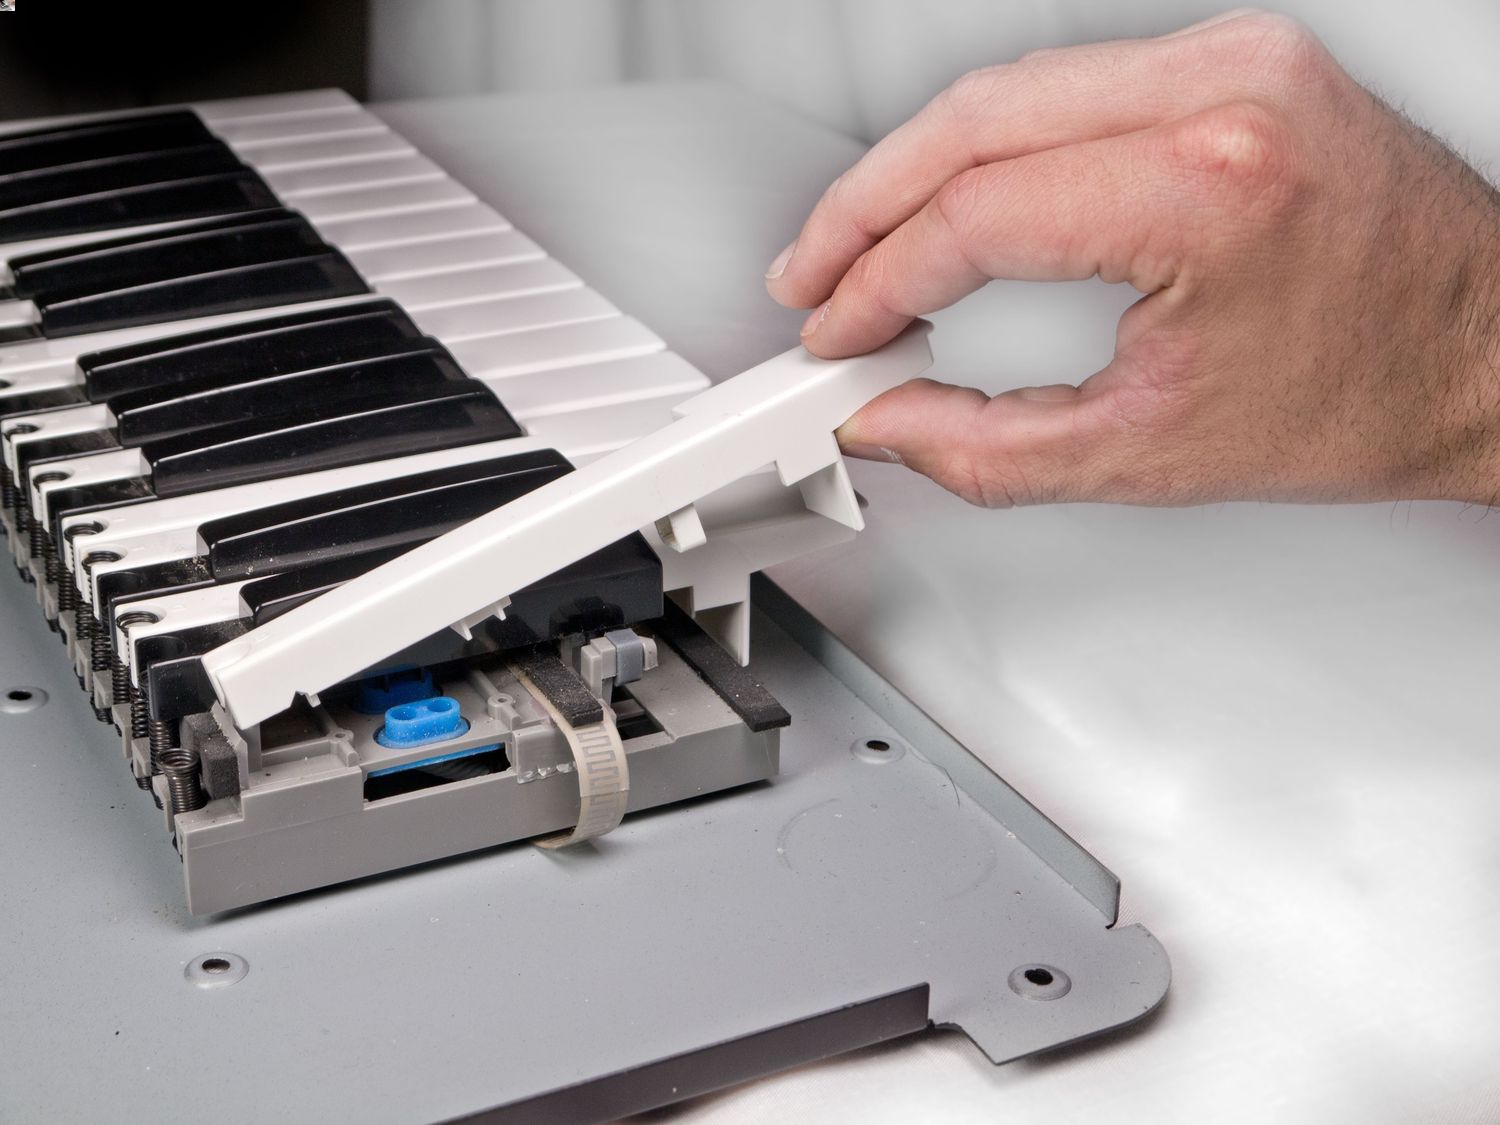
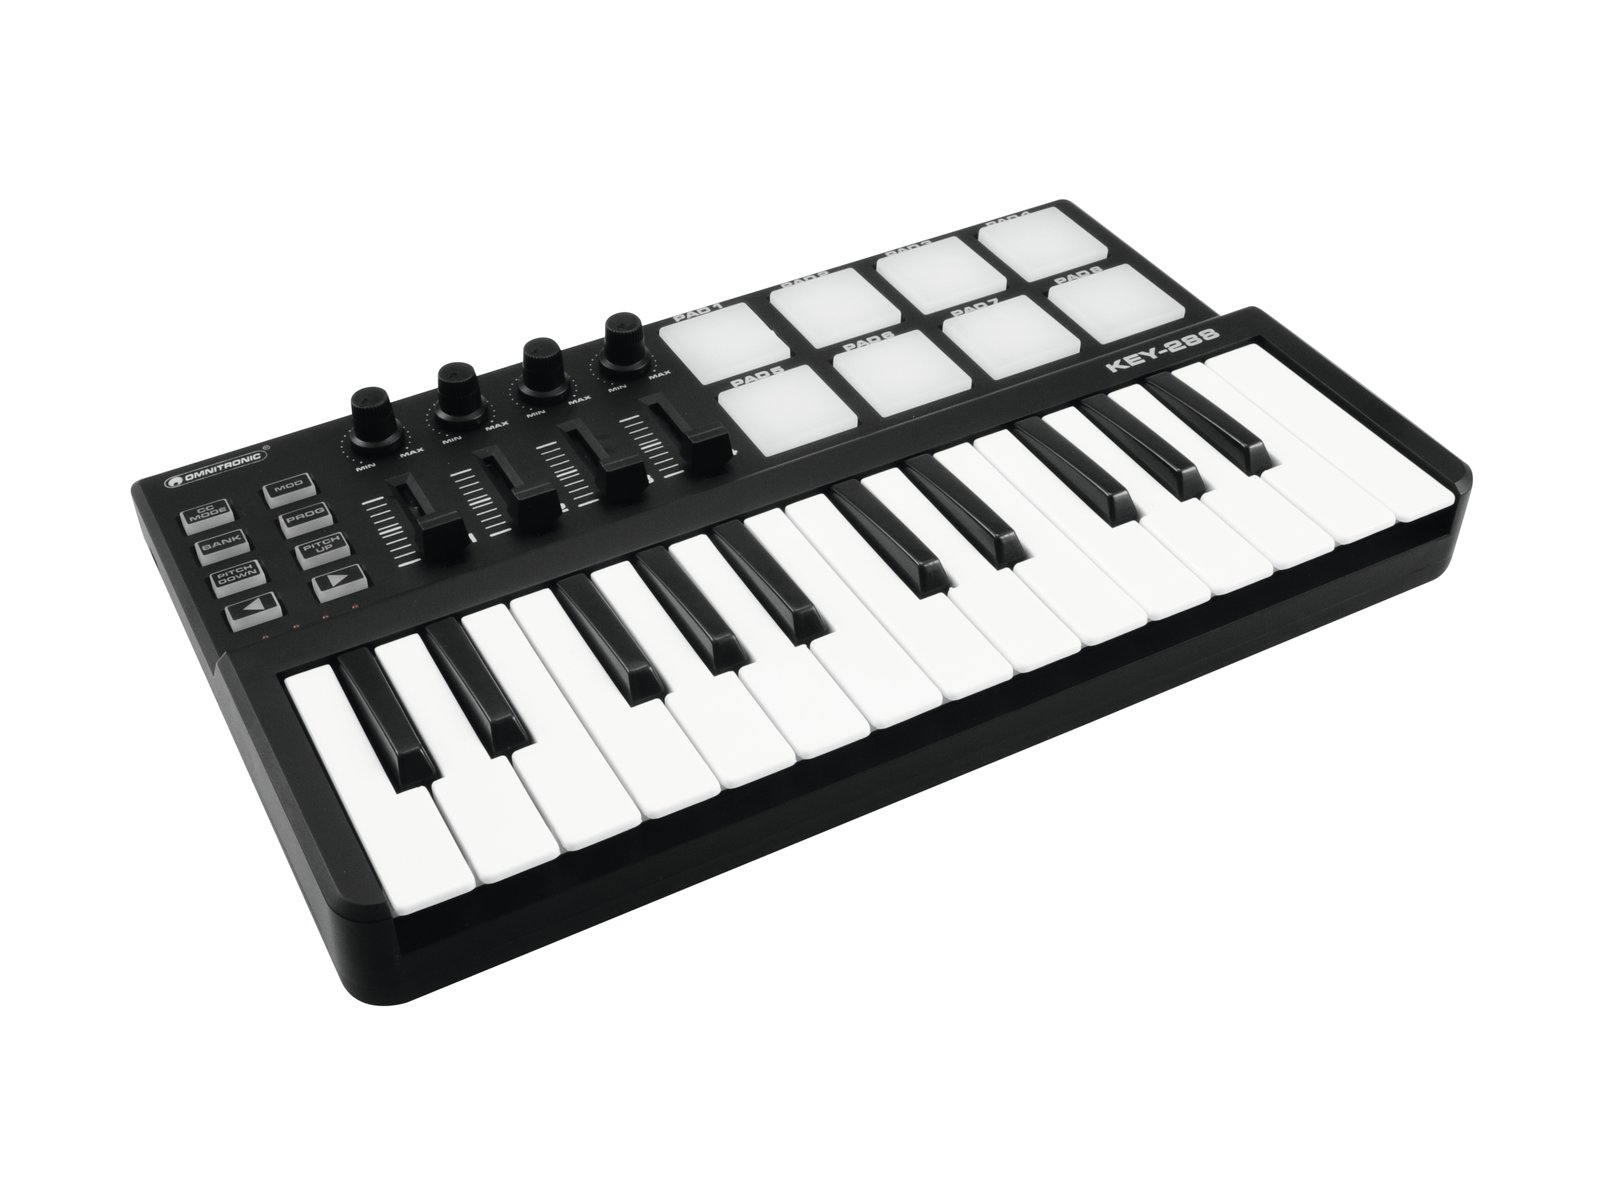
Step 1: Connecting the MIDI Keyboard to Your Computer
Connecting your MIDI keyboard to your computer is the first crucial step in integrating it with Cubase. This process establishes the communication link between the physical keyboard and the digital realm, enabling you to harness the power of virtual instruments and MIDI functionality within Cubase.
-
Physical Connection: Begin by locating the MIDI OUT port on your keyboard and connecting it to the MIDI IN port on your computer's audio interface using a standard MIDI cable. Ensure that the connections are secure to avoid any potential signal loss or interference during operation.
-
Power Up: Once the physical connection is established, power on your MIDI keyboard. This action initiates the device and prepares it for communication with the computer.
-
Driver Installation: In some cases, your computer may require specific drivers to recognize and communicate with the MIDI keyboard. Ensure that the necessary drivers are installed by following the manufacturer's instructions. This step is crucial for seamless integration and optimal performance.
-
Software Compatibility: Verify that your MIDI keyboard is compatible with Cubase. Most MIDI keyboards are class-compliant and can be recognized by the operating system without the need for additional drivers. However, it's essential to check the compatibility to ensure a smooth setup process.
-
Configuration Check: Access the MIDI settings on your computer and verify that the MIDI keyboard is detected. This step ensures that the physical connection is established correctly and that the computer can recognize the MIDI input from the keyboard.
By following these steps, you can effectively connect your MIDI keyboard to your computer, laying the foundation for a seamless integration with Cubase. This physical link sets the stage for the next steps in the setup process, enabling you to unlock the full potential of your MIDI keyboard within the Cubase environment.
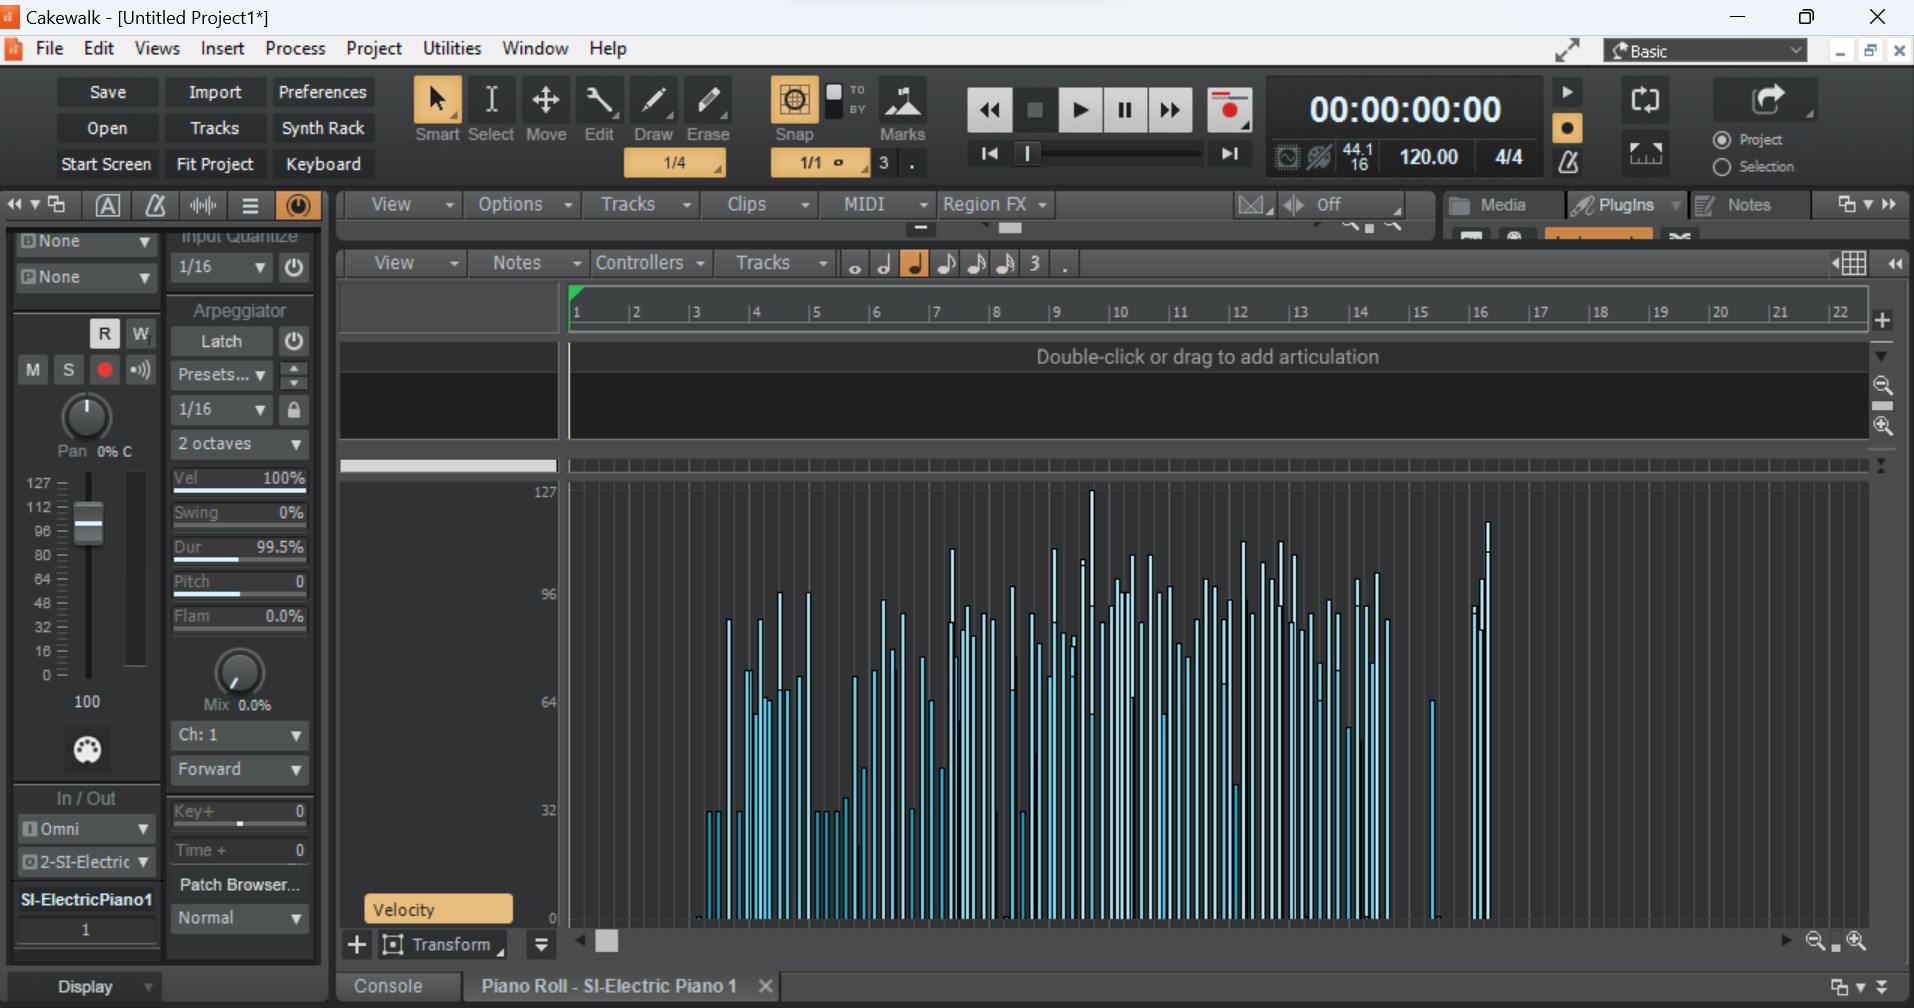
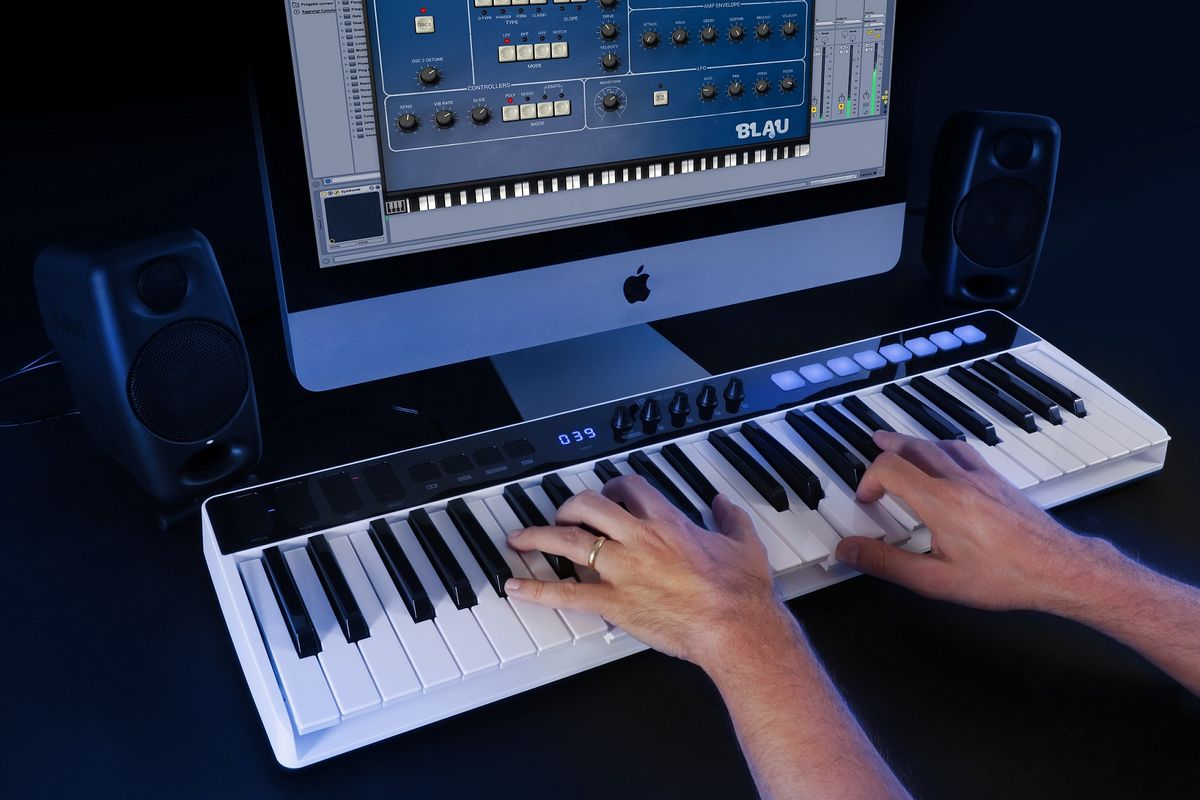
Step 2: Configuring the MIDI Keyboard in Cubase
Configuring your MIDI keyboard within Cubase is a pivotal stage that bridges the physical hardware with the digital realm, enabling seamless communication and control within the software environment. This process empowers you to leverage the expressive capabilities of your MIDI keyboard to interact with virtual instruments, record MIDI data, and streamline your music production workflow.
MIDI Device Setup
- Accessing Device Setup: Launch Cubase and navigate to the "Devices" menu. Select "Device Setup" to access the configuration settings for your MIDI devices.
- Adding MIDI Keyboard: Within the Device Setup window, click on "MIDI" in the left-hand panel. Then, select "MIDI Port Setup" to add your MIDI keyboard as an input device. Locate your MIDI keyboard from the list of available devices and ensure that it is activated for input.
MIDI Input Routing
- Opening MIDI Input Routing: After adding your MIDI keyboard as an input device, proceed to the "MIDI Port Setup" window. Here, you can define how Cubase routes MIDI input from your keyboard to specific tracks and virtual instruments.
- Assigning MIDI Channels: Configure the MIDI input routing to assign specific MIDI channels from your keyboard to corresponding tracks or virtual instruments within Cubase. This step establishes the communication pathway for MIDI data to flow from your keyboard to the desired destinations in your projects.
MIDI Preferences
- Accessing MIDI Preferences: Navigate to the "Studio" menu and select "MIDI Device Manager" to access the MIDI preferences in Cubase. Here, you can fine-tune various settings related to MIDI input, output, and device configurations.
- Calibrating MIDI Input: Within the MIDI Device Manager, you can calibrate the MIDI input from your keyboard, ensuring optimal responsiveness and accuracy. This calibration process enhances the performance and precision of your MIDI keyboard within Cubase, aligning it with your specific musical preferences and playing style.
MIDI Controller Assignment
- Mapping MIDI Controllers: Cubase offers extensive capabilities for mapping MIDI controllers from your keyboard to various parameters within the software. This feature enables you to assign knobs, sliders, and other control elements on your MIDI keyboard to manipulate parameters in Cubase, such as virtual instrument parameters, mixer controls, and effects settings.
- Customizing MIDI Controller Assignments: Explore the flexibility of MIDI controller assignment in Cubase to tailor the control mappings to suit your creative needs. This customization empowers you to personalize the interaction between your MIDI keyboard and Cubase, fostering a tailored and intuitive workflow.
By meticulously configuring your MIDI keyboard within Cubase, you establish a cohesive integration that empowers you to harness the expressive potential of your MIDI keyboard within the digital realm. This seamless connection paves the way for enhanced creativity, efficient music production, and a deeply immersive musical experience within the Cubase environment.
Step 3: Assigning MIDI Keyboard Controls to Virtual Instruments
Assigning MIDI keyboard controls to virtual instruments within Cubase is a pivotal process that empowers you to establish a direct link between your physical keyboard and the sonic capabilities of virtual instruments. This integration unlocks a realm of expressive possibilities, allowing you to manipulate and perform with virtual instruments in a manner that mirrors traditional instrumental techniques.
MIDI Learn Functionality
Cubase offers a powerful MIDI Learn functionality that facilitates the assignment of MIDI keyboard controls to various parameters within virtual instruments. By leveraging MIDI Learn, you can seamlessly map specific controls on your MIDI keyboard, such as knobs, sliders, and modulation wheels, to parameters within virtual instruments, enabling intuitive and dynamic manipulation during performance and recording sessions.
Parameter Mapping
Upon selecting a virtual instrument within Cubase, you can access its parameter mapping interface to define the relationship between MIDI keyboard controls and specific instrument parameters. This intuitive mapping process enables you to assign MIDI note data, modulation, pitch bend, and other performance nuances from your keyboard to influence the behavior and characteristics of virtual instruments in real-time.
Expressive Performance Techniques
With MIDI keyboard controls assigned to virtual instruments, you can explore a myriad of expressive performance techniques that transcend traditional keyboard playing. From dynamic modulation and pitch manipulation to nuanced articulations and timbral shifts, the integration of MIDI keyboard controls with virtual instruments amplifies your capacity for emotive and nuanced musical expression, enriching your compositions and performances.
Real-Time Manipulation
The seamless assignment of MIDI keyboard controls to virtual instruments fosters real-time manipulation and performance flexibility. Whether you seek to sculpt evolving textures, shape intricate melodic phrases, or infuse rhythmic patterns with dynamic variations, the direct interaction between your MIDI keyboard and virtual instruments empowers you to engage in fluid and responsive musical dialogues within the Cubase environment.
Customized Performance Interfaces
By assigning MIDI keyboard controls to virtual instruments, you have the opportunity to craft customized performance interfaces that align with your creative vision and playing style. This tailored approach enables you to design intuitive control mappings that resonate with your musical sensibilities, fostering a deeply personalized and immersive performance experience within Cubase.
The seamless integration of MIDI keyboard controls with virtual instruments within Cubase opens a gateway to boundless sonic exploration and musical innovation. This cohesive linkage transcends the conventional boundaries of keyboard-based performance, empowering you to sculpt captivating sonic landscapes and breathe life into your musical creations with unparalleled expressive depth.
Step 4: Testing the MIDI Keyboard Setup
After diligently connecting and configuring your MIDI keyboard within Cubase, it is imperative to conduct comprehensive testing to ensure that the setup functions seamlessly and aligns with your musical intentions. The testing phase serves as a crucial validation step, allowing you to verify the responsiveness, accuracy, and integration of your MIDI keyboard within the Cubase environment.
MIDI Input Verification
Initiate the testing process by playing notes and triggering various MIDI events on your keyboard. Verify that the MIDI input from your keyboard is accurately captured within Cubase, confirming that the software recognizes and responds to your performance in real time. This validation ensures that the communication pathway between your MIDI keyboard and Cubase is intact, laying the groundwork for fluid musical interaction.
Virtual Instrument Control
Select virtual instruments within Cubase and engage in expressive playing with your MIDI keyboard. Test the assigned MIDI controls, such as modulation, pitch bend, and velocity sensitivity, to gauge their impact on virtual instrument behavior. This evaluation enables you to ascertain the seamless integration of your MIDI keyboard controls with virtual instruments, empowering you to sculpt nuanced and dynamic performances with precision.
Recording and Playback
Record MIDI data from your keyboard onto Cubase tracks and subsequently play back the recorded performances. This testing phase allows you to assess the accuracy of MIDI data capture, ensuring that your keyboard's expressive nuances are faithfully preserved within Cubase. By examining the recorded MIDI data and its playback, you can validate the fidelity of your performances and refine the setup if necessary.
Real-Time Performance Scenarios
Engage in real-time performance scenarios, where you explore diverse musical genres, playing techniques, and dynamic ranges with your MIDI keyboard. Test the responsiveness of your setup to intricate playing nuances, rapid note sequences, and expressive gestures, reaffirming its capability to capture and translate your musical intentions faithfully within the Cubase environment.
Workflow Efficiency
Evaluate the overall workflow efficiency facilitated by your MIDI keyboard setup in Cubase. Assess the fluidity of interaction, the intuitiveness of control mappings, and the seamless integration of hardware and software components. This comprehensive evaluation ensures that your MIDI keyboard setup optimally enhances your music production workflow, fostering a harmonious and productive creative environment.
By rigorously testing the MIDI keyboard setup in Cubase, you validate its functionality, responsiveness, and integration, affirming its role as a versatile and indispensable tool in your music production endeavors. This meticulous validation process sets the stage for immersive musical exploration and empowers you to unleash the full potential of your MIDI keyboard within the dynamic and expressive realm of Cubase.
Conclusion
In conclusion, the process of setting up a MIDI keyboard in Cubase encompasses a harmonious fusion of hardware and software, culminating in a seamless integration that amplifies creative potential and workflow efficiency. By meticulously connecting, configuring, assigning controls, and testing the MIDI keyboard setup, you establish a musical environment where expressive nuances, dynamic performances, and immersive sonic explorations converge within the Cubase ecosystem.
The journey begins with the physical connection of the MIDI keyboard to the computer, laying the foundation for digital interaction and musical communication. This pivotal step sets the stage for the subsequent configuration within Cubase, where the MIDI keyboard transforms into a versatile and expressive controller for virtual instruments and MIDI functionality.
The meticulous configuration process within Cubase empowers you to define the interaction between your MIDI keyboard and the software, fostering a tailored environment that aligns with your musical sensibilities. By fine-tuning MIDI input routing, calibrating controls, and mapping MIDI controllers, you craft a personalized interface that resonates with your creative vision, amplifying the depth of musical expression within your projects.
The assignment of MIDI keyboard controls to virtual instruments heralds a realm of boundless sonic exploration, enabling you to transcend traditional keyboard playing and engage in nuanced, emotive performances. This integration fosters real-time manipulation, customized performance interfaces, and expressive techniques that breathe life into your musical creations, transcending the conventional boundaries of MIDI-based music production.
The comprehensive testing phase serves as a crucial validation step, ensuring that the MIDI keyboard setup functions seamlessly and faithfully captures your musical intentions within Cubase. By rigorously evaluating MIDI input, virtual instrument control, recording and playback, real-time performance scenarios, and workflow efficiency, you affirm the cohesive integration of your MIDI keyboard within the dynamic and expressive realm of Cubase.
In essence, the process of setting up a MIDI keyboard in Cubase transcends technical configuration, evolving into a creative journey that empowers you to sculpt captivating sonic landscapes, breathe life into musical compositions, and engage in fluid, expressive dialogues within the digital realm. This seamless integration amplifies the creative potential of your MIDI keyboard, fostering a deeply immersive and harmonious musical experience within the captivating realm of Cubase.