Home>Devices & Equipment>Yamaha>How To Record On A Yamaha Keyboard

Yamaha
How To Record On A Yamaha Keyboard
Modified: February 22, 2024
Learn how to record on a Yamaha keyboard and unleash your musical creativity. Discover step-by-step instructions and tips for capturing your performances with ease.
(Many of the links in this article redirect to a specific reviewed product. Your purchase of these products through affiliate links helps to generate commission for AudioLover.com, at no extra cost. Learn more)
Table of Contents
Introduction
Welcome to this comprehensive guide on how to record on a Yamaha keyboard. If you’re a musician or a music enthusiast looking to capture your performances or create professional recordings, this article will provide you with step-by-step instructions to help you get started.
Yamaha keyboards are renowned for their high-quality sound and advanced features, making them a popular choice among musicians of all levels. Whether you own a Yamaha portable keyboard, digital piano, or arranger workstation, you can easily connect it to a computer and record your playing.
Recording your keyboard performances is a great way to preserve your musical ideas, share them with others, or even produce your own music. By following the steps outlined in this guide, you’ll be able to harness the power of your Yamaha keyboard and transform your playing into professional-quality recordings.
Throughout this article, we’ll cover everything you need to know, from connecting your Yamaha keyboard to a computer to selecting the right recording software and adjusting the audio settings. We’ll also guide you through setting up the MIDI input for accurate recording and provide tips for editing and saving your recordings.
Before we dive into the details, it’s important to note that the specific steps may vary slightly depending on the model of your Yamaha keyboard and the recording software you choose to use. However, the general principles and concepts remain the same, so you can apply the techniques discussed here to your specific setup.
Now, let’s get started with the first step: connecting your Yamaha keyboard to a computer.
Step 1: Connecting Your Yamaha Keyboard to a Computer
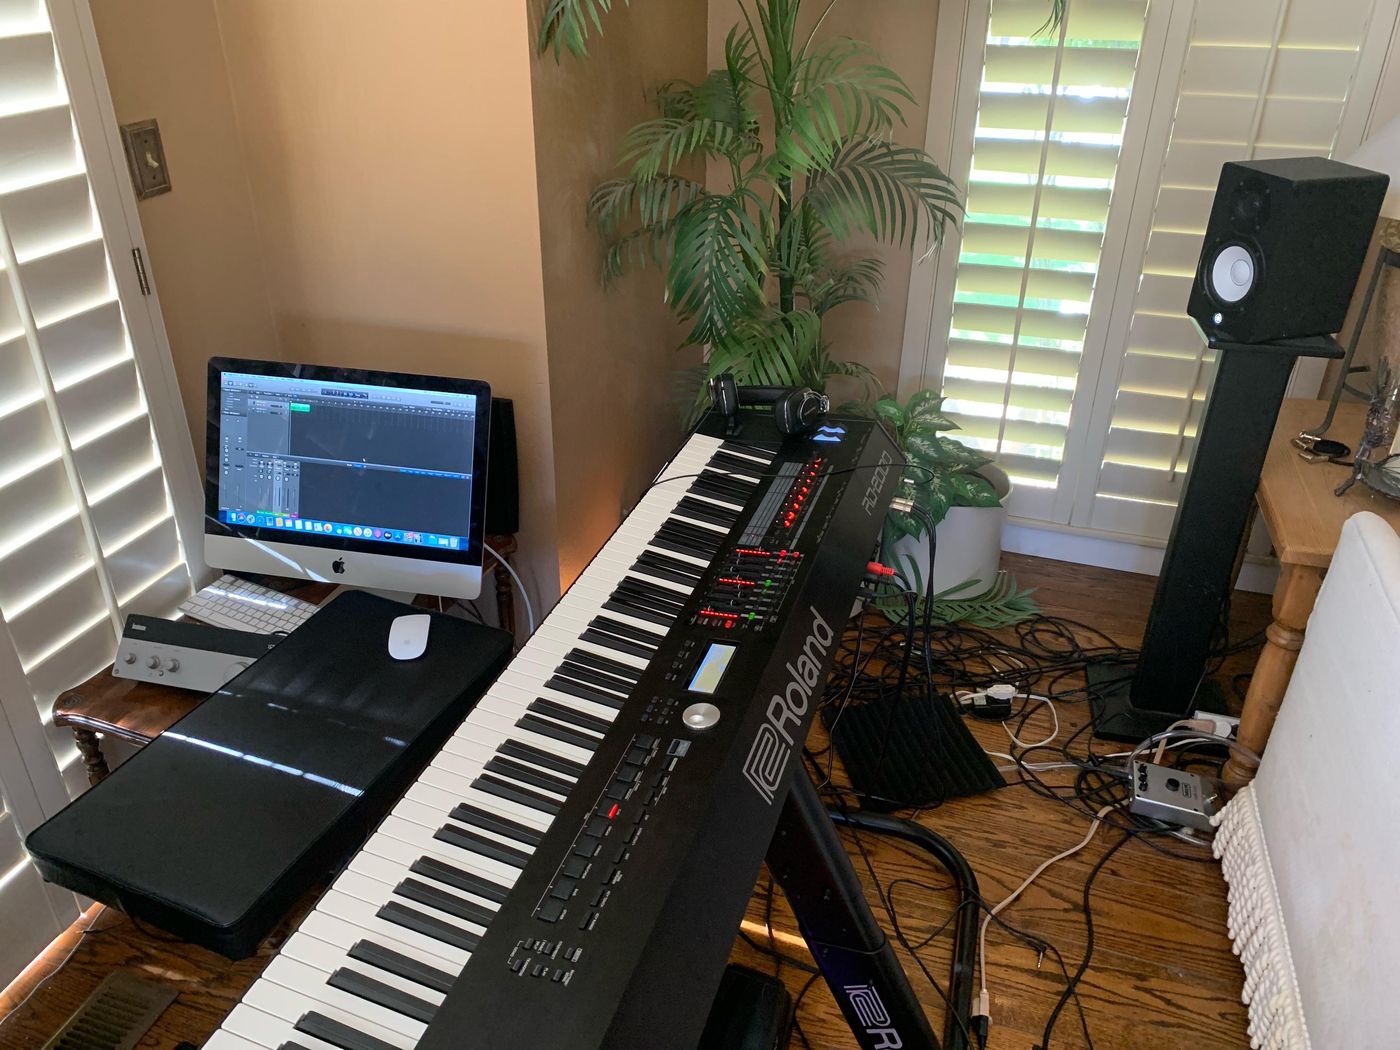
The first step in recording on a Yamaha keyboard is to establish a connection between your keyboard and a computer. This connection allows you to transfer the audio and MIDI data from your keyboard to the recording software on your computer.
Here’s how you can connect your Yamaha keyboard to a computer:
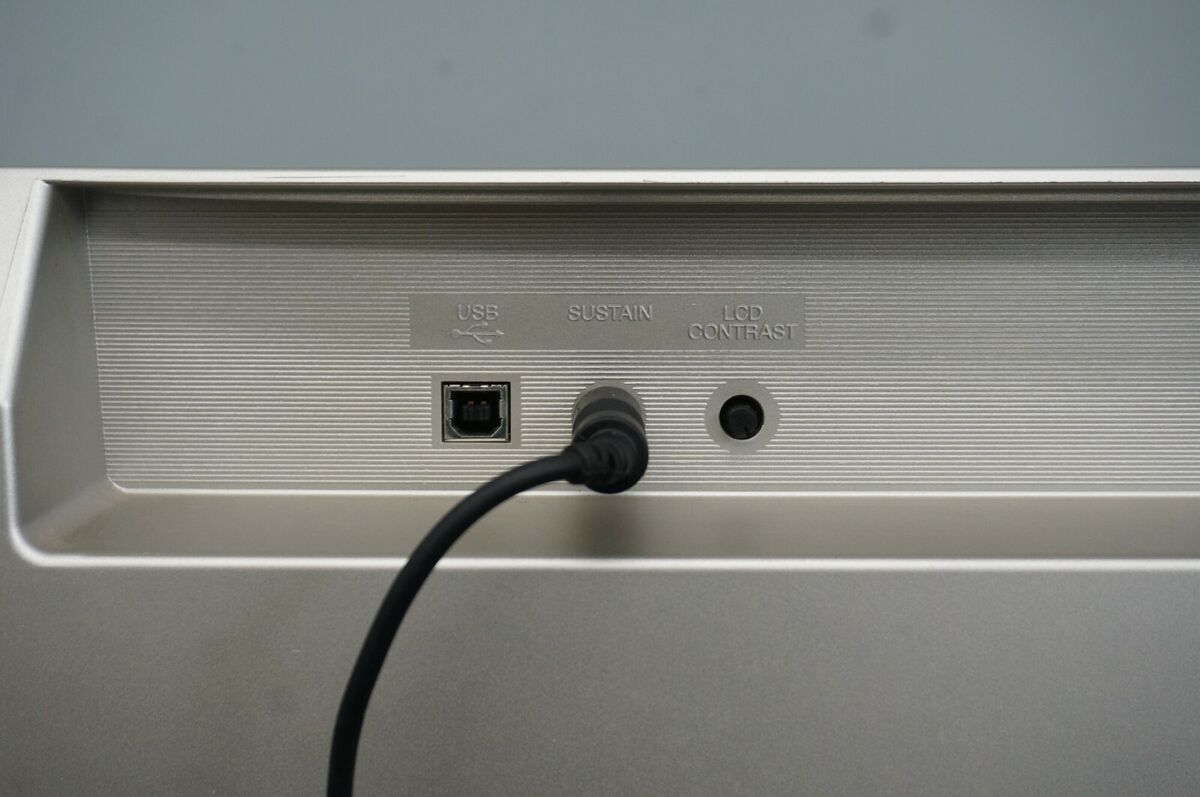
- Check for available ports: Take a look at the back of your Yamaha keyboard and identify the available ports. Most keyboards have a USB port that can be used to connect to a computer. If your keyboard doesn’t have a USB port, you might need to use a MIDI interface to connect via MIDI cables.
- USB connection: If your keyboard has a USB port, you can use a USB cable to connect it directly to your computer. Make sure to use a high-quality USB cable for optimal data transfer.
- MIDI connection: If your keyboard doesn’t have a USB port, you can connect it to your computer using a MIDI interface. The MIDI interface acts as a bridge between your keyboard and computer, allowing MIDI data to be transmitted. Connect the MIDI output of your keyboard to the MIDI input of the interface, and then connect the interface to your computer via USB.
- Install necessary drivers: In some cases, you may need to install specific drivers for your Yamaha keyboard to ensure proper communication with your computer. Check the manufacturer’s website for any available drivers or software updates, and follow the installation instructions provided.
Once your Yamaha keyboard is connected to your computer, it’s time to move on to the next step: selecting the recording software.
Step 2: Selecting the Recording Software
Choosing the right recording software is crucial for capturing and editing your performances on a Yamaha keyboard. There are several recording software options available, ranging from beginner-friendly to more advanced professional-grade applications.
Here are a few popular recording software options to consider:
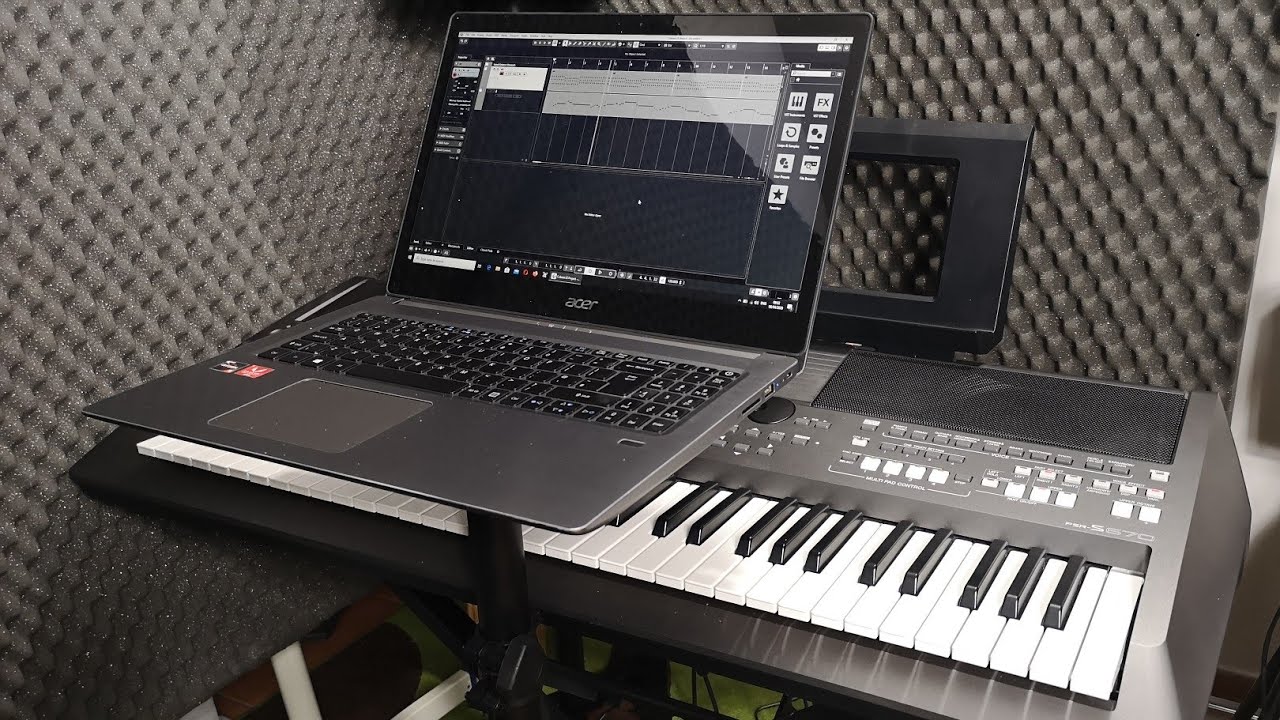
- DAW (Digital Audio Workstation) Software: DAW software, such as Ableton Live, Logic Pro, or FL Studio, offers a comprehensive set of tools for recording, editing, and mixing audio. These software suites are ideal for musicians who want full control over their recordings and are willing to invest time in learning the software.
- Audacity: Audacity is a free and open-source recording software that is suitable for beginners. It provides a user-friendly interface and basic recording and editing capabilities, making it a popular choice for those just starting with recording and audio editing.
- GarageBand: GarageBand is a free recording software available exclusively for Mac users. It offers a wide range of features, including virtual instruments, MIDI recording, and audio editing, making it a great option for beginners and Mac enthusiasts.
- Pro Tools: Pro Tools is a professional recording software widely used in the music industry. It offers powerful features for recording, editing, mixing, and mastering, making it a top choice for professional musicians, producers, and audio engineers.
Consider your needs, budget, and level of expertise when selecting the recording software. It’s important to choose software that aligns with your goals and allows you to effectively capture your Yamaha keyboard performances.
Once you’ve selected the recording software, install it on your computer following the provided instructions. In the next step, we’ll cover adjusting the audio settings to ensure optimal recording quality.
Step 3: Adjusting the Audio Settings
Before you start recording on your Yamaha keyboard, it’s essential to configure the audio settings in your recording software. These settings ensure that you capture the best possible sound quality and minimize any potential issues during the recording process.
Here’s how you can adjust the audio settings:
- Select the audio input: In your recording software, locate the audio input settings. Choose the input source that corresponds to your Yamaha keyboard. It may be listed as “USB audio,” “MIDI,” or the name of your specific keyboard model.
- Set the sample rate and bit depth: The sample rate and bit depth determine the quality and resolution of your recordings. Higher values generally produce better audio quality but may require more processing power from your computer. Select a suitable sample rate, such as 44.1kHz or 48kHz, and a bit depth of 24-bit for optimal results.
- Adjust the buffer size: The buffer size determines the amount of audio data processed at a time. A smaller buffer size reduces latency but may strain your computer’s performance. Experiment with different buffer sizes to find the right balance between low latency and stable performance.
- Enable monitoring: Enable the monitoring feature in your recording software to listen to your keyboard as you play. This allows you to hear your performance in real-time and make any necessary adjustments.
- Check levels and gain: Make sure to monitor the input levels from your Yamaha keyboard and adjust the gain accordingly. Avoid clipping (distortion caused by input levels being too high) by keeping the levels within a safe range.
Take some time to familiarize yourself with the audio settings in your recording software and make the necessary adjustments. This will ensure that you capture your Yamaha keyboard’s sound accurately and achieve the desired recording quality.
With the audio settings configured, you’re ready to move on to the next step: setting up the MIDI input for accurate recording.
Step 4: Setting Up the MIDI Input
Setting up the MIDI input in your recording software is crucial for accurately capturing your Yamaha keyboard performances. MIDI (Musical Instrument Digital Interface) allows for the transmission of performance data, such as note and velocity information, between your keyboard and computer.
Here’s how to set up the MIDI input for recording:
- Enable MIDI input: In your recording software, find the MIDI input settings and ensure that the MIDI input from your Yamaha keyboard is enabled. It may be listed as “MIDI In” or the name of your specific keyboard model.
- Assign MIDI channels: If your Yamaha keyboard supports MIDI channels, you can assign different channels to different tracks in your recording software. This allows for multi-track recording and playback of individual parts.
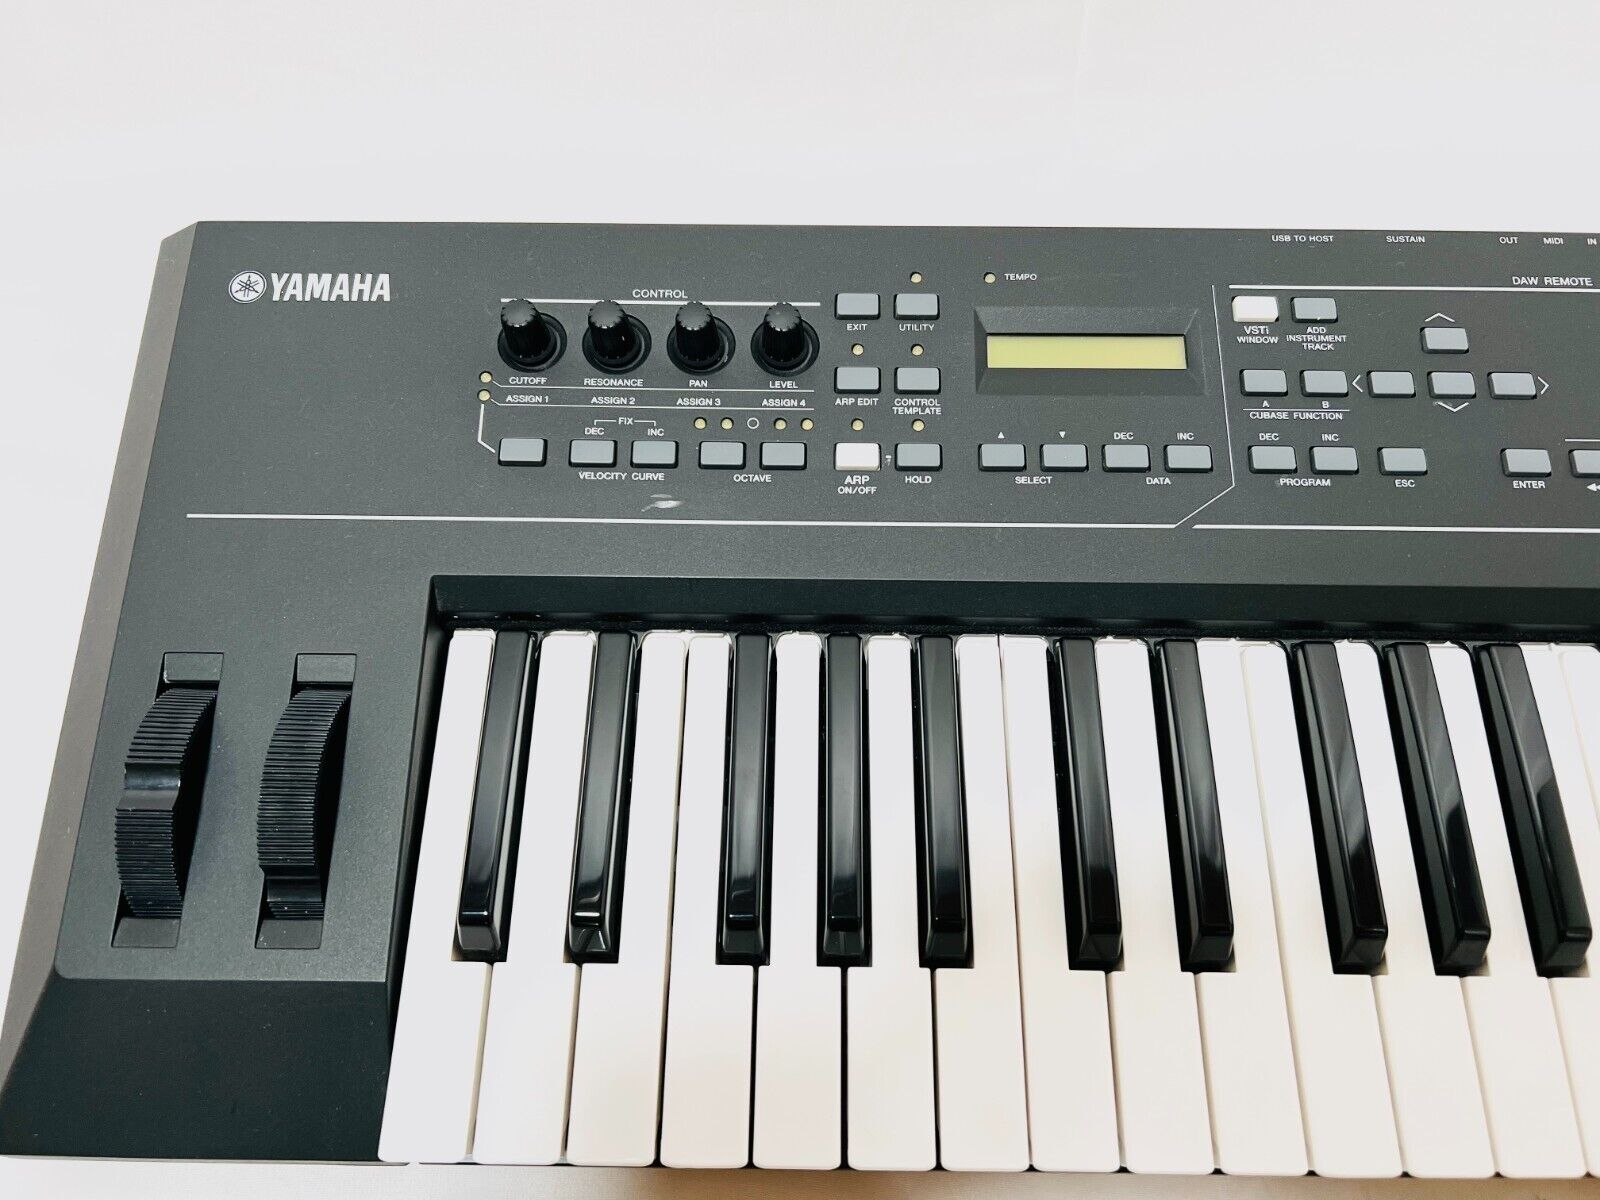
- Configure MIDI mapping: Some recording software allows you to map MIDI controls, such as knobs or buttons on your Yamaha keyboard, to specific functions within the software. This can be useful for controlling parameters, triggering effects, or automating changes during playback.
- Test MIDI connectivity: Play some notes on your Yamaha keyboard and verify that the MIDI data is being received by the recording software. You should see MIDI activity indicators or meters responding to your keyboard input.
By setting up the MIDI input properly, you ensure that your keyboard’s performance data is accurately recorded and can be used for further editing, manipulation, and playback within your recording software.
With the MIDI input configured, you’re prepared for the next step: recording your performance on your Yamaha keyboard.
Step 5: Recording Your Performance
Now that you have your Yamaha keyboard connected to your computer, selected the recording software, adjusted the audio settings, and set up the MIDI input, it’s time to start recording your performance.
Follow these steps to begin recording:
- Create a new track: In your recording software, create a new track for your Yamaha keyboard. This is where your recorded performance will be captured.
- Arm the track for recording: Arm the track for recording by clicking the record enable button or selecting the appropriate option in your recording software. This ensures that the track is ready to receive the incoming audio or MIDI data from your Yamaha keyboard.
- Set the recording mode: Choose the recording mode that suits your needs. You can opt for real-time recording, where the performance is captured as you play, or a MIDI step recording mode, where you can input notes one at a time using your keyboard or mouse.
- Set the recording length: Specify the desired recording length or choose to record continuously until you manually stop the recording. This will depend on the duration of your performance and your preferences.
- Count-in and metronome: If needed, enable a count-in or metronome feature in your recording software. This can help you keep time and ensure a smooth start to your performance.
- Hit the record button: Once everything is set up, press the record button in your recording software to start capturing your performance. Begin playing your Yamaha keyboard, and the software will record the audio or MIDI data accordingly.
During the recording process, focus on delivering your best performance. Take advantage of the monitoring feature to listen to your playing and make any necessary adjustments in real-time.
Remember to stay aware of your input levels and ensure that the performance is captured without any unwanted distortion or clipping. This can be achieved by monitoring the input levels and making adjustments to the gain or volume as needed.
Once you’ve finished recording your performance, move on to the next step: editing and saving your recording.
Step 6: Editing and Saving Your Recording
After you’ve recorded your performance on your Yamaha keyboard, it’s time to edit and refine your recording to achieve the desired sound and arrangement. Editing allows you to polish your performance, fix any mistakes, adjust timing or dynamics, and add additional elements if needed.
Follow these steps to edit and save your recording:
- Trim and arrange: Use the editing tools in your recording software to trim the recording and remove any unwanted sections. Rearrange the different parts of your performance to create a cohesive structure.
- Correct mistakes: Utilize the software’s editing capabilities to fix any mistakes or inaccuracies in your performance. You can quantize MIDI notes, adjust timing, or apply corrective techniques to smoothen out any rough spots.
- Add effects and enhancements: Enhance your recording by adding effects such as reverb, delay, compression, or EQ to achieve the desired sound. Experiment with different effects to add depth and character to your recording.
- Layer or overdub: If desired, you can layer additional tracks or overdub parts to enrich the overall sound of your recording. Experiment with different instruments or sounds to create a more dynamic and diverse arrangement.
- Mix and balance: Use the mixing features in your recording software to balance the levels of different tracks, adjust panning, and fine-tune the overall mix of your recording. Pay attention to achieving a balanced and cohesive sound.
- Save your recording: Once you are satisfied with the editing and mixing, save your recording in your desired file format. Choose a high-quality audio format such as WAV or AIFF to preserve the integrity of your performance.
When saving your recording, consider creating different versions or backups to ensure you have multiple copies of your work. This will help safeguard against accidental loss or corruption of the recording.
Remember to save your project file in your recording software as well. This allows you to revisit and make further changes to your recording in the future if needed.
With your recording now edited and saved, you have successfully captured and refined your performance on your Yamaha keyboard. Congratulations!
In the next step, we’ll cover some troubleshooting tips that can help you overcome common challenges and optimize your recording process.
Step 7: Troubleshooting Tips
While recording on your Yamaha keyboard, you may encounter some common challenges or issues. Here are some troubleshooting tips to help you overcome them:
- Latency: If you experience a delay between pressing the keys on your Yamaha keyboard and hearing the sound through your computer, you may be dealing with latency. To minimize latency, try reducing the buffer size in your audio settings. You can also consider using a lower sample rate or utilizing ASIO drivers for improved performance.
- Noise or interference: If you notice unwanted noise or interference in your recordings, it could be due to improper grounding or interference from other electronic devices. Make sure all your cables are properly connected and shielded. Additionally, try to reduce the proximity of your Yamaha keyboard to other devices or sources of electromagnetic interference.
- No sound: If you’re not hearing any sound when playing your Yamaha keyboard, ensure that the audio settings in your recording software are correctly configured. Check that the MIDI input is enabled and correctly assigned. Verify that your Yamaha keyboard’s volume is turned up and that you’re using the correct audio output settings for your computer.
- MIDI connectivity issues: If your Yamaha keyboard is not being recognized or responding to MIDI input, double-check the MIDI settings in your recording software. Ensure that the appropriate MIDI input is selected and that your keyboard is connected and powered on. Try restarting your computer and reconnecting the MIDI cables or USB connection.
- Clipping or distortion: If your recording is distorted or clipping, check the input levels and gain settings. Reduce the input levels if they are too high or adjust the gain to achieve a proper balance. Monitoring the input levels during recording can help prevent clipping or distortion.
These troubleshooting tips should help you address some common issues you may encounter while recording on your Yamaha keyboard. Don’t hesitate to consult the user manual for your keyboard or the documentation of your recording software for additional guidance.
Remember, practice and experimentation are key to achieving the best results in recording and producing music. Enjoy the process, be patient, and keep refining your skills as you continue to explore the possibilities of recording on your Yamaha keyboard!
Now that you’re equipped with these troubleshooting tips, you’re ready to embark on your recording journey with your Yamaha keyboard.
Happy recording!
Conclusion
Recording on a Yamaha keyboard is an exciting endeavor that allows you to capture your musical ideas and bring your performances to life. By following the steps outlined in this comprehensive guide, you now have the knowledge and tools to record your keyboard playing with ease and confidence.
We began by connecting your Yamaha keyboard to a computer, ensuring a seamless transfer of audio and MIDI data. Then, we explored different recording software options, giving you the freedom to choose the one that suits your needs and preferences.
With the audio settings properly adjusted and the MIDI input set up, you can now confidently start recording your performances. Whether you’re capturing a live session or working on a MIDI composition, the recording process will allow you to preserve your musical moments and shape them into a polished recording.
Once you’ve recorded your performance, the editing and saving step gives you the opportunity to refine your recording, fix any mistakes, and enhance the overall sound. By utilizing the powerful features of your recording software, you can add effects, layer tracks, and achieve a professional-level mix.
Throughout the process, we shared valuable troubleshooting tips to help you overcome common challenges and optimize your recording experience. From tackling latency issues to dealing with noise or MIDI connectivity problems, these troubleshooting techniques will ensure smooth and successful recording sessions.
Remember, recording on a Yamaha keyboard is a continuous learning process. The more you practice and experiment, the more you’ll unlock the full potential of your musical abilities and your instrument. Embrace the joy of recording, and let your creativity flourish as you capture your unique sound.
Now that you have a solid foundation, it’s time to put your knowledge into practice and start recording on your Yamaha keyboard. So plug in, press record, and let your music soar!

