Home>Production & Technology>MP3>How To Reset An Eclipse MP3 Player
MP3
How To Reset An Eclipse MP3 Player
Modified: January 22, 2024
Learn how to easily reset your Eclipse MP3 player and get it back to working condition. Follow our step-by-step guide to troubleshoot any issues with your MP3 player.
(Many of the links in this article redirect to a specific reviewed product. Your purchase of these products through affiliate links helps to generate commission for AudioLover.com, at no extra cost. Learn more)
Table of Contents
Introduction
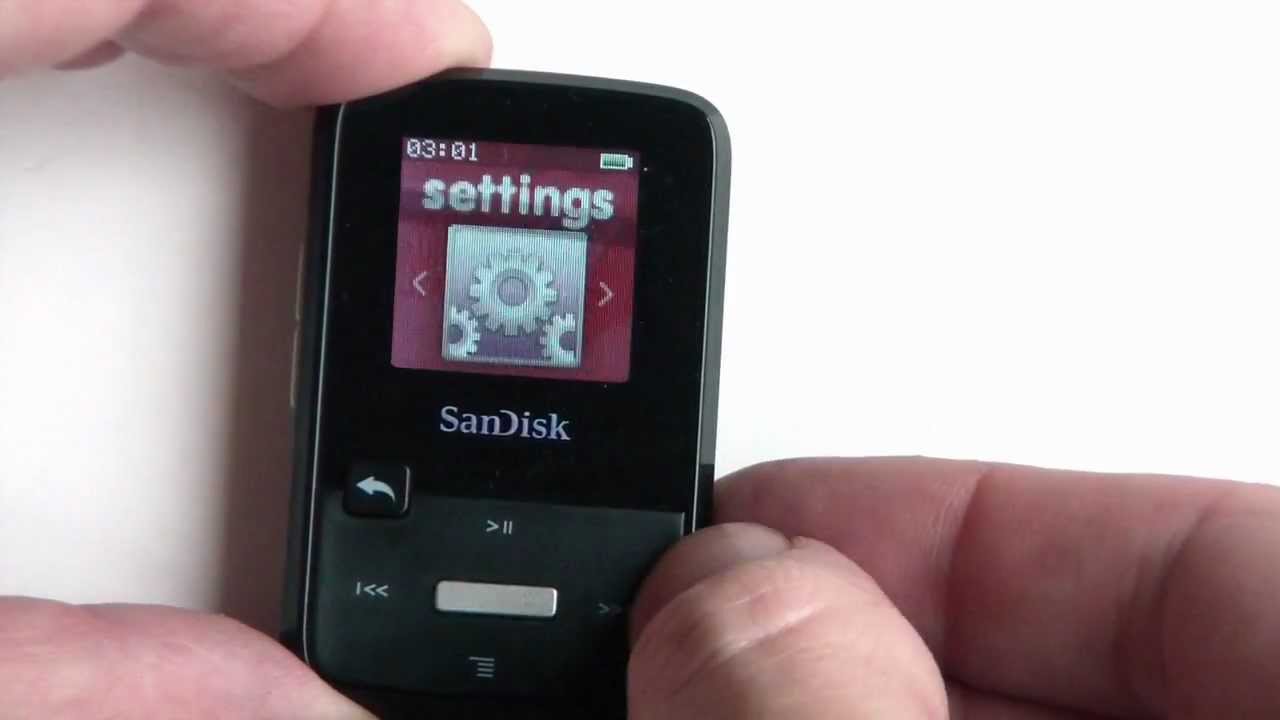
Resetting your Eclipse MP3 player can be a useful troubleshooting step when experiencing issues such as freezing, unresponsive buttons, or playback errors. Whether you have an Eclipse Fit Clip or an Eclipse Supra Fit, performing a reset can often resolve these problems and restore your MP3 player to its optimal functionality.
In this article, we will guide you through the simple process of resetting an Eclipse MP3 player. We will provide step-by-step instructions, so even if you’re not a tech-savvy individual, you should be able to follow along and reset your device without any difficulty.
Before we delve into the steps, it’s important to note that resetting your Eclipse MP3 player will not delete any of your music or other media files. It simply restarts the device, clearing any temporary glitches and refreshing the system.
So, without further ado, let’s get started on resetting your Eclipse MP3 player and getting it back in working order.
Step 1: Determine the type of Eclipse MP3 player
The first step in resetting your Eclipse MP3 player is to determine the specific model you own. There are various models available, each with its own unique design and button configuration. By identifying the type of Eclipse MP3 player you have, you can proceed with the appropriate reset method.
Here are a few common Eclipse MP3 player models:
- Eclipse Fit Clip
- Eclipse Supra Fit
- Eclipse T180
- Eclipse T2800
- Eclipse T2810C
- Eclipse T2815
Take a look at your MP3 player and search for any labels, logos, or model numbers that can help you determine the exact model. You can also check the user manual or packaging that came with your device for this information.
Knowing the type of Eclipse MP3 player you have is essential because the reset button location and method may differ for each model. Ensure you have identified your MP3 player’s model before proceeding to the next step.
Step 2: Locate the reset button on the device
Once you have determined the model of your Eclipse MP3 player, the next step is to locate the reset button on the device. The reset button is typically a small, recessed button that you can press using a paperclip or a similar tool.
Here are some general guidelines on where to find the reset button based on common Eclipse MP3 player models:
- Eclipse Fit Clip: For the Fit Clip model, the reset button is usually located on the back or the bottom of the device. Look for a small hole or a labeled reset button.
- Eclipse Supra Fit: The reset button for the Supra Fit model is usually located on the side or the bottom of the MP3 player. Look for a small hole with the word “Reset” next to it.
- Eclipse T180: The reset button for the T180 model is typically located on the side or the back of the device. Look for a small hole marked “Reset.”
Keep in mind that the location of the reset button may vary slightly depending on the specific variant or edition of your Eclipse MP3 player. It’s always a good idea to refer to the user manual or manufacturer’s website for more accurate details on the reset button’s location.
Once you have located the reset button on your Eclipse MP3 player, move on to the next step to begin the reset process.
Step 3: Press and hold the reset button
Now that you have located the reset button on your Eclipse MP3 player, it’s time to perform the reset. Make sure you have a thin, pointed object such as a paperclip or a pin on hand to press and hold the reset button.
To start the reset process, follow these steps:
- Ensure your Eclipse MP3 player is powered off.
- Take the thin, pointed object and gently insert it into the reset button hole.
- Press and hold the reset button firmly. You may feel a slight click or resistance when the button is engaged.
It’s important to note that the reset button may require a firm, steady pressure to activate. Be careful not to apply excessive force that could damage the device, but don’t be afraid to exert some pressure when pressing and holding the reset button.
Continue to hold the reset button firmly for approximately 10 to 15 seconds. This duration ensures that the reset process is initiated and gives the MP3 player enough time to perform a complete reset.
Once you have held the reset button for the specified time, you can move on to the next step to complete the reset process.
Step 4: Release the reset button
After holding the reset button on your Eclipse MP3 player for the appropriate duration, it’s time to release the button. Releasing the reset button will signal to the device that the reset process is complete.
Here’s how to release the reset button:
- Take your hand or the thin, pointed object off the reset button.
- Ensure that you can see and access the reset button without any obstructions.
- Gently remove the thin, pointed object from the reset button hole.
While releasing the reset button, be mindful of any sudden movements that could cause the MP3 player to slip or fall. Handle the device with care to avoid any accidental damage.
Releasing the reset button marks the end of the active part of the reset process. The next step will involve powering on your Eclipse MP3 player to see if the reset was successful.
Now that you have released the reset button, let’s move on to the next step to power on your MP3 player.
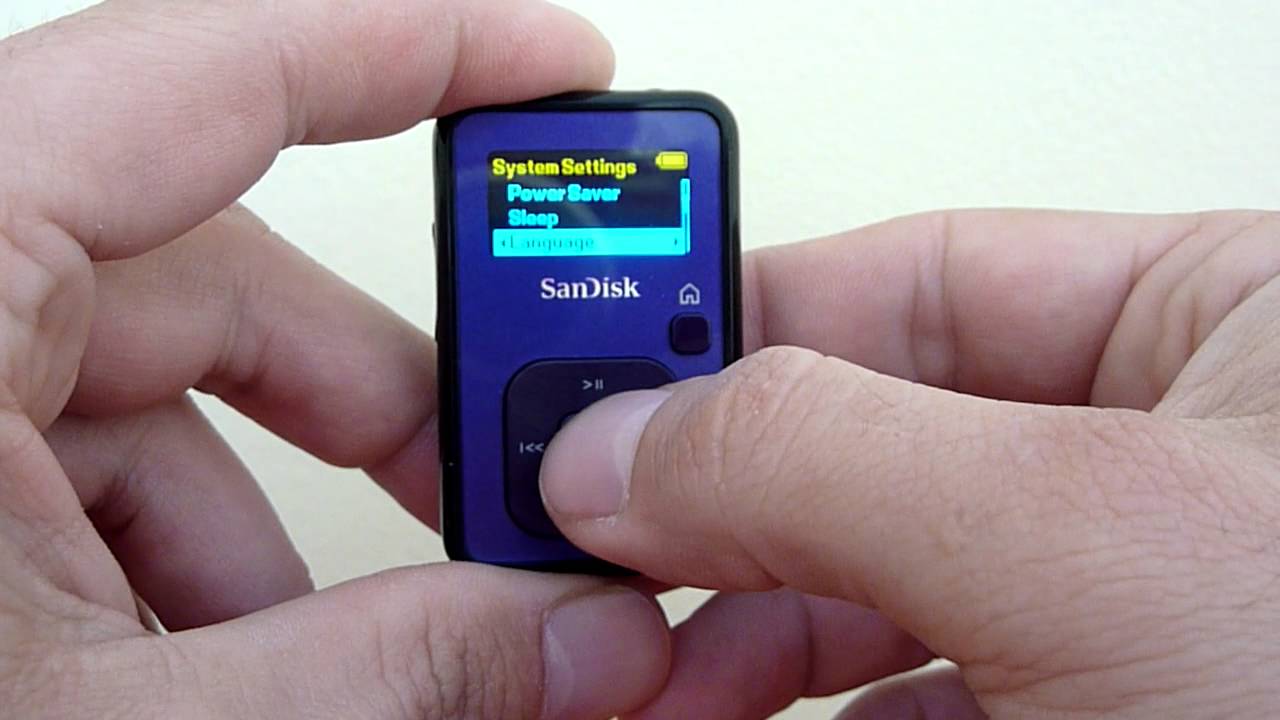
Step 5: Power on the Eclipse MP3 player
With the reset button released, it’s time to power on your Eclipse MP3 player and allow it to boot up. This step will verify whether the reset process was successful in resolving any issues you were experiencing.
Follow these steps to power on your Eclipse MP3 player:
- Locate the power button on your device. The power button is typically located on the side or the top of the MP3 player.
- Press and hold the power button for a few seconds until the device powers on. You may see the screen illuminate or display the device logo.
- Once the device has powered on, release the power button and allow the MP3 player to continue booting up.
During the boot-up process, your Eclipse MP3 player may display a loading screen or logo, followed by the device’s main menu or home screen. If everything is functioning correctly, you should be able to navigate through the menu, access your music library, and use the MP3 player as you normally would.
If the device still appears to have issues or is not functioning properly, you may need to repeat the reset process or consider seeking further technical assistance from the manufacturer’s support team.
Now that you have powered on your Eclipse MP3 player, move on to the final step to ensure the reset was successful.
Step 6: Check if the reset was successful
After powering on your Eclipse MP3 player, it’s essential to verify whether the reset process was successful in resolving the issues you were experiencing. Checking the functionality of the device will help determine if further troubleshooting is required or if your MP3 player is back to normal.
Here are a few checks you can perform to ensure that the reset was successful:
- Test the buttons: Try pressing the various buttons on your MP3 player to ensure they are responsive and functioning correctly. If the buttons were previously unresponsive or not working as expected, see if the reset has resolved this issue.
- Playback test: Play a song or audio file on your Eclipse MP3 player to confirm that the playback is smooth and without any glitches. Check if the audio quality is clear and if the song progresses seamlessly.
- Navigating the menu: Navigate through the different menus and options on your MP3 player to ensure that you can access and use all the features without any disruptions. Check if the menu operates smoothly and without any delays.
- Connectivity: If your MP3 player has Bluetooth or USB connectivity options, test these features to ensure that they are functioning properly. Connect your MP3 player to a Bluetooth device or a computer and check if the connection is stable and reliable.
If the reset was successful, you should observe improvements in the performance and functionality of your Eclipse MP3 player. The issues you were facing, such as freezing or unresponsiveness, should be resolved after the reset.
However, if the issues persist or if new problems arise, it may indicate a more significant hardware or software issue. In this case, it is recommended to consult the user manual, visit the manufacturer’s website for support resources, or contact their customer support for additional assistance.
Congratulations! You have successfully completed the reset process for your Eclipse MP3 player. Enjoy your music and the renewed functionality of your device!
Conclusion
Resetting your Eclipse MP3 player can be a simple yet effective solution for troubleshooting common issues such as freezing, unresponsiveness, or playback errors. By following the step-by-step instructions outlined in this article, you should be able to reset your MP3 player and restore it to its optimal functionality.
Remember, before proceeding with the reset process, it’s important to determine the specific model of your Eclipse MP3 player. This will help you locate the reset button accurately and follow the correct reset method.
Throughout the reset process, it’s crucial to handle your MP3 player with care and be mindful of not applying excessive force when pressing the reset button. Following the recommended duration for holding the button ensures that the reset process is properly initiated.
After releasing the reset button, power on your Eclipse MP3 player and check if the reset was successful. Test the buttons, playback, menu navigation, and connectivity features to ensure that the device is functioning as expected.
If the reset has resolved the issues you were experiencing, you can now enjoy your music and media on your refreshed Eclipse MP3 player. However, if problems persist or new ones arise, it may be necessary to seek additional technical support from the manufacturer or consult the user manual for further troubleshooting steps.
We hope that this guide has been helpful in assisting you with resetting your Eclipse MP3 player. By taking a few simple steps, you can overcome minor technical difficulties and continue enjoying your favorite songs and audio files on your device.
Happy listening!