Home>Production & Technology>Audiobook>How To Upload An Audiobook To Sandisk MP3 Player
Audiobook
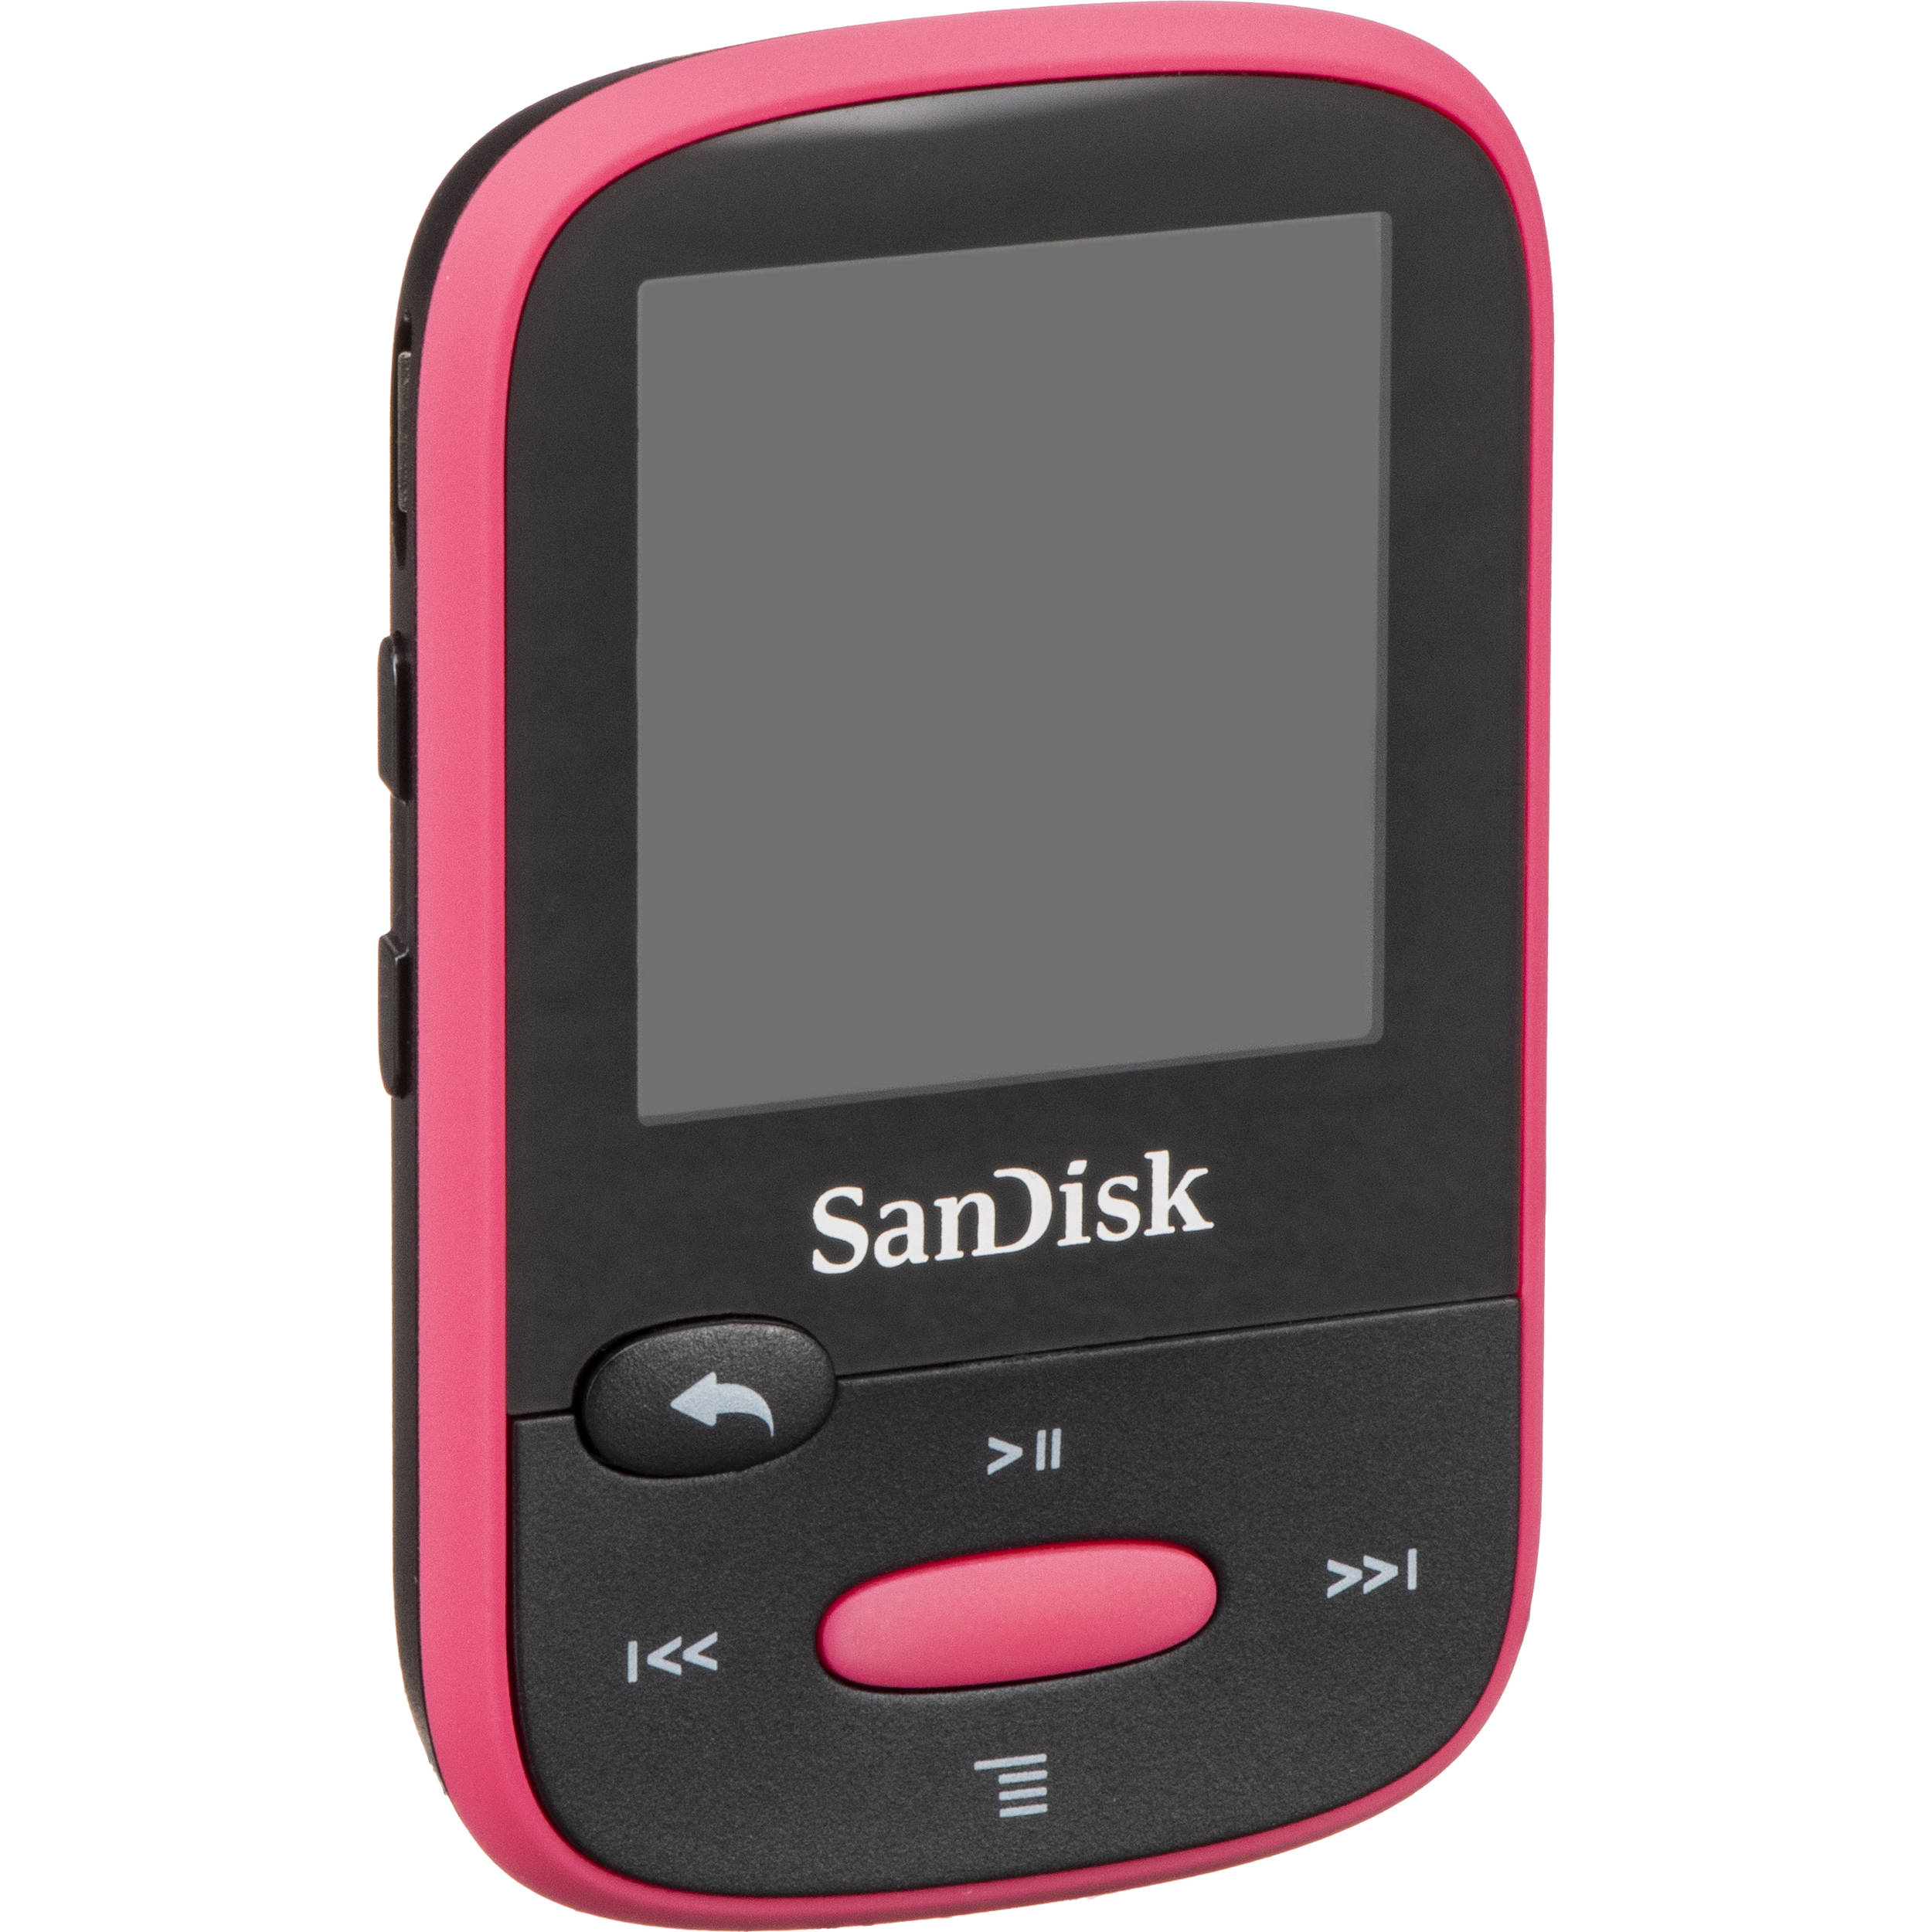
How To Upload An Audiobook To Sandisk MP3 Player
Modified: January 22, 2024
Learn how to easily upload your favorite audiobook to your Sandisk MP3 player. Enjoy your listening experience on the go!
(Many of the links in this article redirect to a specific reviewed product. Your purchase of these products through affiliate links helps to generate commission for AudioLover.com, at no extra cost. Learn more)
Table of Contents
Introduction
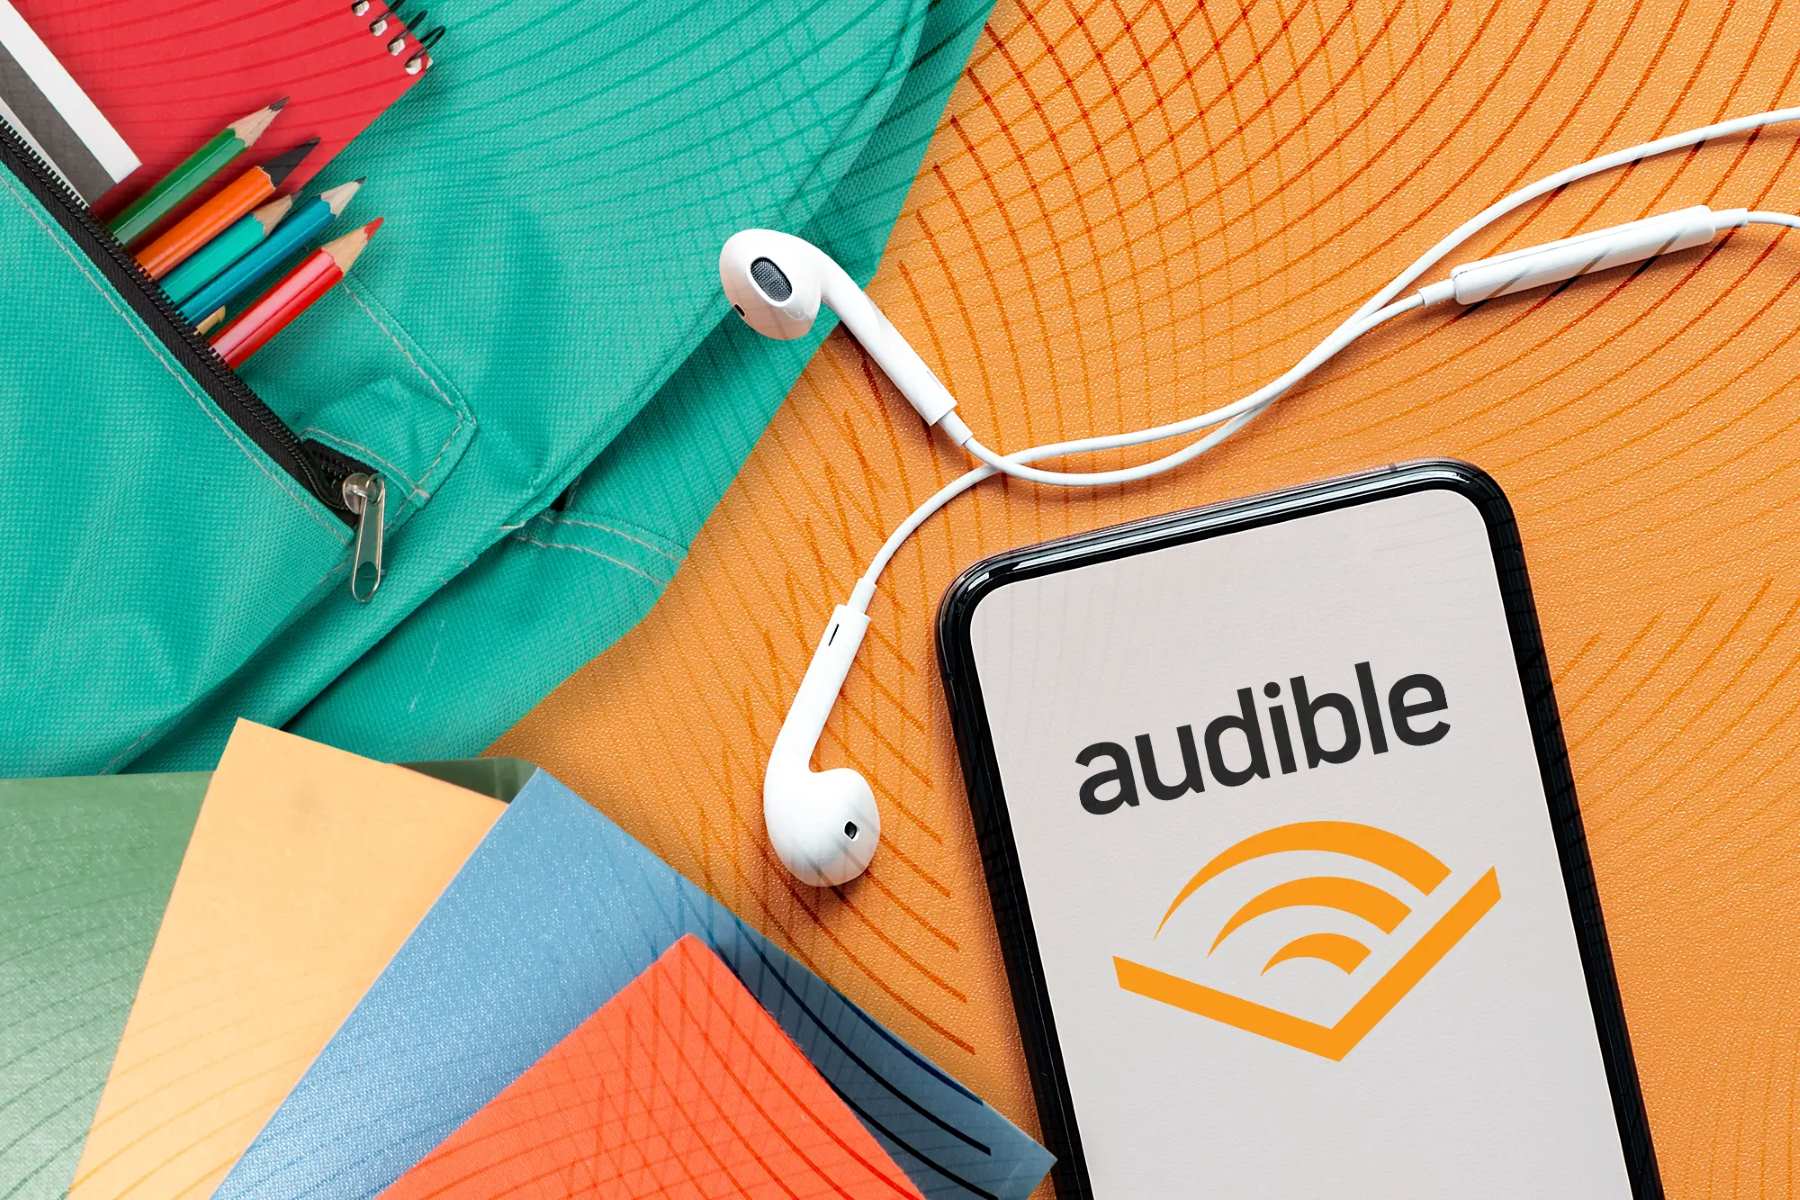
Welcome to the world of audiobooks! Audiobooks have become increasingly popular in recent years, providing a convenient and immersive way to enjoy literature on the go. If you’re the proud owner of a Sandisk MP3 player and want to learn how to upload audiobooks to it, you’re in the right place.
In this comprehensive guide, we will walk you through the step-by-step process of transferring audiobook files to your Sandisk MP3 player. Whether you’re a tech-savvy audiobook enthusiast or a beginner looking to dive into the world of spoken narratives, you’ll find this guide helpful.
Before we delve into the nitty-gritty details, it’s important to ensure the compatibility of your Sandisk MP3 player with audiobook files. Different models may have varying capabilities, so it’s always a good idea to check the user manual or the manufacturer’s website for specifications.
Now that you have a basic understanding of what we’ll be covering, let’s jump into the first step of this guide: checking compatibility.
Step 1: Checking Compatibility
Before you begin the process of uploading audiobooks to your Sandisk MP3 player, it’s essential to ensure that the device is compatible with audiobook files. Here are a few key considerations to keep in mind:
- File Formats: Check whether your Sandisk MP3 player supports the file format of your audiobooks. The most common formats for audiobooks are MP3 and AAC. However, some players may also support additional formats like WMA or FLAC. Refer to the device manual or manufacturer’s website for specific details on supported file formats.
- DRM Protection: Digital Rights Management (DRM) is a technology used to protect copyrighted content. Some audiobooks are DRM protected, which means they can only be played on authorized devices or through specific software. Ensure that your Sandisk MP3 player supports the DRM protection used by your audiobooks.
- Storage Capacity: Consider the storage capacity of your Sandisk MP3 player. Audiobooks can take up a significant amount of space, especially if they are lengthy or high-quality recordings. Make sure your device has enough storage to accommodate the audiobook files you wish to upload.
- Firmware Updates: Check if there are any firmware updates available for your Sandisk MP3 player. Firmware updates often improve compatibility with various file formats and enhance the overall performance of the device. Visit the Sandisk website or use the manufacturer’s software to check for any available updates.
By taking these compatibility factors into account, you can ensure a smooth and hassle-free experience when uploading audiobooks to your Sandisk MP3 player. Once you’ve verified the compatibility of your device, you’re ready to move on to the next step: preparing the audiobook files.
Step 2: Preparing the Audiobook Files
Before transferring audiobook files to your Sandisk MP3 player, it’s important to properly prepare them to ensure seamless playback. Here are some essential steps to follow:
- Organize the Files: Start by organizing the audiobook files on your computer. Create a separate folder for the audiobook and ensure that all the files relating to the audiobook, such as the chapters or segments, are contained within it. This will make it easier to navigate and locate specific sections of the audiobook on your Sandisk MP3 player.
- Check File Names and Metadata: Verify that the file names are clear and descriptive, making it easy to identify each chapter or segment. Additionally, check the metadata of the audiobook files. Metadata includes information like the title, author, album, and track number. Ensuring accurate metadata will enhance the overall organization and user experience when playing the audiobook on your Sandisk MP3 player. You can use media management software, such as iTunes or Windows Media Player, to edit the metadata.
- Convert File Formats (If Needed): If your Sandisk MP3 player doesn’t support the file format of your audiobooks, you may need to convert them to a compatible format. Use audio conversion software, such as VLC or Audacity, to convert the audiobook files to the appropriate format. Remember to maintain the quality of the audio while converting the files.
- Remove DRM Protection (If Applicable): If your audiobooks are DRM protected and your Sandisk MP3 player doesn’t support the DRM protection, you may need to remove the DRM from the files. There are various software options available to remove DRM, but ensure that you’re doing it within the legal bounds. Check the terms and conditions of the audiobook provider to ensure you’re adhering to their guidelines.
By following these steps to prepare your audiobook files, you’ll have them organized, properly labeled, and ready for seamless playback on your Sandisk MP3 player. With your files in order, it’s time to move on to the next step: connecting the Sandisk MP3 player to your computer.
Step 3: Connecting the Sandisk MP3 Player to Your Computer
Now that you have prepared your audiobook files, it’s time to connect your Sandisk MP3 player to your computer. Follow these steps to establish a connection:
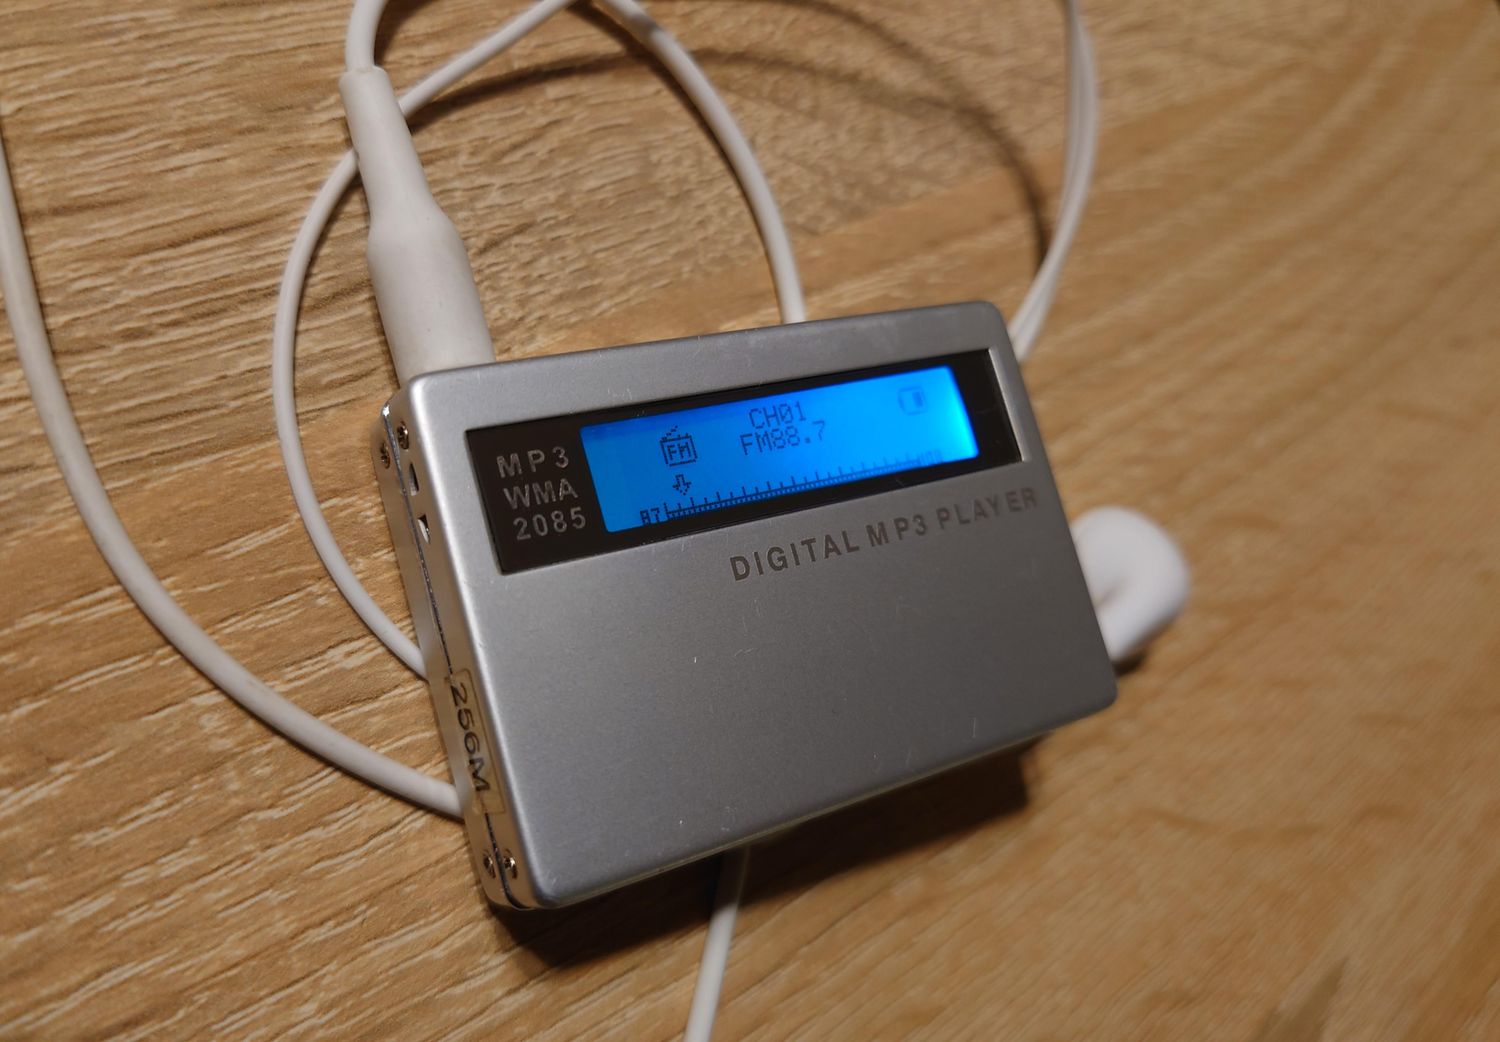
- Locate the USB Port: Locate the USB port on your Sandisk MP3 player. It is usually located on the side or bottom of the device and may be covered by a protective cap.
- Connect the USB Cable: Take the USB cable that came with your Sandisk MP3 player and plug one end into the USB port on the device. Ensure that the connection is secure.
- Connect to Your Computer: Take the other end of the USB cable and plug it into an available USB port on your computer. Your computer should recognize the Sandisk MP3 player as a removable storage device.
- Wait for the Connection: Give your computer a few moments to establish a connection with the Sandisk MP3 player. You may see a notification or hear a sound indicating that the device has been successfully connected.
Once the connection is established, your Sandisk MP3 player will appear as a removable storage device on your computer. You can now proceed to the next step: transferring the audiobook files to the Sandisk MP3 player.
Step 4: Transferring the Audiobook Files to the Sandisk MP3 Player
With the Sandisk MP3 player successfully connected to your computer, it’s time to transfer the audiobook files. Follow these steps to complete the transfer:
- Open File Explorer (Windows) or Finder (Mac): Open the File Explorer (Windows) or Finder (Mac) application on your computer. This will allow you to browse through the files and folders on your computer.
- Navigate to the Audiobook Files: Locate the folder where your audiobook files are saved. You should be able to find it easily, as you organized the files in the previous step. Open the folder to access the individual audiobook files.
- Select and Copy the Audiobook Files: Select all the audiobook files you want to transfer to the Sandisk MP3 player. You can do this by clicking and dragging the mouse cursor over the files, or by holding down the Ctrl key (Windows) or Command key (Mac) while clicking on each file. Once the files are selected, right-click on them and choose the “Copy” option.
- Paste the Audiobook Files on the Sandisk MP3 Player: Go back to the File Explorer (Windows) or Finder (Mac) window and navigate to the Sandisk MP3 player, which should be listed as a removable storage device. Open the device, then right-click and choose the “Paste” option. The audiobook files will start to transfer from your computer to the Sandisk MP3 player.
- Wait for the Transfer to Complete: Give the computer some time to copy the files to the Sandisk MP3 player. The duration of the transfer process will depend on the size of the files and the speed of your computer’s USB ports. Do not disconnect the Sandisk MP3 player until the transfer is complete.
Once the transfer is finished, you can disconnect your Sandisk MP3 player from the computer and proceed to the final step: safely disconnecting the device.
Step 5: Safely Disconnecting the Sandisk MP3 Player
After you have successfully transferred the audiobook files to your Sandisk MP3 player, it’s important to safely disconnect the device from your computer to ensure the integrity of the transferred files. Follow these steps to safely disconnect your Sandisk MP3 player:
- Check for Active Transfers: Before disconnecting the device, make sure that all file transfers to the Sandisk MP3 player have completed. This ensures that the files are not corrupted or partially transferred.
- Close any Open Files: If you have any audiobook files or folders open on your computer that are stored on the Sandisk MP3 player, make sure to close them before disconnecting the device. This prevents any potential data loss or file corruption.
- Eject the Device: On your computer, find the icon representing the Sandisk MP3 player in the File Explorer (Windows) or Finder (Mac). Right-click on the icon and select the “Eject” option. This will notify your computer that you want to safely remove the device.
- Wait for Confirmation: After selecting “Eject,” wait for your computer to display a notification or message indicating that it is safe to remove the Sandisk MP3 player. This usually happens within a few seconds or minutes, depending on your computer’s settings.
- Physically Disconnect the Device: Once you receive confirmation from your computer, gently unplug the USB cable from your Sandisk MP3 player. Ensure that you do not pull or tug on the cable forcefully, as this could potentially damage the device’s USB port or the cable itself.
By following these steps to safely disconnect your Sandisk MP3 player, you minimize the risk of data corruption or loss and ensure that your audiobook files are stored securely on the device. Congratulations! You have now successfully uploaded audiobooks to your Sandisk MP3 player.
With the audiobook files on your Sandisk MP3 player, you can now enjoy your favorite stories, novels, or informational content on the go. Simply connect your headphones and navigate through the files to find the audiobook you want to listen to. Happy listening!
Conclusion
Congratulations! You have reached the end of this comprehensive guide on how to upload audiobooks to your Sandisk MP3 player. By following the steps outlined in this guide, you can seamlessly transfer your favorite audiobook files and enjoy them on the go.
We started by ensuring the compatibility of your Sandisk MP3 player, checking file formats, DRM protection, storage capacity, and firmware updates. Then, we moved on to the crucial step of preparing the audiobook files, organizing them, checking file names and metadata, and converting or removing DRM protection if necessary.
After preparing the audiobook files, we discussed how to connect your Sandisk MP3 player to your computer, using the USB cable and establishing a successful connection. From there, we guided you through the process of transferring the audiobook files to the Sandisk MP3 player, ensuring a smooth and efficient transfer.
Last but not least, we emphasized the importance of safely disconnecting the Sandisk MP3 player from your computer to protect the integrity of the transferred files. By following the recommended steps, you can prevent data corruption and safely remove the device without any issues.
Now that you have successfully uploaded your audiobook files to your Sandisk MP3 player, it’s time to sit back, relax, and enjoy your favorite stories coming to life through the power of audio. Whether you’re commuting, exercising, or simply looking for a way to unwind, your Sandisk MP3 player will be your faithful companion.
Remember to regularly check for new audiobooks, update your firmware, and keep your audio library organized for a seamless listening experience. Enjoy the convenience and portability of audiobooks with your Sandisk MP3 player!