Home>Production & Technology>MP3>How To Charge MP3 Player
MP3
How To Charge MP3 Player
Modified: January 22, 2024
Learn how to charge your MP3 player easily and efficiently. Find step-by-step instructions and tips for extending battery life.
(Many of the links in this article redirect to a specific reviewed product. Your purchase of these products through affiliate links helps to generate commission for AudioLover.com, at no extra cost. Learn more)
Table of Contents
Introduction
Welcome to the world of MP3 players! These portable devices have revolutionized the way we listen to music, allowing us to carry our favorite tunes with us wherever we go. Whether you prefer to groove to upbeat tracks during your daily workout or relax with soothing melodies on a long journey, an MP3 player is the perfect companion.
However, like any electronic device, an MP3 player requires a reliable source of power to keep it running. Charging your MP3 player is an essential part of maintaining its functionality and ensuring you can enjoy your music without interruption. If you’re new to the world of MP3 players, you might be wondering how to charge your device effectively.
In this article, we will guide you through the process of charging your MP3 player, ensuring that you have all the information you need to keep your tunes playing. Whether you have a dedicated MP3 player or use your smartphone as a music player, the charging process is quite similar for most devices. So, let’s dive in and explore the steps to charge an MP3 player!
Step 1: Check the charging port
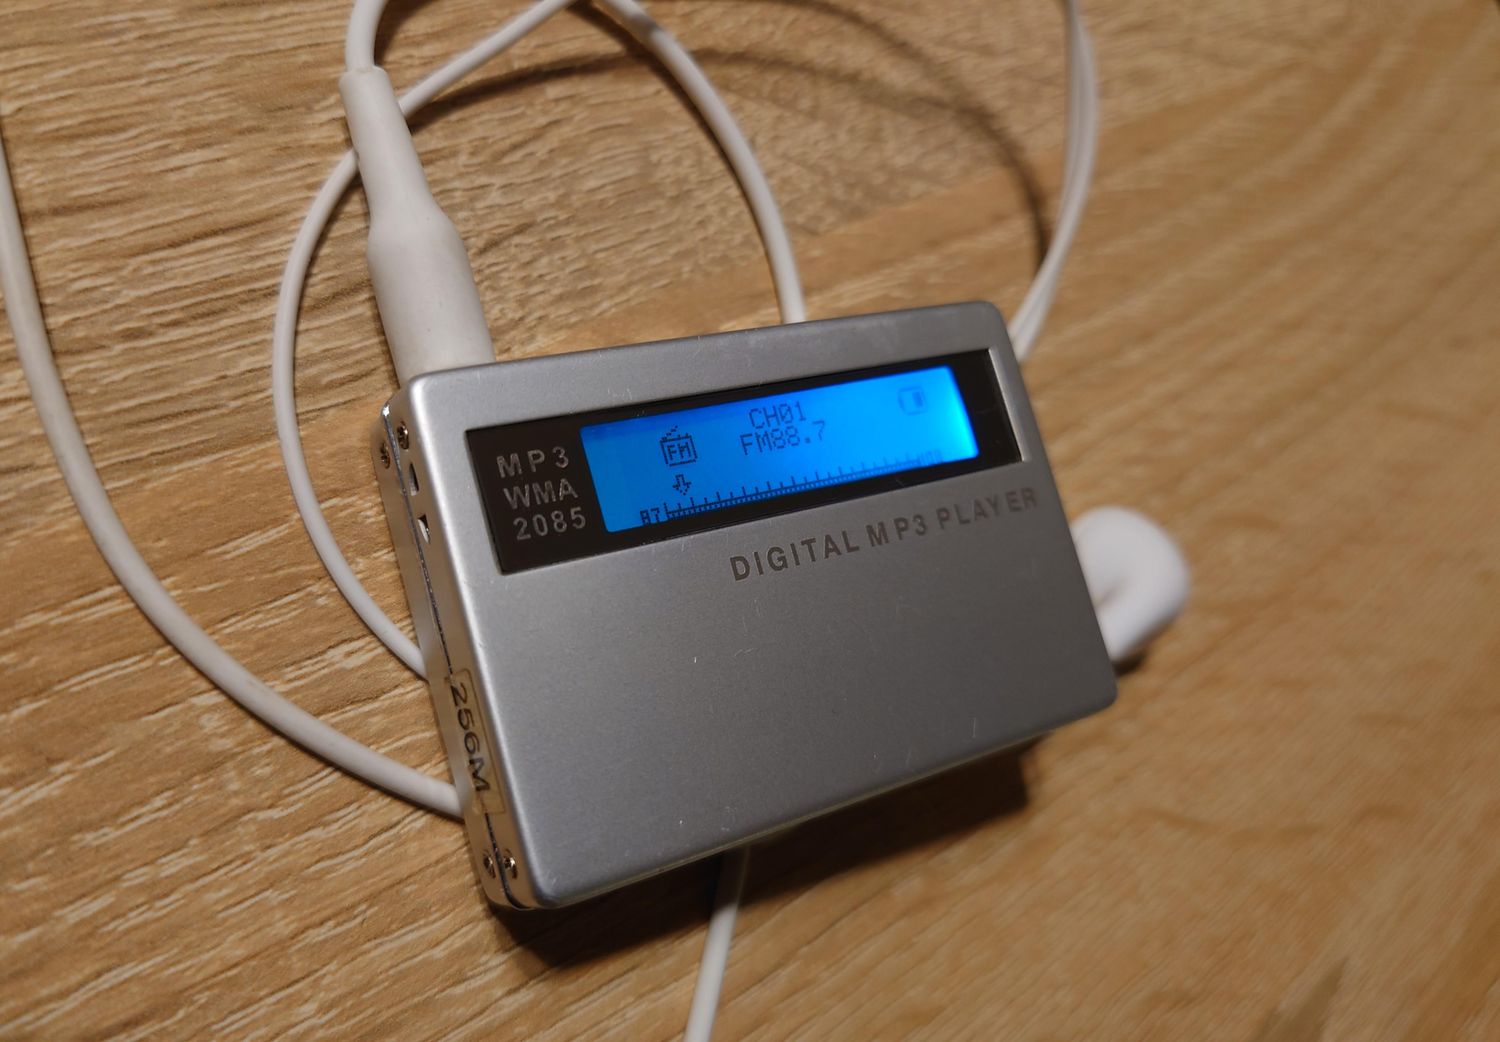
Before you begin the charging process, it’s essential to identify the charging port on your MP3 player. The charging port is where you connect the charging cable to supply power to the device. Different MP3 players may have different types of charging ports, so it’s important to familiarize yourself with the specific port on your device.
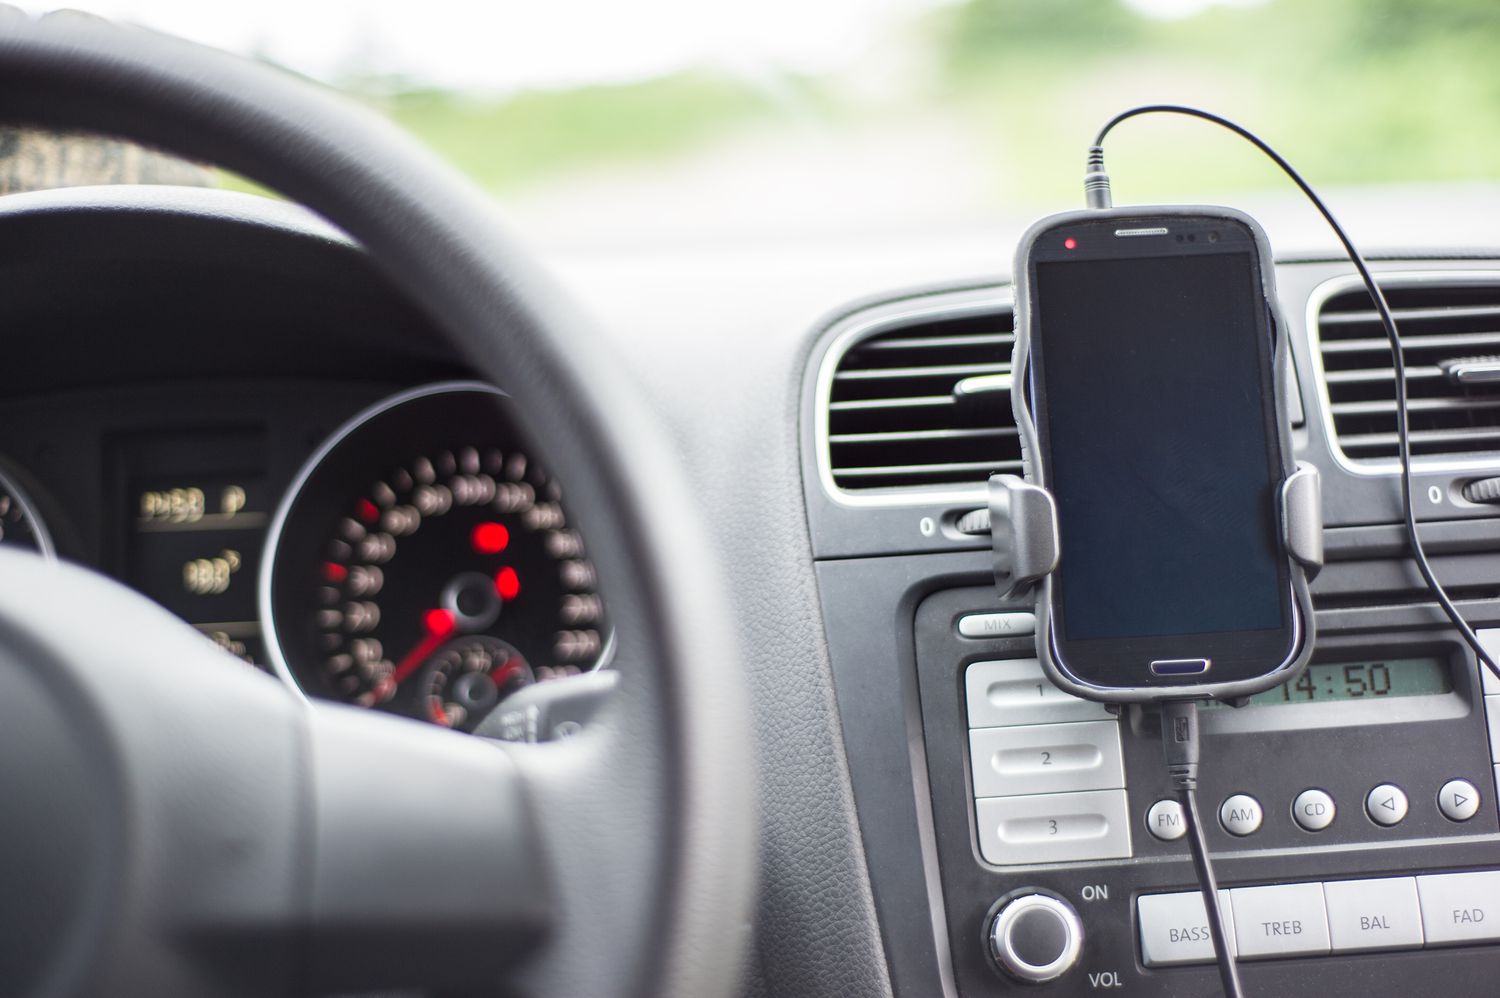
The most common type of charging port found on MP3 players is the USB port. This is a versatile and widely used port that allows for easy connectivity with various devices. In most cases, the USB port on your MP3 player will be a micro USB or USB-C port. Some older models may have a mini USB port.
To determine the type of charging port on your MP3 player, examine the edges or bottom of the device. Look for a small rectangular or square-shaped opening with pins or connectors inside. This is likely the charging port. If you’re unsure, consult the user manual or visit the manufacturer’s website for additional guidance.
Once you have identified the charging port, you’re ready to move on to the next steps in the charging process. Make sure to gather the necessary equipment before proceeding.
Step 2: Gather the necessary equipment
Now that you know where the charging port is on your MP3 player, it’s time to gather the necessary equipment to charge it. Here’s what you’ll need:
- USB cable: Look for the USB cable that was included with your MP3 player. It typically has a standard USB-A connector on one end and the appropriate connector for your MP3 player on the other end (micro USB, USB-C, or mini USB).
- Power source: You’ll need a power source to charge your MP3 player. This can be a computer, a wall adapter with a USB port, or a portable power bank. Ensure that the power source is reliable and capable of supplying enough power to charge your device.
Make sure that the USB cable is in good condition without any frayed wires or damage. If you don’t have the original USB cable or it’s not functioning properly, you can purchase a compatible one from electronics stores or online retailers.
Once you have the USB cable and a suitable power source, you’re ready to connect them to your MP3 player and initiate the charging process. Let’s move on to the next step!
Step 3: Connect USB cable to MP3 player
Now that you have gathered the necessary equipment, it’s time to connect the USB cable to your MP3 player. Follow these steps:
- Locate the charging port on your MP3 player, which you identified in Step 1.
- Take the USB cable and insert the appropriate connector (micro USB, USB-C, or mini USB) into the charging port on your device. Ensure that it is inserted correctly and fully into the port.
- Make sure the connection between the USB cable and the MP3 player is secure. You should not encounter any resistance or feel any looseness when the two are connected.
It’s important to handle the USB cable and the MP3 player with care to avoid any damage to the charging port or cable connectors. Be gentle when inserting and removing the cable, and avoid pulling or bending it forcefully.
Once you have successfully connected the USB cable to your MP3 player, you’re ready to move on to the next step and connect it to a power source for charging.
Step 4: Connect USB cable to power source
With the USB cable securely connected to your MP3 player, it’s time to connect the other end of the cable to a power source. Follow these steps:
- If you are using a computer as your power source, locate an available USB port. Plug the USB cable into the USB port on your computer.
- If you are using a wall adapter with a USB port, plug the USB cable into the USB port on the adapter.
- If you are using a portable power bank, connect the USB cable to the power bank’s USB port.
Ensure that the connection between the USB cable and the power source is secure. The USB cable should fit snugly into the USB port without any looseness or wobbling.
If you are using a computer as the power source, make sure the computer is turned on and not in sleep or hibernation mode. This ensures that the USB port is active and can supply power to your MP3 player.
It’s important to use a reliable and properly functioning power source to ensure that your MP3 player charges effectively. Faulty power sources or low-quality USB cables may lead to slow or incomplete charging or could even damage your device.
Once you have connected the USB cable to the power source, you’re ready to proceed to the next step and start the charging process for your MP3 player.
Step 5: Start the charging process
Now that the USB cable is connected to both your MP3 player and the power source, it’s time to start the charging process. Follow these steps:
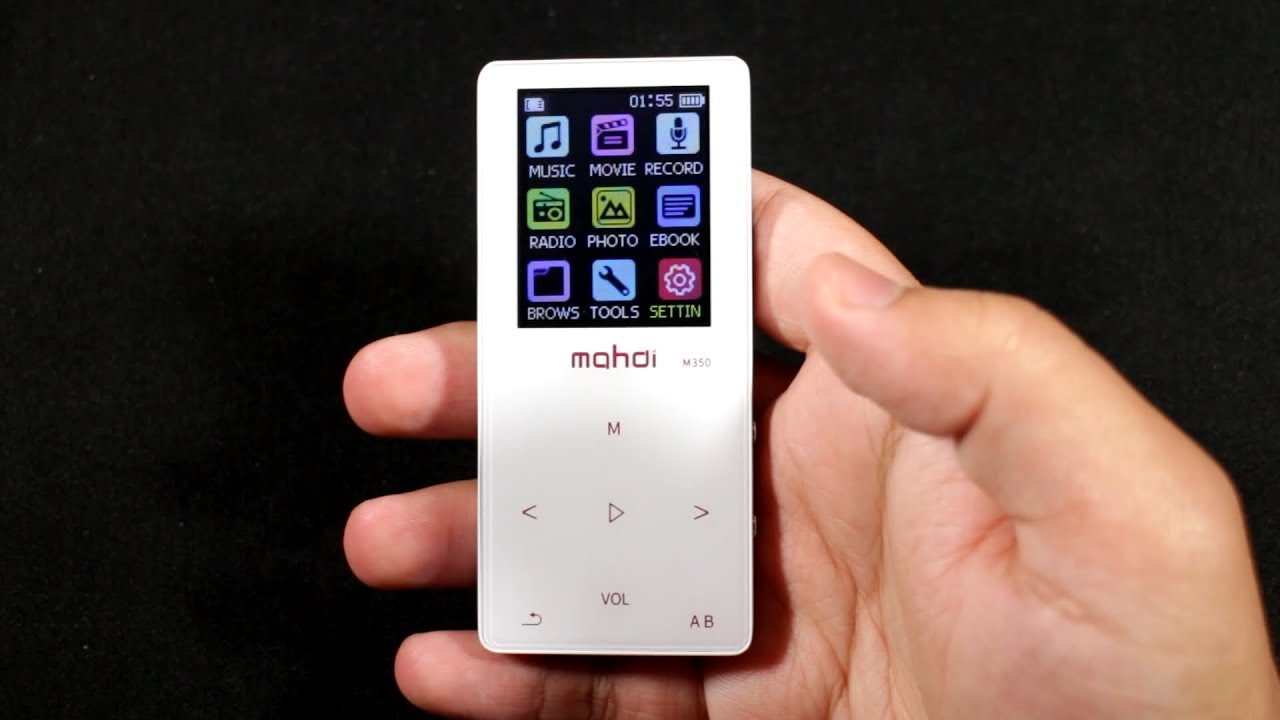
- Check your MP3 player’s screen or indicator lights to confirm that it is successfully connected and charging. Most MP3 players have a battery icon or a charging animation that appears when they are charging.
- If your MP3 player has a power button, press it to turn on the device. This will initiate the charging process.
- Alternatively, some MP3 players automatically start charging as soon as they are connected to a power source, without the need to manually turn them on.
During the charging process, you may notice that the battery percentage increases or a charging icon appears on the screen. This indicates that your MP3 player is receiving a charge and the battery is replenishing.
It’s important to note that the time it takes to fully charge your MP3 player may vary depending on its battery capacity and the charging speed. Some MP3 players can be fully charged within a few hours, while others may take longer. Refer to the user manual or manufacturer’s guidelines for more precise information on charging durations.
While your MP3 player is charging, it is advisable to avoid using it extensively. Using power-intensive features or applications may slow down the charging process.
Once you have started the charging process, it’s time to monitor the charging progress and ensure that your MP3 player is charging effectively. Proceed to the next step to find out how to do that.
Step 6: Monitor the charging progress
After initiating the charging process for your MP3 player, it’s important to monitor the charging progress to ensure that it is proceeding as expected. Here are some tips to help you monitor the charging progress:
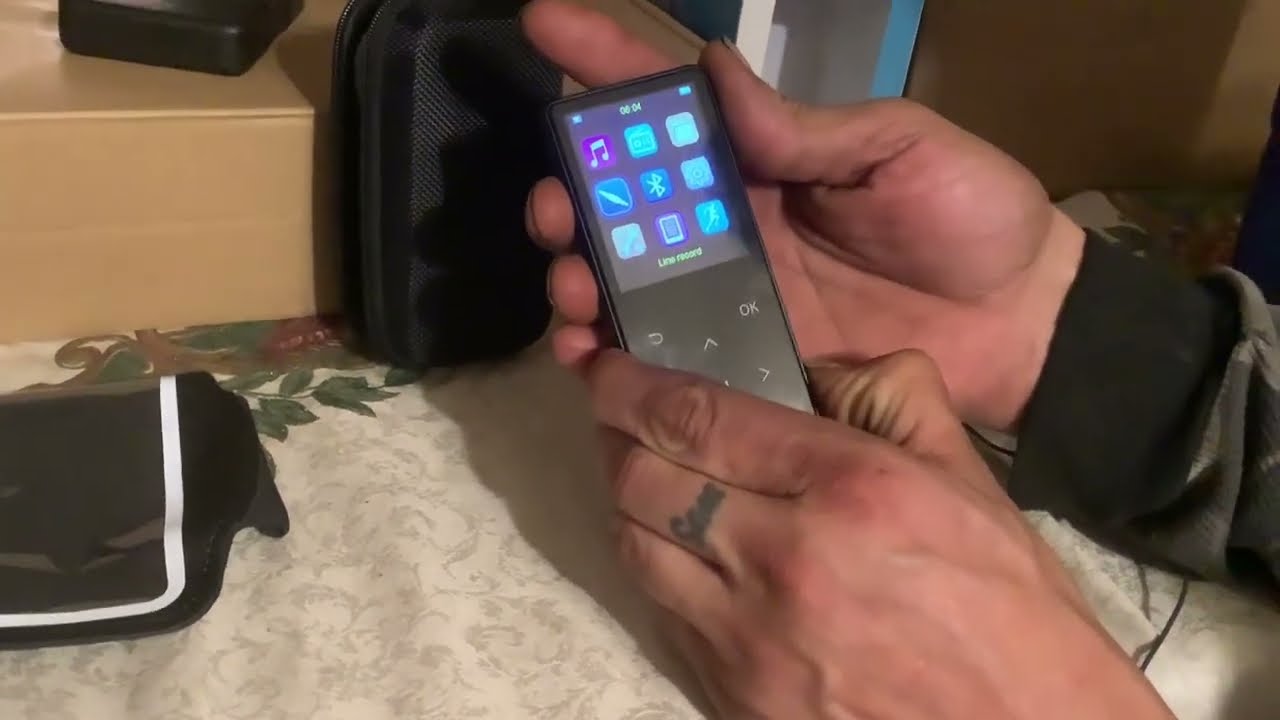
- Check the battery icon or indicator on your MP3 player’s screen. It will provide you with an estimate of the current battery level and how much it has progressed since you started charging.
- Some MP3 players have LED indicator lights that change color or blink to indicate the charging status. Refer to your device’s user manual to understand the specific meanings of these indicators.
- Keep an eye on the charging time. If your MP3 player has a built-in timer or if you started charging at a specific time, you can compare the elapsed charging time to the expected charging duration mentioned in the user manual.
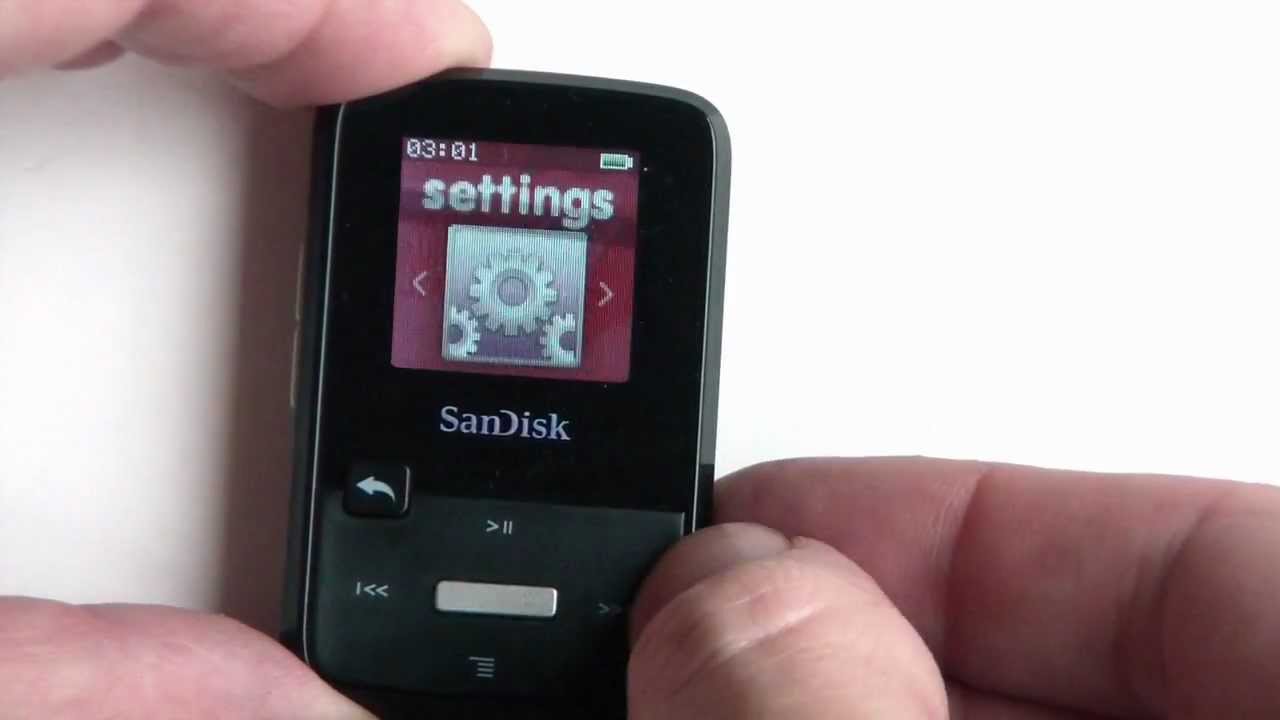
- If your MP3 player allows it, you can also check the charging status in the device’s settings menu. Look for a battery or power section that displays detailed information about the charging process.
It’s important to note that the charging progress may vary depending on various factors, including the battery capacity, the power output of the charging source, and any background processes or usage on your MP3 player. If you notice that the charging progress is significantly slower than expected or if you encounter any abnormalities, consider disconnecting and reconnecting the USB cable and ensuring the power source is working correctly.
Remember to be patient, as it may take several hours for your MP3 player to fully charge, especially if the battery was completely depleted. Avoid interrupting the charging process prematurely, as this may result in an incomplete charge and shorter battery life.
Once your MP3 player has reached a satisfactory charge level, proceed to the next step to safely disconnect it from the power source.
Step 7: Disconnect the MP3 player
Once your MP3 player has been sufficiently charged and you are ready to disconnect it from the power source, follow these steps:
- Check the battery level or indicator on your MP3 player’s screen to ensure that it has reached an acceptable charge. It is recommended to charge the device to at least 80% capacity for optimal battery health and longevity.
- If your MP3 player has a dedicated power button, press and hold it to power off the device before disconnecting the USB cable. This ensures that no activity or background processes are running before disconnecting.
- Gently grasp the USB cable near the connector and carefully remove it from the charging port on your MP3 player. Avoid pulling or yanking the cable forcefully to prevent any damage to the charging port or cable.
- Disconnect the other end of the USB cable from the power source, whether it is a computer, wall adapter, or power bank.
It’s important to handle the MP3 player and the USB cable with care when disconnecting. Avoid twisting or bending the cable excessively, as this can weaken the connection or cause damage over time.
Once the USB cable is disconnected, you can safely store it and any other charging accessories for future use. Remember to keep the USB cable in a safe and easily accessible place so that you can charge your MP3 player whenever needed.
Now that you have successfully disconnected your MP3 player from the power source, you can turn it on and enjoy your favorite music on-the-go or continue using it for other purposes.
Remember to periodically charge your MP3 player to maintain its battery life and ensure uninterrupted music playback. Charging it when the battery level drops to around 20% or higher is a good practice to follow.
With these steps, you have successfully learned how to charge your MP3 player. Enjoy your music and take your favorite tunes with you wherever you go!
Conclusion
Congratulations! You have learned how to effectively charge your MP3 player. Taking care of your device’s battery is crucial for uninterrupted music enjoyment, and following the steps outlined in this article ensures that you can keep the tunes playing wherever you go.
Remember to identify the charging port on your MP3 player and gather the necessary equipment, including a USB cable and a reliable power source. Connecting the USB cable to your MP3 player and the power source allows you to start the charging process. Make sure to monitor the charging progress by checking the battery indicator on your device’s screen or any LED indicator lights.
Once your MP3 player is sufficiently charged, it’s important to disconnect it from the power source. Take care when removing the USB cable and ensure that your device is powered off if it has a dedicated power button.
By following these steps, you can maintain the battery health of your MP3 player and ensure that it remains ready for your next jam session.
Now, charge up your MP3 player and enjoy your favorite tunes on the go! Remember to keep your USB cable and charging equipment handy for future charging needs.
Thank you for reading and happy listening!