Home>Production & Technology>Remix>How To Remix Songs For Free

Remix
How To Remix Songs For Free
Modified: March 5, 2024
Learn how to remix songs for free and create your own unique tracks. Discover tips, tricks, and tools to unleash your creativity with remixing.
(Many of the links in this article redirect to a specific reviewed product. Your purchase of these products through affiliate links helps to generate commission for AudioLover.com, at no extra cost. Learn more)
Table of Contents
Introduction
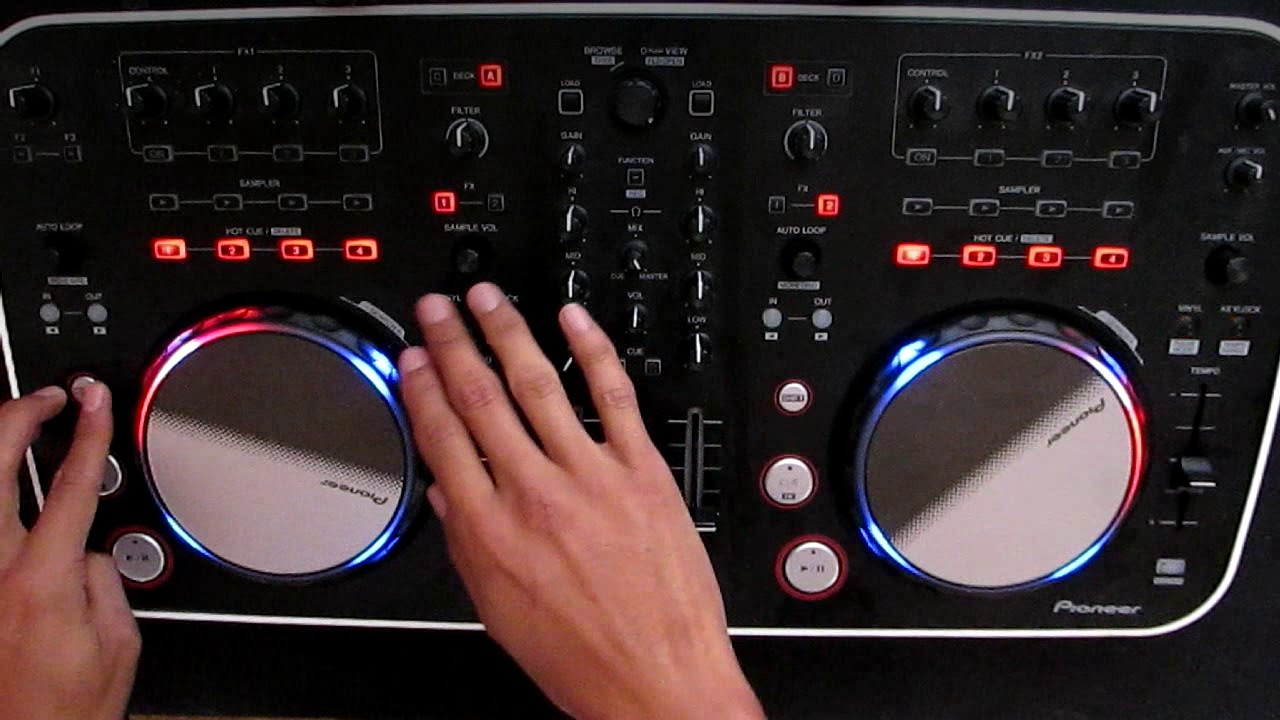
Remixing songs has become a popular artistic expression, allowing musicians and DJs to put their own unique spin on existing tracks. Traditionally, this process required expensive studio equipment and technical skills. However, with advancements in digital technology, it’s now possible to remix songs for free using accessible software and online tools.
In this article, we will guide you through the process of remixing songs, step by step. Whether you are an aspiring music producer, a DJ looking to create your own mixes, or simply a music enthusiast wanting to experiment, this guide will help you get started. You don’t need any previous experience or technical knowledge – just a computer, an internet connection, and a passion for music.
Remixing songs allows you to add your creative touch to existing tracks, transforming them into something entirely new and unique. By manipulating various elements like beats, vocals, and melodies, you can create a remix that reflects your personal style and taste.
The process of remixing involves finding remixable songs, acquiring the necessary software, importing song tracks, manipulating those tracks, adding effects and filters, arranging and mixing the tracks, and finally exporting the remixed song. Each step will be covered in detail, ensuring you have a thorough understanding of the process.
While there are many paid software options available for remixing, this guide will focus on free alternatives. This way, you can explore and experiment with remixing without any financial commitment.
So, whether you’re looking to create an energetic dance remix, a chilled-out ambient version, or anything in between, let’s dive into the world of remixing and unlock your creative potential!
Step 1: Finding Remixable Songs
The first step in the remixing process is to find songs that are suitable for remixing. There are several ways you can go about this:
- Use remix-friendly platforms: Look for platforms that specialize in providing remix stems or acapellas of popular songs. These platforms often have a library of tracks where you can find isolated vocals, instrumentals, and other individual elements of a song, making it easier to remix them.
- Explore creative commons music: Websites like SoundCloud and Bandcamp offer a wealth of music that is released under creative commons licenses. This means you have the permission to remix and create derivative works from these tracks. Make sure to check the specific license requirements, such as giving credit to the original artist.
- Reach out to artists: If there’s a particular song or artist you’d like to remix, consider reaching out to them directly. Many artists are open to collaboration and may provide you with the stems or allow you to remix their tracks. You can contact them through social media or email and express your interest in remixing their music.
- Experiment with different genres: Don’t limit yourself to one specific genre. Explore a wide range of music genres and styles to find remixable songs that resonate with you. Remixing songs from different genres can lead to interesting and unique results.
When selecting songs for remixing, it’s important to consider the quality of the original track. Look for songs that have good production value and elements that can be easily extracted for remixing. Pay attention to the tempo, key, and overall structure of the song, as these factors can affect the remixing process.
Remember to respect copyright laws and obtain proper permissions when remixing copyrighted material. Focusing on remix-friendly platforms and creative commons music ensures that you are working with content that is legally remixable.
Once you have found the remixable songs you want to work with, you’re ready to move on to the next step: acquiring the necessary software for remixing.
Step 2: Acquiring the Necessary Software
Before you can start remixing songs, you’ll need the right software to manipulate and edit the audio tracks. Fortunately, there are various free software options available that can cater to your remixing needs:
- Digital Audio Workstations (DAWs): DAWs are powerful software tools that allow you to record, edit, and mix audio tracks. Popular free DAWs include Audacity, GarageBand (for macOS/iOS users), and Cakewalk by BandLab. These DAWs offer essential features like track editing, effects processing, and the ability to import and export audio files.
- Remixing-specific software: If you specifically want software tailored for remixing purposes, there are options available. One such example is Mixxx, a free DJ software that provides tools for beatmatching, crossfading, and adding effects. Another option is Stems, a software developed specifically for remixing with a wide range of features to manipulate individual elements of a song.
- Online remixing platforms: If you prefer a more user-friendly and browser-based approach, online remixing platforms can be a great option. Platforms like Soundation, Soundtrap, and BandLab offer free online DAWs that allow you to remix songs directly in your web browser, without the need to install any software.
When selecting a software, consider your own level of expertise and the specific features you require for your remixing projects. Some software may have a steeper learning curve but offer more advanced functionalities, while others may be more beginner-friendly but have limited capabilities.
Additionally, it’s worth exploring online tutorials and communities dedicated to the software you choose. This will help you learn the ins and outs of the software, discover tips and tricks, and connect with fellow remix enthusiasts.
Once you have acquired the necessary software, it’s time to move on to the next step: importing the song tracks into your chosen software.
Step 3: Importing Song Tracks
Now that you have the software ready, it’s time to import the song tracks you want to remix into your chosen software. The specific steps may vary depending on the software you’re using, but the general process is as follows:
- Locate your song files: Make sure you have the audio files of the songs you want to remix stored on your computer or external storage device. These files can be in various formats such as MP3, WAV, or FLAC.
- Open your software: Launch your chosen software and create a new project or session to begin working on the remix.
- Import audio files: Locate the “Import” or “File” option in your software’s menu. Select this option and navigate to the location where your song files are stored. Choose the files you want to import and confirm the selection.
- Organize tracks: Once the song tracks are imported, they will appear as individual tracks in your software’s interface. You can rearrange the tracks, mute/unmute them, or adjust their volume as needed. This step is important as it helps you visually see the different components of the song and makes it easier to manipulate them during the remixing process.
Keep in mind that some software may allow you to import specific stems or individual elements of a song, while others may require you to import the entire song as a single audio file. If you have access to remix stems or acapellas, importing them separately will give you more flexibility in manipulating different elements.
Before moving on to the next step, take some time to listen to the tracks you’ve imported and familiarize yourself with the original arrangement, tempo, and key of the song. Understanding the structure of the original song will help you make informed decisions during the remixing process.
With your song tracks imported and organized, you’re now ready to dive into the exciting part – manipulating and remixing the tracks to create your unique sound. Let’s move on to Step 4: Manipulating the Song Tracks.
Step 4: Manipulating the Song Tracks
With the song tracks imported into your chosen software, it’s time to start manipulating and transforming them to create your remix. Here’s how you can begin:
- Trimming and slicing: Use the editing tools in your software to trim the song tracks and isolate specific sections that you want to work with. This allows you to focus on particular parts of the song and rearrange them to create a unique structure for your remix.
- Looping and repeating: Experiment with looping sections of the song tracks to create new patterns and rhythms. By repeating certain elements, you can build tension, add variation, or emphasize certain parts of the track.
- Pitch and tempo adjustments: Modify the pitch and tempo of the song tracks to match your remix vision. Lowering or raising the pitch can create interesting sonic effects, and adjusting the tempo can change the energy and vibe of the track.
- Layering and stacking: Combine different elements of the song tracks and layer them on top of each other to create a fuller and more dynamic sound. Experiment with blending vocals, instrumentals, and other elements in unique ways to add depth and complexity to your remix.
- Chopping and rearranging: Cut up the song tracks into smaller segments and rearrange them in different orders. This allows you to create new sections and build unique arrangements for your remix. Don’t be afraid to experiment with unconventional structures and unexpected transitions.
- Mute and solo: Utilize the mute and solo functions in your software to isolate specific tracks or elements. This enables you to focus on individual components and make precise adjustments or enhancements.
During the process of manipulating the song tracks, it’s crucial to maintain a good workflow and organization. Keep your project well-structured by labeling and color-coding tracks, using markers to indicate important sections, and saving different versions of your remix as you progress.
Remember to trust your creativity and intuition as you experiment with different manipulations. Don’t be afraid to take risks and try unconventional approaches. The goal is to create a remix that reflects your unique style and artistic vision.
Once you’re satisfied with the manipulations you’ve made to the song tracks, it’s time to move on to the next step: adding effects and filters to enhance your remix. Let’s explore Step 5: Adding Effects and Filters.
Step 5: Adding Effects and Filters
Now that you have manipulated the song tracks and created a foundation for your remix, it’s time to add effects and filters to enhance the overall sound and bring your remix to life. Here are some steps to follow:
- Explore effects plugins: Most digital audio workstations (DAWs) come with a variety of built-in effects plugins, such as reverb, delay, EQ, and compression. Experiment with these plugins to add depth, space, and character to your remix. Adjust parameters like decay, feedback, and tone to achieve the desired sound.
- Experiment with audio filters: Filters can shape the frequency content of your tracks and create interesting sonic textures. Low-pass filters, high-pass filters, and band-pass filters are commonly used in remixes to highlight or suppress specific frequency ranges. Apply filters to individual tracks or even to the entire mix to achieve different effects.
- Add modulation effects: Modulation effects like chorus, flanger, and phaser can add movement and dimension to your remix. Apply these effects to individual tracks or use them sparingly on the entire mix to create subtle or pronounced sonic transformations.
- Try time-based effects: Time-based effects like time-stretching and granular synthesis can manipulate the tempo and timing of your tracks. Experiment with slowing down or speeding up sections of the song, or use granular synthesis to chop and rearrange audio grains for unique sonic textures.
- Consider creative effects: Don’t be afraid to explore unconventional and creative effects to add a distinctive touch to your remix. Experiment with glitch effects, stutter edits, sample manipulation, and other techniques to push the boundaries and create intriguing sonic surprises.
As you add effects and filters, always trust your ears and make adjustments accordingly. Don’t overdo it – be mindful of achieving a balanced mix where the effects enhance the original elements without overpowering them.
It’s also a good idea to compare your remix with the original track at this stage. This will help you evaluate the changes you have made and ensure that your remix stays true to the essence of the original while still showcasing your creative reinterpretation.
Once you’re satisfied with the effects and filters applied to your remix, it’s time to move on to the next step: arranging and mixing the tracks. Let’s explore Step 6: Arranging and Mixing the Tracks.
Step 6: Arranging and Mixing the Tracks
After manipulating the song tracks and adding effects to your remix, it’s time to focus on arranging and mixing the tracks to create a cohesive and engaging final product. Here are some steps to consider:
- Create a structure: Think about the arrangement of your remix and how you want it to flow. Determine where different sections, like the intro, verses, choruses, and bridge, will appear. Rearrange the manipulated song tracks you’ve created to fit this structure and create a dynamic progression.
- Balance the levels: Adjust the volume levels of each track in your remix to achieve a balanced mix. Pay attention to the relative loudness of different elements and ensure that no track is overpowering or getting lost in the mix. Use the volume faders in your software to make precise adjustments.
- Pan and spatialize: Experiment with panning to position different elements of your remix in the stereo field. This can create a sense of width and space. Try spreading out instruments, vocals, and effects across left and right channels for a more immersive listening experience.
- Apply automation: Use automation in your software to control parameters like volume, panning, and effects over time. This allows you to add dynamic changes throughout your remix, such as fading tracks in and out, creating build-ups, or adding subtle modulations to specific elements.
- Consider EQ and compression: Use EQ (equalization) to sculpt the frequency balance of your tracks and ensure that each element has its space in the mix. Compression can help control the dynamic range of individual tracks and bring them together. Experiment with different EQ settings and compression ratios to achieve the desired sound.
- Add additional elements: If you feel that your remix needs additional elements to enhance the overall sound, consider adding supplementary sounds or samples. This can include drum fills, vocal snippets, or atmospheric effects. Be mindful not to overcrowd the mix – only add elements that truly contribute to the overall vision of your remix.
Throughout the arranging and mixing process, regularly listen to your remix and make adjustments as needed. Trust your ears and make decisions based on what sounds best to you. Take breaks to give your ears a rest and come back to the mix with a fresh perspective.
It’s important to maintain good communication with the original track, ensuring that while you’re adding your creative touches, the essence of the song remains intact. Strive to strike a balance between staying true to the original and showcasing your unique interpretation.
Once you’re satisfied with the arrangement and mix of your remix, it’s time to move on to the final step: exporting the remixed song. Let’s explore Step 7: Exporting the Remixed Song.
Step 7: Exporting the Remixed Song
After putting in all the hard work of remixing, arranging, and mixing, it’s time to finalize your remix by exporting it into a format that can be easily shared and enjoyed. The process of exporting may vary depending on the software you are using, but here’s a general overview:
- Select the export option: Look for the export or bounce option in your software’s menu. This option allows you to specify the settings for the final exported file.
- Select the file format: Choose the file format you want to export your remix in. Common formats include MP3, WAV, and FLAC. Consider the desired quality and compatibility when selecting the format. MP3 is widely compatible and suitable for online sharing, while WAV and FLAC provide higher audio quality but occupy more disk space.
- Set the export parameters: Specify the export settings such as the sample rate, bit depth, and file compression. Higher sample rates and bit depths result in higher audio quality but also larger file sizes. Adjust these parameters based on your requirements and the intended use of the remix.
- Choose the export location: Select the destination folder on your computer where you want to save the exported remix file. Make sure you choose a location that is easily accessible and organized.
- Export the remix: Start the export process by clicking the export or bounce button. Depending on the complexity and length of your remix, this process may take some time. Be patient and allow the software to process and generate the final exported file.
- Listen and review: Once the export is complete, take some time to listen to the exported remix. Ensure that it sounds as intended and that all the elements are properly balanced and mixed. Make any final adjustments if necessary.
Congratulations! You have now successfully remixed, arranged, mixed, and exported your final remixed song. It’s time to share your creation with the world, whether it’s through your personal website, social media platforms, or music sharing platforms.
Remember to give credit to the original artist and song whenever you share your remix. Acknowledge the source material and appreciate the creative collaboration that remixing allows.
Whether your remix is a personal project, an artistic experiment, or a potential career move, always keep exploring and honing your remixing skills. Remixing is a continuous learning process, and with each remix, you’ll gain more experience and develop your own unique style.
Enjoy the journey of remixing, and don’t forget to have fun along the way!
Conclusion
Remixing songs is an exciting and creative process that allows you to put your own unique spin on existing tracks. With the accessibility of free software and online tools, remixing has become more accessible than ever before. In this article, we have explored the step-by-step process of remixing songs for free, from finding remixable songs to exporting the final remix.
We started by discussing the importance of finding remixable songs, whether it’s through remix-friendly platforms, creative commons music, or by reaching out to artists directly. Next, we looked at acquiring the necessary software for remixing, including digital audio workstations (DAWs) and remixing-specific tools.
After that, we delved into importing the song tracks into your chosen software and manipulating them to create a unique remix. We explored techniques such as trimming, slicing, looping, and layering, allowing you to reshape the original tracks according to your creative vision. Adding effects and filters also played a significant role, enhancing the overall sound and adding depth to the remix.
We then moved on to arranging and mixing the tracks, focusing on creating a cohesive structure, balancing levels, and utilizing automation to add dynamics. The importance of EQ, compression, and panning was emphasized to create a polished and professional mix.
Finally, we discussed the process of exporting the remixed song into a format that is easily shareable. We highlighted the significance of choosing the right file format, adjusting export parameters, and ensuring a final review of the exported remix.
As you embark on your remixing journey, always remember to respect copyright laws and obtain proper permissions when working with copyrighted material. Give credit to the original artist and appreciate the opportunity for creative collaboration that remixing provides.
Now armed with the knowledge and steps outlined in this article, you’re ready to unleash your creativity and embark on your own remixing projects. Whether you’re an aspiring music producer, a DJ, or simply a music enthusiast, have fun exploring your unique remixing style.
So go ahead, find those remixable songs, acquire the necessary software, and start remixing for free. Let your imagination soar, and create remixes that inspire and captivate. Happy remixing!