Home>Production & Technology>Remix>How To Remix Songs In Audacity

Remix
How To Remix Songs In Audacity
Modified: January 22, 2024
Learn how to remix songs in Audacity with this step-by-step guide. Discover techniques and tips to create your own unique music remixes effortlessly.
(Many of the links in this article redirect to a specific reviewed product. Your purchase of these products through affiliate links helps to generate commission for AudioLover.com, at no extra cost. Learn more)
Table of Contents
Introduction
Remixing songs has become a popular trend in the music industry, allowing artists and producers to create unique and innovative versions of existing tracks. With the advent of digital audio editing software like Audacity, remixing songs has become more accessible than ever before. Whether you’re a professional musician or an enthusiastic hobbyist, Audacity provides a user-friendly platform to unleash your creativity and transform ordinary songs into extraordinary remixes.
In this article, we will explore the step-by-step process of how to remix songs in Audacity. We will cover everything from importing the original song, adjusting the tempo and key, isolating specific parts, adding effects and filters, rearranging tracks, and finally, exporting and saving the remixed song.
Before we dive into the technicalities, it’s important to note that remixing songs requires a basic understanding of music production and audio editing. If you’re new to the world of music production, don’t worry! Audacity provides a beginner-friendly interface and a wide range of tools that make the remixing process intuitive and enjoyable.
So, if you’re ready to embark on your remixing journey and unleash your creative potential, let’s get started with the first step: importing the song into Audacity.
Step 1: Importing the song into Audacity
The first step in remixing a song in Audacity is to import the original song into the software. This can be done by following these simple steps:
- Launch Audacity on your computer. If you haven’t already installed Audacity, you can download it for free from the official website.
- Click on “File” in the menu bar and select “Import” from the drop-down menu.
- Navigate to the location on your computer where the original song is stored.
- Select the song file you want to remix and click “Open”.
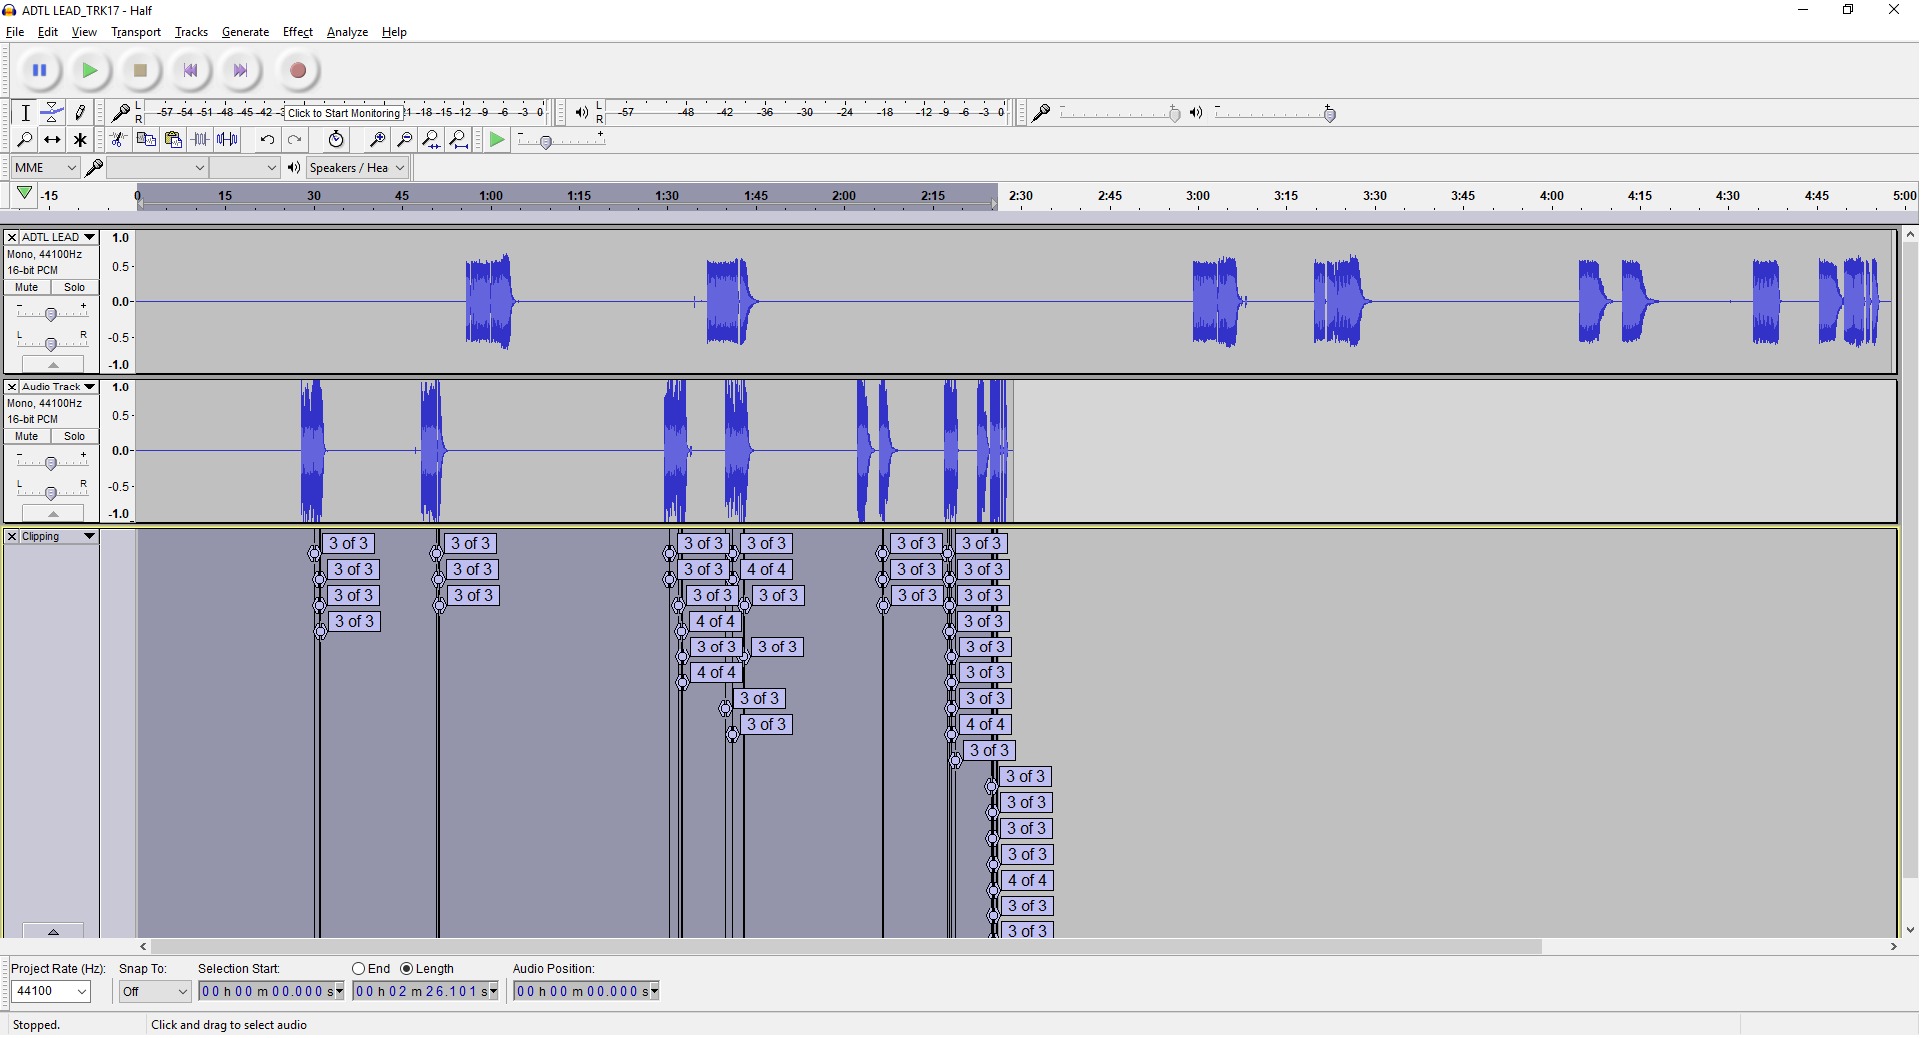
Once you have imported the song into Audacity, you will see the waveform representation of the audio file on the main editing window. This waveform allows you to visualize the different sections and elements of the song, making it easier to identify and manipulate specific parts during the remixing process.
It’s important to note that Audacity supports a wide range of audio file formats, including MP3, WAV, AIFF, and FLAC. However, it’s always recommended to use high-quality audio files to ensure the best possible outcome for your remix.
Now that you have imported the song into Audacity, you are ready to move on to the next step: adjusting the tempo and key of the song.
Step 2: Adjusting the tempo and key
Adjusting the tempo and key of the song is a crucial step in remixing as it allows you to create a new and unique sonic experience. Whether you want to speed up the song, slow it down, or change the key to fit your desired musical style, Audacity provides the tools to make these adjustments with ease.
To adjust the tempo and key of the song in Audacity, you can follow these steps:
- Select the entire song waveform by clicking and dragging your cursor over the waveform. This can be done by clicking just above the waveform and dragging it across the entire length of the song.
- Click on “Effect” in the menu bar and select “Change Tempo” or “Change Pitch” from the drop-down menu, depending on whether you want to adjust the tempo or key of the song.
- In the dialog box that appears, you can enter the desired tempo or adjust the pitch using the provided sliders.
- Preview the changes by clicking the “Preview” button, and if you’re satisfied with the result, click “OK” to apply the changes to the song.
Keep in mind that changing the tempo of the song may affect the overall sound and rhythm, so it’s important to experiment and find the right balance that complements your remix. Similarly, altering the key of the song can completely transform its mood and vibe, so don’t be afraid to get creative and try different combinations.
Once you have adjusted the tempo and key to your liking, you’re ready to move on to the next step: isolating and editing specific parts of the song.
Step 3: Isolating and editing specific parts of the song
Now that you have imported the song and made necessary adjustments to the tempo and key, it’s time to focus on isolating and editing specific parts of the song to create your remix. Audacity offers various tools and techniques to help you achieve this.
To isolate and edit specific parts of the song in Audacity, you can follow these steps:
- Identify the section of the song that you want to isolate or edit. This could be a particular verse, chorus, or instrumental segment.
- Use the selection tool in Audacity to highlight the desired portion of the waveform. To access the selection tool, click on the leftmost button in the toolbar, or press the “F1” key on your keyboard.
- Once you have selected the desired segment, you can perform a variety of edits, such as cutting, copying, pasting, or deleting. These options can be found in the “Edit” menu or by using the respective keyboard shortcuts.
- If you want to apply effects or filters to the selected portion, you can do so through the “Effect” menu. Audacity offers a wide range of effects to enhance the sound and add creative elements to your remix.
By isolating and editing specific parts of the song, you have the freedom to rearrange, loop, or layer these segments to create new patterns and structures in your remix. Don’t be afraid to experiment and explore different combinations to find the perfect blend of elements.
Remember, the key to successful remixing lies in maintaining a balance between retaining the familiar elements of the original song and introducing fresh and unique elements that showcase your creative vision. Take the time to listen critically and make adjustments as needed to achieve the desired outcome.
Once you have perfected the edits to specific parts of the song, it’s time to move on to the next step: adding effects and filters to enhance your remix.
Step 4: Adding effects and filters
Adding effects and filters is a crucial step in the remixing process as it allows you to add a unique touch to your remix and enhance the overall sonic experience. Audacity offers a wide range of built-in effects and filters that you can apply to your remix to add depth, ambiance, and creativity.
To add effects and filters to your remix in Audacity, follow these steps:
- Select the portion of the waveform to which you want to apply the effect or filter. You can use the selection tool just as you did in the previous step.
- Click on the “Effect” menu in the menu bar and browse through the available effects.
- Choose the effect or filter that you want to apply and adjust the settings as desired. Some commonly used effects include reverb, echo, chorus, and equalization.
- Preview the effect by clicking the “Preview” button, and if you’re satisfied with the result, click “OK” to apply the effect.
Adding effects and filters can help you create a unique atmosphere, manipulate the sound, and add creative flair to your remix. Experiment with different effects and combinations to find the perfect sound that complements your vision.
It’s important to note that while adding effects and filters can be exciting, it’s essential to use them judiciously. Too many effects or excessive use of filters can overpower the original song and make the remix sound cluttered. Be mindful of the overall balance and ensure that the effects enhance the song without overwhelming it.
Once you’re satisfied with the effects and filters you’ve applied, it’s time to move on to the next step: rearranging and layering tracks to bring the remix to life.
Step 5: Rearranging and layering tracks
Rearranging and layering tracks is an essential aspect of remixing as it allows you to create a new structure and arrangement for your remix. Audacity provides a flexible interface that enables you to easily rearrange and layer different tracks to bring your remix to life.
To rearrange and layer tracks in Audacity, follow these steps:
- Ensure that you have multiple tracks available in the Audacity workspace. If not, you can create new tracks by clicking on the drop-down menu on the top-left corner of the window and selecting “Add New” -> “Audio Track”.
- Drag and drop the different segments or edited portions of the song onto their respective tracks. You can use the selection tool to highlight specific sections of the waveform and then copy and paste them onto new tracks.
- To adjust the arrangement, simply click and drag the tracks to the desired position in the timeline. This enables you to create interesting transitions, build-ups, and drops in your remix.
- Layering tracks involves overlapping different segments to create complex and textured sounds. You can adjust the volume levels of each track to ensure a balanced mix.
By rearranging and layering tracks, you have the opportunity to experiment with different combinations, loops, and transitions. This enables you to create a unique and captivating version of the original song.
It’s important to keep in mind that while rearranging and layering tracks, you should maintain coherence and a sense of flow in your remix. Don’t be afraid to try different combinations and arrangements to find what works best for your vision.
Once you’re satisfied with the arrangement and layering of the tracks, it’s time to move on to the final step: exporting and saving your remixed song.
Step 6: Exporting and saving the remixed song
After putting in all the hard work and creativity into remixing your song in Audacity, it’s time to export and save your remixed masterpiece. Exporting your remix allows you to create a standalone audio file that can be shared, streamed, or played on various platforms.
To export and save your remixed song in Audacity, follow these steps:
- Ensure that your remix is arranged and edited to your satisfaction.
- Click on the “File” menu in the menu bar and select “Export” or “Export as Audio” from the drop-down menu.
- In the dialog box that appears, choose the desired file format for your remixed song. Common formats include MP3, WAV, and FLAC.
- Enter a name for your remixed song and choose the destination folder where you want to save it on your computer.
- Review the export settings and adjust them if necessary. You can choose the quality, bitrate, and other parameters depending on your preferences and the intended use of the file.
- Click “Save” to begin the exporting process. The length of time it takes to export will depend on the length and complexity of your remix.
- Once the export is complete, you will have a high-quality audio file of your remixed song ready to be shared and enjoyed.
It’s essential to consider the intended platform or medium for your remixed song when choosing the file format and export settings. Different platforms may have specific requirements or preferences regarding the format and quality of the audio files. Therefore, it’s advisable to do some research or consult the guidelines of the platform you plan to share or distribute your remix on.
With your remixed song exported and saved, you can now share it with the world, post it on social media, or submit it for competitions and opportunities. Remember to promote and credit the original song and artists, as remixing is a collaborative and transformative process.
Congratulations! By following these six steps to remix a song in Audacity, you have unlocked your creative potential and created a unique piece of music that reflects your artistic vision. Keep exploring, experimenting, and refining your skills in remixing to continuously evolve as a musician and producer.
Now, go ahead and share your remixed song with the world and let your creativity shine!
Conclusion
Remixing songs in Audacity can be an incredibly rewarding and fulfilling experience. It allows you to tap into your creativity, explore new musical possibilities, and create unique versions of existing tracks. By following the steps outlined in this guide, you now have the knowledge and tools to embark on your own remixing journey.
Throughout the process, we covered the fundamental steps of remixing in Audacity, including importing the song, adjusting the tempo and key, isolating and editing specific parts, adding effects and filters, rearranging and layering tracks, and finally exporting and saving the remixed song.
Remember, remixing is an art form that requires a balance between staying true to the original song and expressing your own creative vision. Don’t be afraid to experiment, try out different techniques, and push the boundaries of what’s possible. The more you practice and refine your remixing skills, the more unique and innovative your creations will become.
Furthermore, as you remix songs, it’s important to respect the original artists and their work. Always give credit and acknowledgment to the original songwriters, performers, and producers when sharing and distributing your remix. Collaboration and mutual respect are key in the world of remixing.
So, what are you waiting for? Fire up Audacity, import your favorite song, and start remixing today. Unleash your creativity, experiment with different sounds and styles, and create a remix that represents your unique artistic voice. The possibilities are endless, and the journey is yours to explore.
Have fun, keep learning, and enjoy the wonderful process of remixing songs in Audacity!